February 16, 2024
Show Off Your Home Reno With Hand Tools Border Punch Projects
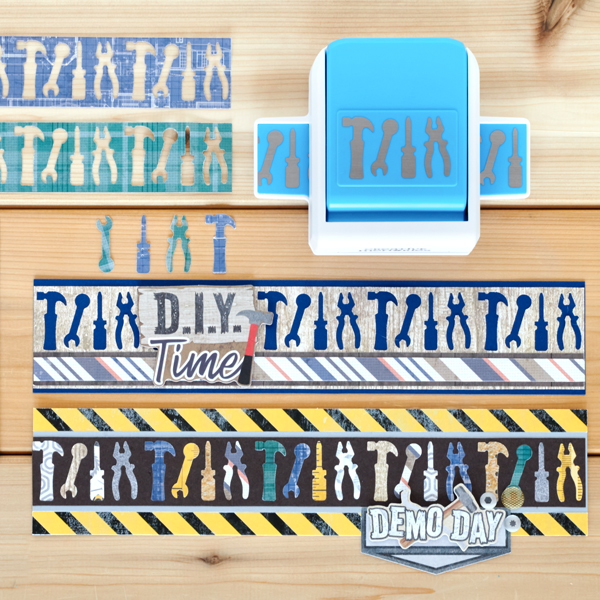
Lay down the perfect foundation for memory keeping with these scrapbook borders! The crafty projects below feature the Hand Tools Border Punch which lets you add hammers, screwdrivers, pliers and more to your pages. Whether you’re documenting your latest home renovation or someone’s construction-themed birthday, you’ll want to have this in your toolkit. Pretty solid, right?
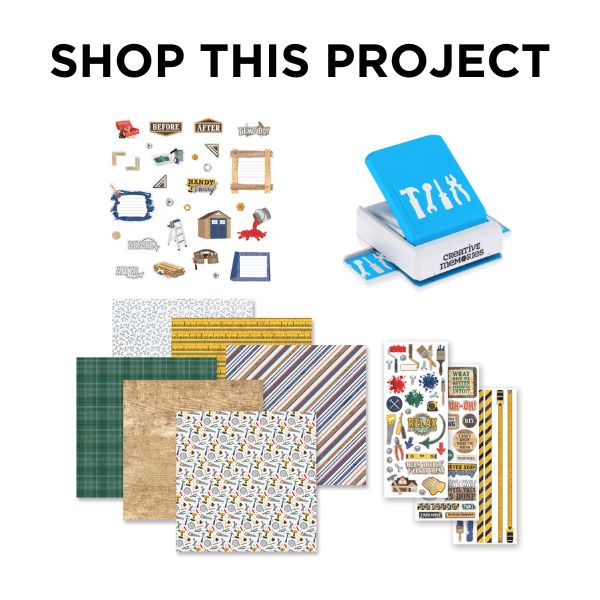
To create these borders you will need:
- Riveting Paper Pack or (Shop Canada | Shop Australia)
- Riveting Stickers or (Shop Canada | Shop Australia)
- Riveting Embellishments or (Shop Canada | Shop Australia)
- Hot Fudge, Platinum Shimmer & Blue Solid Cardstocks or (Shop Canada | Shop Australia)
- Hand Tools Border Punch or (Shop Canada | Shop Australia)
- Custom Cutting System with Circle Patterns or (Shop Canada | Shop Australia)
- 12-inch Trimmer or (Shop Canada | Shop Australia)
- Tape Runner or (Shop Canada | Shop Australia)
- Repositionable Tape Runner or (Shop Canada | Shop Australia)
- Foam Squares Variety Pack or (Shop Canada | Shop Australia)
- Precision Point Adhesive Pen or (Shop Canada | Shop Australia)

Demo Day Border

Step 1: Cut a piece of any scrap paper to measure 12” x 2-3/4” for the base of the border.
Step 2: Adhere the caution tape border stickers along the top and bottom edges of the border.
Step 3: Cut a piece of Platinum Shimmer Solid Cardstock to measure 12” x 1-3/4”. Adhere between the border stickers.
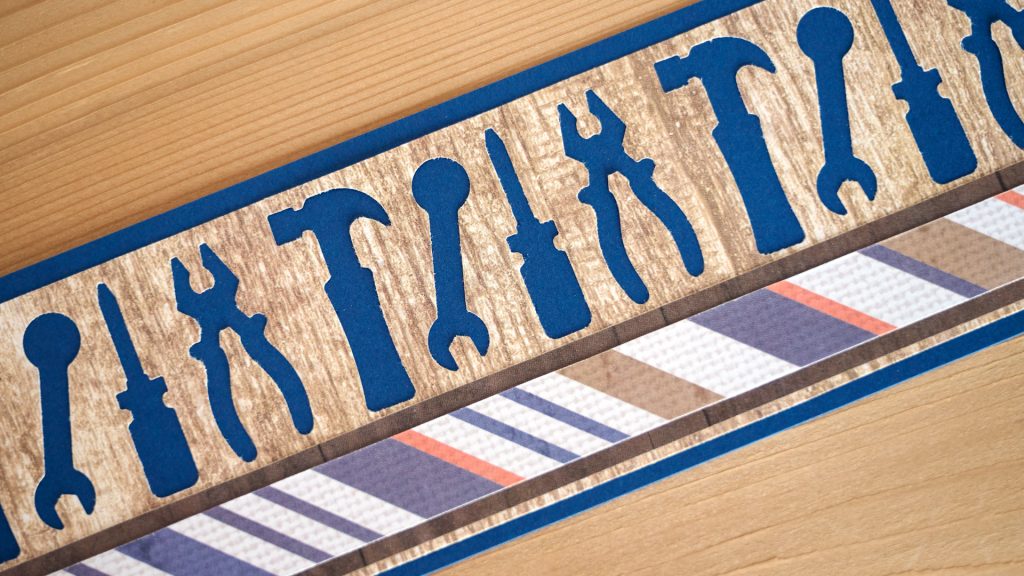
Step 4: Using the Hand Tools Border Punch, punch along the 12” edge of a piece of Hot Fudge Solid Cardstock. Then, trim at 1-1/2” from the edge. Adhere this cardstock border to the top of the Platinum Shimmer Solid Cardstock piece.
Step 5: Using the Hand Tools Border Punch, punch out the “tools” from a variety of papers. Adhere the “tools” to the border using the Precision Point Adhesive Pen.
Step 6: Adhere embellishments for a title using Foam Squares.
D.I.Y. Time Border

Step 1: Cut a piece of Blue Solid Cardstock to measure 12” x 2-1/2” for the base of the border.
Step 2: Using the Hand Tools Border punch, punch along the 12” edge of a piece of light lumber paper. Trim 2-1/4” from the edge. Adhere this border piece to the base of the border.
Step 3: Cut a piece of dark wood paper to measure 12” x 3/4”. Adhere near the bottom of the light lumber piece.
Step 4: Cut a piece of diagonal stripe paper to measure 12” x 1/2”. Adhere to the top of the dark wood piece.
Step 5: Adhere the embellishment title to the border using Foam Squares.
I Can FIX Anything Border
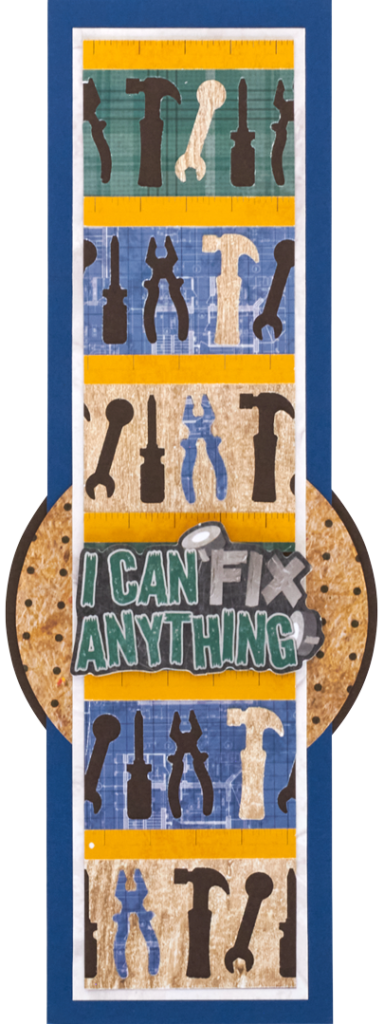
Step 1: Cut a piece of Blue Solid Cardstock to measure 3-3/8” x 12”. Use this as the base of the border.
Step 2: Cut a piece of crinkled paper to measure 2-3/4” x 11-3/8”. Adhere to the border.
Step 3: Cut a piece of Hot Fudge Solid Cardstock to measure 2-1/2” x 11-1/8”.
Step 4: Using the Hand Tools Border Punch, punch a border from green plaid paper, blueprint paper and light lumber paper. Start at the bottom of the cardstock and adhere a light lumber border strip, then place a strip of tape measure border sticker above, then a blueprint border strip, etc. Continue alternating in that order. Trim any excess with a scissors.
Step 5: Using the punched out pieces from the borders, adhere a few “tools” inside of the shapes using the Precision Point Adhesive Pen.
Step 6: Adhere the embellishment title to the top of this piece using Foam Squares.
Step 7: Using the outside edge of the medium Circle Custom Cutting System Pattern and and the Green Blade, cut a circle from the peg board paper. Adhere this circle behind the title embellishment from the backside. Adhere to the border.
Step 8: Using the outside edge of the medium Circle Custom Cutting System Pattern and the Blue Blade, cut a circle from Hot Fudge Solid Cardstock. Adhere from the very back of the border, behind the peg board circle.
Are you working on any DIY projects you’re excited about?! Which tools border design are you going to try first?
P.S. Are YOU a member of the Virtual Crop Facebook Group? It’s your go-to place for MONTHLY Virtual Crops, MONTHLY Completed Album Challenges, WEEKLY LIVE STREAMING of Fast & Fun Projects with Noreen, LIVE QUARTERLY Secret Box Openings with project tutorials and so much more! We hope you’ll join our community of more than 38,000 fellow memory-keeping enthusiasts — you’ll feel right at home!
