March 11, 2024
Say “Hello” to This Baby Scrapbook Layout
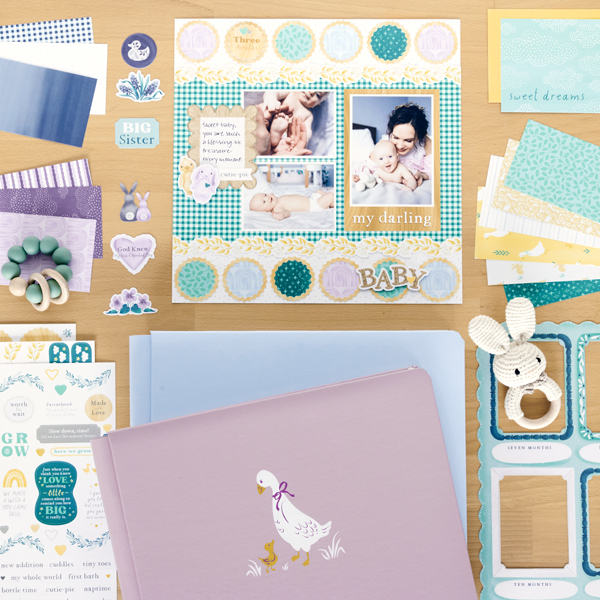
Celebrate that cherished first year with your newborn using materials from the Welcome Baby collection! Give your layout a unique twist by using the Circle Punch with the Welcome Baby Stickers to create embellishments for your baby scrapbook layout that are just as cute as can be. See below to learn how you can make your own!
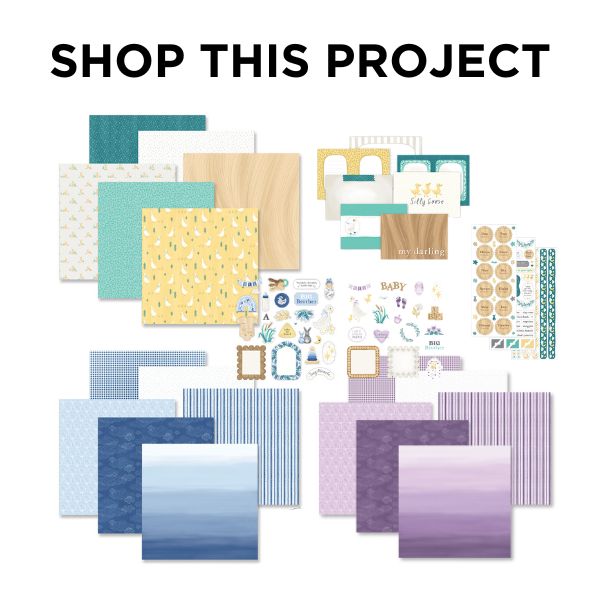
To create this layout you will need:
- Welcome Baby Paper Pack or (Shop Canada | Shop Australia)
- Welcome Baby Blue Paper Pack or (Shop Canada | Shop Australia)
- Welcome Baby Purple Paper Pack or (Shop Canada | Shop Australia)
- Welcome Baby Variety Mat Pack or (Shop Canada | Shop Australia)
- Welcome Baby Blue Embellishments or (Shop Canada | Shop Australia)
- Welcome Baby Purple Embellishments or (Shop Canada | Shop Australia)
- Welcome Baby Stickers or (Shop Canada | Shop Australia)
- White Solid Cardstock or (Shop Canada | Shop Australia)
- Circle Punch or (Shop Canada | Shop Australia)
- 12-inch Trimmer or (Shop Canada | Shop Australia)
- Micro-Tip Scissors or (Shop Canada | Shop Australia)
- Tape Runner or (Shop Canada | Shop Australia)
- Repositionable Tape Runner or (Shop Canada | Shop Australia)
- Foam Squares Variety Pack or (Shop Canada | Shop Australia)
- Black Dual-Tip Pen or (Shop Canada | Shop Australia)
Take a look at the sweet Welcome Baby collection in the video below!

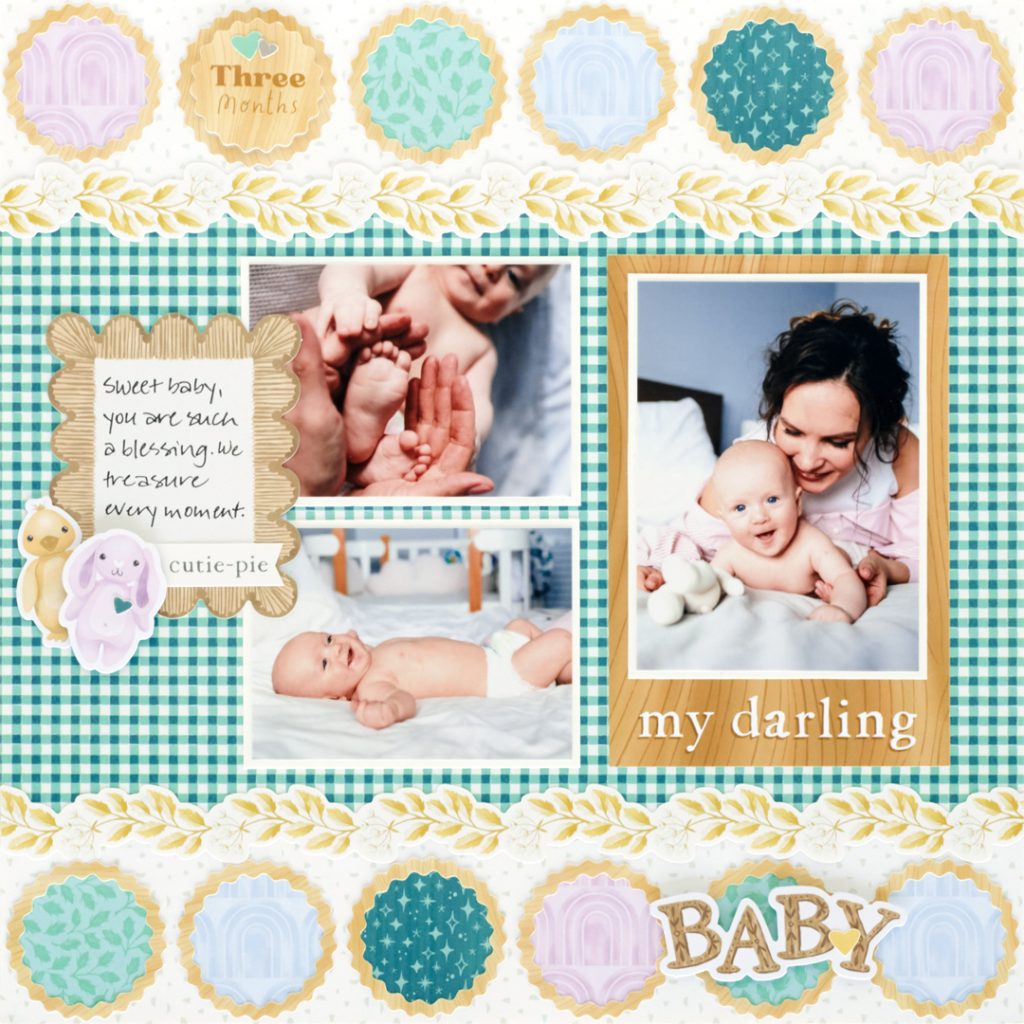
Step 1: Use a sheet of gingham paper as the base for this layout. Cut two 12? x 2-1/4? strips with scattered bits paper and adhere on the top and bottom of the layout. Place a leafy bough border sticker on the seams.
Step 2: Place the “my darling” variety mat on the layout as shown. Crop a photo to 3-1/4? x 4-1/2? and mount on a 3-1/2? x 4-3/4? piece of White Solid Cardstock. Adhere on the mat. Crop two photos to 3-3/4? x 2-3/4? and mount on two 4? x 3? pieces of White Solid Cardstock. Adhere to the left of the variety mat. Adhere a journal box embellishment as shown.
Step 3: Using the Circle Punch, punch 11 circles with a variety of paper scraps. Adhere on the top and bottom of the layout as shown. Top each with a “ring” sticker. Adhere a monthly sticker and ring in one of the spots.
Step 4: Adhere additional stickers and embellishments, popping some up with Foam Squares for dimension. Cut a V in a title sticker, if desired, to create a banner.
Step 5: Journal as desired.
What did you think of this baby scrapbook layout?! How did your circle embellishments turn out?
P.S. Are YOU a member of the Virtual Crop Facebook Group? It’s your go-to place for MONTHLY Virtual Crops, MONTHLY Completed Album Challenges, WEEKLY LIVE STREAMING of Fast & Fun Projects with Noreen, LIVE QUARTERLY Secret Box Openings with project tutorials and so much more! We hope you’ll join our community of more than 38,000 fellow memory-keeping enthusiasts — you’ll feel right at home!
