June 27, 2024
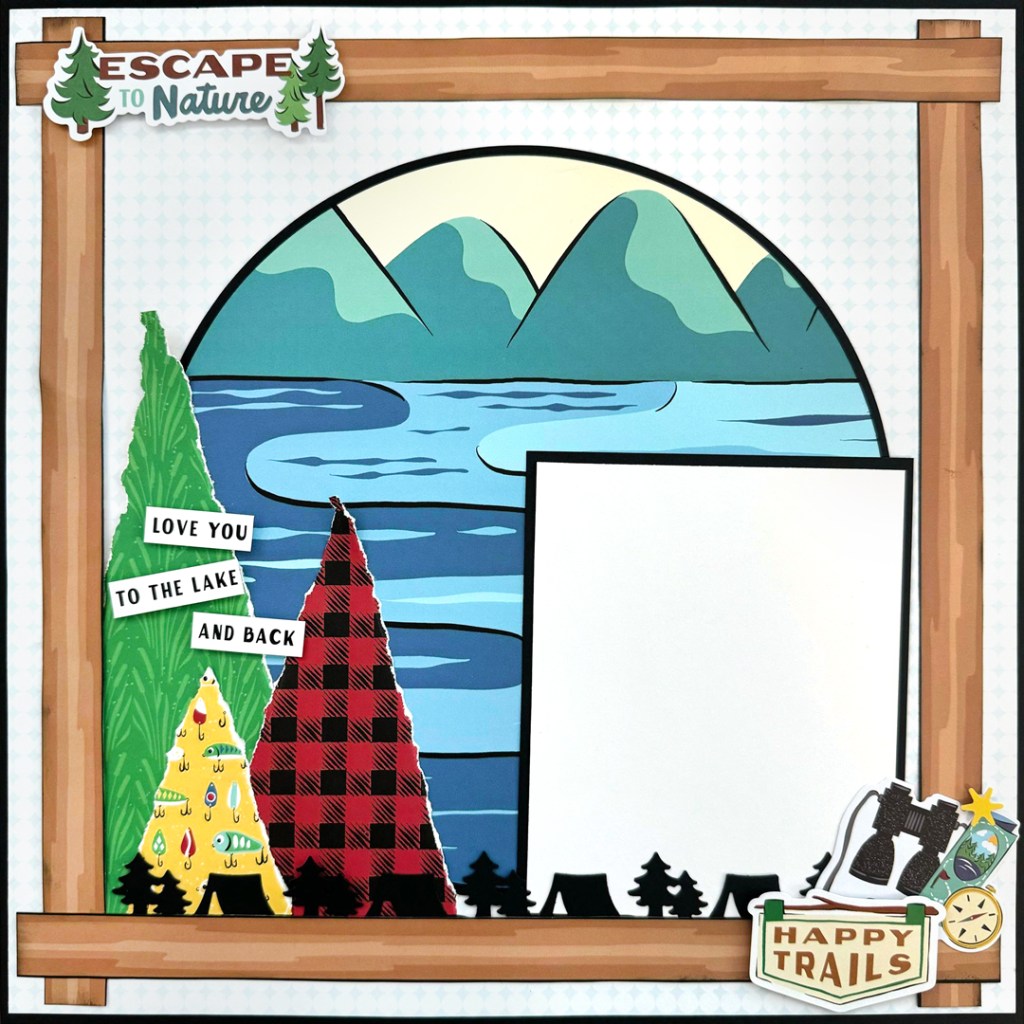
Reminisce On Lake Life With This Layout

Happy cabin season! Remember all your moments at the lake — from reading in a hammock to waterskiing with family — with this lake life-inspired layout. The Life at the Lake collection is perfect for documenting all of your memories from up north. Plus, by tearing the designer papers just right, you can make your own trees unique to you!
To create this layout you will need:
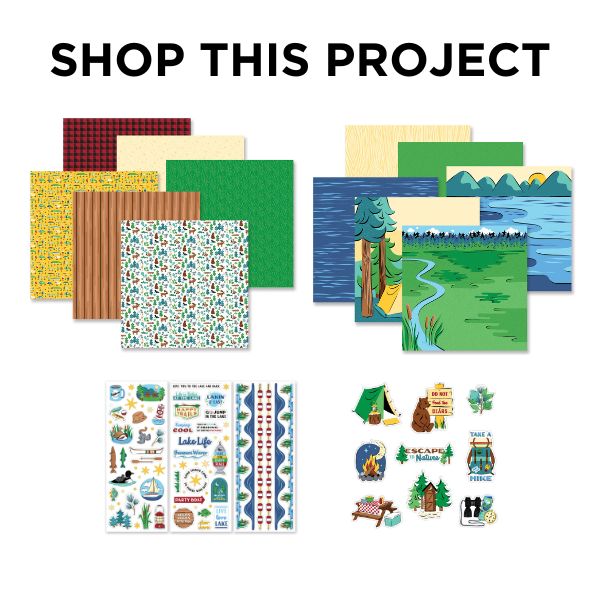
- Life at the Lake Paper Pack or (Shop Canada | Shop Australia)
- Life at the Lake Fast2Fab™ Inspired Paper Pack or (Shop Canada | Shop Australia)
- Life at the Lake Stickers or (Shop Canada | Shop Australia)
- Escape to Nature Embellishments or (Shop Canada | Shop Australia)
- Black & White Solid Cardstock or (Shop Canada | Shop Australia)
- Original Border Maker System with Tent & Tree Border Maker Cartridge or (Shop Canada | Shop Australia)
- Custom Cutting System with the Jumbo Circle Pattern or (Shop Canada | Shop Australia)
- 12-inch Trimmer or (Shop Canada | Shop Australia)
- All-Purpose Scissors or (Shop Canada | Shop Australia)
- Tape Runner or (Shop Canada | Shop Australia)
- Repositionable Tape Runner or (Shop Canada | Shop Australia)
- Foam Squares Variety Pack or (Shop Canada | Shop Australia)
- Black Dual-Tip Pen or (Shop Canada | Shop Australia)

Step 1: Using the inside edge of the Jumbo Circle Custom Cutting System Pattern and the Red Blade, cut a piece of circle from a sheet of Black Solid Cardstock and set aside. Use the outside frame as the base of this layout. Cut the diamonds paper to measure 11-3/4” x 11-3/4” and add to the black base.

Step 2: Using the inside edge of the Jumbo Circle Custom Cutting System Pattern and the Green Blade, cut a piece of circle from the left top corner of the lake scenery paper. Add to the black cardstock circle piece you cut out in Step 1.
Step 3: Cut four pieces of logs from the cabin paper. Trim lengthwise by 1/2” to make 11-1/2” length logs. Use the Black Dual-Tip Pen to ink the edge.
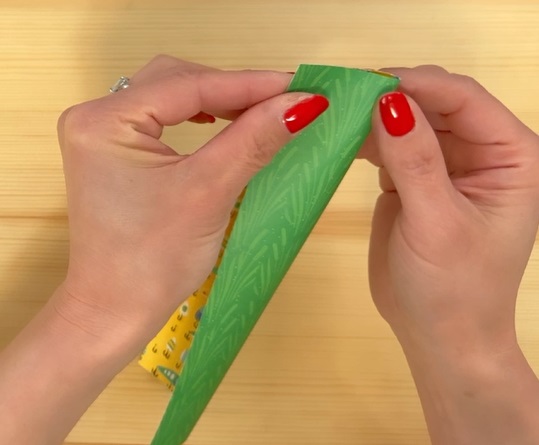
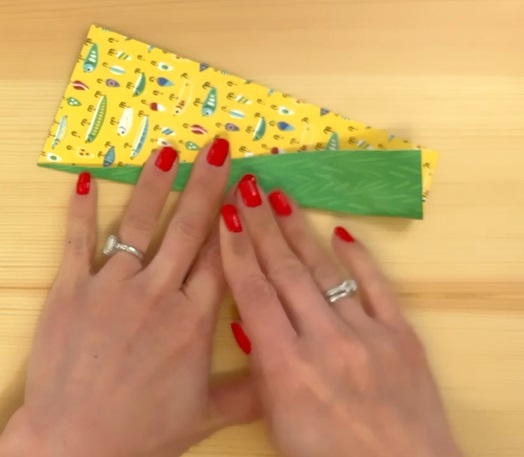

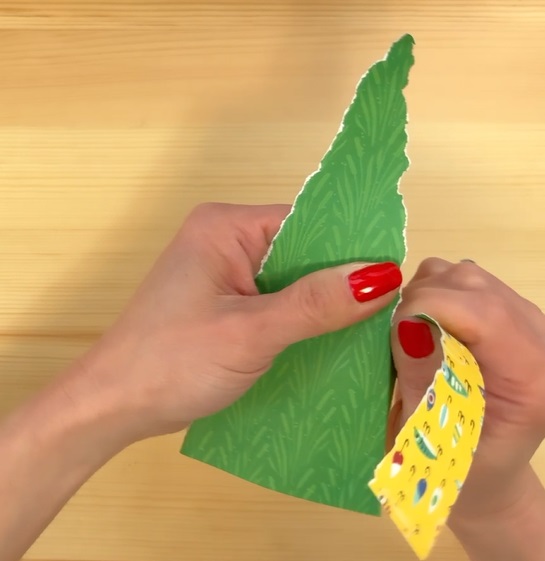
Step 4: Cut the buffalo check paper to measure 3” x 5”. Cut the reeds paper to measure 3” x 7” and 2” x 3” (use the flip side for this piece). Fold each piece in half, lengthwise. You don’t have to make a crease but just pinch the top so that you know where the midway point is. Fold to connect the corners to the midway point to make a triangle shape. Tear along the folded line.
Step 5: Using the Tent & Tree Border Maker Cartridge, punch a border from a piece of Black Solid Cardstock. Cut the border to measure 9-1/2” x 1-1/2”.
Step 6: Cut a mat to measure 4-1/2” x 5-1/2” from Black Solid Cardstock. Cut a 4-1/4” x 5-1/4” mat from White Solid Cardstock. Adhere together to make a double mat.
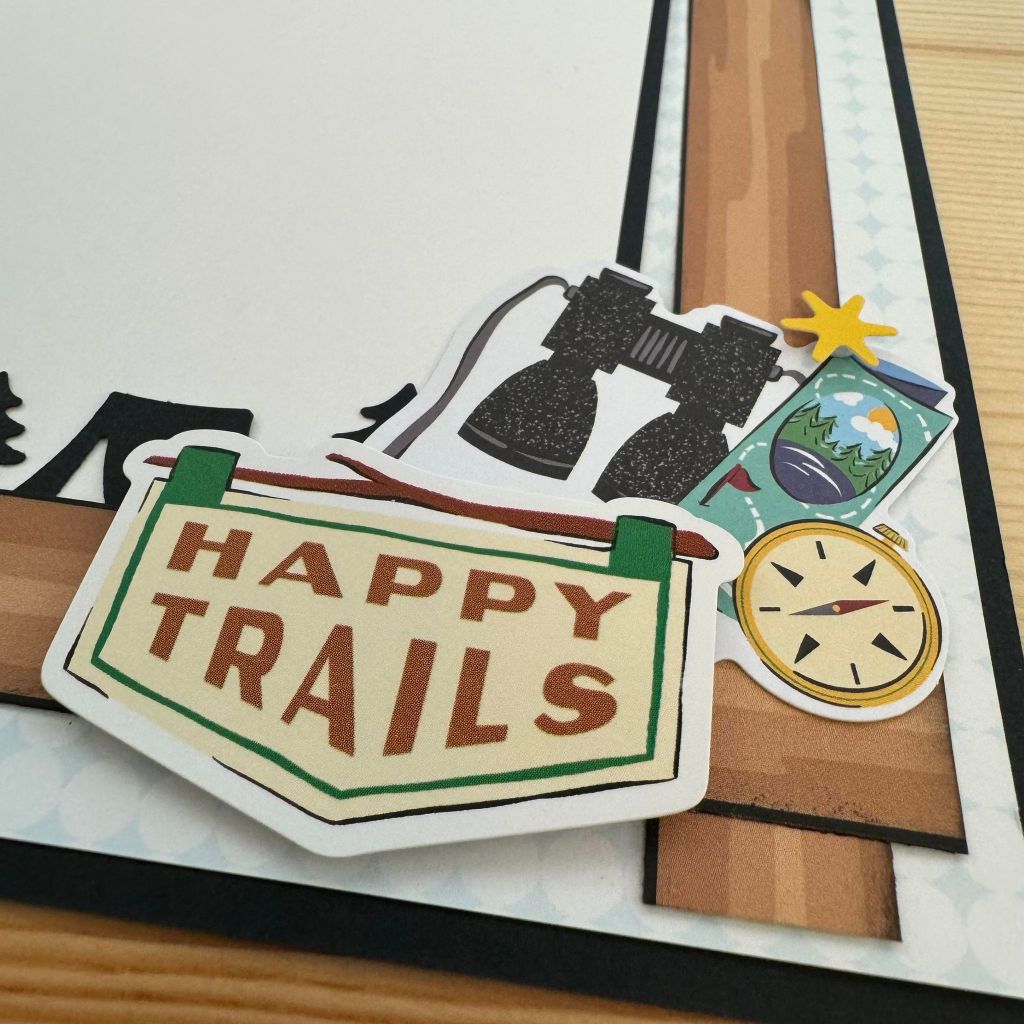
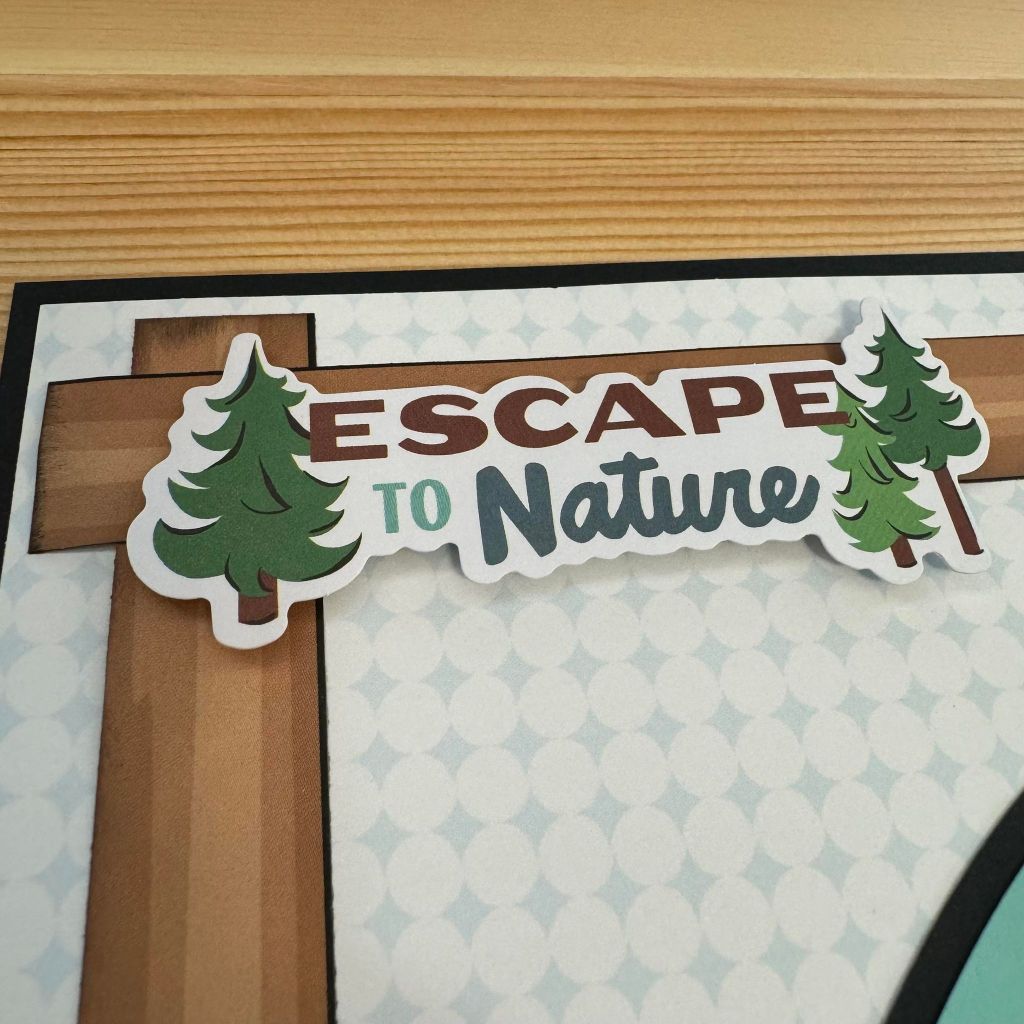

Step 7: Assemble all the pieces. Adhere the stickers, embellishments and photo mats, using Foam
Squares on some for added dimension.
Do you have any summer vacations planned to explore the great outdoors? What activities do you like to do on the lake?
P.S. Are YOU a member of the Virtual Crop Facebook Group? It’s your go-to place for MONTHLY Virtual Crops, MONTHLY Completed Album Challenges, QUARTERLY Secret Box Openings with project tutorials and so much more! We hope you’ll join our community of more than 40,000 fellow memory-keeping enthusiasts — you’ll feel right at home!

I love this layout but do you mean to cut the circle shap from the black cardstock and then another from the mountain scene paper or are we actually cutting circle pieces?