July 15, 2024
You-Pick-It Promo: Layouts

Have you checked out the You-Pick-It Promo?! There are four unique bundles you can earn for FREE: Morning Brew, Ice Cream Social, Night Out and Fun & Games. They’re perfect for memories of going out for coffee, ice cream, happy hour or the bar and game nights. Want some inspiration for these fabulous collections? Keep reading for ideas for each of the four bundles.
For more details, visit: US | CA | AU
Start by watching the video below!


Check out the four unique options for gift bundles you can earn free above — the Morning Brew, Ice Cream Social, Night Out and Fun & Games Bundles! AND for any quantity you earn, you can choose exactly which bundle(s) you would like to get FREE!
For more details, visit: US | CA | AU
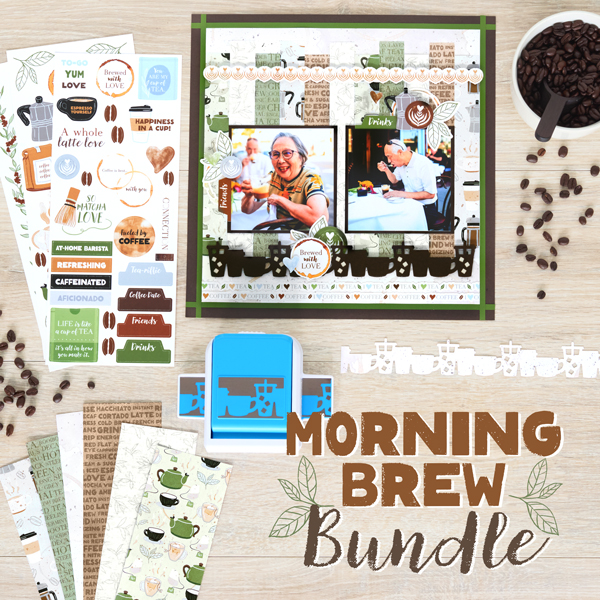
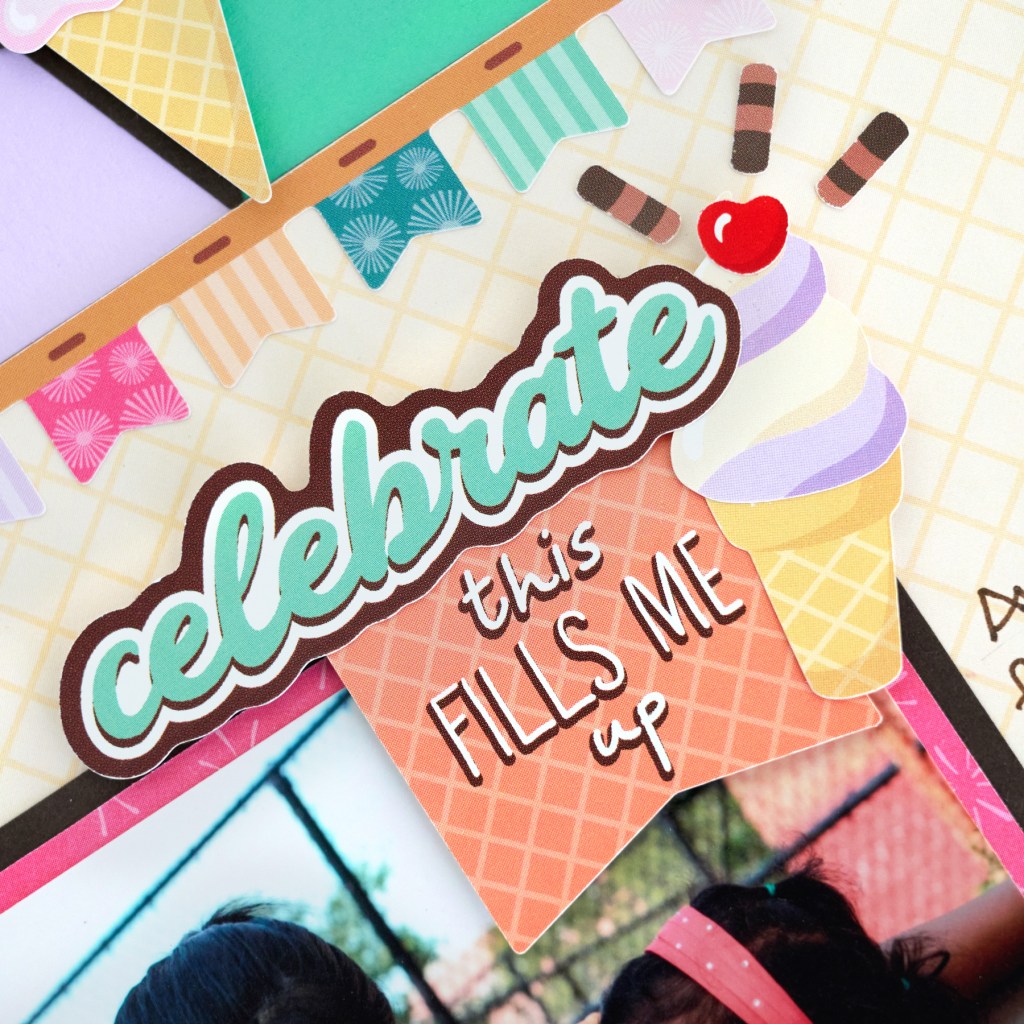
Morning Brew Bundle
To create the Morning Brew Bundle layout you will need:
- Morning Brew Bundle — Earn this bundle FREE during the current You-Pick-It Promo!
- Morning Brew Border Punch
- Morning Brew Paper Pack (6/pk)
- Morning Brew Stickers (3/pk)
- Hot Fudge, Avocado & Beige Solid Cardstocks or (Shop Canada | Shop Australia)
- 12-inch Trimmer or (Shop Canada | Shop Australia)
- Tape Runner or (Shop Canada | Shop Australia)
- Repositionable Tape Runner or (Shop Canada | Shop Australia)
- Micro-Tip Scissors or (Shop Canada | Shop Australia)
- Foam Squares Variety Pack or (Shop Canada | Shop Australia)

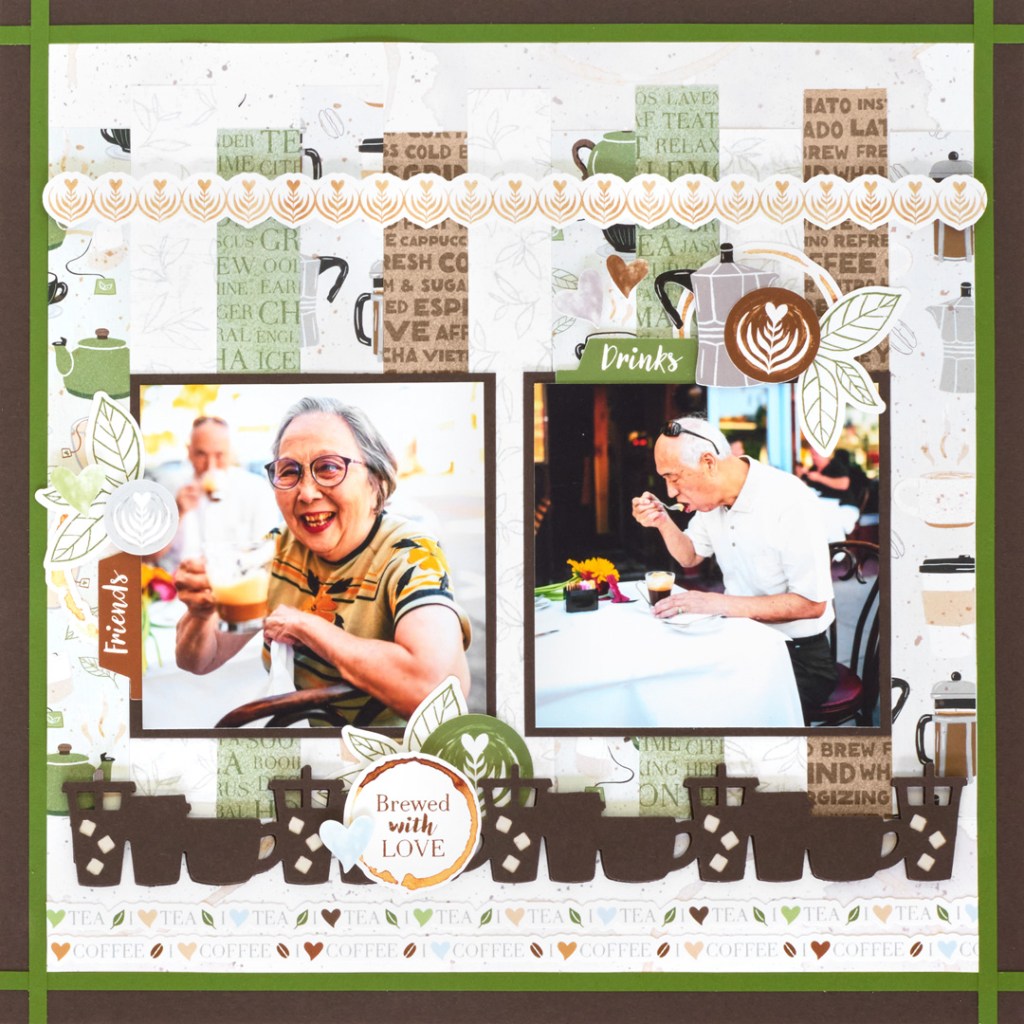
Step 1: Use a piece of Hot Fudge Solid Cardstock as the base of the layout.
Step 2: Cut a piece of coffee stains paper to measure 10-3/4″ x 10-3/4″. Adhere to the middle of the layout.
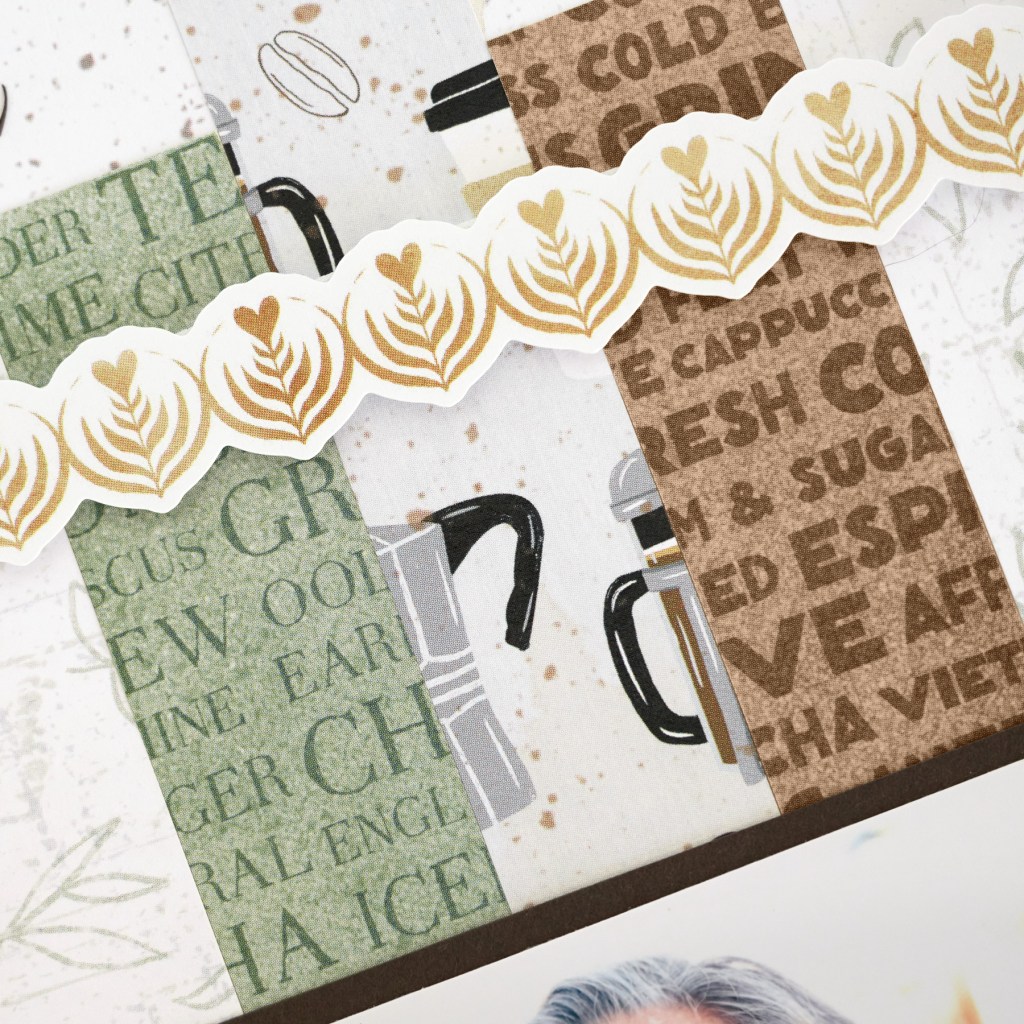
Step 3: Cut six pieces of a variety of papers to measure 1″ x 8″ and five pieces from a variety of papers to measure 1″ x 8-1/2″.
Step 4: Adhere to the coffee stains paper 1-3/4″ from the bottom, rotating between sizes.
Step 5: Using Hot Fudge Solid Cardstock, punch 2 borders using the Morning Brew Border Punch. Cut so that each one is 10-1/4″. Adhere one of the borders along the bottom edges of the previous strips.
Step 6: Cut small pieces of Beige Solid Cardstock and adhere behind the “ice” portions of the coffee cups on the second border. Then adhere to the top of the previous border using Foam Squares.
Step 7: Cut two photo mats from Hot Fudge Solid Cardstock to measure 4-1/4″ x 4-1/4″. Adhere to the layout.
Step 8: Cut and adhere two photos that measure 4″ x 4″ to the mats.
Step 9: Using Avocado Solid Cardstock, cut four pieces that measure 1/4″ x 12″. Adhere to the outer edges of the coffee stain paper.
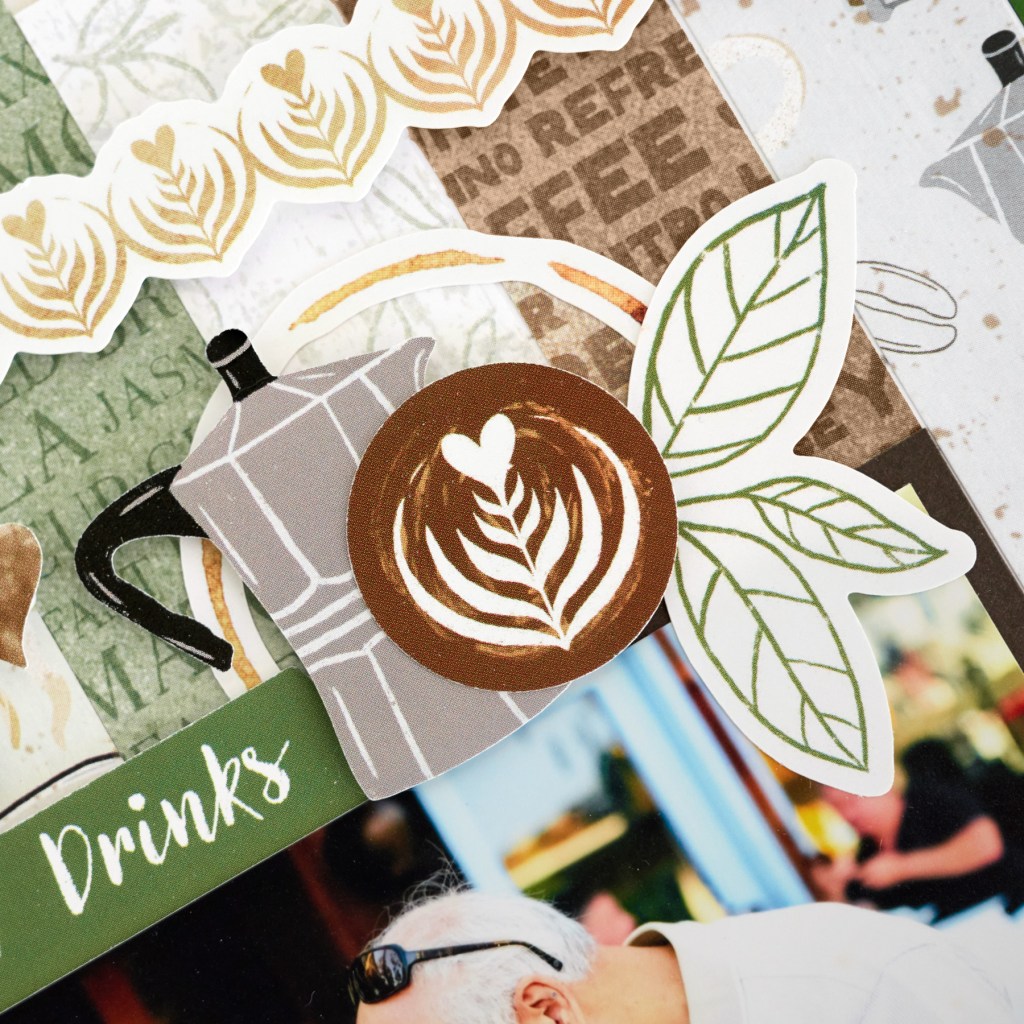
Step 10: Adhere stickers to the layout, using Foam Squares on some for added dimension.
Step 11: Journal as desired.

Ice Cream Social Bundle

To create the Ice Cream Social Bundle layout you will need:
- Ice Cream Social Bundle — Earn this bundle FREE during the current You-Pick-It Promo!
- Ice Cream Build-A-Punch
- Ice Cream Social Designer Paper Pack (6/pk)
- Ice Cream Social Stickers (3/pk)
- Ice Cream Social Embellishments (20/pk)
- Hot Fudge, Island Waters, Canary, Tangerine, Light Pink & Purple Ice Solid Cardstocks or (Shop Canada | Shop Australia)
- 12-inch Trimmer or (Shop Canada | Shop Australia)
- Square Punch or (Shop Canada | Shop Australia)
- Tape Runner or (Shop Canada | Shop Australia)
- Repositionable Tape Runner or (Shop Canada | Shop Australia)
- Micro-Tip Scissors or (Shop Canada | Shop Australia)
- Foam Squares Variety Pack or (Shop Canada | Shop Australia)
- Brown Dual-Tip Pen or (Shop Canada | Shop Australia)

Step 1: Using a piece of Hot Fudge Solid Cardstock and the 12-inch Trimmer, cut out the inside leaving a 1-1/2″ frame. Set the inside piece aside.
Step 2: Cut a piece of dots paper to measure 11-1/2″ x 11-1/2″.
Step 3: Cut a piece of cone texture paper to measure 12″ x 6″. Adhere across the dots paper at an angle. Trim off any excess with scissors.
Step 4: Cut a piece of sprinkles paper to measure 12″ x 1/2″. Adhere below the previous cone texture paper.
Step 5: Cut a piece of pink bursts paper to measure 12″ x 3/4″. Adhere below the previous sprinkles paper. Use scissors to cut off any excess.
Step 6: Using the Square Punch, punch a total of eight pieces from a variety of cardstocks: Island Waters, Canary, Tangerine, Light Pink and Purple Ice. Adhere along the top edge of the cone texture paper.
Step 7: Cut a 1/4″ strip from pink bursts paper. Adhere along the top edge of the squares, trim any excess with scissors.
Step 8: Adhere 11-1/2″ x 11-1/2″ piece to the middle of the layout.
Step 9: Using Hot Fudge Solid Cardstock, cut three pieces to measure 4-1/4″ x 4-1/4″.
Step 10: Using pink bursts paper, cut three pieces to measure 4″ x 4″. Adhere to the cardstock pieces.
Step 11: Adhere photos that measure 3-3/4″ x 3-3/4″ to the mats. Adhere mats to the layout.
Step 12: Using the Ice Cream Build-A-Punch, punch several pieces using Hot Fudge Solid Cardstock. Adhere along the seams of the cardstock squares.
Step 13: Adhere stickers to the tops of the cardstock piece, so that it is offset, using Foam Squares.
Step 14: Using the Ice Cream Build-A-Punch, punch several pieces from the pink bursts, sprinkles and cone texture papers. Adhere these pieces to the tops of every other cardstock cone using Foam Squares.
Step 15: Adhere stickers and embellishments to the layout, using Foam Squares on some for added dimension.
Step 16: Journal as desired.


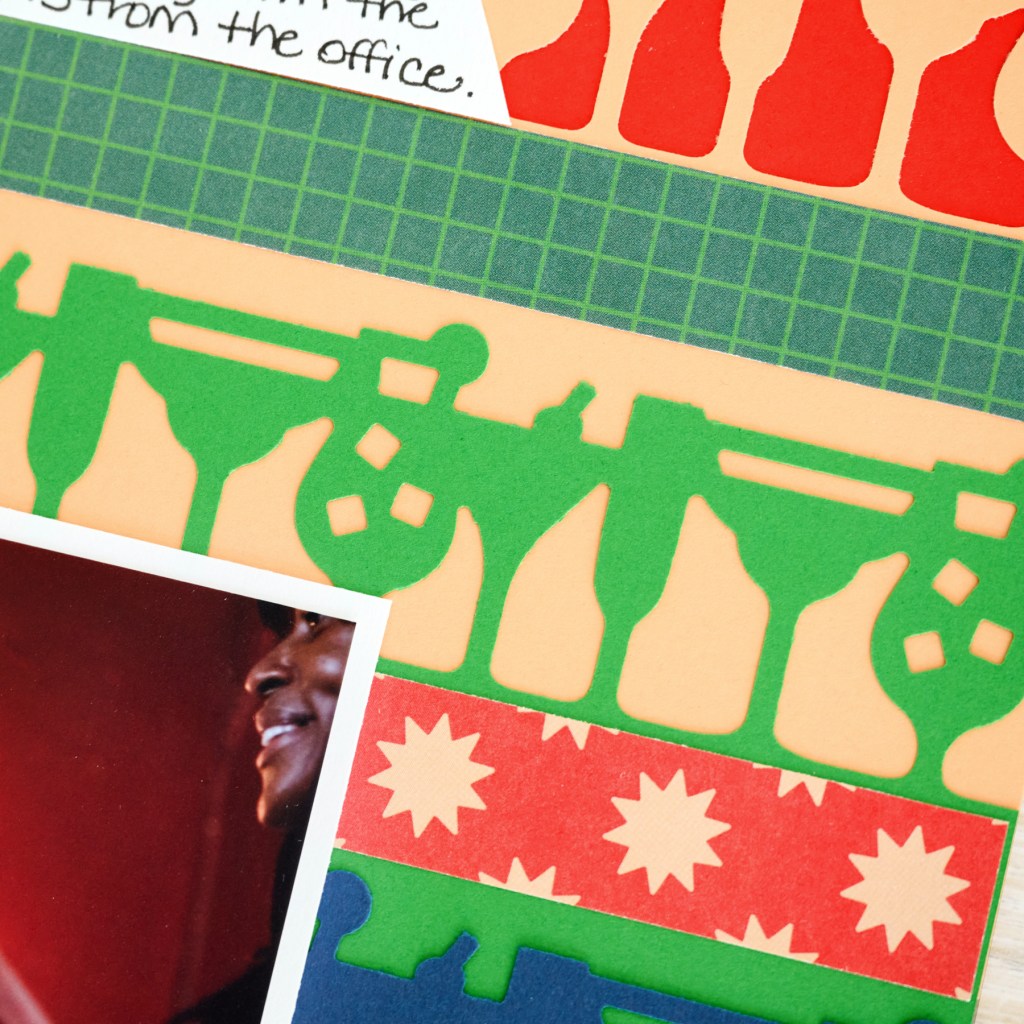
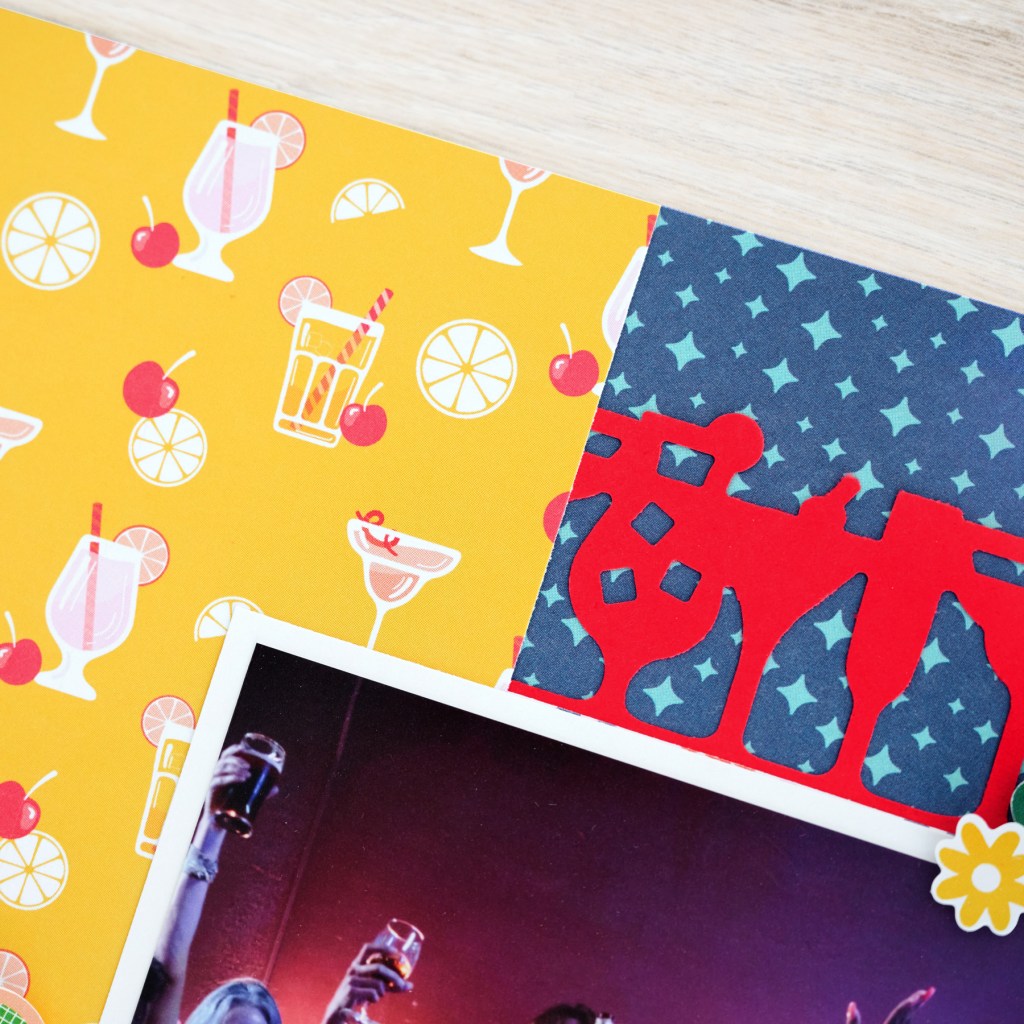
Night Out Bundle

To create the Night Out Bundle layout you will need:
- Night Out Bundle — Earn this bundle FREE during the current You-Pick-It Promo!
- Happy Hour Border Punch
- Night Out Designer Paper Pack (6/pk)
- Night Out Stickers (3/pk)
- Red, Tangerine, Kelly Green, Blue & White Solid Cardstocks or (Shop Canada | Shop Australia)
- 12-inch Trimmer or (Shop Canada | Shop Australia)
- Micro-Tip Scissors or (Shop Canada | Shop Australia)
- Tape Runner or (Shop Canada | Shop Australia)
- Repositionable Tape Runner or (Shop Canada | Shop Australia)
- Foam Squares Variety Pack or (Shop Canada | Shop Australia)

Step 1: Use sparkles paper as the base of the layout.
Step 2: Punch a border along the edges of Red, Tangerine, Kelly Green and Blue Solid Cardstock. Then cut to measure 4-1/2″.
Step 3: Cut a 12″ x 3/4″ piece from the following papers: daisies, grid, bursts and karaoke. Adhere a strip to just below each punched edge on the cardstock pieces.
Step 4: Adhere the Red Solid Cardstock strip approximately 1″ from the top edge of the layout.
Step 5: Adhere the Tangerine Solid Cardstock piece over the top of the Red Solid Cardstock piece.
Step 6: Adhere the Kelly Green Solid Cardstock piece over the top of the Tangerine Solid Cardstock piece.
Step 7: Adhere the Blue Solid Cardstock piece over the top of the Kelly Green Solid Cardstock piece.
Step 8: Adhere three border stickers to the Blue Solid Cardstock piece.
Step 9: Cut a piece of the fancy drinks paper to measure 4″ x 12″. Adhere along the left edge of the layout.
Step 10: Using White Solid Cardstock, cut photo mats to measure: (3) 4-1/4″ x 4-1/4″. Adhere to the layout.
Step 11: Cut three photos to measure 4″ x 4″. Adhere to the photo mats.
Step 12: Cut a piece from White Solid Cardstock to measure 2-1/2″ x 1″. Cut a “V” into the end with scissors. Adhere to the layout for journaling.
Step 13: Adhere stickers to the layout, using Foam Squares on some for added dimension.
Step 14: Journal as desired.
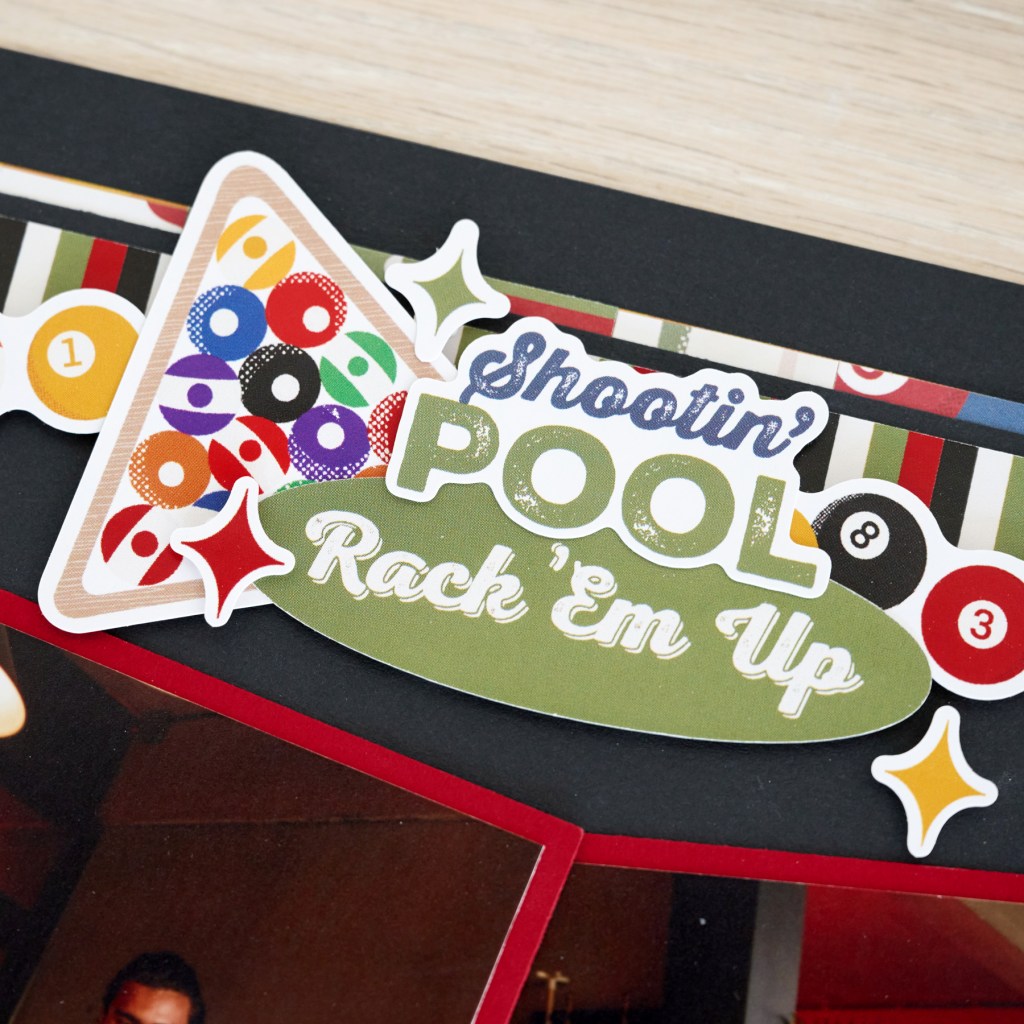
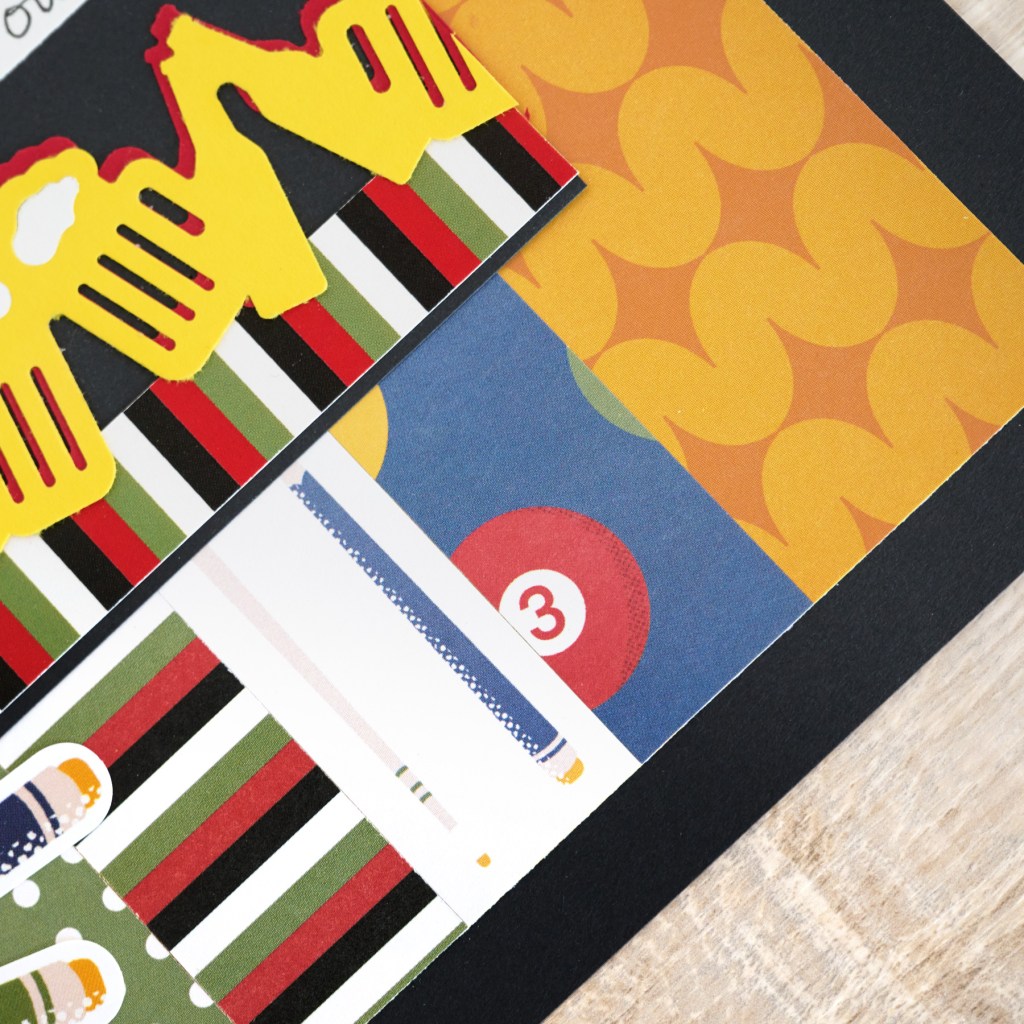
Fun & Games Bundle

To create the Fun & Games Bundle layout you will need:
- Fun & Games Bundle — Earn this bundle FREE during the current You-Pick-It Promo!
- Pub Time Border Punch
- Fun & Games Designer Paper Pack (6/pk)
- Fun & Games Stickers (3/pk)
- White, Black, Canary & Cranberry Solid Cardstocks or (Shop Canada | Shop Australia)
- 12-inch Trimmer or (Shop Canada | Shop Australia)
- Micro-Tip Scissors or (Shop Canada | Shop Australia)
- Tape Runner or (Shop Canada | Shop Australia)
- Repositionable Tape Runner or (Shop Canada | Shop Australia)
- Foam Squares Variety Pack or (Shop Canada | Shop Australia)
- Precision Point Adhesive Pen or (Shop Canada | Shop Australia)

Step 1: Cut out the middle of a piece of Black Solid Cardstock, leaving a 1-1/2″ frame. Set the inside square aside.
Step 2: Cut a piece of diamonds paper to measure 11″ x 11″. Adhere to the Black Solid Cardstock frame.
Step 3: Cut eight pieces of paper (cards, pool balls, pool sticks, stripes and dots) to measure 1″ x 11″. Adhere to the middle of the diamonds paper vertically.
Step 4: Use the inside frame piece of Black Solid Cardstock and adhere the border stickers along the top and bottom edges, cutting away any excess with scissors.
Step 5: Using the Pub Time Border Punch, punch a border from Cranberry, Canary and White Solid Cardstocks.
Step 6: Adhere the cranberry border to the bottom of the Black Solid Cardstock piece, then adhere the canary border so that it is offset from the cranberry border. Using the inside punchouts of the “beer foam” from the White Solid Cardstock, adhere to the beer mugs using Precision Point Adhesive. Trim away any excess border from the Black Solid Cardstock using scissors. Adhere the Black Solid Cardstock piece to the layout.
Step 7: Cut three photo mats from Cranberry Solid Cardstock to measure 4-1/4″ x 4-1/4″. Adhere each mat angled along the top of the middle/black cardstock piece. Adhere three photos that measure 4″ x 4″.
Step 8: Cut White Solid Cardstock into strips (7-3/4″ x 1/4″) for journaling. Adhere below the photos.
Step 9: Adhere any other stickers to the layout, using Foam Squares on some for dimension.
Step 10: Journal as desired.

Which bundle(s) are you going to get?!
P.S. Are YOU a member of the Virtual Crop Facebook Group? It’s your go-to place for MONTHLY Virtual Crops, MONTHLY Completed Album Challenges, QUARTERLY Secret Box Openings with project tutorials and so much more! We hope you’ll join our community of more than 40,000 fellow memory-keeping enthusiasts — you’ll feel right at home!
