January 21, 2025
Check Out These Turtle-y Awesome Borders
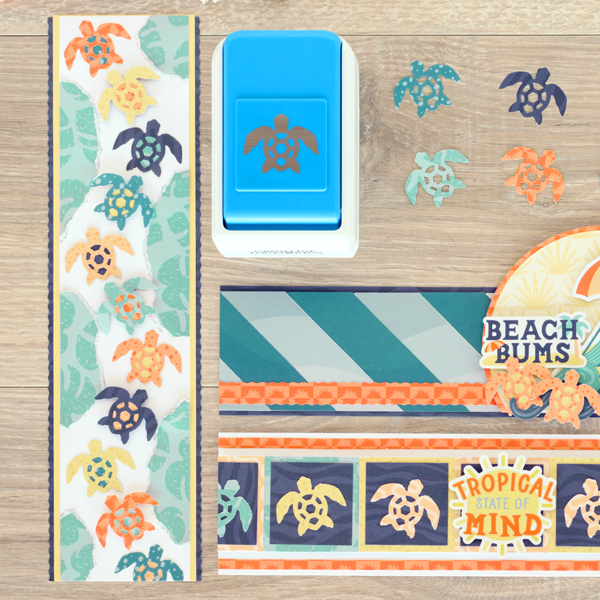
Want to shell-ebrate a recent vacation? Add a few turtles to add a touch of fun to your memories! Using the Sea Turtle Punch and Sun-Soaked collection, you can create an adorable family of turtles to keep your photos company. Keep reading to learn how to make three unique turtle borders!
To create these borders you will need:
- Sun-Soaked Paper Pack or (Shop Canada | Shop Australia)
- Sun-Soaked Tone-on-Tone Paper Pack or (Shop Canada | Shop Australia)
- Sun-Soaked Stickers or (Shop Canada | Shop Australia)
- Sun-Soaked Embellishments or (Shop Canada | Shop Australia)
- Sea Turtle Punch or (Shop Canada | Shop Australia) — Returning in March
- Square Punch or (Shop Canada | Shop Australia)
- Canary & Bright White Solid Cardstock or (Shop Canada | Shop Australia)
- Custom Cutting System with Circle Patterns, Blades and Mat or (Shop Canada | Shop Australia)
- 12-inch Trimmer with Straight & Decorative Blades or (Shop Canada | Shop Australia)
- Tape Runner or (Shop Canada | Shop Australia)
- Repositionable Tape Runner or (Shop Canada | Shop Australia)
- Foam Squares Variety Pack or (Shop Canada | Shop Australia)
- All-Purpose Scissors or (Shop Canada | Shop Australia)

Tropical State of Mind Border

Step 1: Cut a piece of Bright White Solid Cardstock to measure 12” x 3” for the base of the border.
Step 2: Using the geo sunshine paper, cut two strips that measure 12” x ¼”. Adhere about 1/8” from the edge on the top and bottom of the cardstock base.
Step 3: Using a piece of scrap paper, cut to measure 12” x 2”.
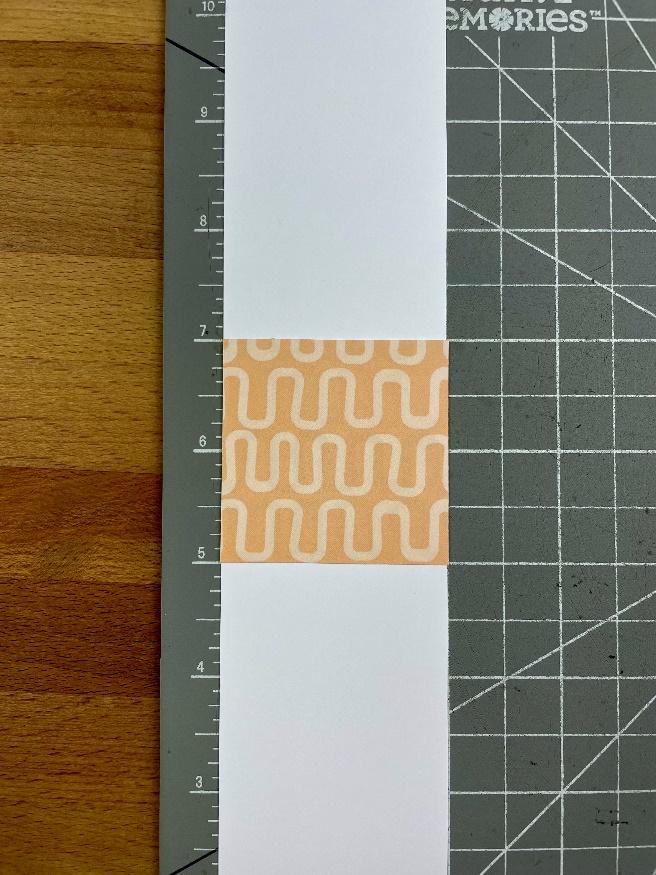
Step 4: Cut two pieces from squiggles paper to measure 2” x 2”, two pieces from tonal sand yellow paper to measure 2” x 2” and two pieces from tropical leaves paper to measure 2” x 2”. Adhere one of the pieces in the middle of the scrap strip and then adhere the others working their way outwards. Cut off any excess with a scissors.
Step 5: Using the Square Punch, punch seven pieces from the waves paper. Adhere to the centers of the previous square pieces. Cut off any excess with scissors.
Step 6: Using the Sea Turtle Punch two each from the following papers: squiggles, tonal sand yellow and tropical leaves. Adhere to the centers of the squares, cutting any excess off with scissors.
Step 7: Adhere embellishment to the center square for the title.
Sea Turtles Border

Step 1: Cut a piece of the waves paper using the wavy blade on the trimmer to measure 3-1/4” x 12”.
Step 2: Cut a piece of Canary Solid Cardstock to measure 3” x 12”. Adhere to the border.
Step 3: Cut a piece of Bright White Solid Cardstock to measure 2-3/4” x 12”.
Step 4: Punch 11 turtles using the Sea Turtle Punch from a variety of papers.
Step 5: Cut small pieces from a variety of papers with a scissors to adhere behind the sea turtles. Adhere to the Bright White Solid Cardstock, using a Foam Square behind every other one.
Step 6: Using tropical leaves paper, tear small pieces to put along the edges of the turtle, cutting any excess using a scissors.
Step 7: Adhere the Bright White Solid Cardstock piece with turtles to the base of the border.
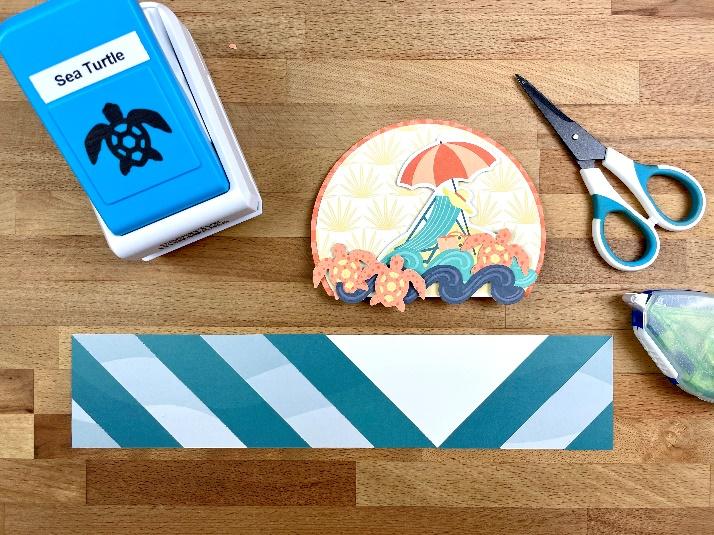
Beach Bum Border
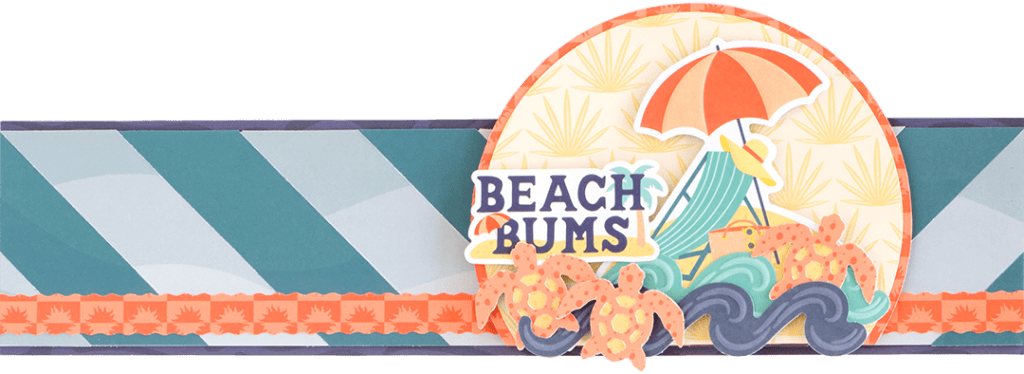
Step 1: Cut a piece of waves paper to measure 12” x 2-3/4” for the base of the border.
Step 2: Cut a piece of scrap paper/insert sheet of paper pack to measure 12” x 2-1/2”.
Step 3: Cut two strips of paper from each the tonal waves dark sea green and navy to measure 12” x 1”.
Step 4: Place the strips along the 45-degree angle on the trimmer and cut. Move the strip along the 45-degree angle and cut at 3-1/2”. Continue that with the strips, then adhere to the scrap paper in a “v”. Cut off any excess with some scissors. Adhere this piece to the base of the border.
Step 5: Cut a piece of the geo sunshine paper to measure 12” x ½” using the Wavy Blade on the Trimmer. Adhere approximately 1/8” from the bottom edge of the angled papers.
Step 6: Using the outside of the large CCS-circle, cut a circle with the red blade on the geo tropical leaves paper.
Step 7: Using the outside of the large CCS-circle, cut a circle with the green blade on the geo sunshine paper. Adhere the circles together, then trim off 1” from the bottom of the circle.
Step 8: Adhere the circles to the base of the border (at the “v”) using Foam Tape.
Step 9: Using the Sea Turtle Punch, punch three from the tonal sand dark orange paper.
Step 10: Using scissors cut small pieces from tonal sand yellow to adhere behind the turtles.
Step 11: Adhere the turtles with the wave embellishments and sticker title.
How did your turtle families turn out?
P.S. Are YOU a member of the Virtual Crop Facebook Group? It’s your go-to place for MONTHLY Virtual Crops, MONTHLY Completed Album Challenges, QUARTERLY Secret Box Openings with project tutorials and so much more! We hope you’ll join our community of more than 40,000 fellow memory-keeping enthusiasts — you’ll feel right at home!
