November 5, 2025
Make it Merry with these Holiday Inks & Stencil

Bring festive color to your holiday memories with rich, layered ink techniques and seasonal stenciling! With bold greens, cheerful reds, and shimmering gold details, this layout blends ink artistry with classic holiday embellishments. Every detail adds depth, texture, and that magical Christmas sparkle.
You can earn the Make It Merry Inks to create this layout FREE this week during our Black Friday Spend/Get Promo for every $150 USD | $165 CAD | $250 AUD you spend!
Choose from the Make It Merry Inks & Scrap Journal Bundle, Santa’s Workshop Bundle, Sounds of Christmas Bundle or the Rainbow Dots Collapsible Bag — up to 4 FREE gifts per order!
To create this layout, you will need:
- Magic of Christmas Laser Cut Borders (Shop Canada | Shop Australia)
- Magic of Christmas Embellishments (Shop Canada | Shop Australia)
- Magic of Christmas Stickers (Shop Canada | Shop Australia)
- Magic of Christmas Mat Cards (Shop Canada | Shop Australia)
- Cranberry Solid Cardstock (Shop Canada | Shop Australia)
- Bright White Solid Cardstock (Shop Canada | Shop Australia)
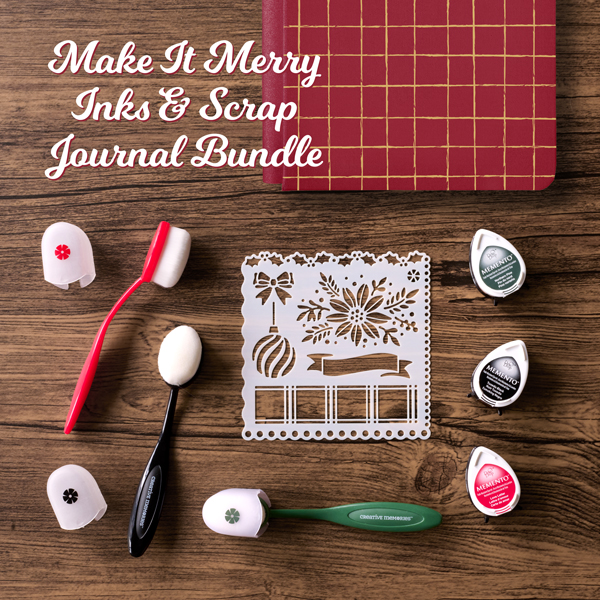
- PROMO: Make It Merry Inks & Scrap Journal Bundle
- Memento Dew Drops Love Letter Ink
- Memento Dew Drops Northern Pine Ink
- Memento Dew Drops Tuxedo Black Ink
- Blending Brushes
- Holiday Classics Stencil
- 12-inch Trimmer (Shop Canada | Shop Australia)
- Photo Trimmer (Shop Canada | Shop Australia
- Micro-Tip Scissors (Shop Canada | Shop Australia)
- Tape Runner (Shop Canada | Shop Australia)
- Repositionable Tape Runner (Shop Canada | Shop Australia)
- Foam Squares Variety Pack (Shop Canada | Shop Australia)
- Gold Metallic Dot-Tip Pen (Shop Canada | Shop Australia)
- Black Micro-Tip Pen (Shop Canada | Shop Australia)
- Ruler (Shop Canada | Shop Australia)
- Stencil Tape
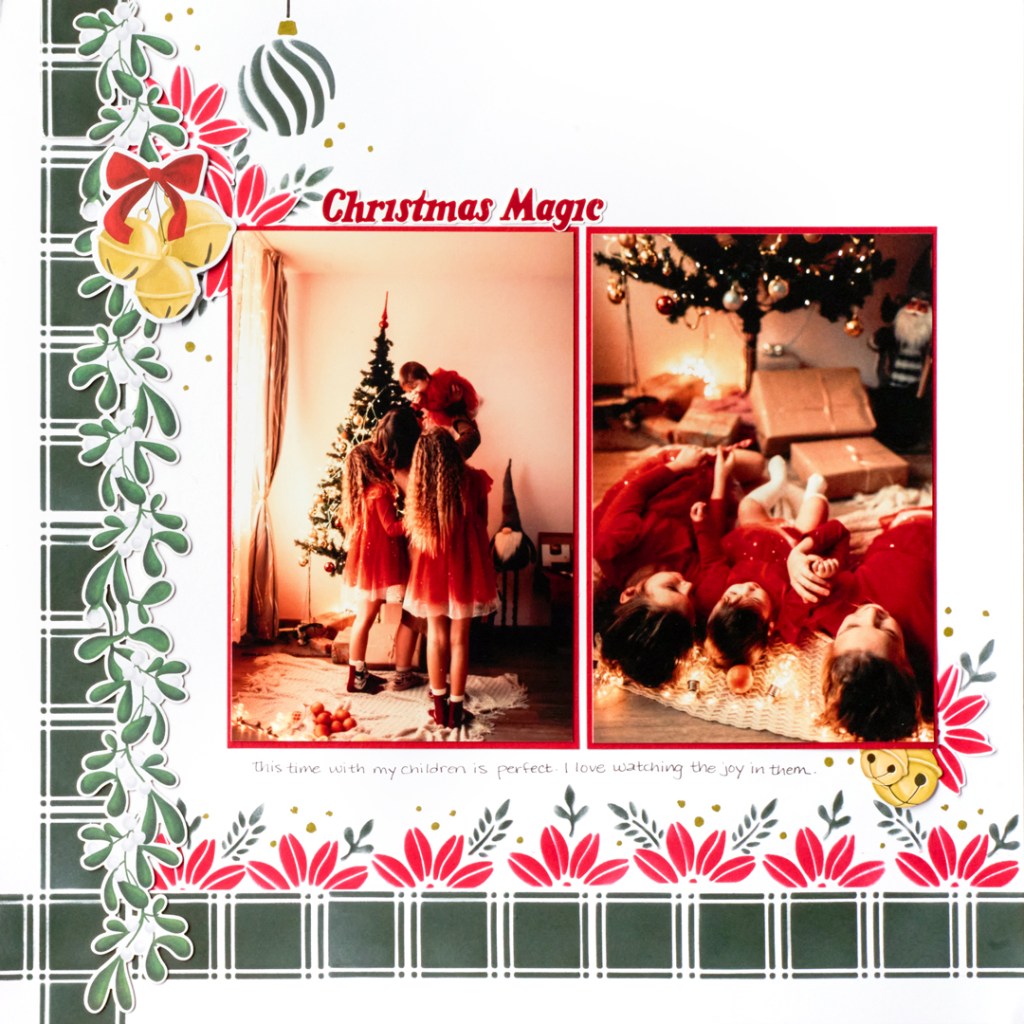

Step 1: Use a sheet of Bright White Cardstock for the base of the layout. Draw a light pencil line 1/2″ from the bottom of the page and 1/2″ along the left edge.
Step 2: Tape off your Holiday Classics stencil so only the four squares (with their edge strips) are visible. Begin with the bottom row. Place the bottom thin edge strip of the squares along the pencil line so the stenciling stays straight. The far-right square should hang off the page, with only 1/2″ stenciled.
Step 3: Ink your brush generously directly from the Northern Pine ink pad for a rich green tone. Once the first section is complete, move the stencil to the left and repeat until the full bottom row is stenciled. Rotate the page so the left edge is closest to you, and repeat the same process up the side, aligning one square to intersect with the bottom row. When finished, remove tape and clean the stencil. Dry thoroughly before continuing.
Step 4: Tape off the stencil around the flower, covering leaves and dots with small tape pieces. Add a strip of stencil tape over the green squares to protect them (low-tack stencil tape will not remove ink). Line up the flower so only half will stencil above the tape line. Beginning on the right, stencil half-flowers across the row using Love Letter ink for a vibrant red. Do not remove the tape.
Step 5: On another sheet of Bright White Cardstock, stencil three full flowers with Love Letter ink. Remove tape, clean the stencil, and dry. Fussy cut the flowers and set aside.
Step 6: Cut two 4-1/8″ x 6-1/8″ Cranberry photo mats. Place them 3-1/4″ from the bottom and 1″ from the right edge, leaving 1/8″ between the two mats.
Step 7: Use Northern Pine ink to stencil leaves randomly around the half flowers. Add a few leaves at the top left of the left photo mat and bottom right of the right mat. Tuck fussy-cut flowers under the photo mat corners as shown.
Step 8: Tape off the ornament stencil so only the round ornament is showing. Stencil it to the right of the flower cluster using Northern Pine ink. Clean the stencil, realign and color the ornament topper with a gold pen. Tape off the ornament hook and stencil it with Tuxedo Black ink above the topper.
Step 9: Locate the vine-and-berries Laser Cut Border. Place it along the right edge of the stenciled squares on the left side of the layout. Add the Jingle Bells embellishment at the top left of the left photo. Layer two single Jingle Bell embellishments on top of the tucked flower at the lower right.
Step 10: Using the stencil and the small end of the gold pen, add dots to the page. Journal as desired.
Holiday pages shine even brighter when you build color and detail one ink layer at a time. Keep experimenting with stencils, brushes, and rich ink hues to turn your favorite seasonal photos into merry, artful keepsakes you’ll treasure for years to come.
P.S. Are YOU a member of the Virtual Crop Group? It’s your go-to place for MONTHLY Virtual Crops, MONTHLY Completed Album Challenges, QUARTERLY Secret Box Openings with project tutorials and so much more! We hope you’ll join our community of more than 49,000 fellow memory-keeping enthusiasts — you’ll feel right at home!

