Album Kit Club is officially underway, and we could not be more excited to welcome you to the very first session with your host, Creative Content Manager Annalisa Smola! Throughout the series, Annalisa will be scrapping right alongside you, sharing approachable tips, creative ideas, and simple ways to make every Album Kit feel uniquely yours.
Whether your Album Kit has been waiting patiently on your craft table or you are just getting started, Album Kit Club is designed to help you complete your layouts with confidence one spread at a time. In Week 1, Annalisa kicks things off with a full unboxing of the Perfect Match Album Kit before walking through the first two double-page spreads step by step. Along the way, she shares clever customization ideas, helpful techniques, and practical tricks for getting the most out of your kit while still making each page personal to your story.
One of the best parts of Album Kit Club is that everyone can follow along together. No matter which Album Kit you have, the layout structure stays the same, meaning you can simply turn to the same layout numbers and scrap alongside Annalisa throughout the entire series. So gather your favorite photos, settle into your creative space, and press play on Week 1 of Album Kit Club. Your next completed album starts here!
Watch: The Album Kit Club Week 1 kickoff!
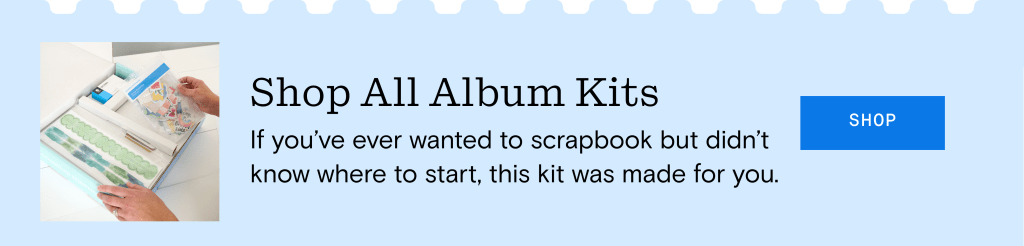
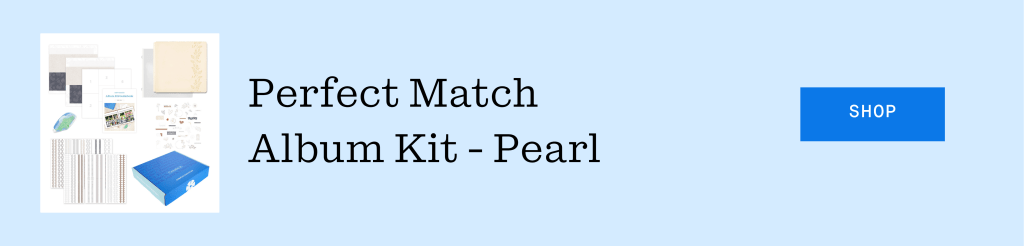
Featured Products
Ready to get started? Shop the essentials from today’s walkthrough to help you document all those bright photos and life’s most fun moments.
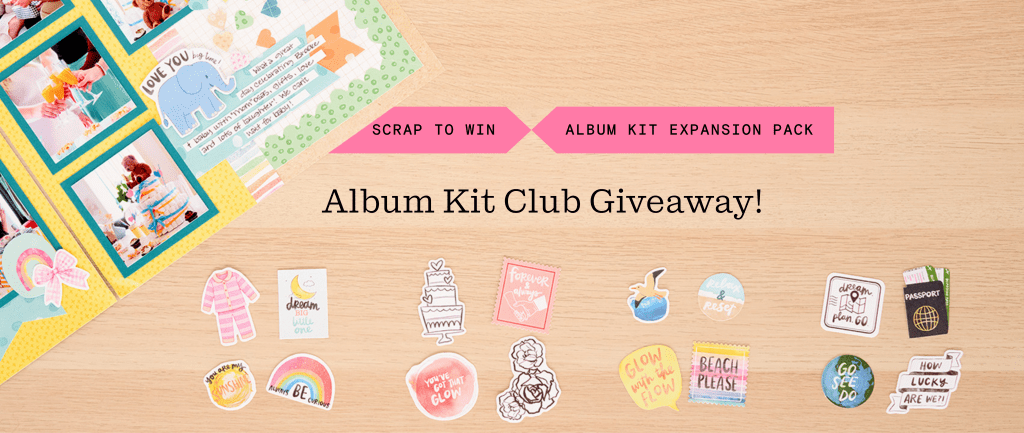
Watch, Scrap & Join the Giveaway Fun
Show us what you created during Week 1 of Album Kit Club! Post one or both of your layouts in the Virtual Crop Group using hashtag #AlbumKitClubWeek1 for a chance to win an Embellishment Expansion Pack of your choice!
Two winners will be selected after each meet-up and announced here on The Pages during Week 2, so be sure to share your projects and inspire fellow scrapbookers along the way! Giveaway closes June 9, 11:59pm CT (AU: 10 June, 2:59pm AET).
Join Us Next Time
Join Us Again on June 10 at 5pm CT! Sign up here to get the next episode in your inbox when it starts!
We are keeping the momentum going with the next Album Kit Club session as Annalisa dives into layouts 2 & 3 and shares even more creative ideas along the way. Whether you are catching up on your kit or staying right on schedule, this is your chance to keep those pages coming together.
When the moment is right, everything just clicks. The Perfect Match collection was designed with that feeling in mind, bringing wedding memories together in a way that feels natural, cohesive, and easy to build.
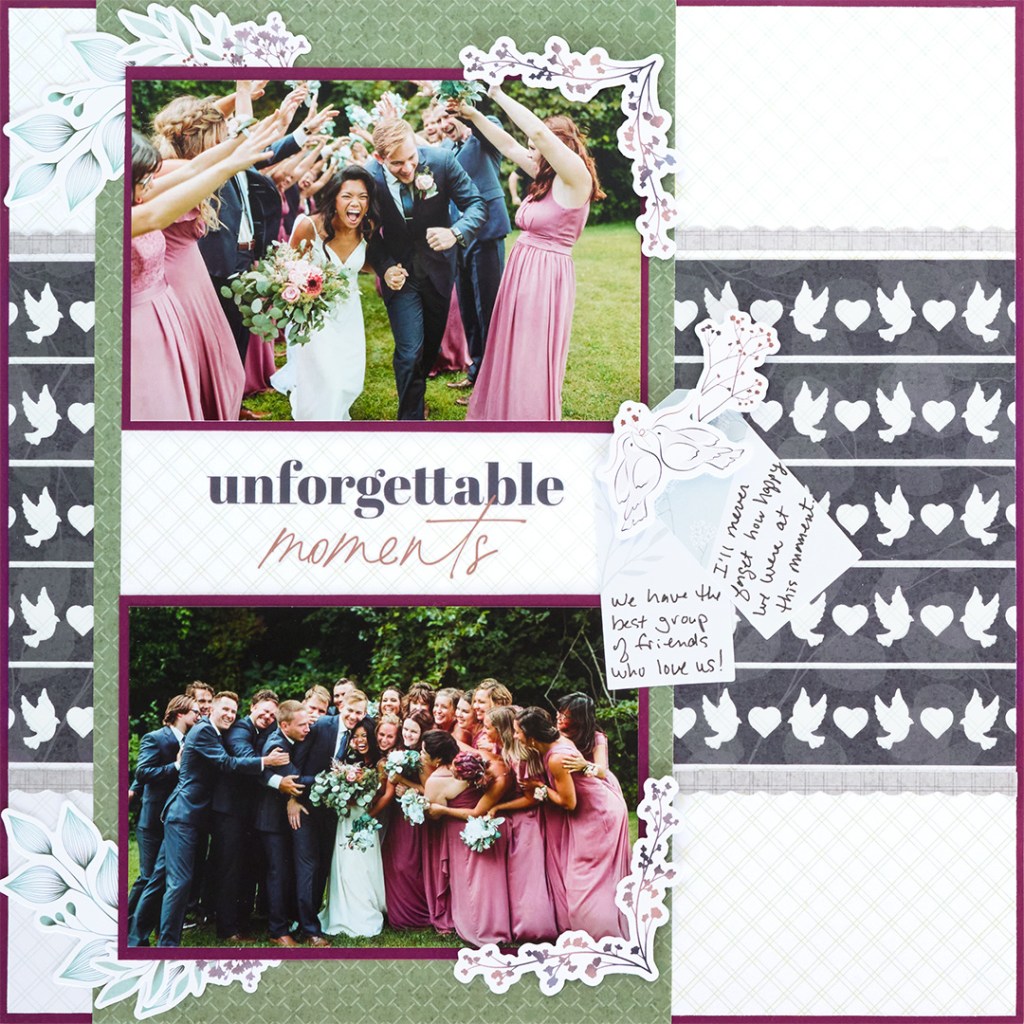
This two-photo layout gives you a simple starting point to highlight your favorite moments side by side, while still leaving room for the little details that make them unforgettable. Think of it as a foundation that does the work of pulling everything together so you can focus on the parts that matter most, the memories themselves and the story they tell when they are placed just right.
Layout by Karyn McDermaid-Rolfe, Creative Memories Design Team Contributor
Step 1: Use a sheet of Plum Solid Cardstock as the base for this layout. Cut the white diamond designer paper to measure 11-3/4″ x 11-3/4″ and adhere it to the center of the cardstock.
Step 2: Use the Original Border Maker System with the Love Doves Border Maker Cartridge to punch 5 borders from the dark navy designer paper. Trim each border to measure 11-3/4″.
Step 3: Adhere one border in the center of the layout. Use the 13×13 Cutting Mat and Cutting Mat Layout Ruler to position the border. Adhere two borders above the center border and two borders below the center border. Leave 1/8″ in-between the borders and use the Cutting Mat Layout Ruler to help position and space the borders.
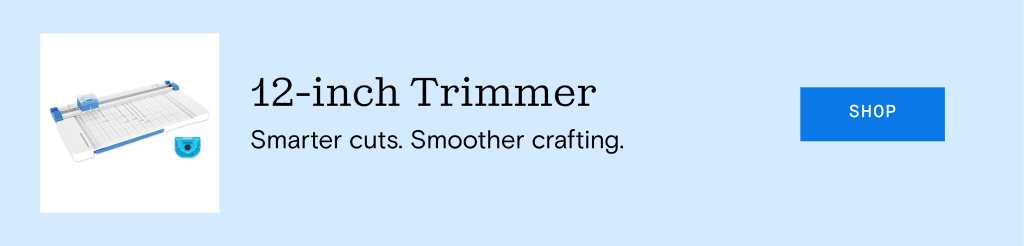
Step 4: Use the 12-inch Trimmer with the Scallop Blade to cut two 1/4″ strips. Trim both strips to measure 11-3/4″, and adhere one strip to the top of the dove borders and the other strip to the bottom of the dove borders.
Step 5: Cut a 6-3/4″ x 12″ piece from the green designer paper. Adhere this piece 1-1/8″ from the left edge of the page.
Step 6: Cut two 6-1/4″ x 4-1/4″ photo mats from Plum Solid Cardstock, and mount two photos onto the mats. Adhere the matted photos above and below the title on a variety mat. Use the 13×13 Cutting Mat to help position the photo mats on the variety mat.
Step 7: Adhere the matted panel to the center of the green piece as shown above.
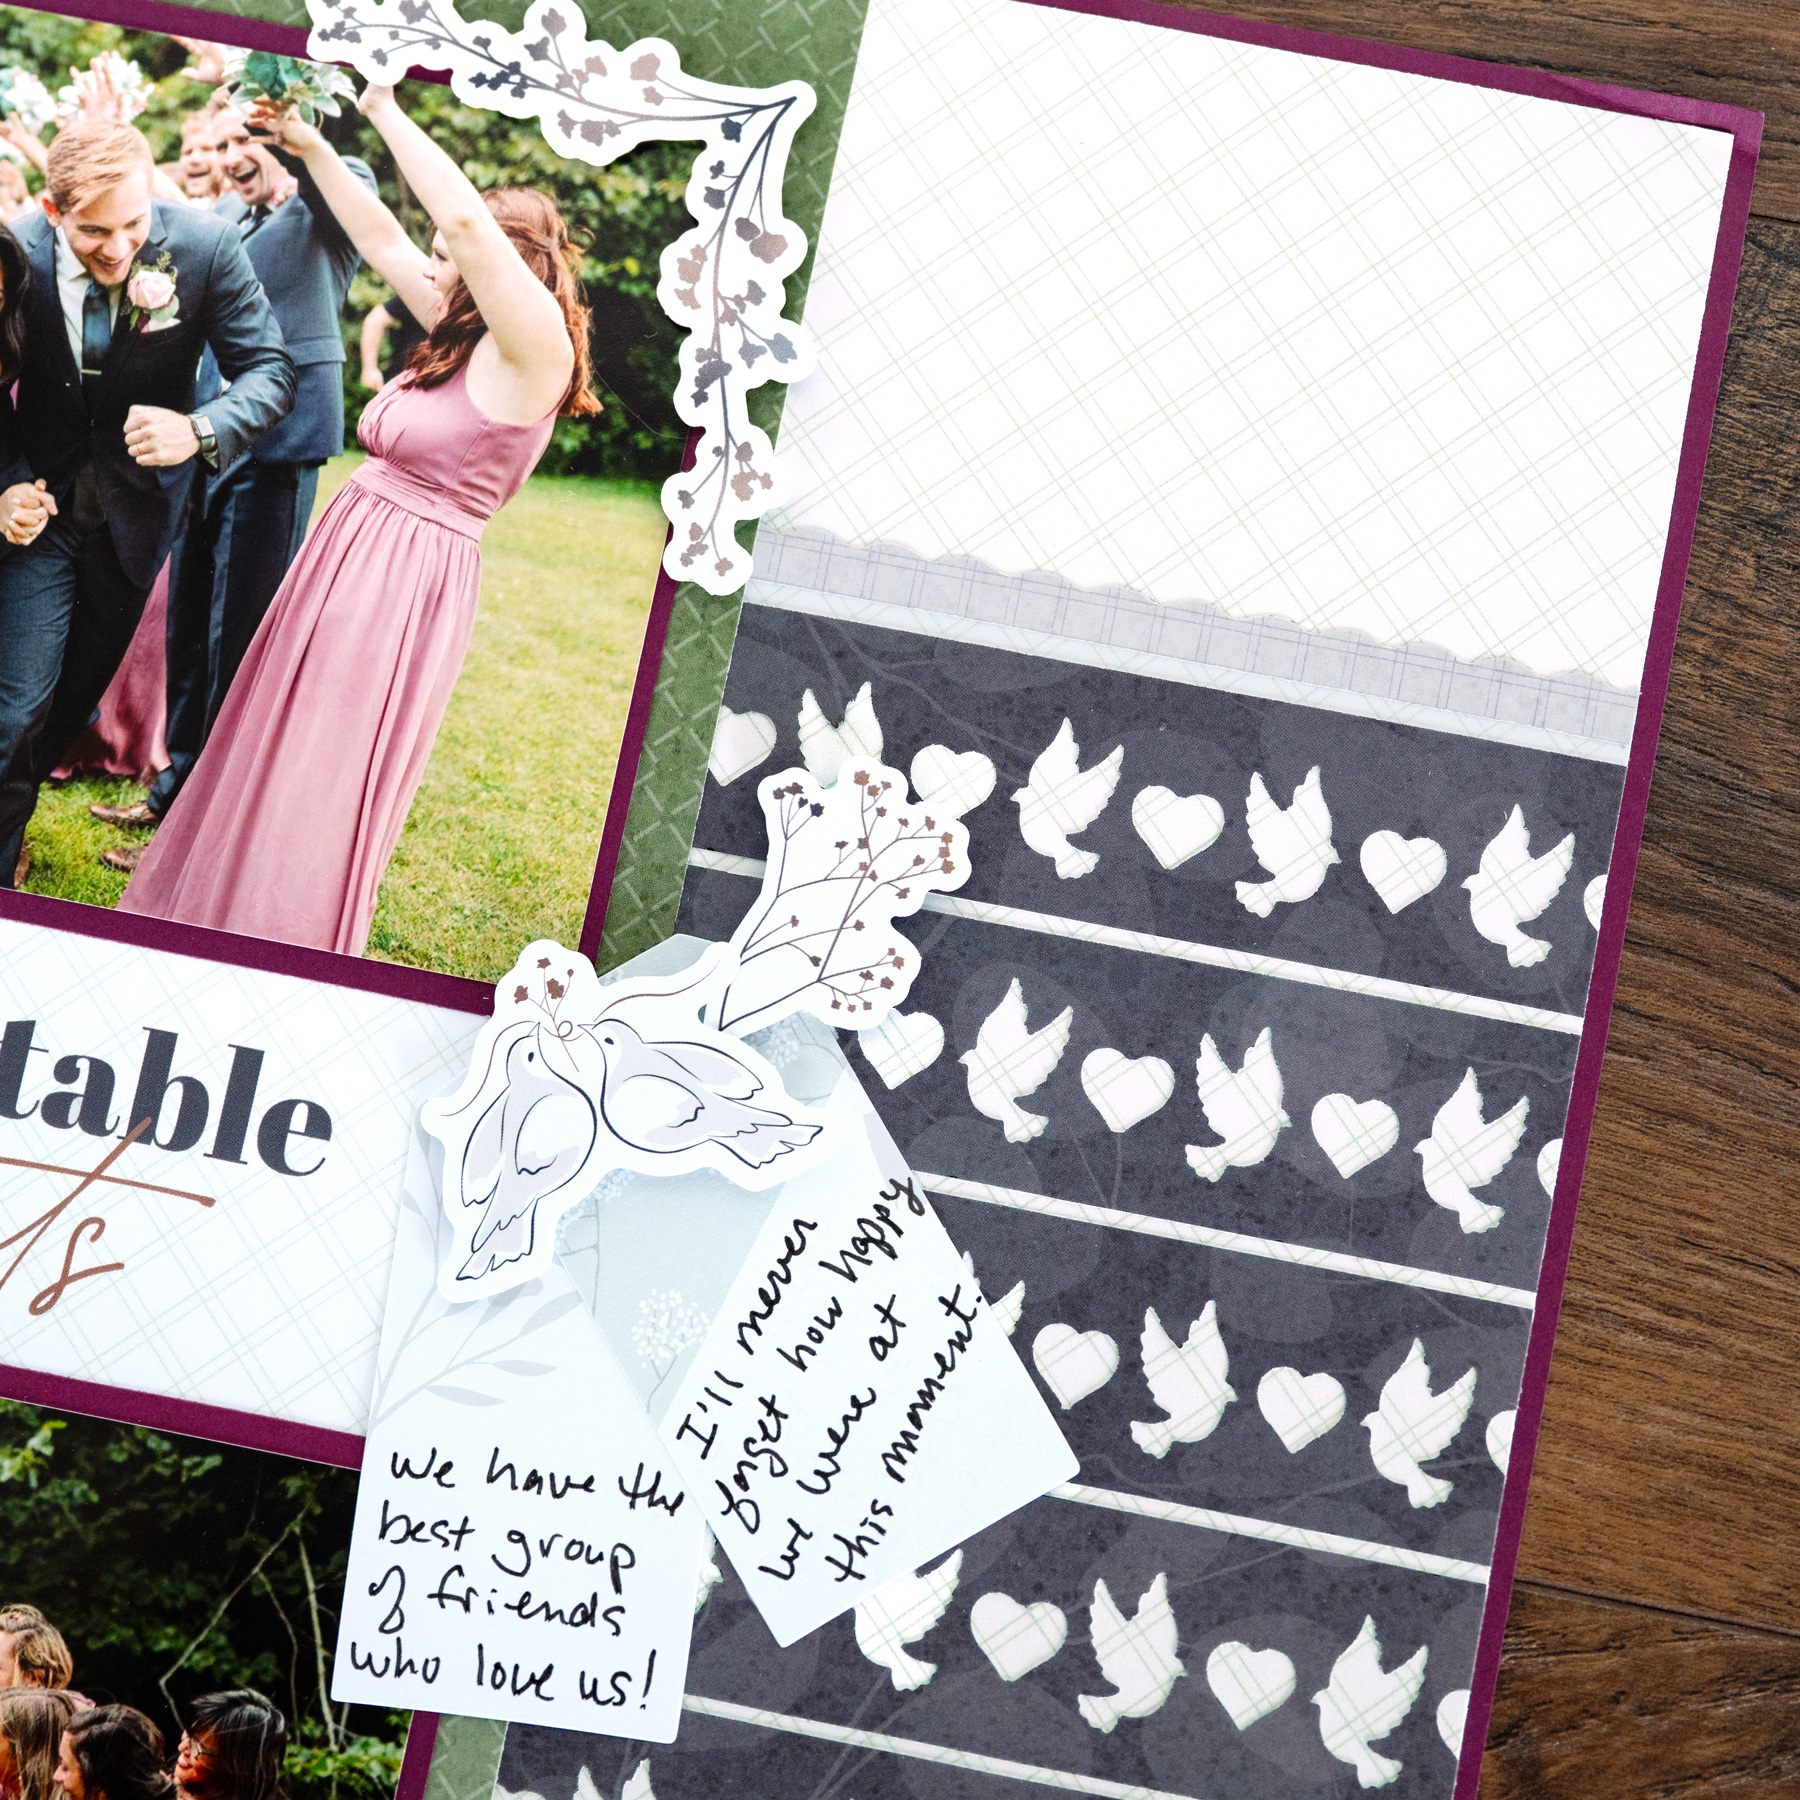
Step 8: Use the Dual-Tip Black Pen to add journaling to two tag embellishments and adhere them as shown.
Step 9: Adhere additional embellishments as shown adhering some with Foam Squares for added dimension.
And just like that, it is a perfect match for your love story. Everything comes together in a way that feels easy, balanced, and made to hold onto those wedding day moments.
P.S. Are YOU a member of the Virtual Crop Group? It’s your go-to place for MONTHLY Virtual Crops, MONTHLY Completed Album Challenges, QUARTERLY Secret Box Openings with project tutorials and so much more! We hope you’ll join our community of more than 50,000 fellow memory-keeping enthusiasts — you’ll feel right at home!
May 25, 2026
It’s Time for the May Completed Album Challenge PLUS a Layout for All Your Seaside Adventures
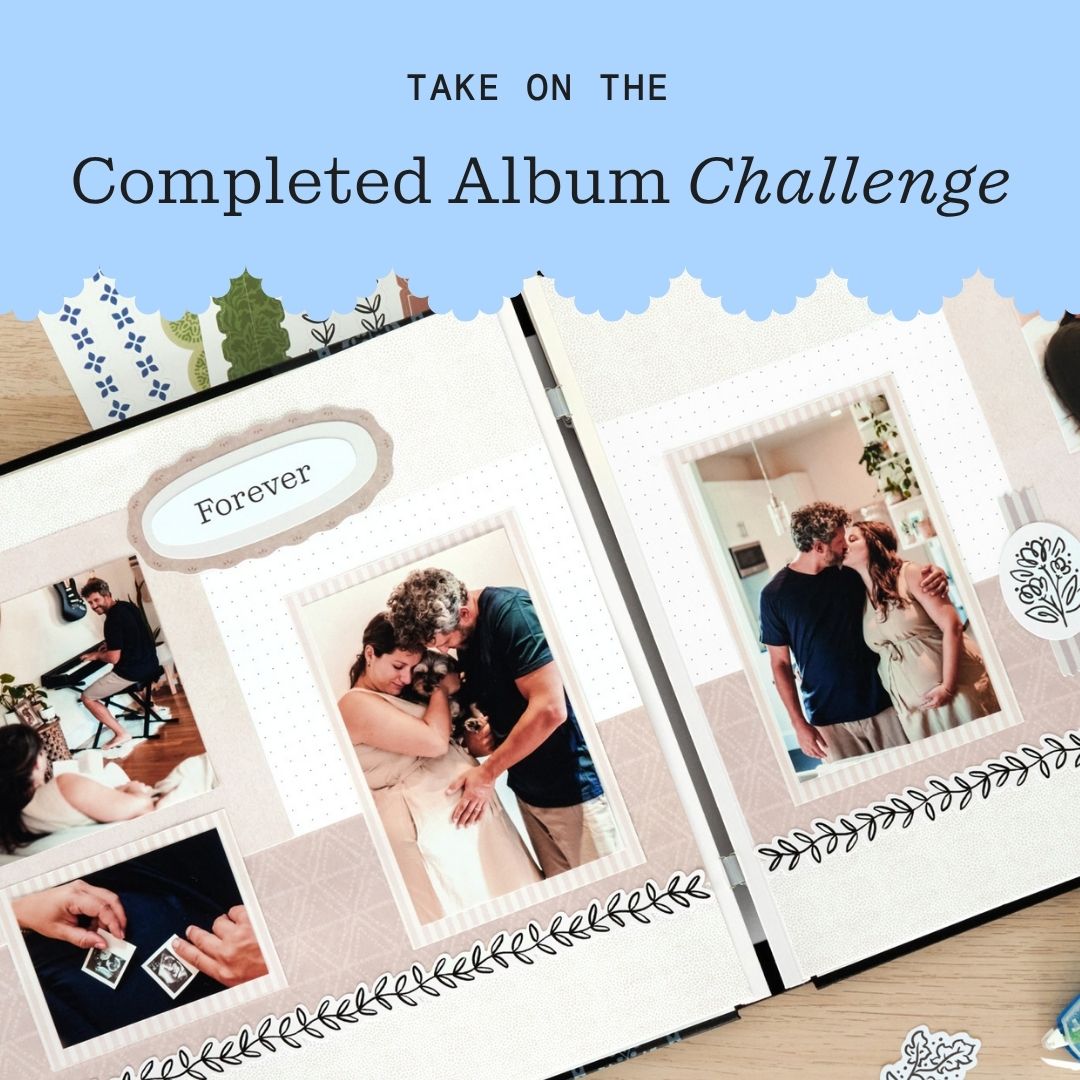
Finished an album this month? Now’s the perfect time to head over to the Virtual Crop Group and show it off during the May Completed Album Challenge! If you need inspiration to get those last few pages done, check out the layout below to document your favorite memories!
Once you have completed your album (it does not need to be from start to finish in May, just completed in May), make a short video flipping through each of the pages in your newly completed album to share. Then, post your video in the Virtual Crop Group with the hashtag #CompletedApril2026by June 2 at 11:59pm CT (AU: 3 June at 2:59pm AET) for the chance to win (Extended due to Memorial Day Holiday)!
For ALL the details on the Completed Album Challenge, check out this blog post.
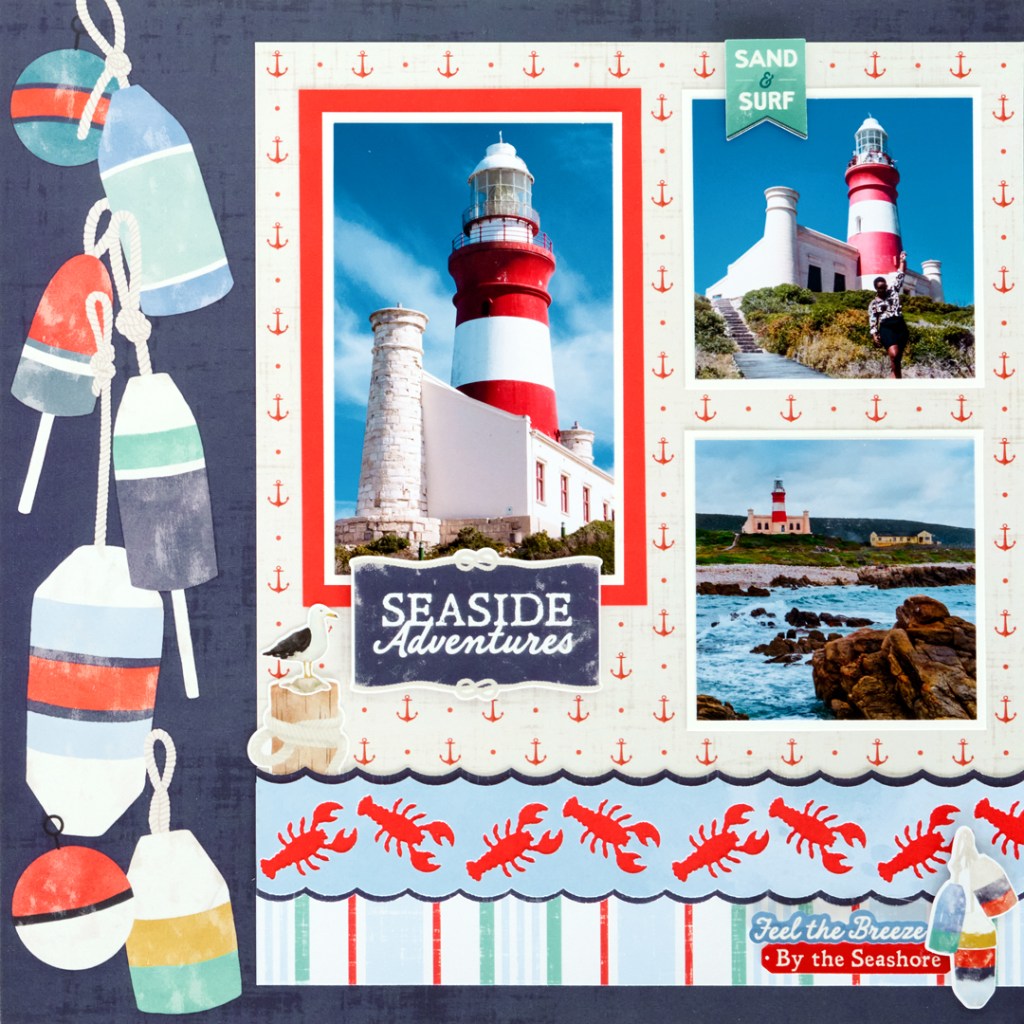
Layout by Krislyn Mattei, Creative Memories Design Team Contributor
Step 1: Use a sheet of lobster buoys Fast2Fab™paper as the base for this layout.
Step 2: Cut a 9″ x 9″ square with anchors designer paper and adhere flush with the right side of the layout, 1/2″ from the top edge. Cut a 9″ x 1-1/4″ strip with stripes paper and adhere 1/2″ from the bottom of the layout and flush with the right edge.
Step 3: Using the Lobster Border Punch, punch a border with the dark navy textured designer paper and baby blue wash designer paper. Cut a 12″ x 1″ strip with Red Cardstock and adhere it behind the baby blue border. Cut the navy textured border in half lengthwise and adhere each half behind the baby blue border so that just the navy scallops show. Cut the border to 9″ and adhere it 1-1/2″ from the bottom edge of the layout.
Step 4: Cut a 4″ x 6″ mat with Red Cardstock. Cut a 3-1/2″ x 5-1/2″ mat with Bright White Cardstock and adhere on the red mat. Crop a photo to 3-1/4″ x 5-1/4″ and mount on top. Cut two 3-1/2″ x 3-1/2″ mats with Bright White Cardstock. Crop two photos to 3-1/4″ x 3-1/4″ and mount on top.
Step 5: Adhere all photos on the layout as shown. Add stickers, popping some up with foam squares for dimension.
Step 6: Journal as desired.
P.S. Are YOU a member of the Virtual Crop Group? It’s your go-to place for MONTHLY Virtual Crops, MONTHLY Completed Album Challenges, QUARTERLY Secret Box Openings with project tutorials and so much more! We hope you’ll join our community of more than 53,000 fellow memory-keeping enthusiasts — you’ll feel right at home!
May 22, 2026
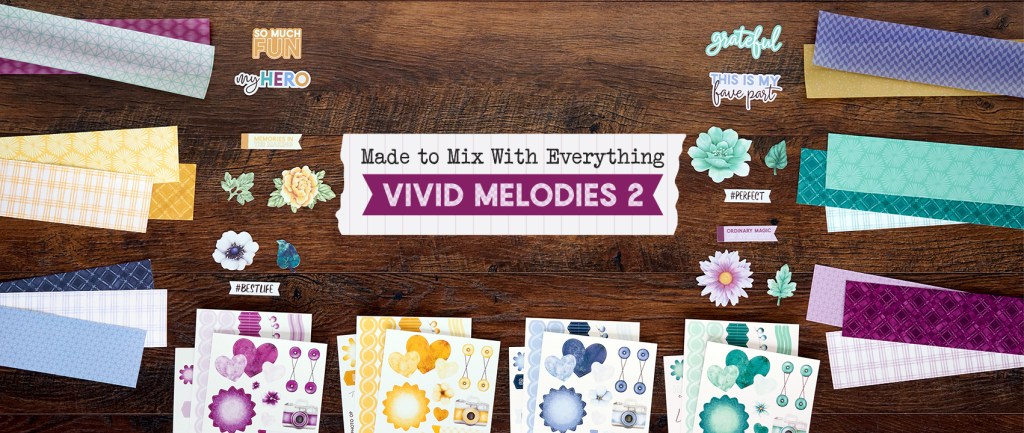
Vivid Melodies 2: An Inside Look at the Fan-Favorite Return
There are some collections that never really leave the conversation, and for many scrapbookers, Vivid Melodies is one of them. Originally released in 2022, the collection quickly became a favorite thanks to its versatile tonal papers and easy-to-mix designs that worked beautifully across so many different layouts and themes.
Now, it’s making an encore.
The new Vivid Melodies 2 collection brings back everything crafters loved about the original while introducing fresh papers, embellishments, brand-new stickers and specialty vellum designed for today’s layouts. Whether you loved the first release or are discovering it for the first time, this updated collection makes it easier than ever to build pages that feel polished, layered and perfectly pulled together.
The Story Behind the Design
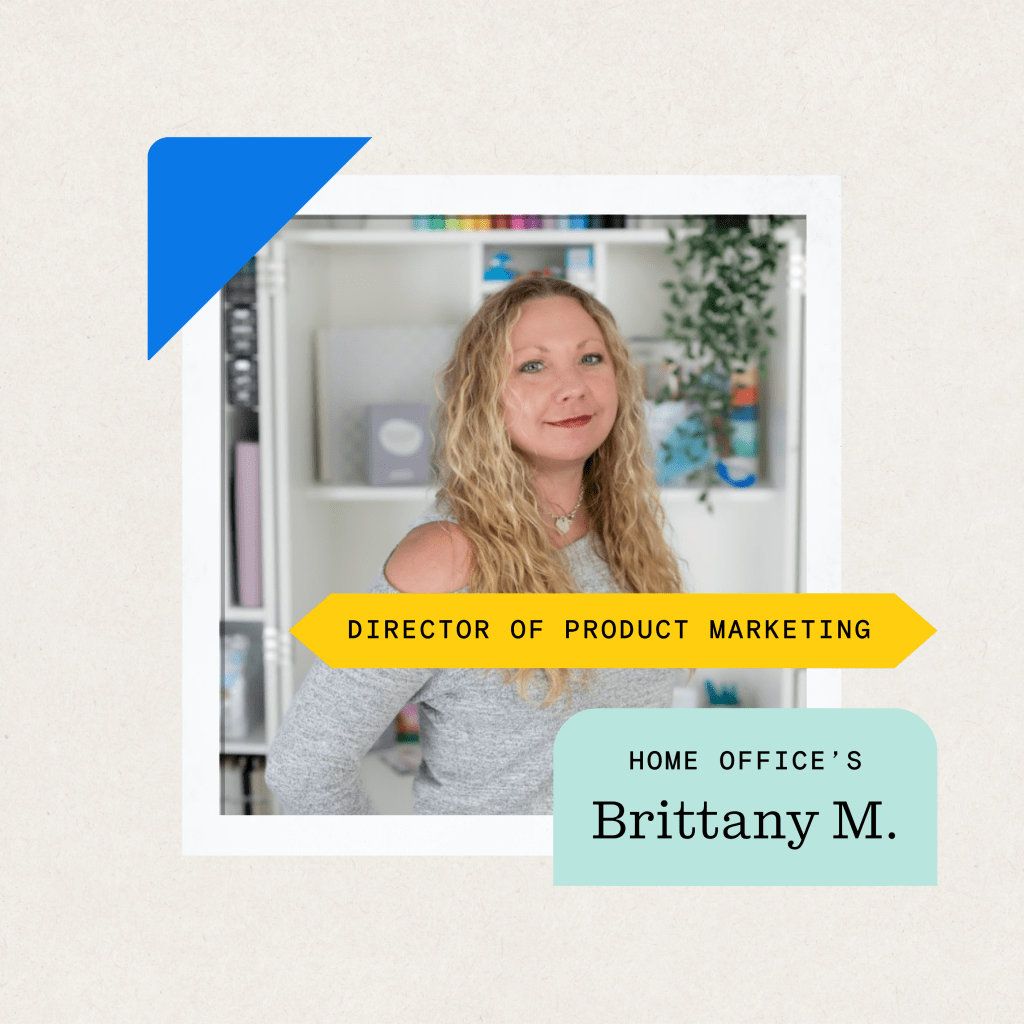
We sat down with Brittany, Creative Memories Director of Product Marketing, to talk about what inspired the return of this fan-favorite collection and how the updated version was designed with today’s scrapbookers in mind.
“The original Vivid Melodies was a favorite because it gave customers beautiful tonal papers and embellishments that worked with almost anything. Tonals are some of the most versatile products to scrapbook with because they’re great for backgrounds, mats and layering pieces, especially when you want to balance out busier patterns or brighter colors on a layout. Customers really loved how easy it was to mix and match the collection with other products. Since we’ve had a gap in tonal collections since 2022, we knew it was the right time to bring Vivid Melodies back with an encore.”
Four Fresh Colorways for 2026
While Vivid Melodies 2 carries the same versatile spirit as the original, this release was thoughtfully refreshed for the way scrapbookers are creating now. Instead of simply reprinting the 2022 version, the collection introduces four updated color families designed to coordinate seamlessly with Custom Cardstock and complement upcoming 2026 collections.
The result is a collection that feels easy to reach for, whether you’re building a page from scratch or looking for something that helps tie an existing layout together.
“We wanted to refresh Vivid Melodies in a way that felt intentional and useful for customers right now. We brought the collection back in four color families: two feature newer colors we’ve introduced this year, while the other two were selected to complement Q1 and Q2 launches. Another big part of the strategy was making sure the products coordinate with our Custom Cardstock. Our goal is to make mixing and matching easier for customers so they don’t have to spend time digging for products that work together. It’s all part of building a cohesive color system across our collections.”
Whether you’re pairing it with bright seasonal launches, softer everyday palettes or busier patterned papers, these updated tonals act as a foundation that helps layouts feel cohesive without overpowering your photos.
How I Paired This: Coordinating Techniques
One of the biggest strengths of Vivid Melodies 2 is how naturally it layers into other collections. Tonal papers can soften bold patterns, create balance on busy layouts and help guide the eye across the page without competing for attention.
Brittany shared one of her favorite ways to work the collection into layouts:
“One of my favorite additions to Vivid Melodies 2 is the stickers because we didn’t offer those with the original collection in 2022. They make it so much easier to build clusters and add layers throughout a layout while still keeping everything coordinated. I also love the addition of the vellum papers. Layering vellum over patterned papers or tonal backgrounds gives layouts a soft, sheer effect that instantly adds a more elegant feel. When you’re working with a busier collection, those tonal papers, stickers and vellums can really help bring everything together without making the page feel overwhelming.”
If you’ve ever struggled to bridge multiple collections on one page, this is the kind of collection that makes it easier. Use the tonal papers as a grounding layer behind patterned designs, add vellum for softness and dimension, or build embellishment clusters with the coordinating stickers to create a finished look that still feels effortless.
Ready for the Encore?
Whether you were a longtime fan of the original Vivid Melodies or you’re discovering it for the first time, Vivid Melodies 2 was designed to become one of those collections you reach for again and again. The updated color families, new layering options and easy mix-and-match versatility make it a natural fit for scrapbookers who want their pages to feel cohesive without overthinking every detail.
Now we want to hear from you — which of the four new color families are you most excited to scrapbook with first?
P.S. Are YOU a member of the Virtual Crop Group? It’s your go-to place for MONTHLY Virtual Crops, MONTHLY Completed Album Challenges, QUARTERLY Secret Box Openings with project tutorials and so much more! We hope you’ll join our community of more than 49,000 fellow memory-keeping enthusiasts — you’ll feel right at home!
May 21, 2026
A Sunny Split-Mat Layout for Your Beach Memories
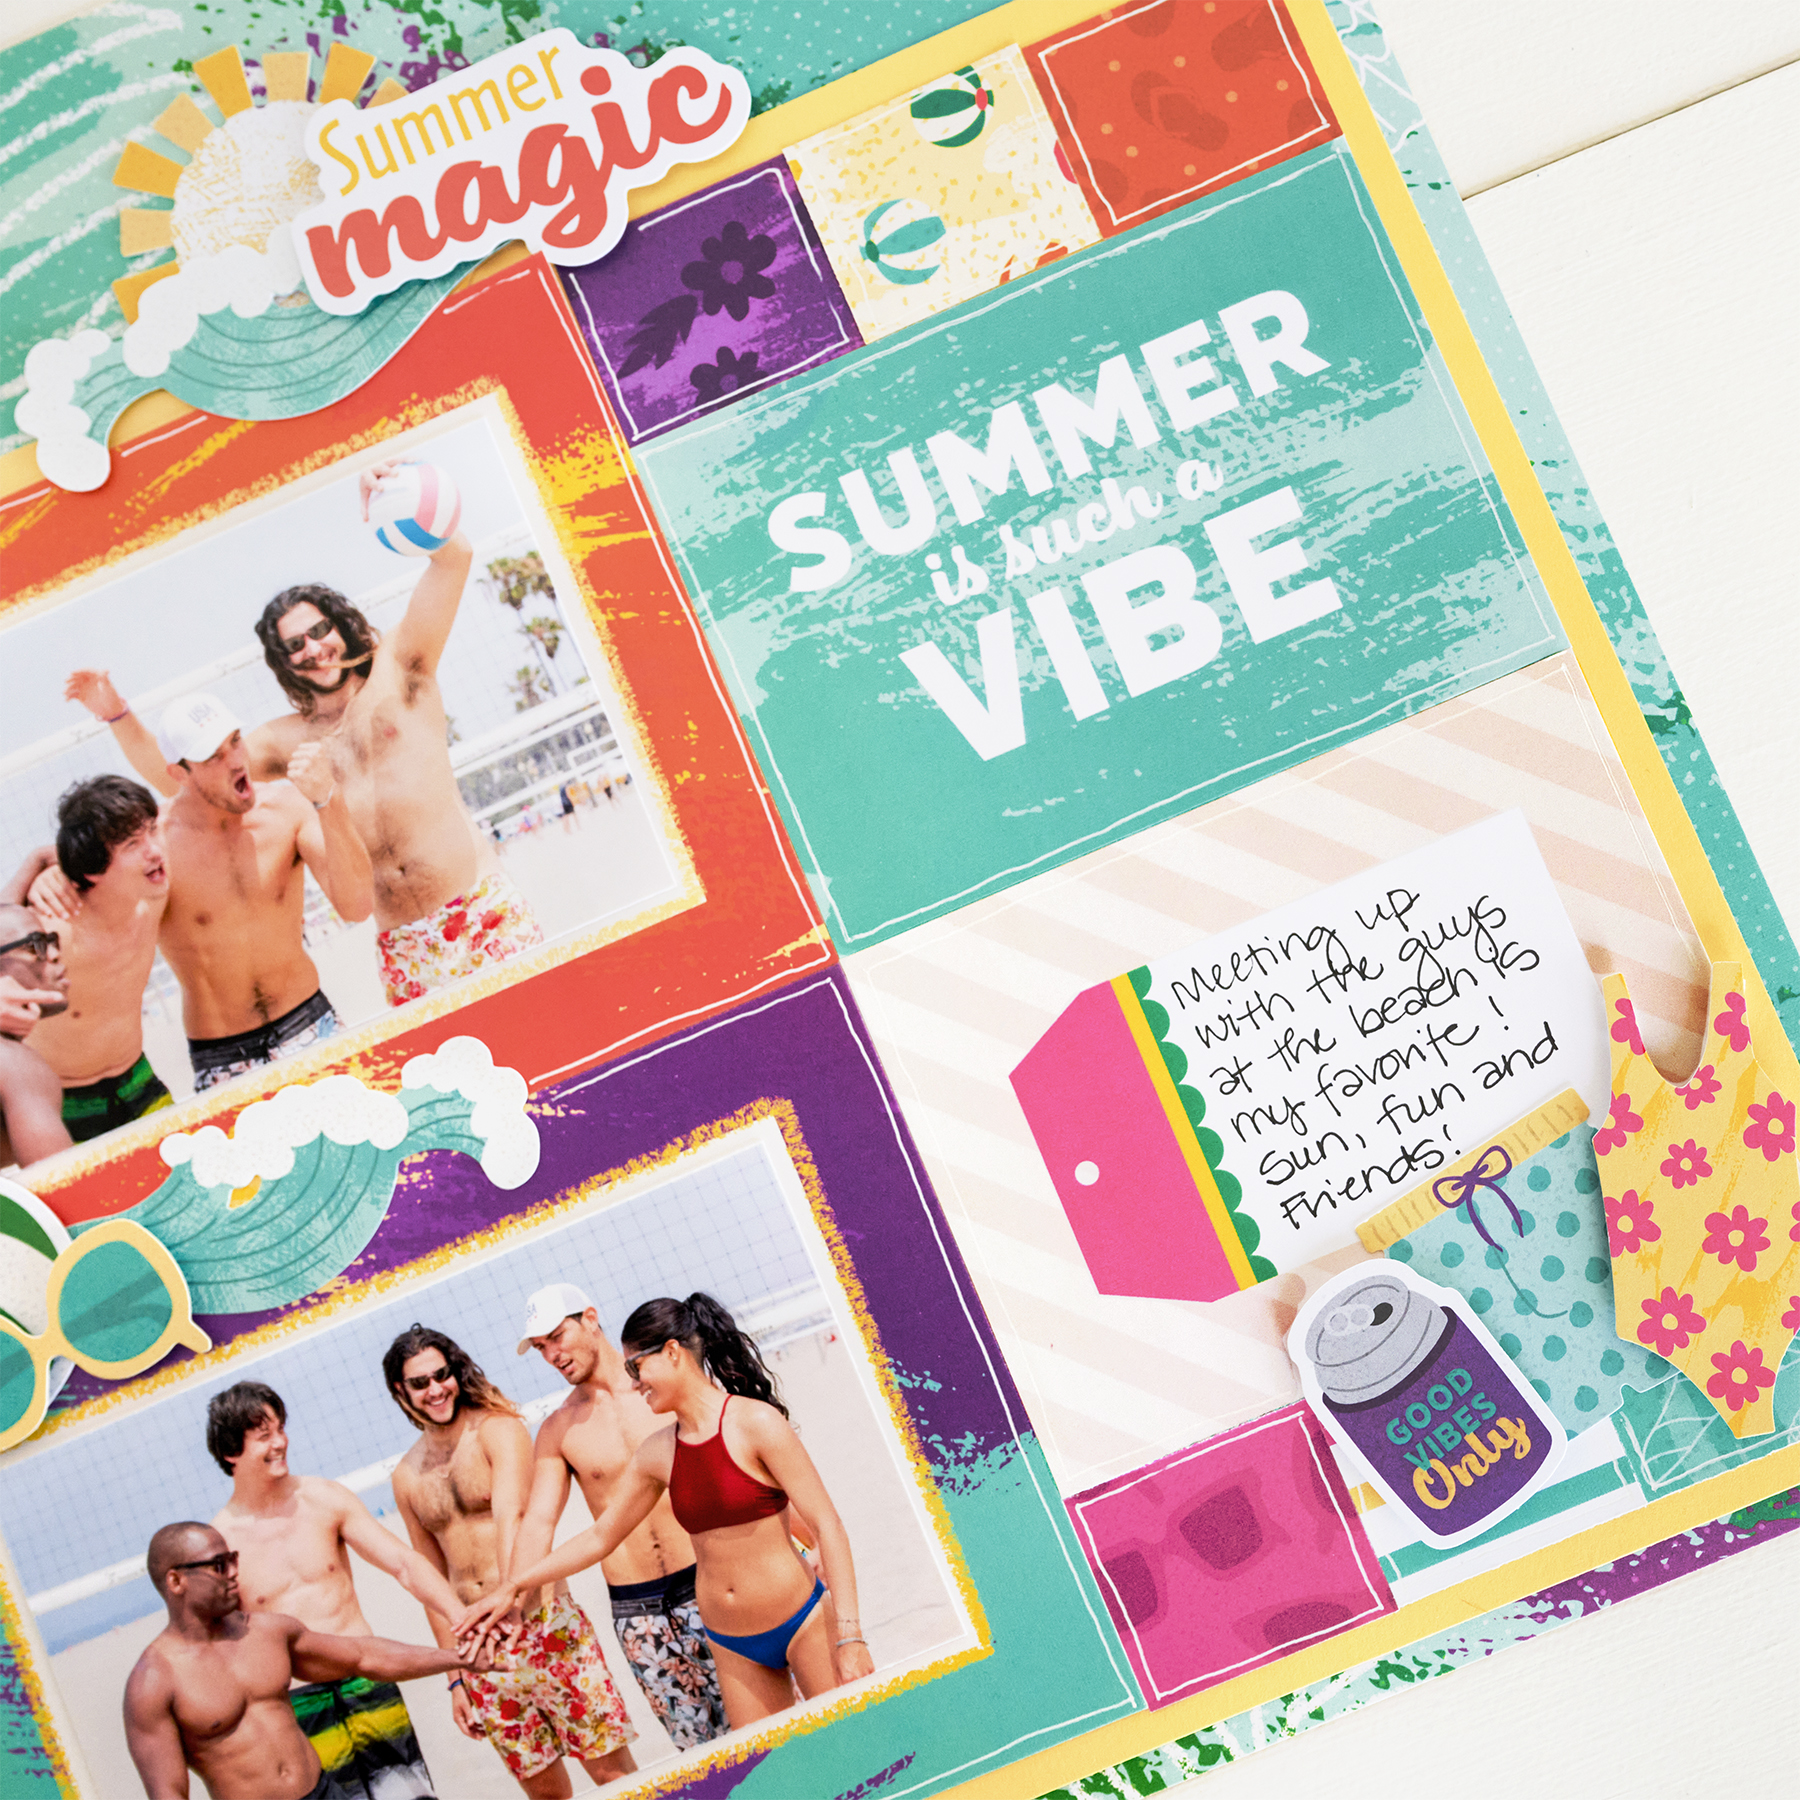
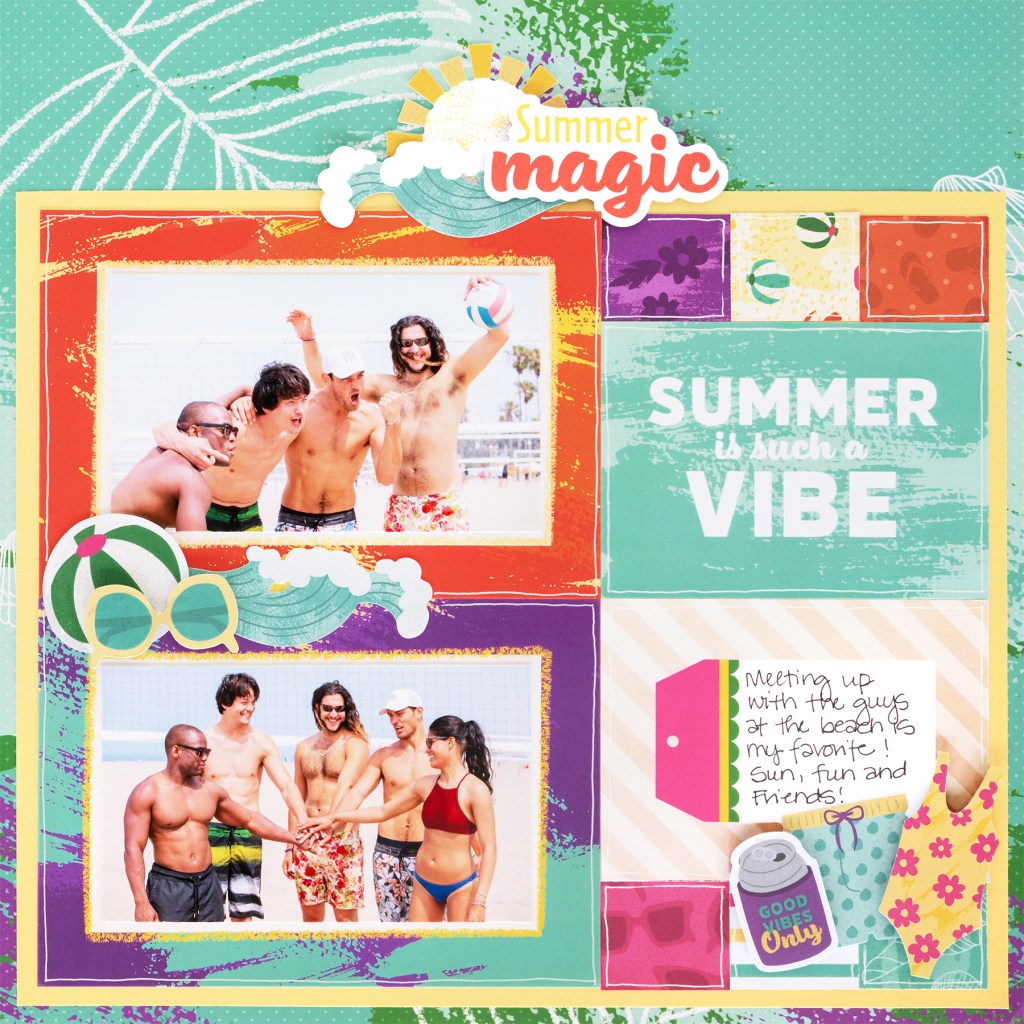
The Chasing the Sun collection is perfect for giving your favorite summer stories a warm, cheerful spin. This layout pairs bright pops of color with simple photo matting and quick, hand-drawn details that really make your memories stand out. It’s an effortless backdrop for highlighting sandy beach getaways, sunny afternoons by the water, or those relaxed vacation moments spent soaking up the sun.
Layout by Melissa Ullmann, Creative Memories Design Team Contributor
Step 1: Use the aqua leaves designer paper for the base of this layout.
Step 2: Cut a piece of Canary Solid Cardstock to measure 11-1/2″ x 9-1/2″. Adhere it to the lower portion of the base, leaving a 1/4″ border around the bottom and side edges.
Step 3: On the left side of the layout, adhere two mats leaving 1/4″ of Canary Solid Cardstock showing around the edges. Cut a mat in half and adhere both pieces to the right side of the layout, making sure to maintain that same 1/4″ border around the outer edges.
Step 4: Choose a variety of designer papers and cut six pieces that measure 1-1/2″ x 1-1/2″. On the right side of the layout, adhere three squares above the small mats and the remaining three below.
Step 5: Use the White Gelly Roll Pen to doodle around the outer edges of each mat.
Step 6: Cut two photos to measure 5″ x 3″ and mount both photos onto the larger mats.
Step 7: Adhere embellishments to the layout, using Foam Squares on some for dimension.
It’s amazing how a few simple paper cuts and a little bit of pen work can give a layout so much personality and warmth. Just look at the touch that the White Gelly Roll Pen adds to the mats. Have you explored this little detail on your pages yet? It’s so simple, yet it’s such a fun addition to any layout.
P.S. Are YOU a member of the Virtual Crop Group? It’s your go-to place for MONTHLY Virtual Crops, MONTHLY Completed Album Challenges, QUARTERLY Secret Box Openings with project tutorials and so much more! We hope you’ll join our community of more than 50,000 fellow memory-keeping enthusiasts — you’ll feel right at home!