June 9, 2021
Spiral Into Wondrous Whirls With These DIY Paper Crafts

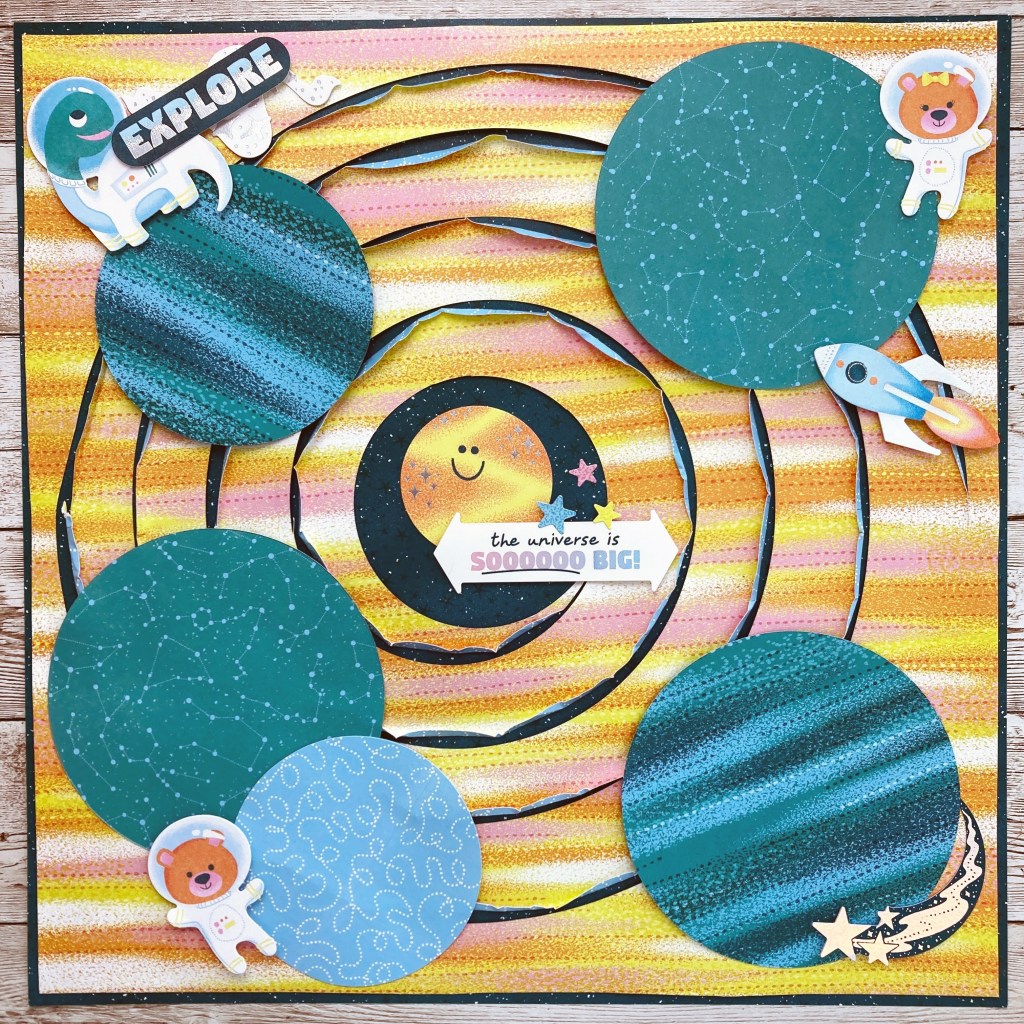
Spirals and swirls are prevalent throughout many aspects of life, from whirling weather patterns to mollusk shells and galaxies far, far away, as well as some sweet treats like chocolate babka (and a few others listed down below)! Blog contributor Sachiyo Omitsu’s brain was spinning for swirls and made some DIY paper crafts — including a mobile with her kid! So round and round and round we go, where the spiral stops — that’s up to you!
Sachiyo’s Inspiration
What comes to your mind when you hear the word “swirl”?
Maybe a lollipop, cinnamon rolls, soft serve ice cream, candy canes, whirlpools or a time machine? How about the galaxy and the solar system? My family loves stargazing, especially after we bought a telescope. We enjoyed the great conjunction of Jupiter and Saturn last year and we are excited to see more meteor showers this year. Do you like stargazing on warm summer evenings?
To create this layout you will need:
- Outta This World Paper Pack or (Shop Canada | Shop Australia)
- Outta This World Foiled Embellishments or (Shop Canada | Shop Australia)
- Outta This World Stickers or (Shop Canada | Shop Australia)
- Circle Cutter or (Shop Canada | Shop Australia) — Returning September
- 13×13 Custom Cutting System Mat or (Shop Canada | Shop Australia)
- Repositionable Tape Runner or (Shop Canada | Shop Australia)
- Foam Squares or (Shop Canada | Shop Australia)
- CM Zero Centering Ruler or (Shop Canada | Shop Australia)

Step 1: Draw lines on the sky blue winding path paper to connect the midway points vertically and horizontally as shown in the video below.
Step 2: Set the pin at 11″ mark of the Circle Cutter. Place the Circle Cutter on the horizontal line of the paper so that the pin is placed on the intersection point. Starting from the left-hand side, cut clockwise on the paper until the blade reaches the horizontal line on the right-hand side. Without moving the Circle Cutter, shift the pin to 10″ mark and rotate the blade clockwise to cut again until the blade reaches the horizontal line on the left-hand side. Repeat the same steps by shifting the pin by 1″ every time you cut a half a circle. After you cut half a circle with 4″ mark, shift the pin to 3.2″ and cut out a small circle. Set aside the small circle that will be used for a journal box.

Step 3: Trim off 1/8″ from all four sides. Flip the paper and use the warm dotted textures patterned side. Pinch the outside edge of the swirl randomly by hand, about 1/8″ width. Adhere to the night sky stars paper.
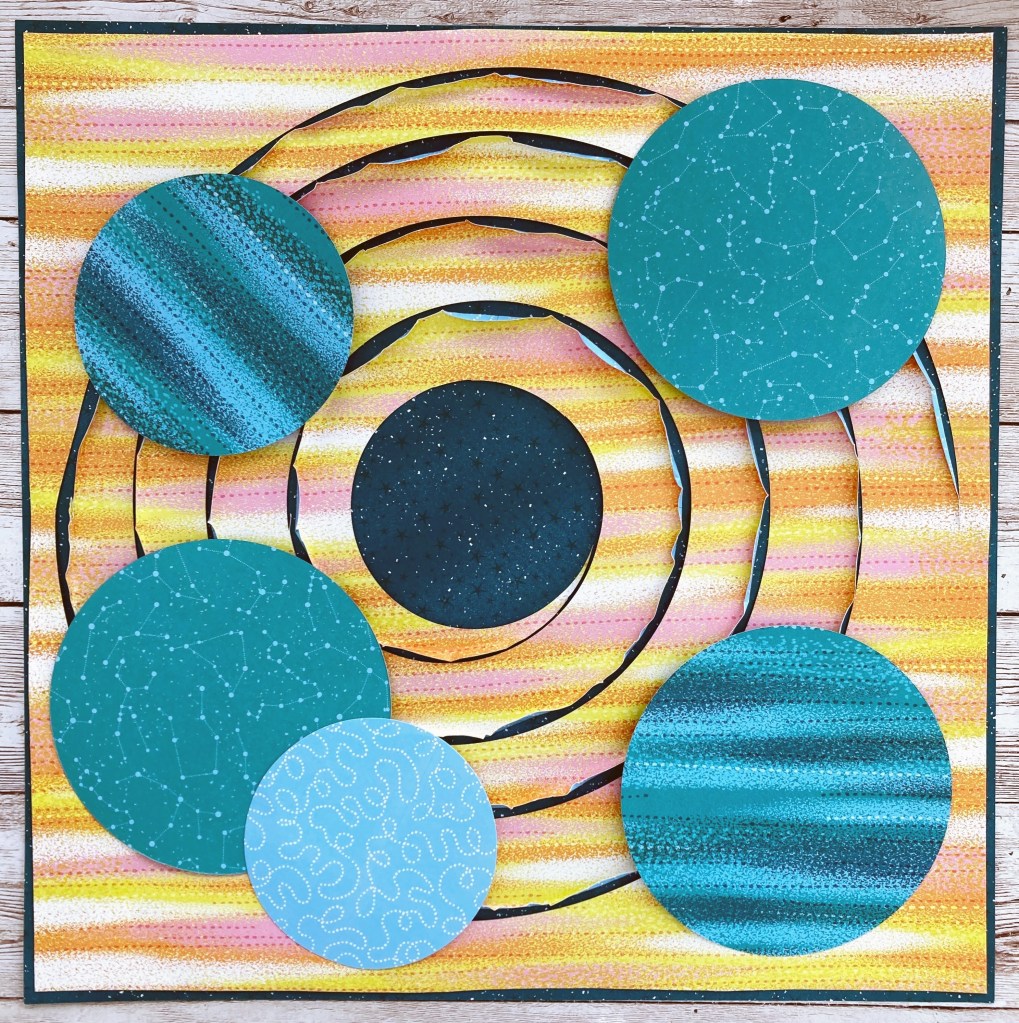
Step 4: For the photo mats, cut three circles using the outside of the smallest Custom Cutting System Circle Pattern with the Green Blade (two are cool dotted textures and one is aquamarine green constellations), and one circle using the inside of the largest Circle Pattern with Red Blade from the aquamarine green constellations paper. Add the mats and small circle journal box to the page.
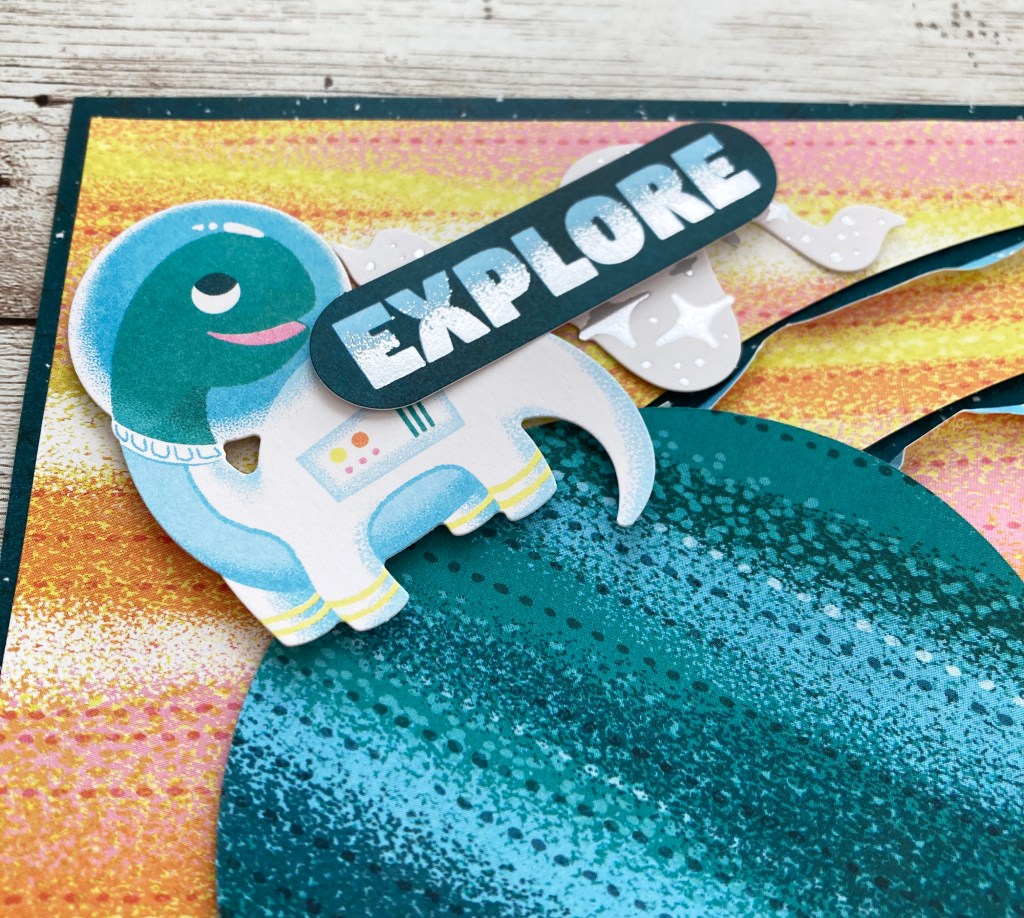
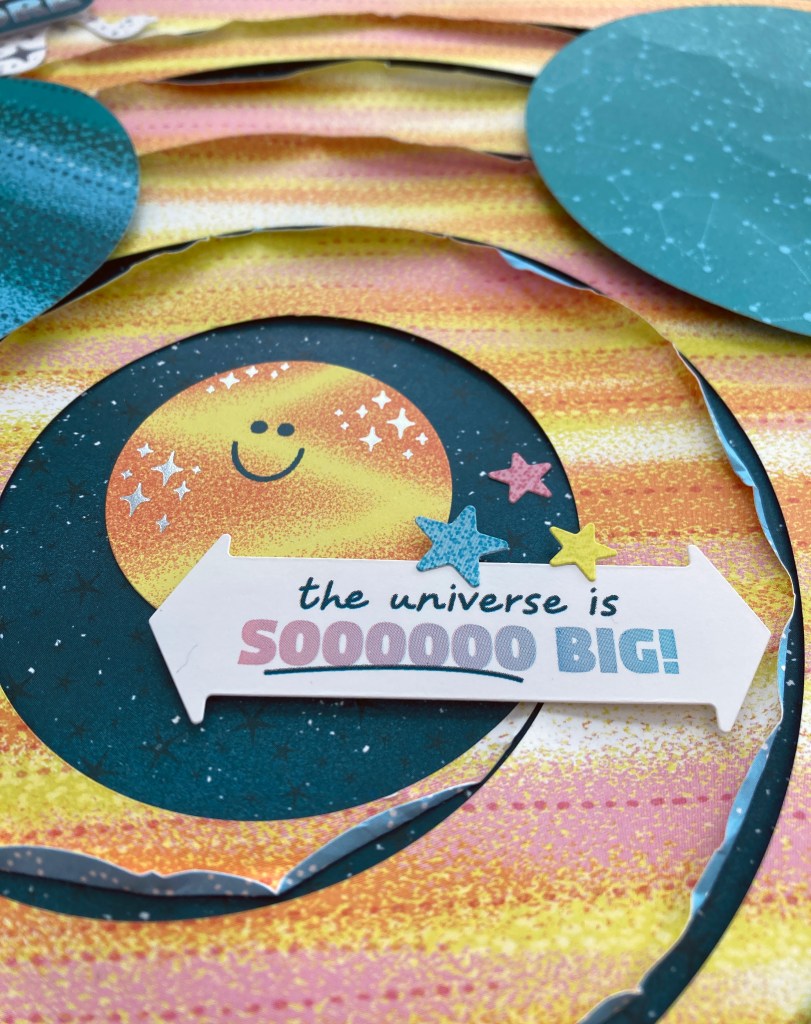
Step 5: Adhere stickers and embellishments, using Foam Squares on some for added dimension.
But wait, there’s more! Looking for a craft to do with a child? Check out this creative idea using the same concept!
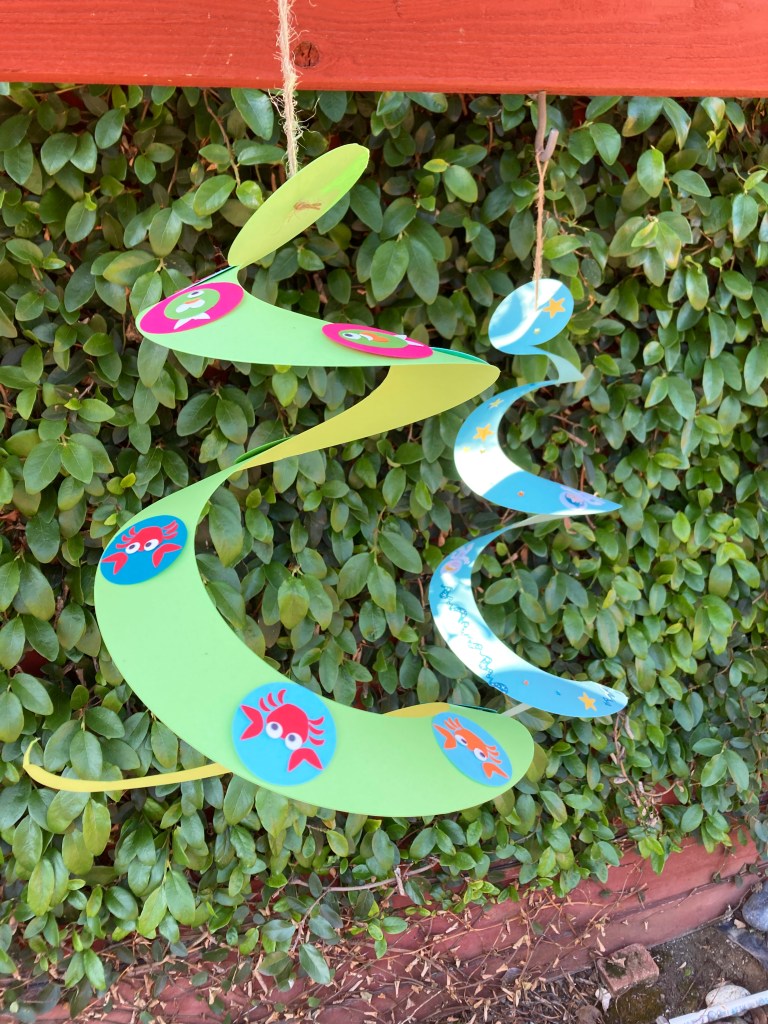
Swirl Mobile
Sachiyo’s Inspiration
When I was playing with the Circle Cutter to figure out how to create a swirl layout, my son came to me and asked if he could play with the swirl pieces scattered on the floor. He then started shading with pens and adding stickers on one of the swirl piece and showed me his swirl mobile. Proud mother moment… we sat together and enjoyed making more mobiles. Do you like arts and crafts to do at home?
To create this swirl mobile you will need:
- Various Solid Cardstocks or (Shop Canada | Shop Australia)
- Outta This World Foiled Embellishments or (Shop Canada | Shop Australia)
- Outta This World Stickers or (Shop Canada | Shop Australia)
- Circle Cutter or (Shop Canada | Shop Australia) — Returning September
- 13×13 Custom Cutting System Mat or (Shop Canada | Shop Australia)
- Piece by Piece Mini Trio Punch Set or (Shop Canada | Shop Australia)
- Micro-Tip Scissors (Shop Canada | Shop Australia)
- Custom Cutting System with Circle & Oval Patterns or (Shop Canada | Shop Australia)
- Tape Runner or (Shop Canada | Shop Australia)
- Repositionable Tape Runner or (Shop Canada | Shop Australia)
- CM Zero Centering Ruler or (Shop Canada | Shop Australia)
- Twine/string
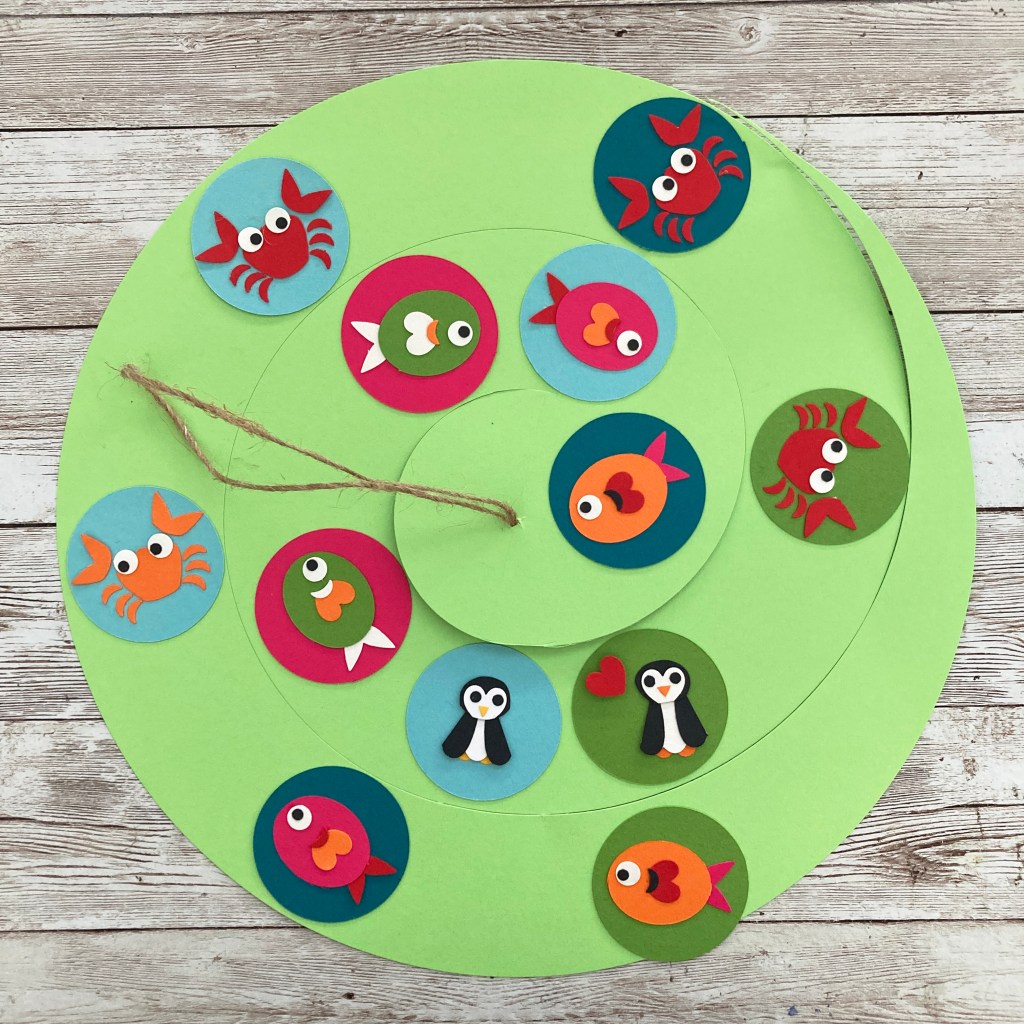
Step 1: Draw lines on a piece of cardstock to connect the midway points vertically and horizontally (like we did for Step 1 in the project above).
Step 2: Set the sizing dial at 11″ mark of the Circle Cutter. Place the Circle Cutter so that the pin is placed on the intersection point, and cut out a 11″ circle. Without moving the Circle Cutter, shift the sizing dial to 9″ mark and rotate the blade clockwise to cut half a circle. Without moving the Circle Cutter, shift the sizing dial to 7″ mark and cut half a circle. Shift the sizing dial to 5″ mark and cut half a circle. Shift the sizing dial to 3.2″ and cut half a circle. Make a hole in the middle of the 3.2″ circle using the Micro-Tip Scissors as to thread through twine/string.
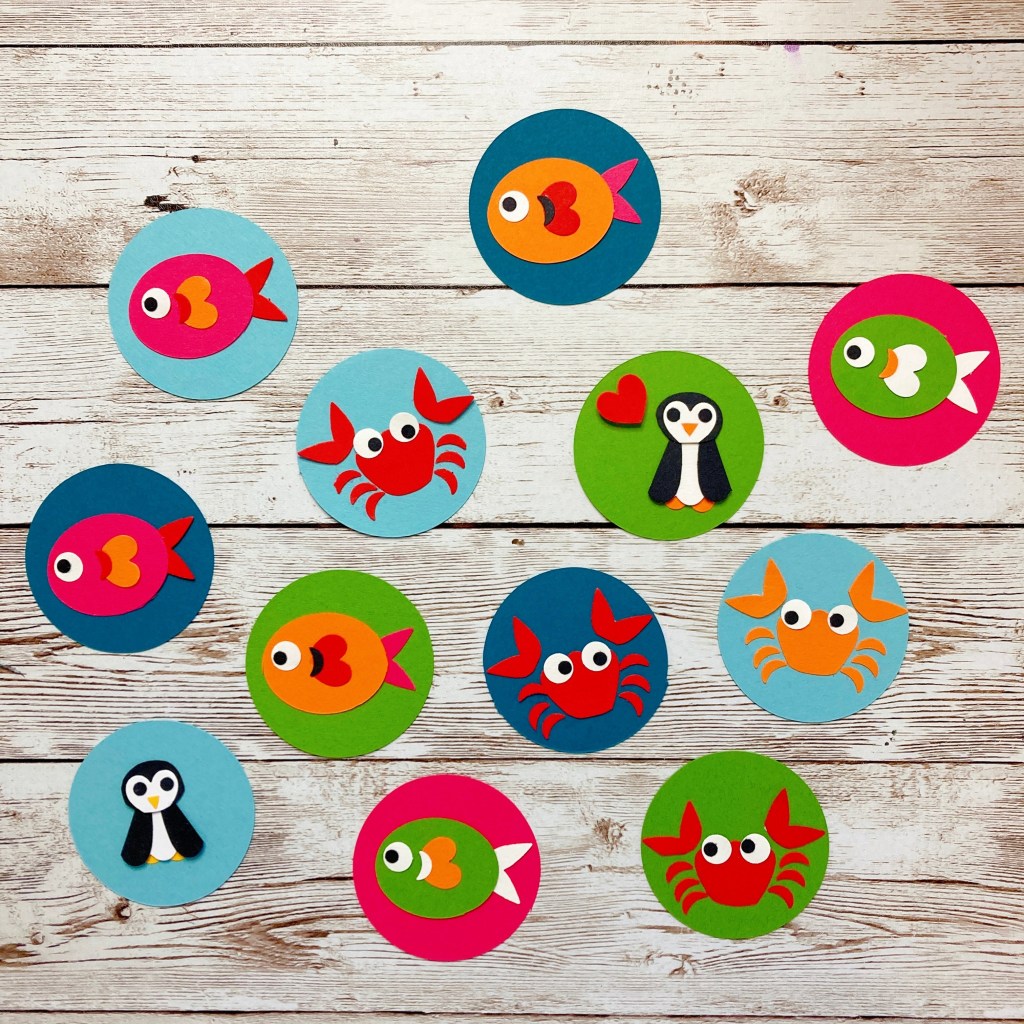
Step 3: Cut circles using the inside of the medium Custom Cutting System Circle Pattern with the Blue Blade from various cardstocks and use them as the base. Punch various cardstocks using the punches from the Piece by Piece Mini Trio Punch Set and create your imaginary friends. Adhere to the base.
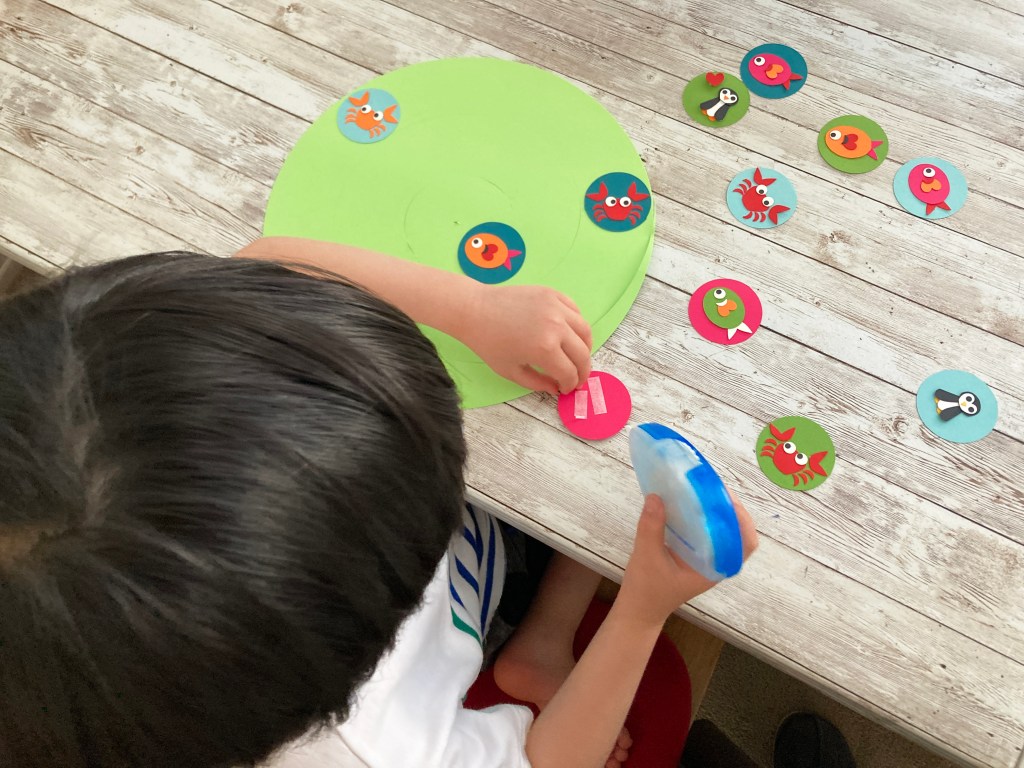
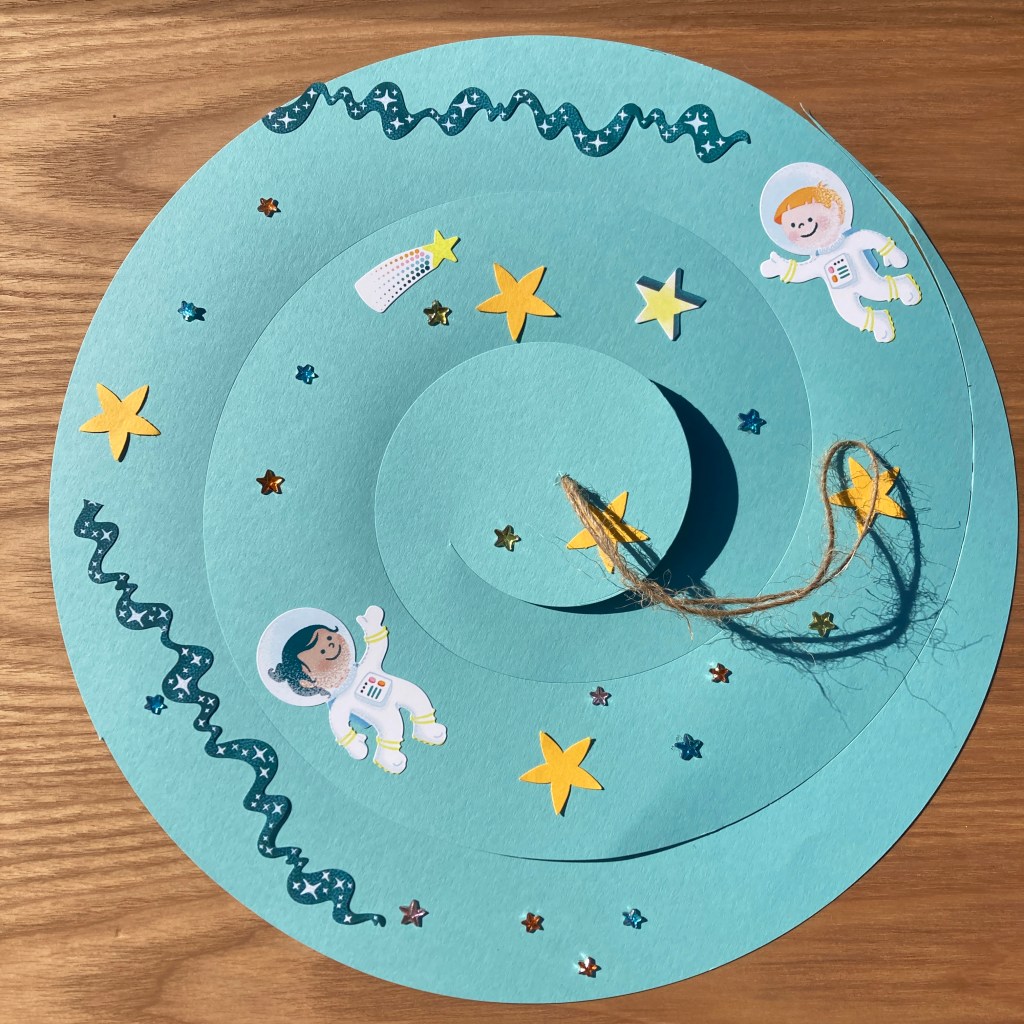
Step 4: Decorate the swirl piece as you like.
Name one thing you like about each of these DIY paper crafts, and would you make the mobile with your kiddos, grandkids, nieces or nephews… or for yourself?! Share your ideas in the comments!

WOW looks like magic!!
Would love instructions on how to make the decorative penguin & fish, please! Those are too cute!
Sachiyo, what a clever page, as well as art project! Keep those great ideas coming!
Wonderful inspiration!! Thank you!!
Beautiful as usual Sachiyo, you never disappoint!