February 23, 2022
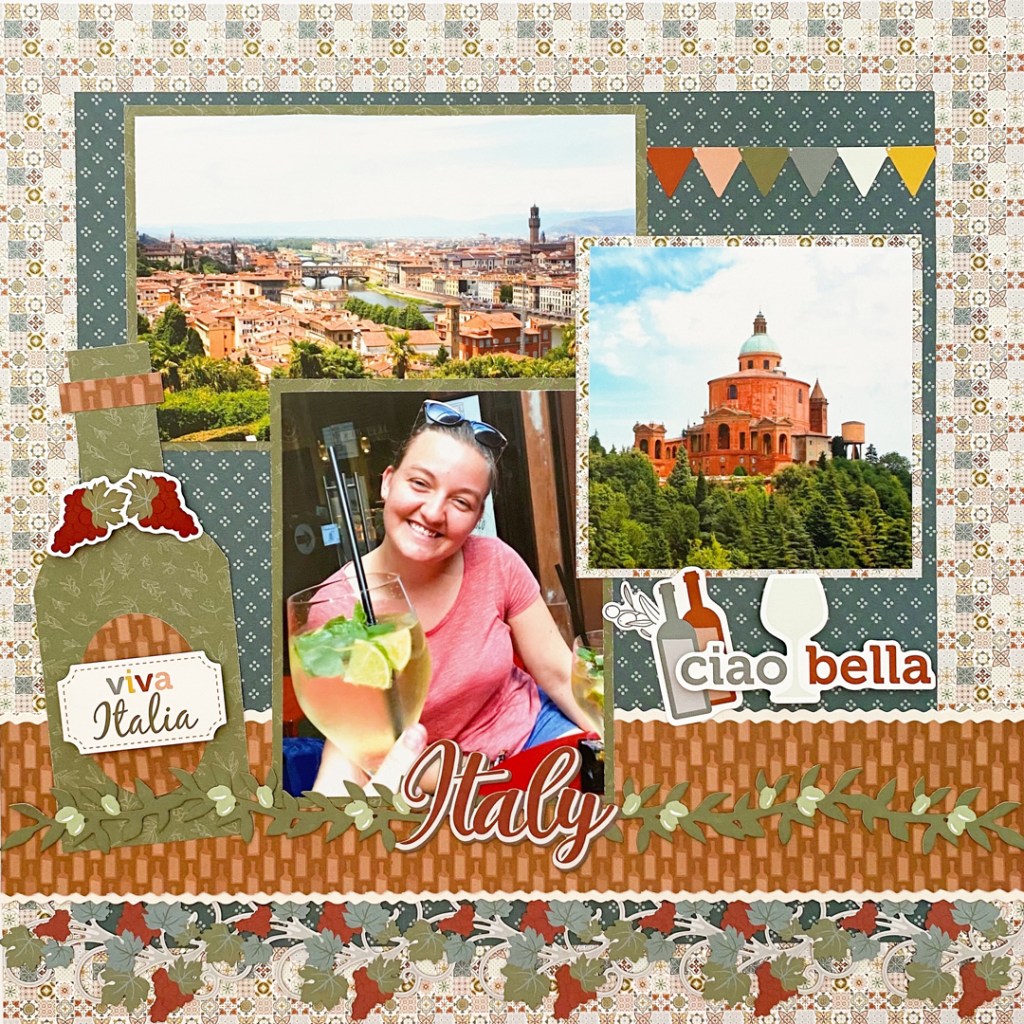
Have a Wine-derful Time Creating This Italy Scrapbook Layout

Pizza, pasta, the Leaning Tower of Pisa. The birthplace of the Roman Empire and the Renaissance movement. Wineries and World Heritage sites aplenty. Varying landscape scenes — rugged and jagged alpines, limestone cliffs, sweeping coastlines with azure-hued waters, lush hills crossed by rivers and streams. Italy is 116,000 square miles of amazing sensations! Show off your wine-derful Italian memories and adventures with this Italy scrapbook layout from blog contributor Kylie Kingham.
Kylie’s Inspiration
I fell instantly in love with the palette and designs of the papers in the Italy Theme Pack. They reminded me of the hues of terracotta cobblestones and the designs in nonna’s patchwork quilts, as well as rolling hills in a picturesque landscape featuring many scattered wineries. Italy produces more wine than any other nation in the world, and I knew this collection would be perfect to capture some food and wine tour memories.
To create this layout you will need:
- Italy Theme Pack or (Shop Canada | Shop Australia)
- Italy Laser Cut Borders or (Shop Canada | Shop Australia)
- Custom Cutting System with Circle & Oval Patterns or (Shop Canada | Shop Australia)
- 12-inch Trimmer with Straight & Victorian Blades or (Shop Canada | Shop Australia)
- Repositionable Tape Runner or (Shop Canada | Shop Australia)
- Foam Squares or (Shop Canada | Shop Australia)
Get a closer look at the Italy scrapbooking supplies in the video below!


Step 1: Using the 12-inch Trimmer and Straight Blade, carefully remove a 9-1/2″ x 9-1/2″ square from the middle of the mosaic paper. (You can do this by lining up the marking on the side of the blade housing to the measurements on the board. Trim down a contrasting piece of paper to 10″ x 10″ and adhere over the border square. NOTE: This method conserves paper, but alternatively, you can leave the sheet full and adhere a 10″ x 10″ contrasting piece of paper over the top to create a border effect.)

Step 2: From the theme pack cardstock (Shell Shimmer Solid Cardstock) cut a 2-1/4″ x 12″ strip using the 12-inch Trimmer and the Victorian Blade. Trim a 2″ x 12″ strip with the Victorian Blade from the wine bottles paper and adhere this strip aligned over the cardstock strip with Repositionable Tape Runner. Adhere the grapes and grape vines laser-cut border to the base of the page. Adhere the paper border strip approximately 1-1/2″ up from the base of the page. (The very top of the laser-cut border will be tucked in under the paper border.)
Step 3: Cut three photo mats from two different papers measuring (1) 6″ x 4″, (1) 5″ x 4″ and (1) 4″ x 4″. Trim photos to measure 5-3/4″ x 3-3/4″, 4-3/4″ x 3-3/4″ and 3-3/4″ x 3-3/4″. Adhere each photo to the mats and add them to the page.
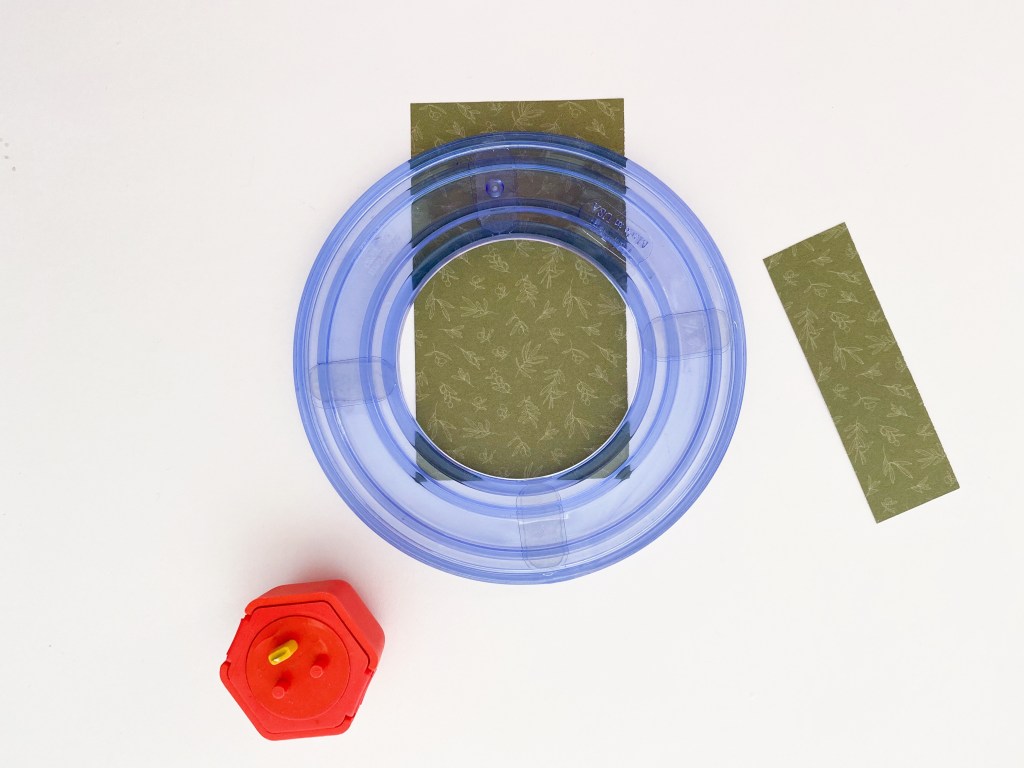

Step 4: To create the wine bottle:
Trim two pieces of green olive branches paper to measure- 2-1/4″ x 4″ and 1″ x 3″. Using the medium Custom Cutting System Circle Pattern,
Align the medium Custom Cutting System Circle Pattern over the top of the larger piece and trim away a small piece with the outside edge and the Red Blade to create a curved top. Adhere the smaller piece aligned to the top to create the wine bottle neck. Using Foam Squares, add two grape stickers to cover the join line. From the inside edge of the second-largest Custom Cutting System Oval Pattern, cut an oval from the wine bottles paper with the Blue Blade. Adhere this with Repositionable Tape Runner to the middle of the bottle as well as a text sticker. Trim a small piece of the same wine bottles paper to measure 1-1/4″ wide x 1/2″ tall and adhere toward the top of the wine bottle. With the wine bottle now complete, adhere it to the left side of the layout with Repositionable Tape Runner.
Step 5: To finish, adhere the “Italy” laser-cut border to the middle of the wine bottles border. (It will overlap a photo as well as the wine bottle). Add some decorative stickers.
What travel highlights would you put on this Italy scrapbook layout? (The creative pasta-bilities are endless!)

Love this layout!! ?
Love this design. Will copy!
I love scraping book.. May i know whre i can learn it for more ?pls