May 11, 2022
The Mountains Are Calling, And We Must Create: National Parks Scrapbook Layout
Yellowstone, Purnululu, Jasper National Parks… and more! Admire the beautiful landscapes of rugged rock formations, vast wilderness, glorious glaciers and trails upon trails. Or relish the experiences of education or exercise, or maybe even spiritual inspiration or superb summer stories. Regardless of what national parks summit up for you, we’re scouting for scrapbooking success… and you can see for yourself with this national parks scrapbook layout!
To create this layout you will need:
- Leave Nothing Behind Paper Pack or (Shop Canada | Shop Australia)
- Leave Nothing Behind Texture Paper Pack or (Shop Canada | Shop Australia)
- Leave Nothing Behind Stickers or (Shop Canada | Shop Australia)
- Leave Nothing Behind Embossed Embellishments or (Shop Canada | Shop Australia)
- 12-inch Trimmer or (Shop Canada | Shop Australia)
- All-Purpose Scissors or (Shop Canada | Shop Australia)
- Tape Runner or (Shop Canada | Shop Australia)
- Repositionable Tape Runner or (Shop Canada | Shop Australia)
- Foam Squares or (Shop Canada | Shop Australia)
- Black Dual-Tip Pen or (Shop Canada | Shop Australia)

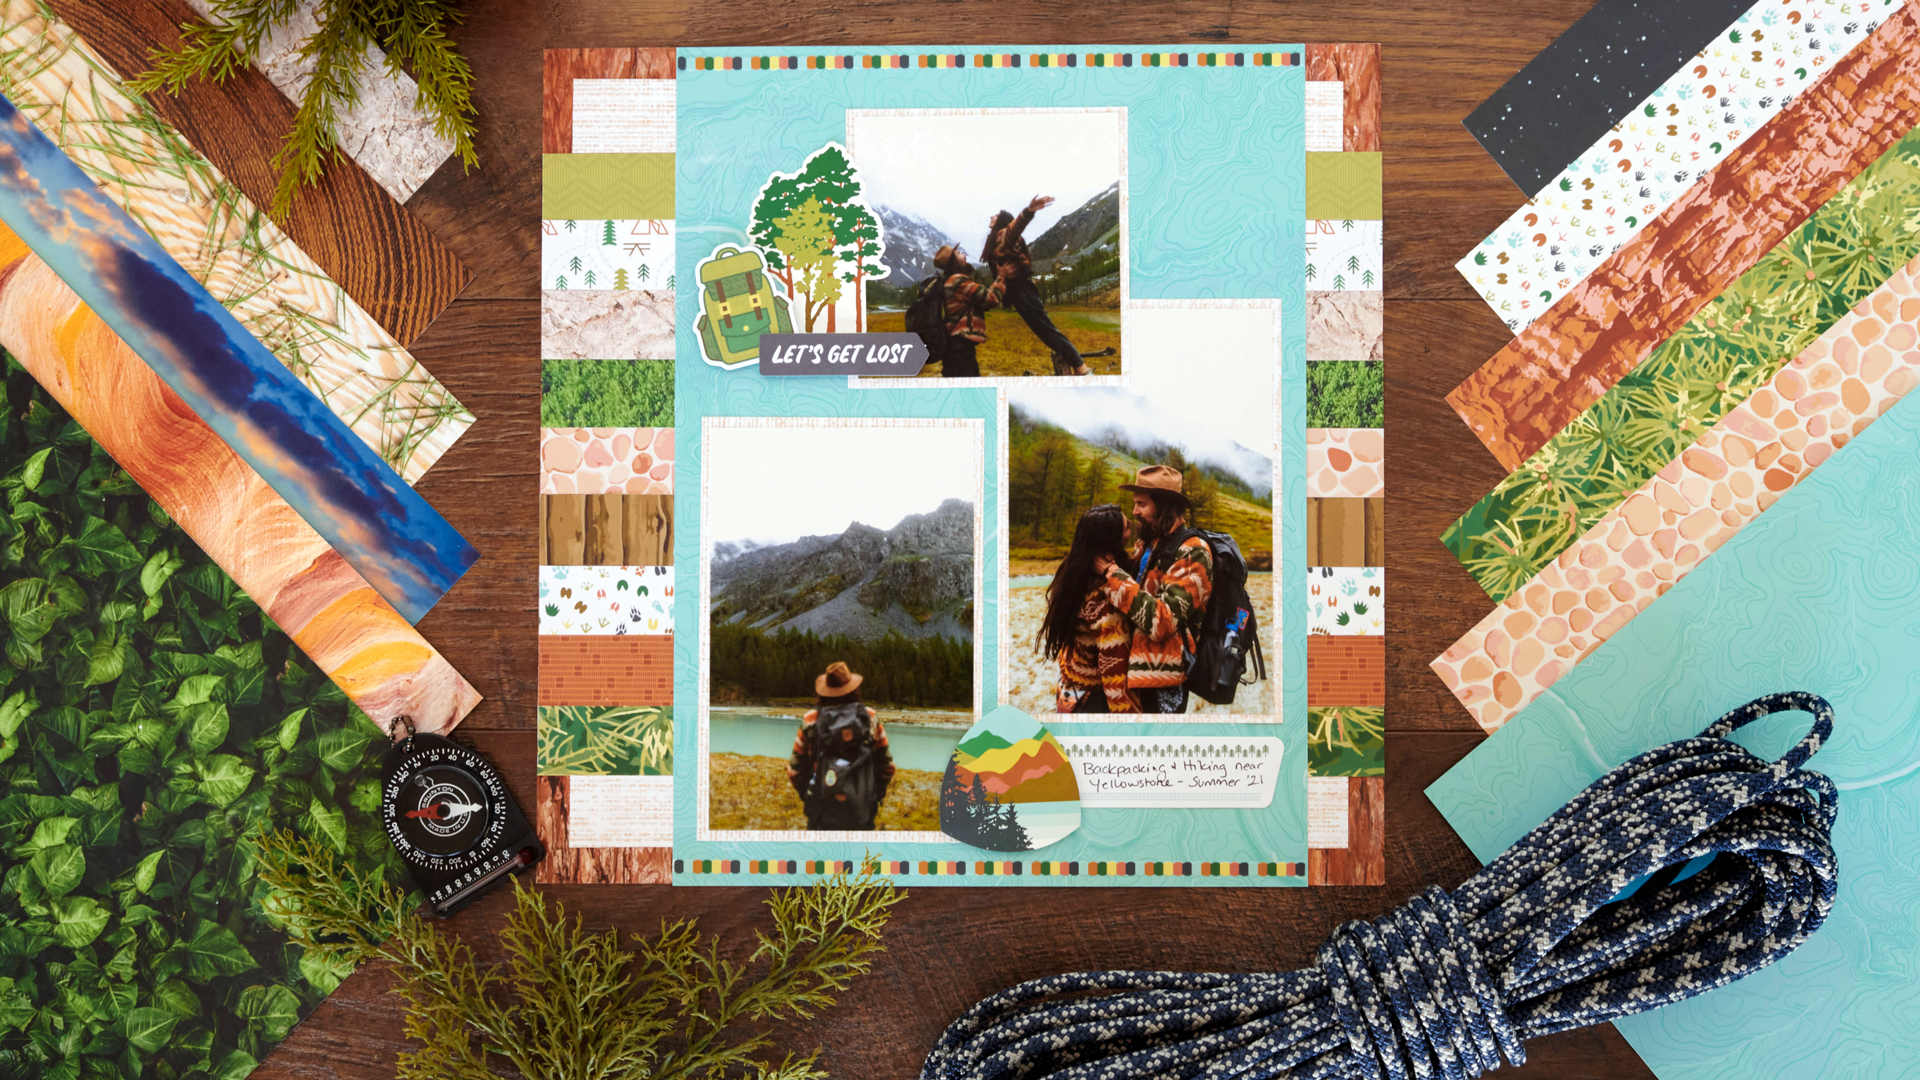
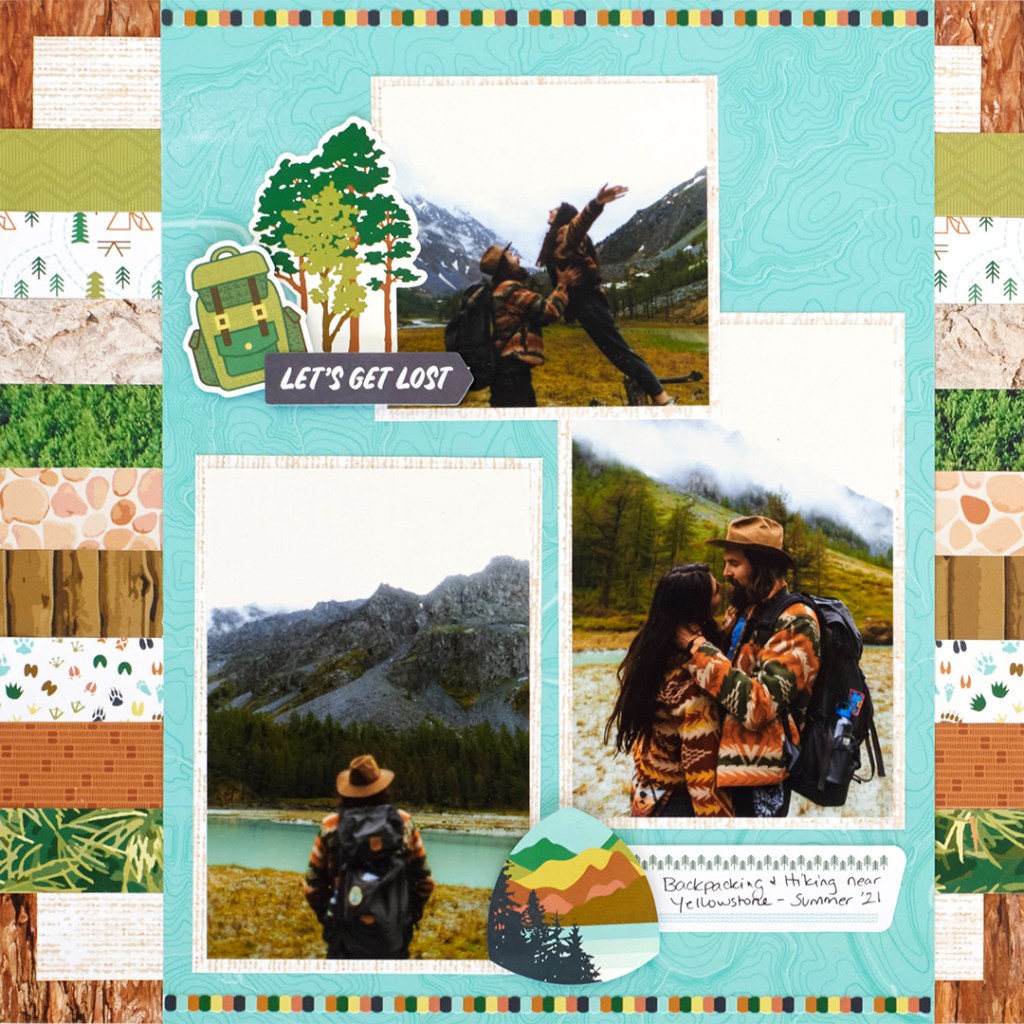
Step 1: Use the tree bark texture paper as your base.
Step 2: Using the 12-inch Trimmer, cut two 1″ x 11″ strips from burlap designer paper. Place 1/2″ from the top and bottom, adhered as shown.
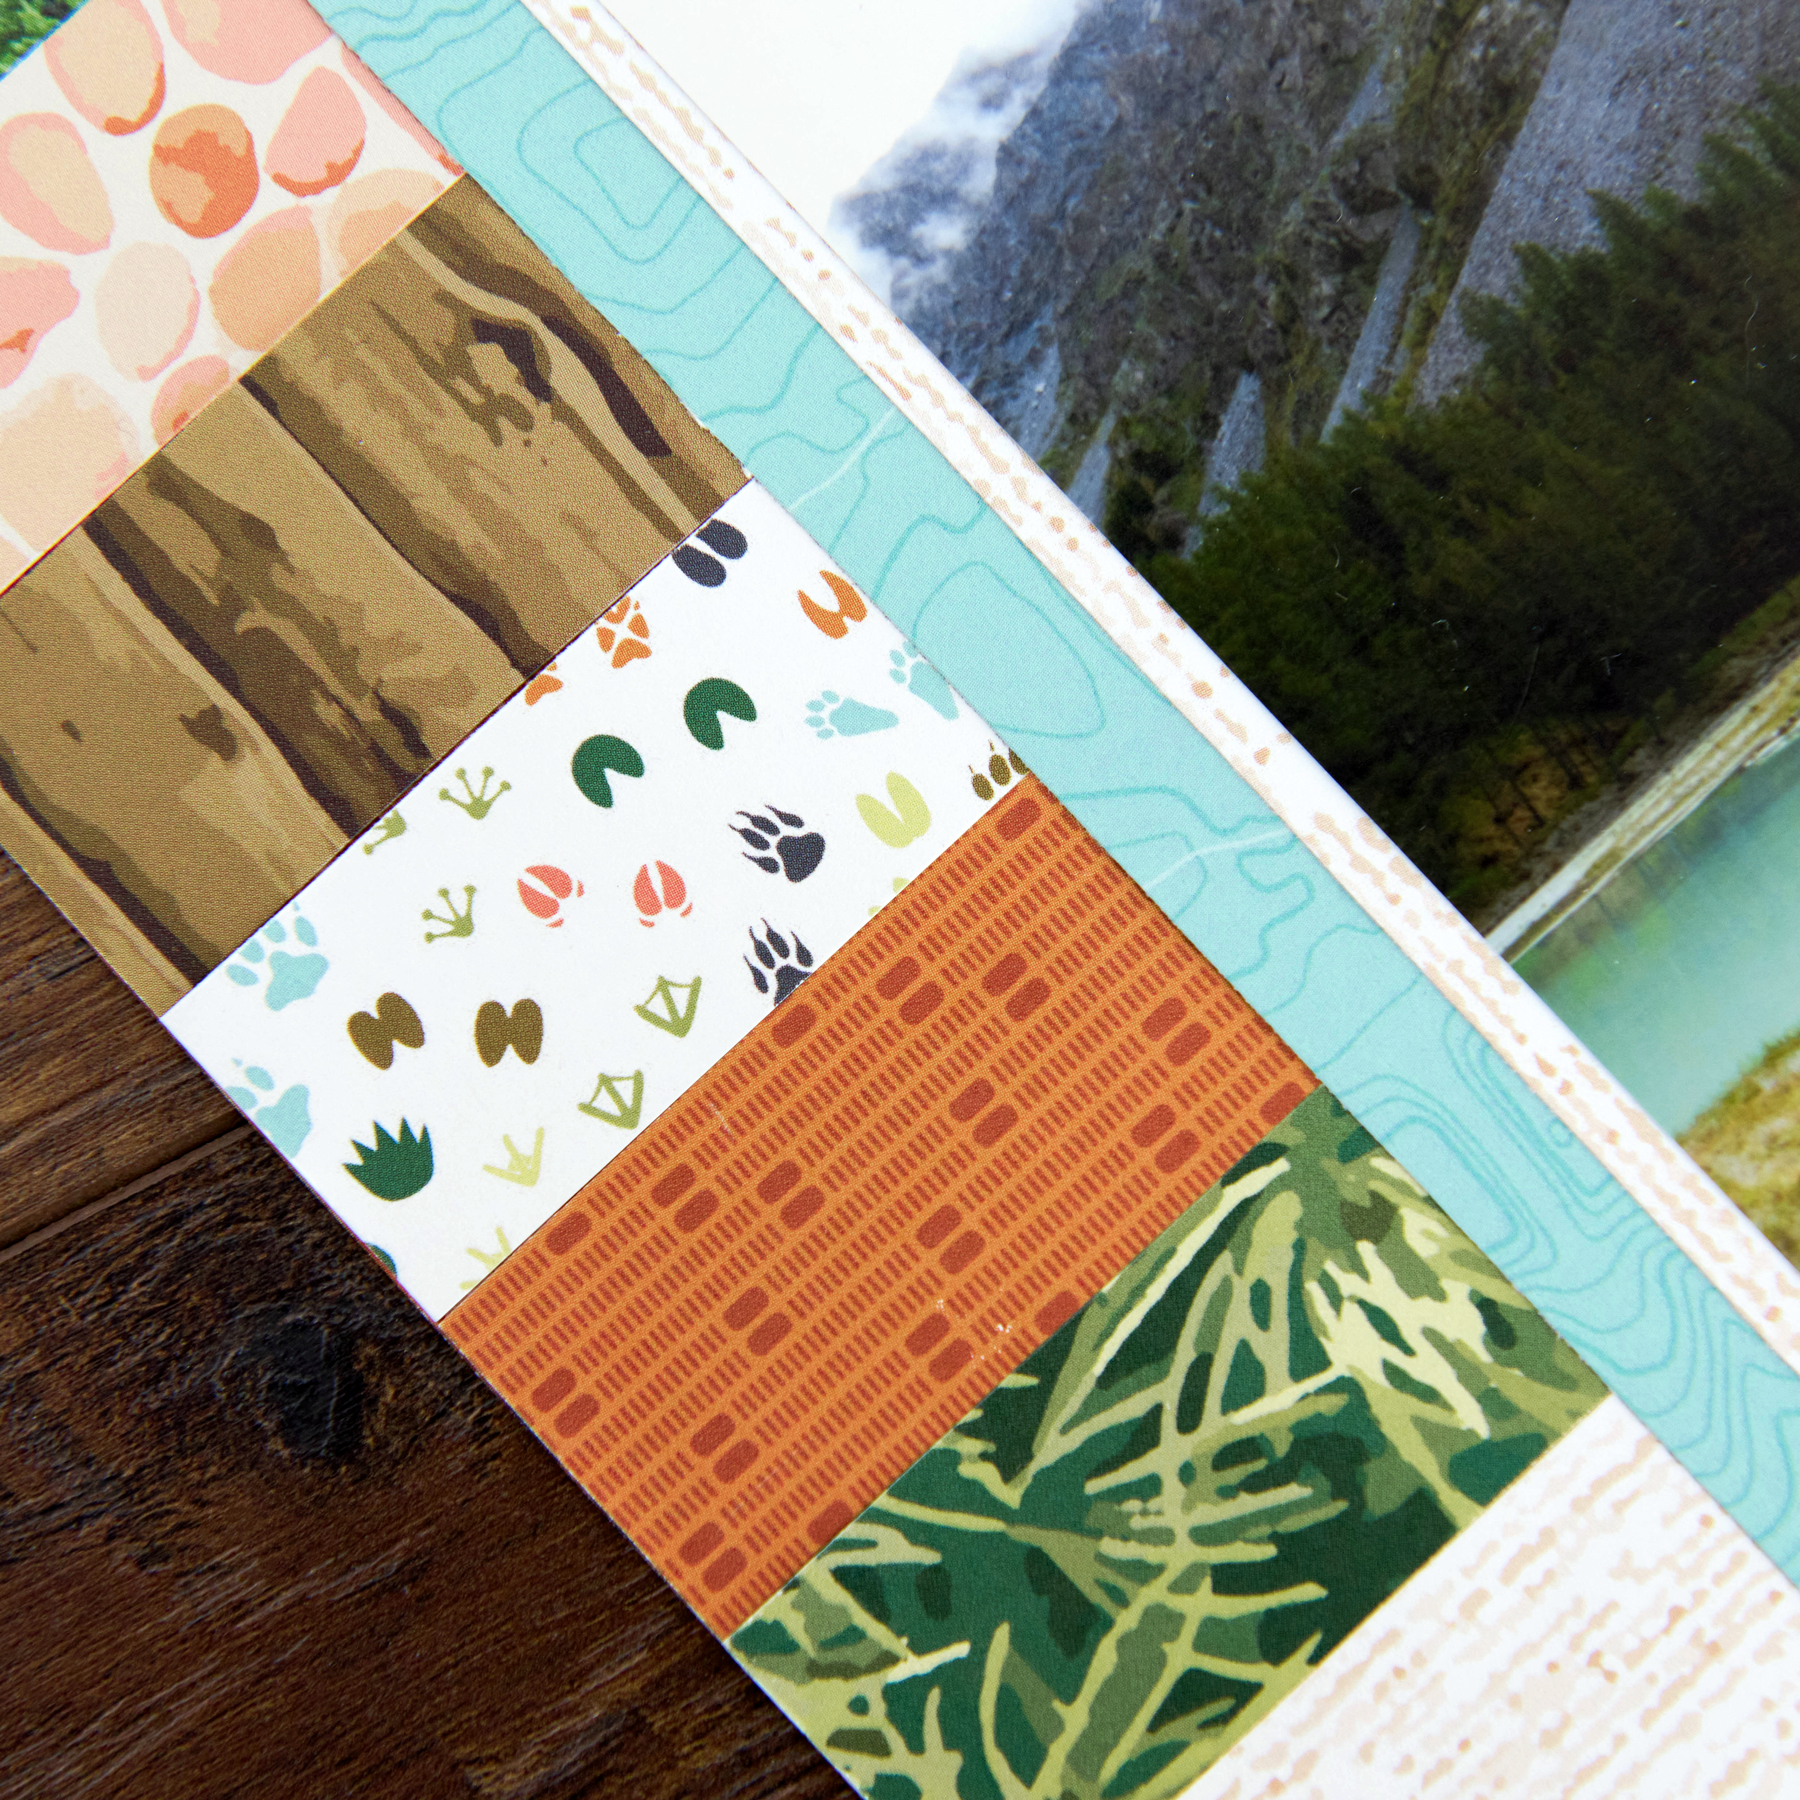
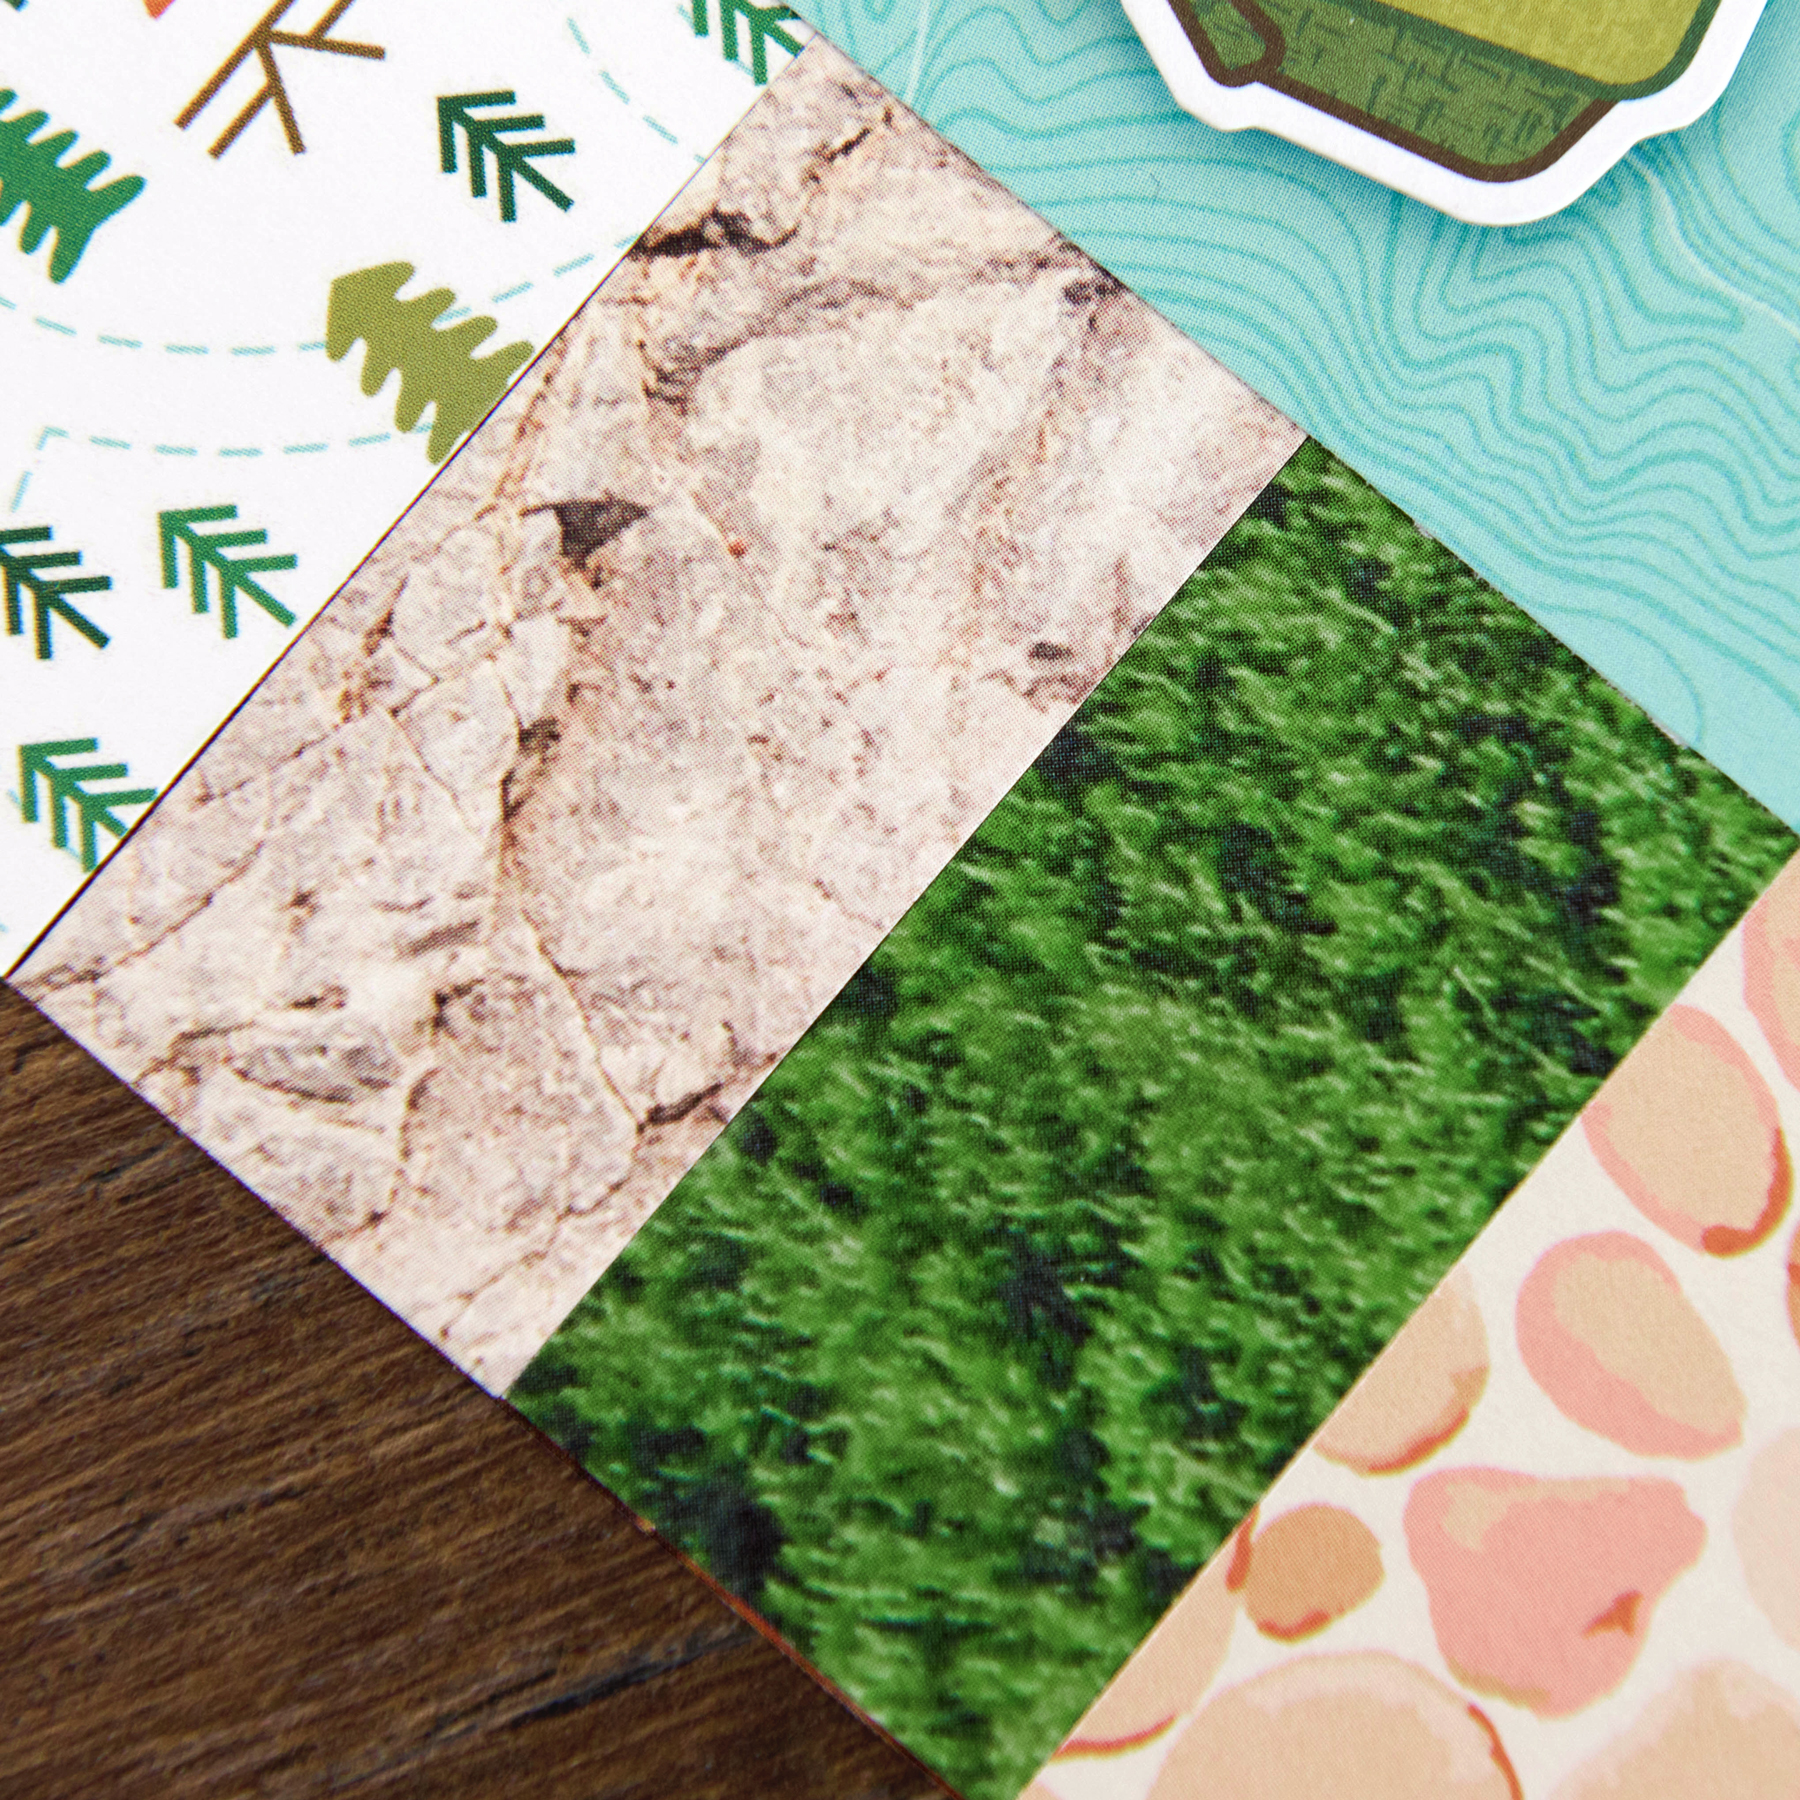
Step 3: Using the 12-inch Trimmer, cut nine 1″ x 12″ strips from various designer and texture papers and adhere across base page between the two 1” x 11” strips.
Step 4: Using the 12-inch Trimmer, cut a 9″ x 12″ strip of the bright teal topography designer paper and adhere on top of the strips, 2″ from left-hand edge of base page.
Step 5: Using the 12-inch Trimmer, cut one 4″ x 4″ and two 4″ x 6″ photo mats from the burlap designer paper. Mount one 3-3/4” x 3-3/4″ photo and two 3-3/4″ x 5-3/4″ photos on mats. Arrange on the bright teal topography piece and adhere.
Step 6: Trim the two multi-hued border stickers with All-Purpose Scissors and adhere across top and bottom of bright teal topography strip. Add embellishments and stickers in clusters as shown or as desired, using Foam Squares to add dimension. Journal on the tag embellishment with Dual-Tip Pen.
What outdoor locations would you highlight on this national parks scrapbook layout? What national park did you most recently visit? Share with us!
