July 8, 2023
This Rainbow Scrapbook Layout Goes To Gradient Lengths
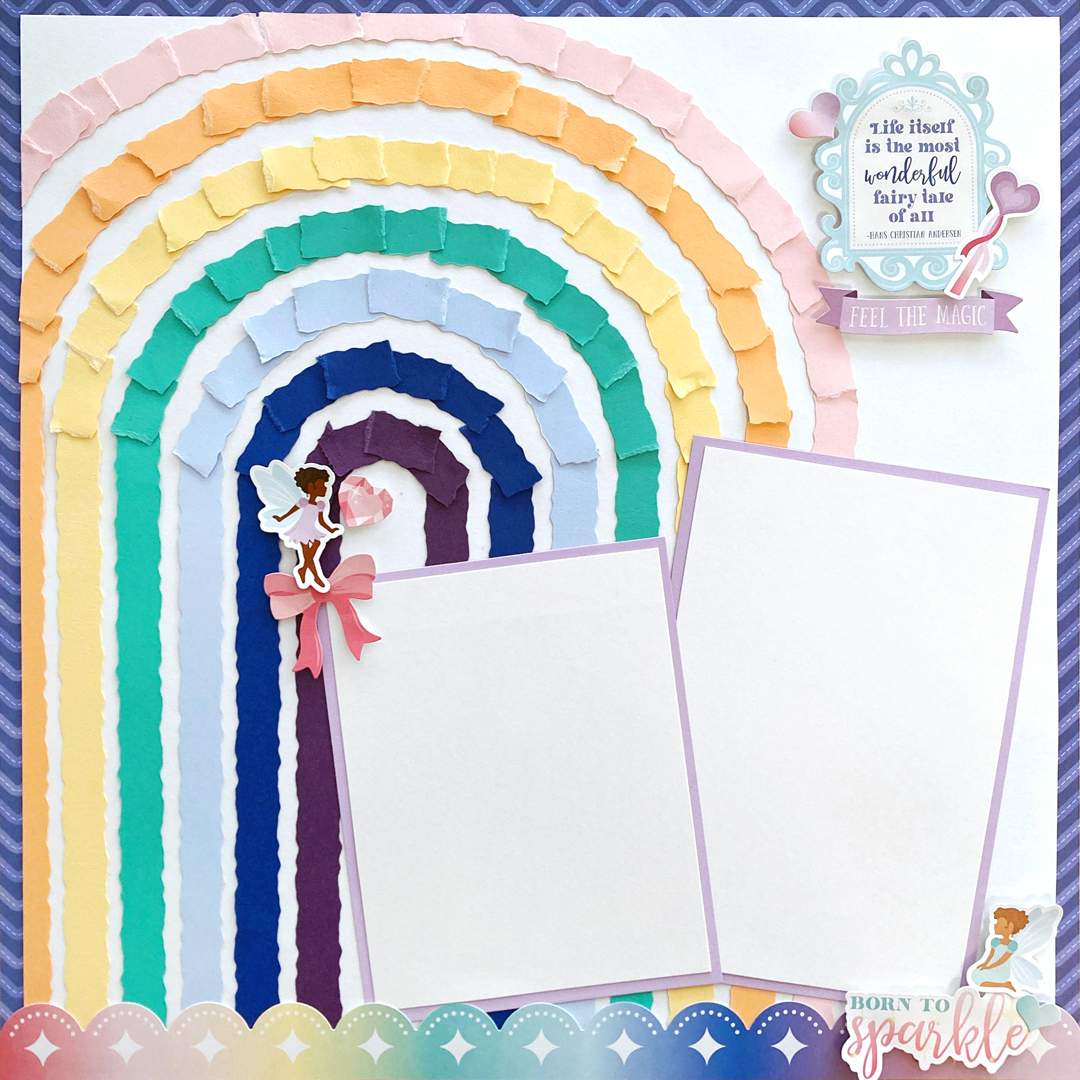
Rainbows are such a beautiful optic in nature… one of the closest things we have to real magic in life! Just after a storm passes through and the rain clears, clouds dissipate and the sun peeks out to say “hello” again, making for a spectrum of shades that curve across the vast sky. (And gosh, rainbows make you feel happy, don’t they?) In fact, these arched, awe-inspiring phenomena have been linked with feelings and meanings of new beginnings, luck, imagination, wellness, positivity, hope, spirituality, harmony and so much more. This rainbow scrapbook layout from blog contributor Sachiyo Omitsu is sure to not only put you in a good mood, but also brighten and frame your beloved, sky-high memories!

To create this layout you will need:
- Enchanted Princess Paper Pack or (Shop Canada | Shop Australia)
- Enchanted Princess Stickers or (Shop Canada | Shop Australia)
- Eggplant, Blue, Baby Blue, Island Waters, Canary, Tangerine, Soft Pink, Purple Ice & White Solid Cardstocks or (Shop Canada | Shop Australia)
- Custom Cutting System with Circle Patterns or (Shop Canada | Shop Australia)
- 12-inch Trimmer or (Shop Canada | Shop Australia)
- 12-inch Trimmer with Straight & Deckle Blades or (Shop Canada | Shop Australia)
- All-Purpose Scissors or (Shop Canada | Shop Australia)
- Tape Runner or (Shop Canada | Shop Australia)
- Repositionable Tape Runner or (Shop Canada | Shop Australia)
- Foam Squares or (Shop Canada | Shop Australia)

Step 1: Use a piece of the chevron paper as the base of this layout.

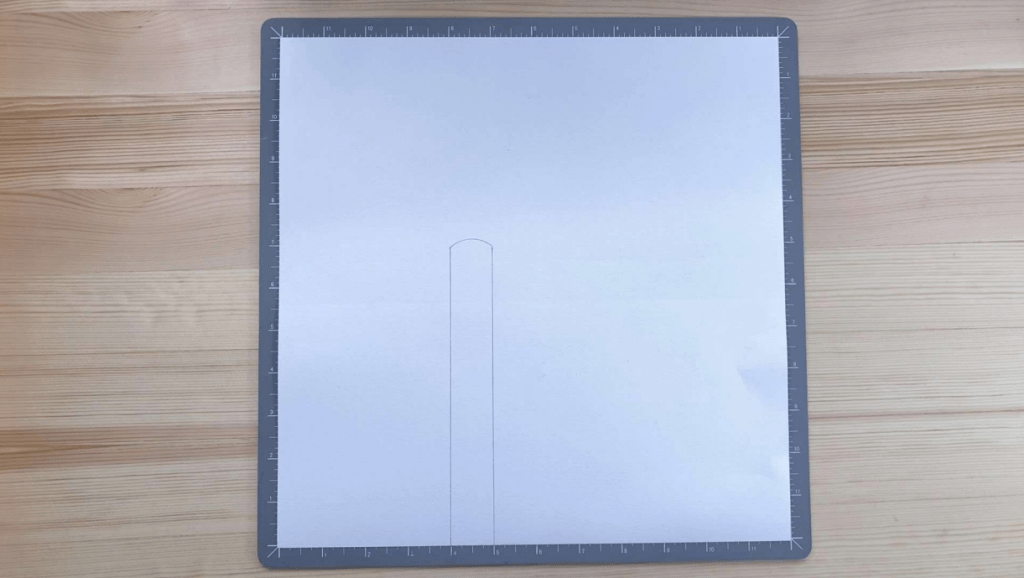
Step 2: Draw a 7” vertical line from the bottom of White Solid Cardstock at 4” and 5” from the left-hand side as shown. Align the inside edge of the smallest Circle Custom Cutting System Pattern to the end of both lines and draw curved line.
Step 3: Use the 12-inch Trimmer and the Deckle Blade to cut 1/2” width strips as follows —
- Eggplant: 2 strips
- Blue: 2 strips
- Baby Blue: 2 strips
- Island Waters: 3 strips
- Canary: 3 strips
- Tangerine: 3 strips
- Soft Pink: 3 strips
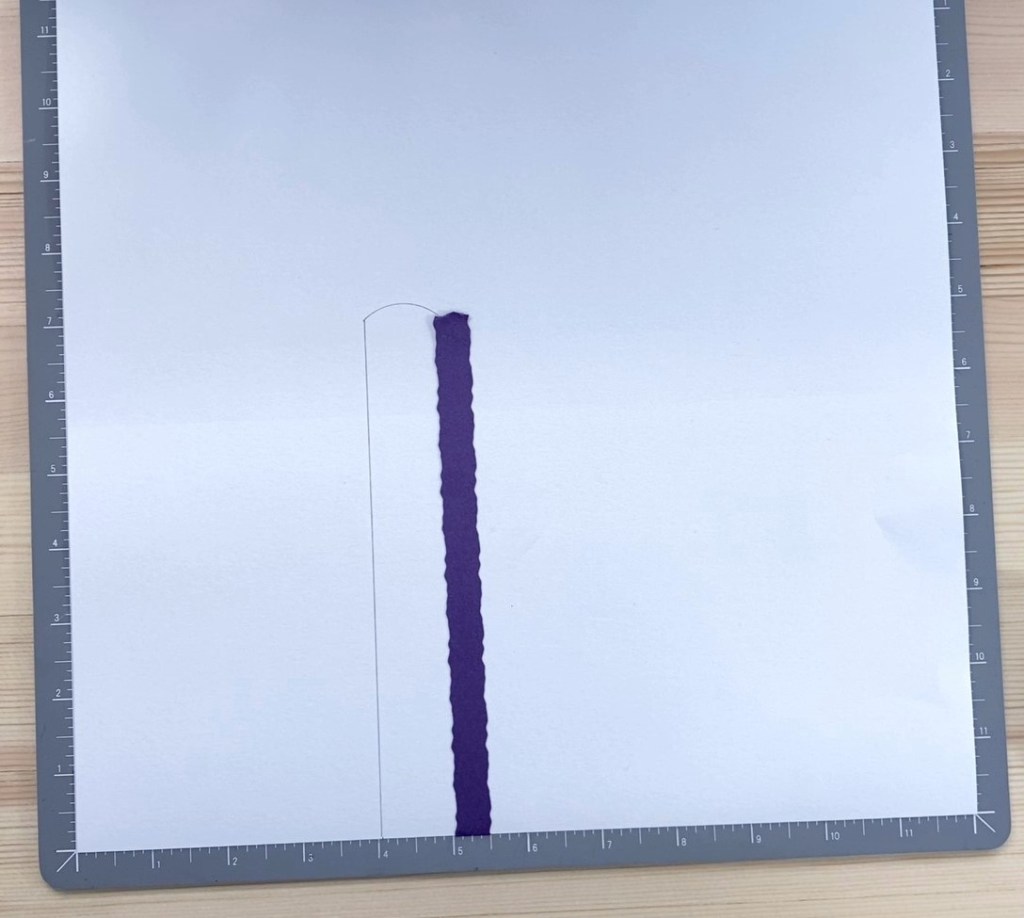


Step 4: Adhere eggplant strips to the White Solid Cardstock, using the pencil line as the guide.
Tear a strip for the curve section. Adhere the remaining strips, spacing approximately 1/8” for the straight section. You may adjust the spacing wider for the curve section.
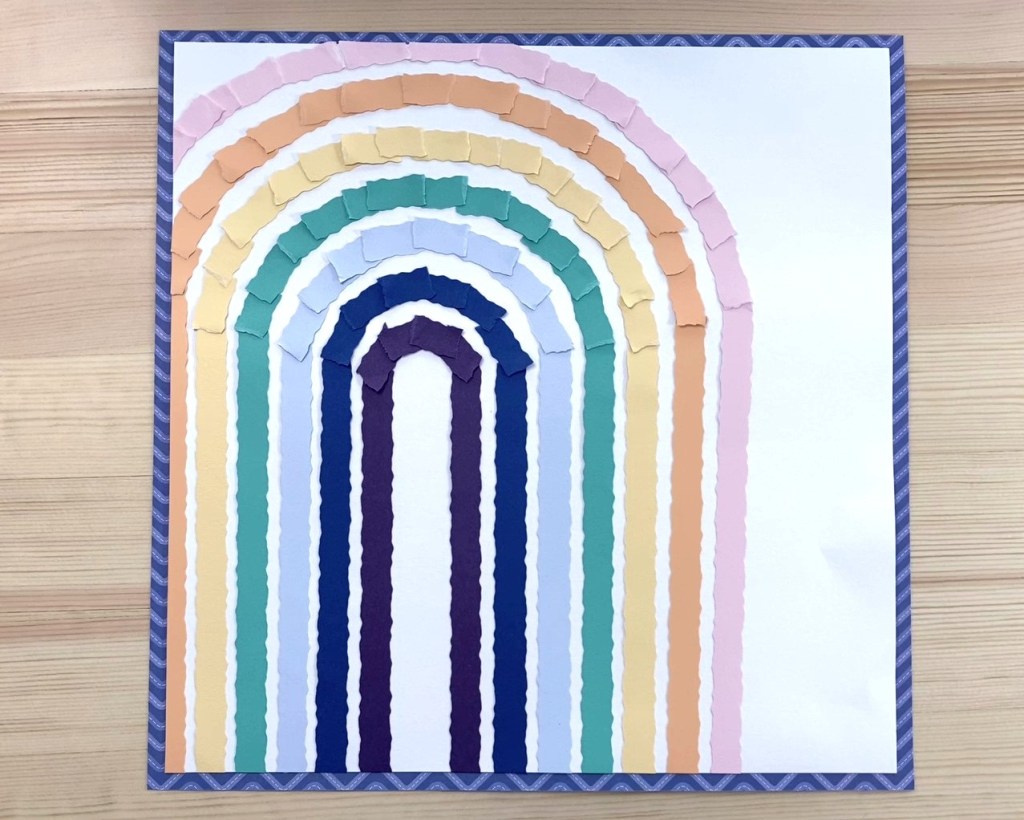
Step 5: Trim the White Solid Cardstock to measure 11-1/2” x 11-1/2” and add to the base.
Step 6: Cut one mat to measure 4” x 6” and one mat to measure 4” x 5” from a piece of Purple Ice
Solid Cardstock. Cut one mat to measure 3-3/4” x 5-3/4” and one mat to measure 3-3/4” x 4-3/4” from a piece of White Solid Cardstock. Add to the purple ice mats.
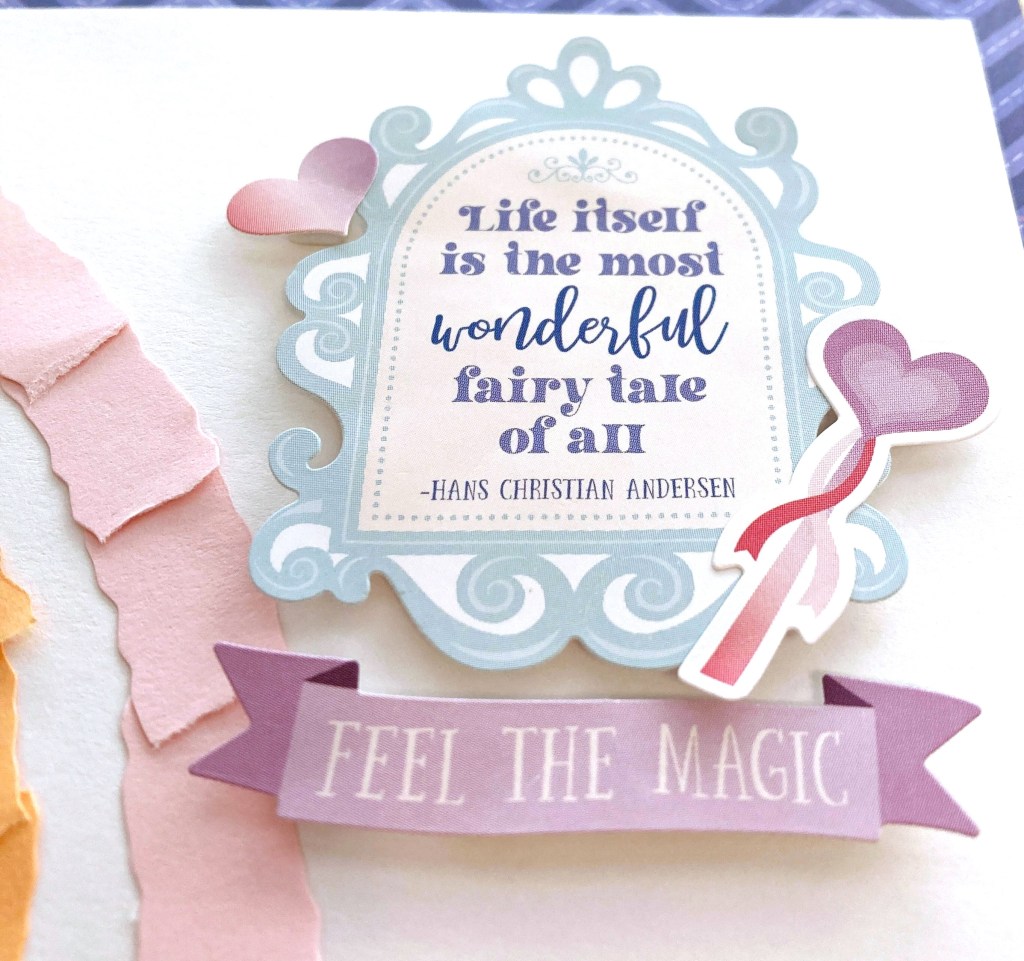


Step 7: Adhere stickers and mats, using Foam Squares on some for added dimension.
What are your thoughts on Sachiyo’s rainbow scrapbook layout? What photos would you adhere onto this bright beauty?
P.S. Are YOU a member of the Virtual Crop Facebook Group? It’s your go-to place for MONTHLY Virtual Crops, MONTHLY Completed Album Challenges, WEEKLY LIVE STREAMING of Fast & Fun Projects with Noreen, LIVE QUARTERLY Secret Box Openings with project tutorials and so much more! We hope you’ll join our community of more than 33,000 fellow memory-keeping enthusiasts — you’ll feel right at home!

Sachiyo this is beautiful! Thank you for sharing. ?
Beautiful! I can always count on you to do something special and unique.