August 5, 2024
Scrapbook Your Something New: Wedding Layout
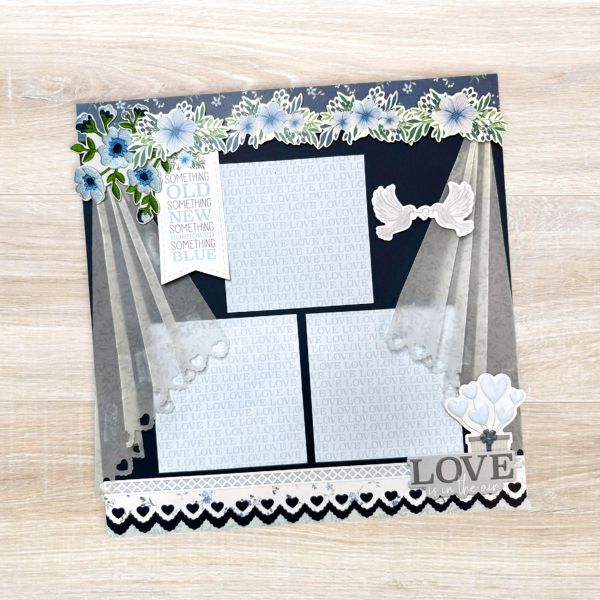
Start page one of your love story with this wedding-themed layout! Adorn the most magical moments of the day with icons of veils, flowers and birds. You can recreate this romantic layout using materials from the Something Blue collection. Keep reading to see how!
To create this layout you will need:
- Something Blue Paper Pack or (Shop Canada | Shop Australia)
- Something Blue Vellum Paper Pack or (Shop Canada | Shop Australia)
- Something Blue Variety Mat Pack or (Shop Canada | Shop Australia)
- Something Blue Embossed Embellishments or (Shop Canada | Shop Australia)
- Something Blue Stickers or (Shop Canada | Shop Australia)
- Original Border Maker System with Scalloped Hearts Border Maker Cartridge or (Shop Canada | Shop Australia)
- Gold Shimmer Solid Core Paper Pack or (Shop Canada | Shop Australia)
- Navy Solid Cardstock or (Shop Canada | Shop Australia)
- 12-inch Trimmer or (Shop Canada | Shop Australia)
- Foam Squares Variety Pack or (Shop Canada | Shop Australia)
- Tape Runner or (Shop Canada | Shop Australia)
- Repositionable Tape Runner or (Shop Canada | Shop Australia)
- Vellum Tape Runner Refill or (Shop Canada | Shop Australia)
- Multi-Purpose Tool or (Shop Canada | Shop Australia)
- All-Purpose Scissors or (Shop Canada | Shop Australia)


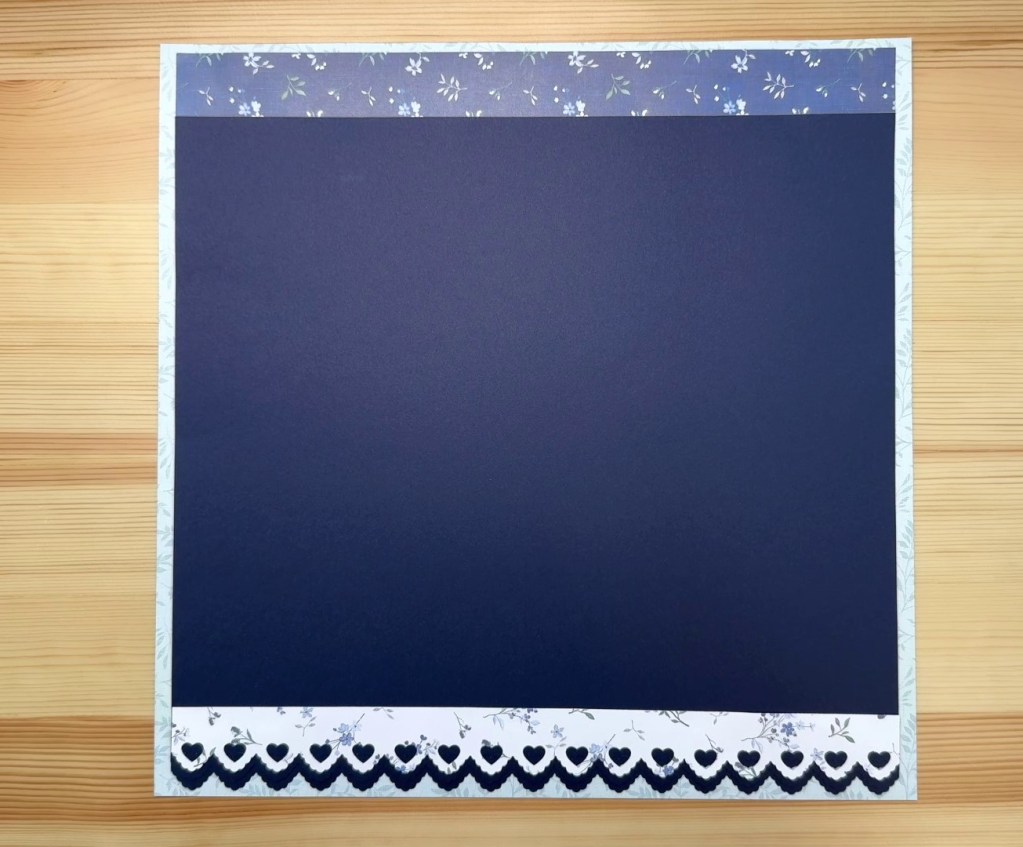
Step 1: Use a piece of Gold Shimmer Solid Core Paper as the base of this layout. Cut the mint green leaves designer paper to measure 11-7/8? x 11-7/8? and add to the base.
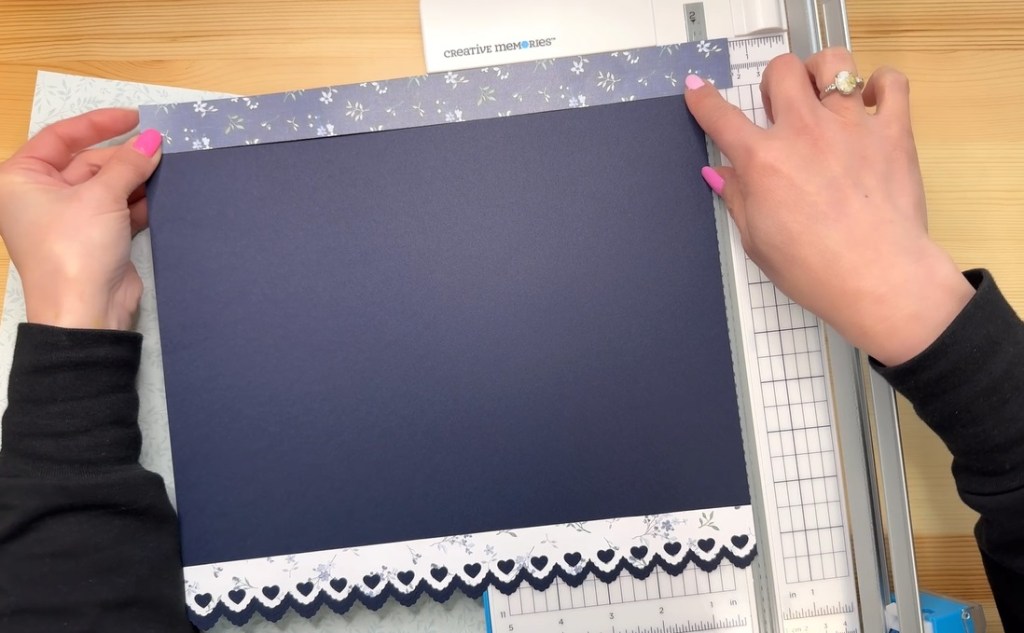
Step 2: Use the Original Border Maker System and the Scalloped Hearts Border Maker Cartridge to punch the bottom edge of Navy Solid Cardstock. Cut the punched side at 3/4? width. Use the Scalloped Hearts Border Maker Cartridge again to punch the side you just cut to make a decorative edge. Adhere the 3/4? width border to the sheet with the decorative edge, slightly offset as shown.
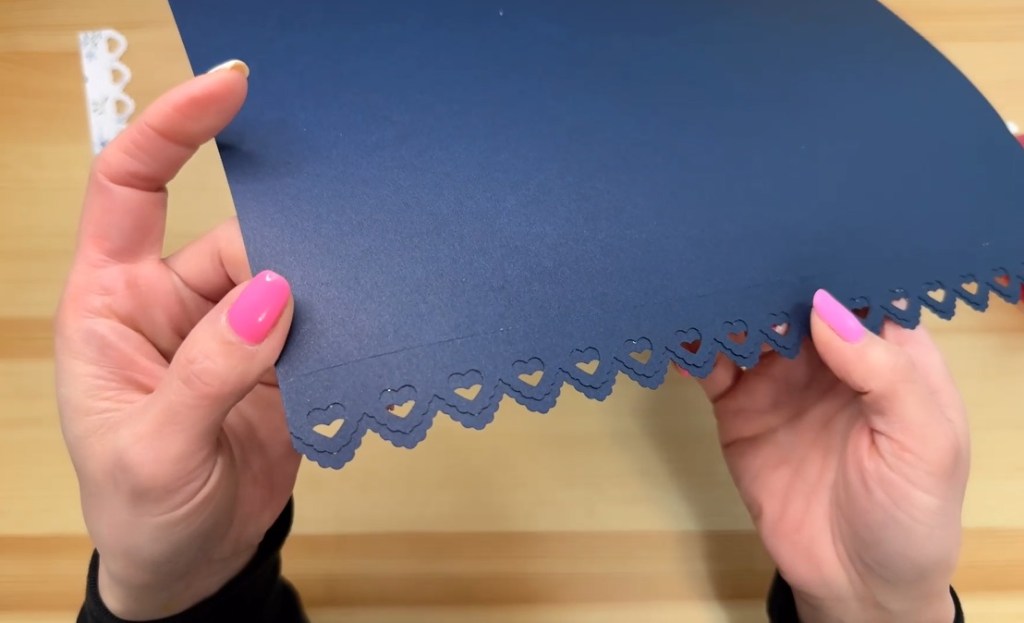
Use the Scalloped Hearts Border Maker Cartridge to punch the petite white floral designer paper. Cut at a 1? width and adhere slightly offset from the navy
border. Trim the Navy Solid Cardstock piece by the width of one heart shape as shown.
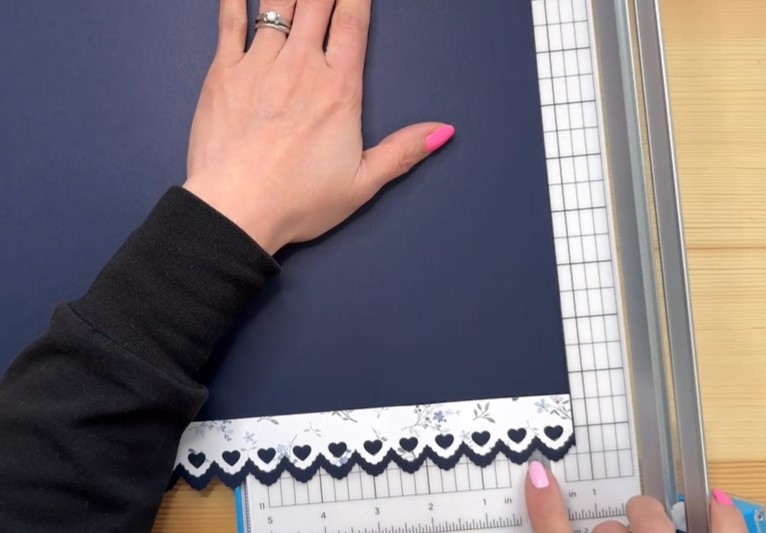
Cut the navy petite floral designer paper to measure 12” x 1”. Trim to make it the same width as the navy base as shown.
Adhere the navy petite floral piece and navy cardstock piece to the base as shown.
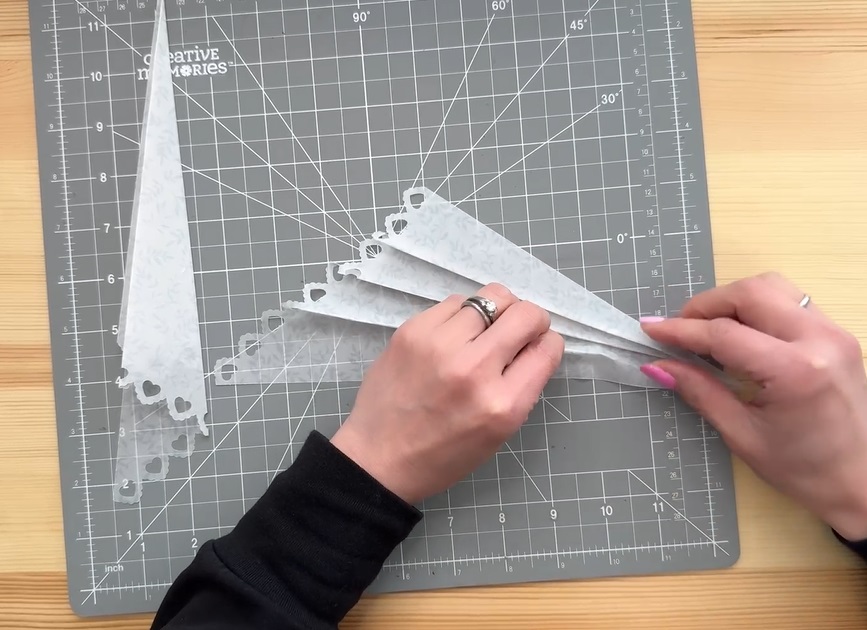
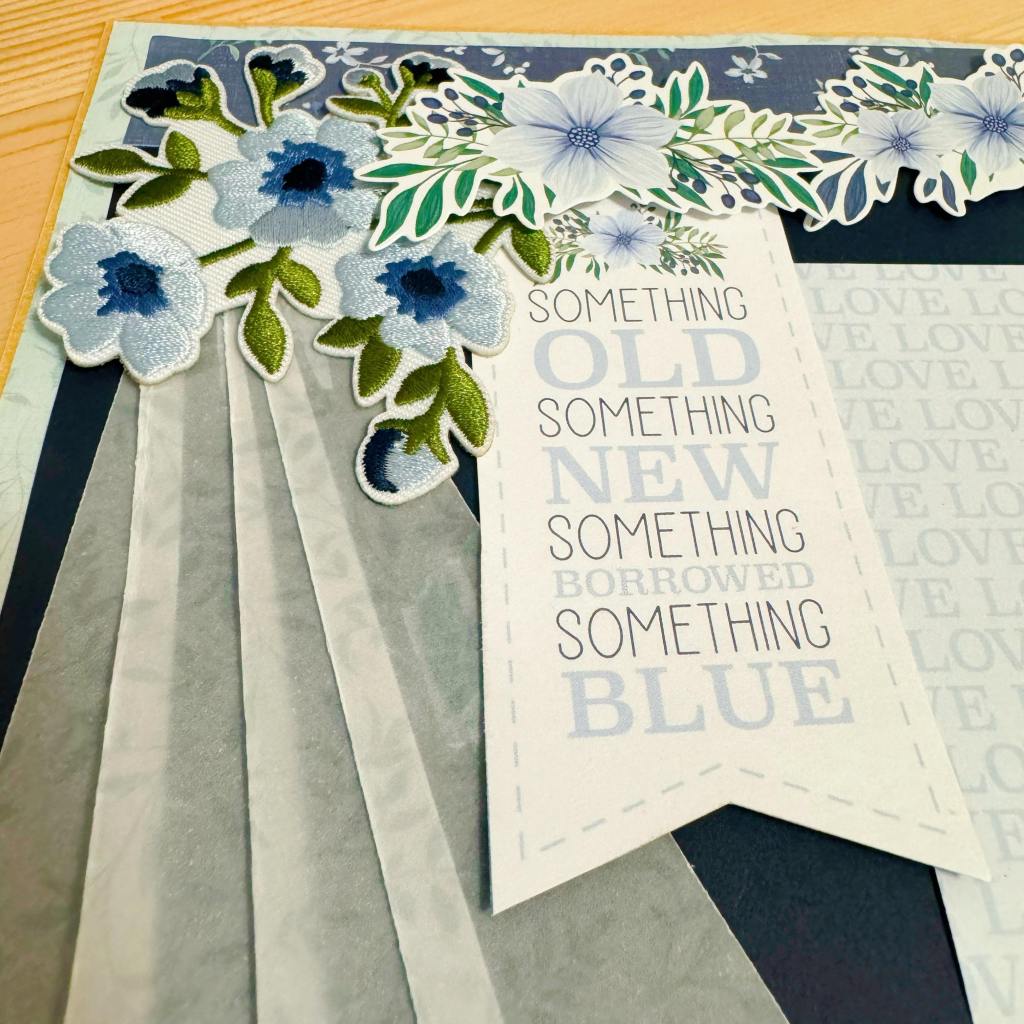
Step 3: Cut the light blue leaves vellum paper to measure 8” x 8”. Cut in half diagonally to make two triangle shapes. Use the Scalloped Hearts Border Maker Cartridge to punch the bottom as
shown.

Fold the triangle shape in half and half again. Open the paper and make pleats as shown. Cut the pleated piece at 9” lengthwise. Adhere to the base using the Vellum Tape Runner. Use the Multi-Purpose Tool to rub across where the tape is.
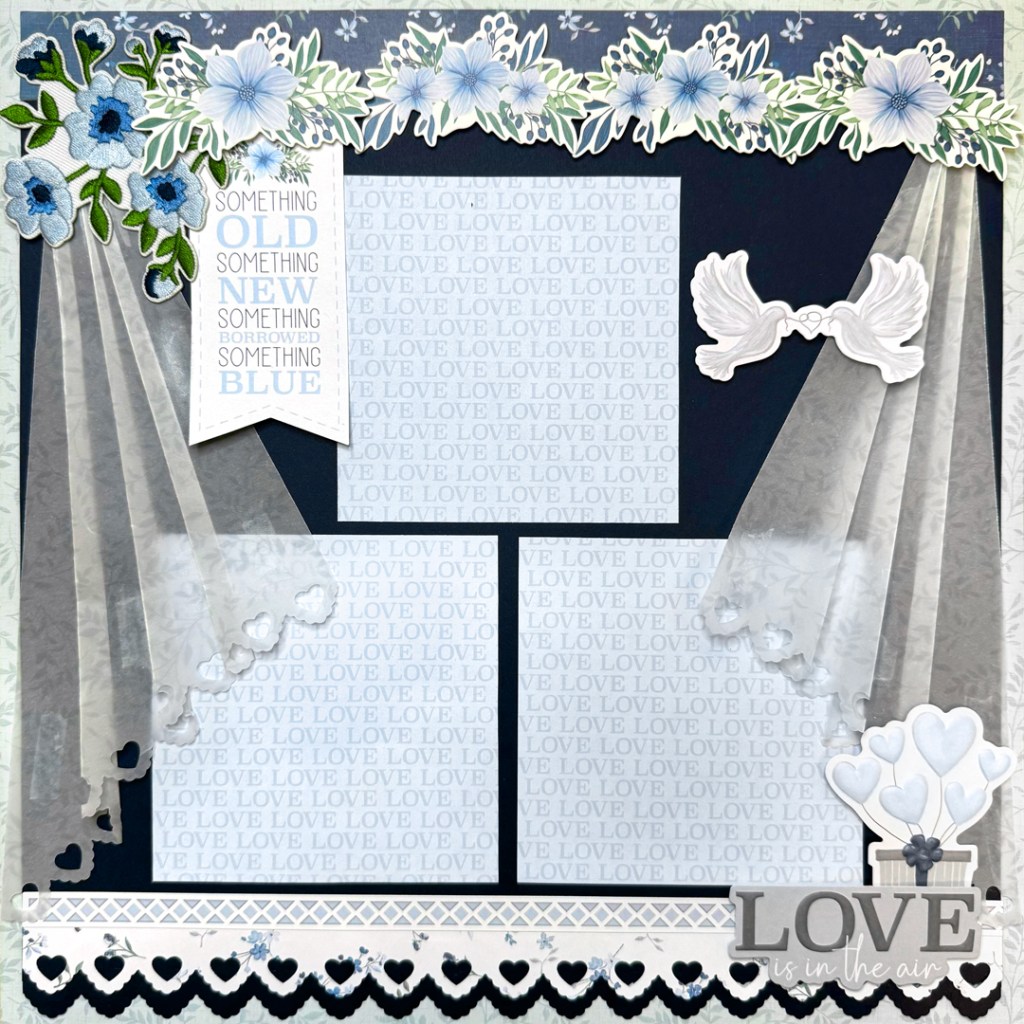
Step 4: Cut three mats to measure 4” x 4” from the “LOVE” designer paper.
Step 5: Cut out the “Something old…” banner shape from one of the mats.
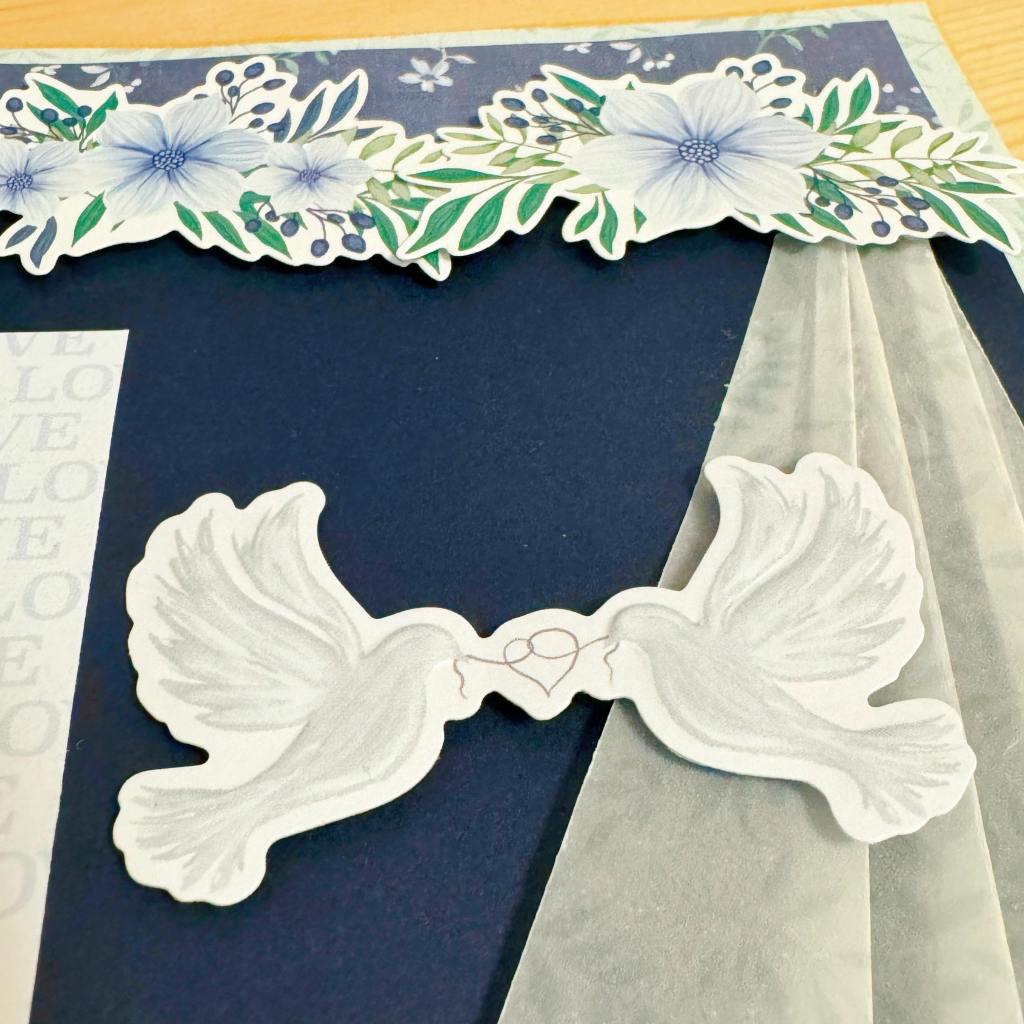
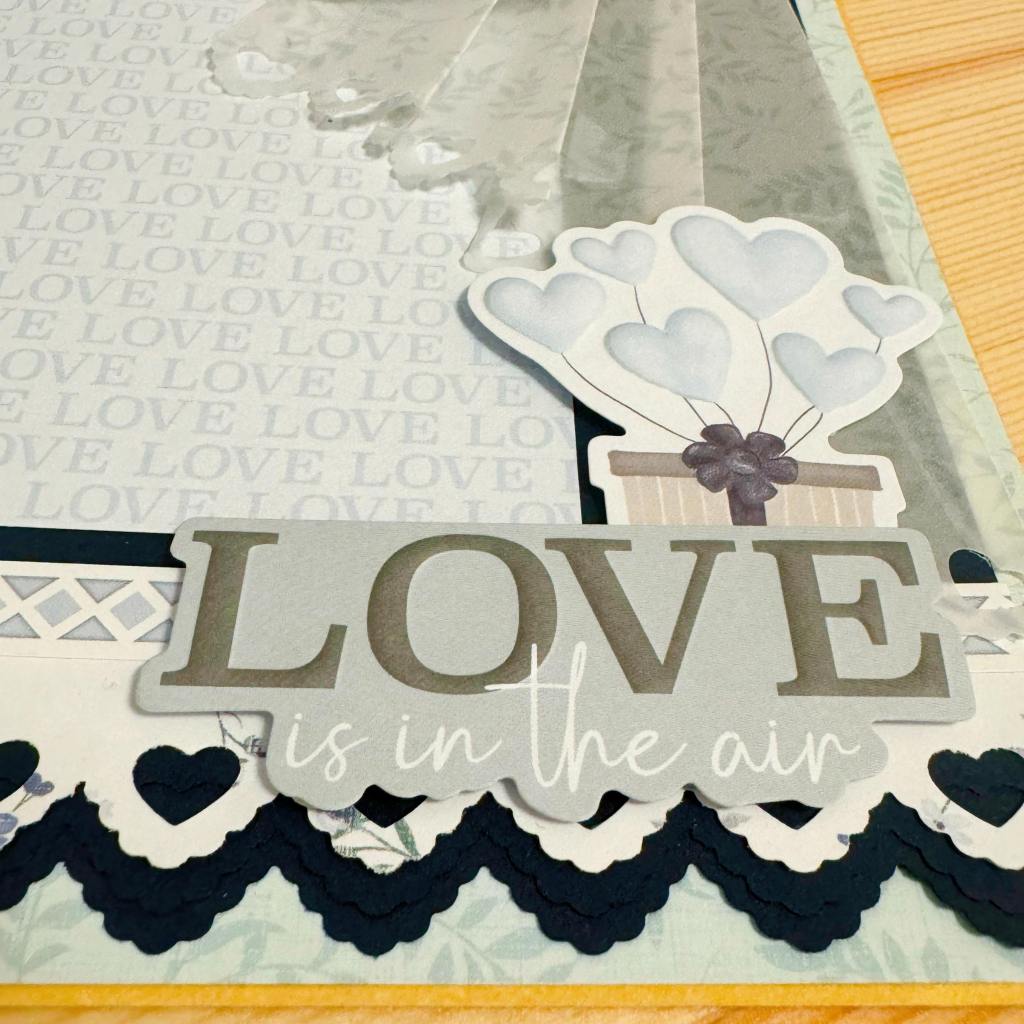
Step 6: Adhere the banner, stickers, embellishments and photo mats, using Foam Squares on some
for added dimension.
What are the most memorable photos from the last wedding you attended?
P.S. Are YOU a member of the Virtual Crop Facebook Group? It’s your go-to place for MONTHLY Virtual Crops, MONTHLY Completed Album Challenges, QUARTERLY Secret Box Openings with project tutorials and so much more! We hope you’ll join our community of more than 40,000 fellow memory-keeping enthusiasts — you’ll feel right at home!

This is absolutely beautiful!! Love the creativity!! Thanks for sharing!!
Wow! Amazingly beautiful layout idea! Can’t wait to try it!
Love the way you used the vellum paper!!??
Just lovely! The vellum veil/drapes are fantastic!