February 25, 2026
Craft Along with the Spring Equinox Collection
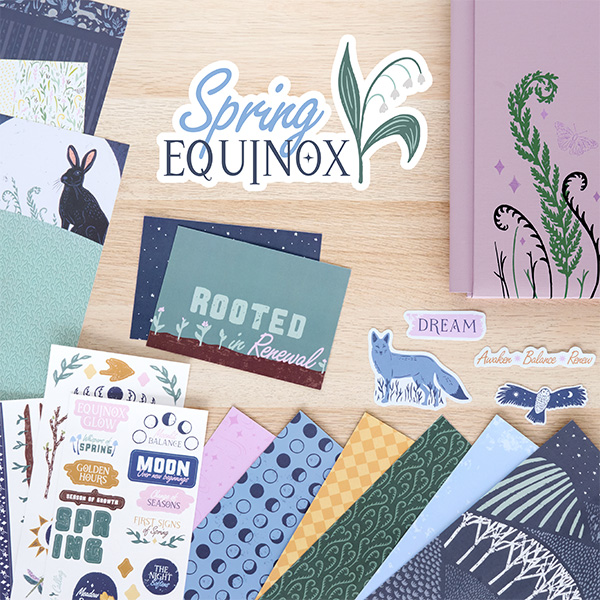
Spring has a way of slowing everything down and reminding us to enjoy the little things. This layout is the perfect backdrop for those moments that make the season feel so special. The Spring Equinox collection adds just the right amount of whimsy, with its woodland stickers and nature-inspired details that bring a soft, playful touch to any spring page.
If you’d like to see how it all came together, you’re invited to craft along with Krislyn from the Creative Memories Design Team. She shares the layout step by step and gives a closer look at some of those items in the Buy-It-All Bundle, so you can recreate the design or make it your own.
To create this layout, you will need:
- Spring Equinox Designer Paper Pack (Shop Canada | Shop Australia)
- Spring Equinox Stickers (Shop Canada | Shop Australia)
- Spring Equinox Embellishments (Shop Canada | Shop Australia)
- Spring Equinox Mat Pack (Shop Canada | Shop Australia)
- Dragonfly BMC (Shop Canada | Shop Australia)
- Original Border Maker System (Shop Canada | Shop Australia)
- 12-inch Trimmer (Shop Canada | Shop Australia)
- Photo Trimmer (Shop Canada | Shop Australia)
- Tape Runner (Shop Canada | Shop Australia)
- Repositionable Tape Runner (Shop Canada | Shop Australia)
- Foam Squares Variety Pack (Shop Canada | Shop Australia)
- Black Dual-Tip Pen (Shop Canada | Shop Australia)


Step 1: Use a sheet of Bright White Solid Cardstock as the base for this layout.
Step 2: Cut a piece of green trees designer paper to 7-3/4″ x 11-3/4″ and adhere it to the right side of the layout, leaving 1/8″ of the white base visible on three sides. Adhere a navy border sticker on the left edge.
Step 3: Using the outside edge of the small circle pattern and the red blade, cut a circle with each little leaves, lilac stardust, and tonal blue designer paper. Using the 12-inch Trimmer, cut each circle apart at 2-3/4″, paying attention to the pattern on the back side.
Step 4: Place the larger part of the lilac circle (lilac side facing up) into the Border Maker paper tray so that the straight edge is centered. Using the Dragonfly cartridge, punch the straight edge on the two centermost stops. Repeat with the green and blue circle shapes, except turn these to the reverse side before punching.
Step 5: Cut three 7/8″ x 4″ strips of Navy Solid Cardstock. Adhere them behind the dragonfly punch-outs from Step 4. Trim the edges to match the circles’ curves. Reassemble the circles and adhere them to the left side of the layout as shown, flipping the smaller circle pieces to the reverse sides.
Step 6: Cut the “Magic Spring Moments” mat apart and adhere the pieces to the layout as shown.
Step 7: Cut two 6″ x 4″ photo mats with lilac stardust paper; cut two 5-3/4″ x 3-3/4″ mats with your Bright White Solid Cardstock; and crop two photos to 5-1/2″ x 3-1/2″. Layer and adhere them to the layout over the mat pieces.
Step 8: Adhere embellishments and stickers, popping some up with foam squares for dimension.
Step 9: Journal as desired.
This layout is a fun one to create, with plenty of room to try new techniques. Crafting along with our Creative Memories Design Team contributors makes it easy to follow each step and enjoy the process as the page comes together. Tell us what you think in the comments!
P.S. Are YOU a member of the Virtual Crop Group? It’s your go-to place for MONTHLY Virtual Crops, MONTHLY Completed Album Challenges, QUARTERLY Secret Box Openings with project tutorials and so much more! We hope you’ll join our community of more than 51,000 fellow memory-keeping enthusiasts — you’ll feel right at home!

