March 4, 2026
Reach for the Moon with the Spring Equinox Collection
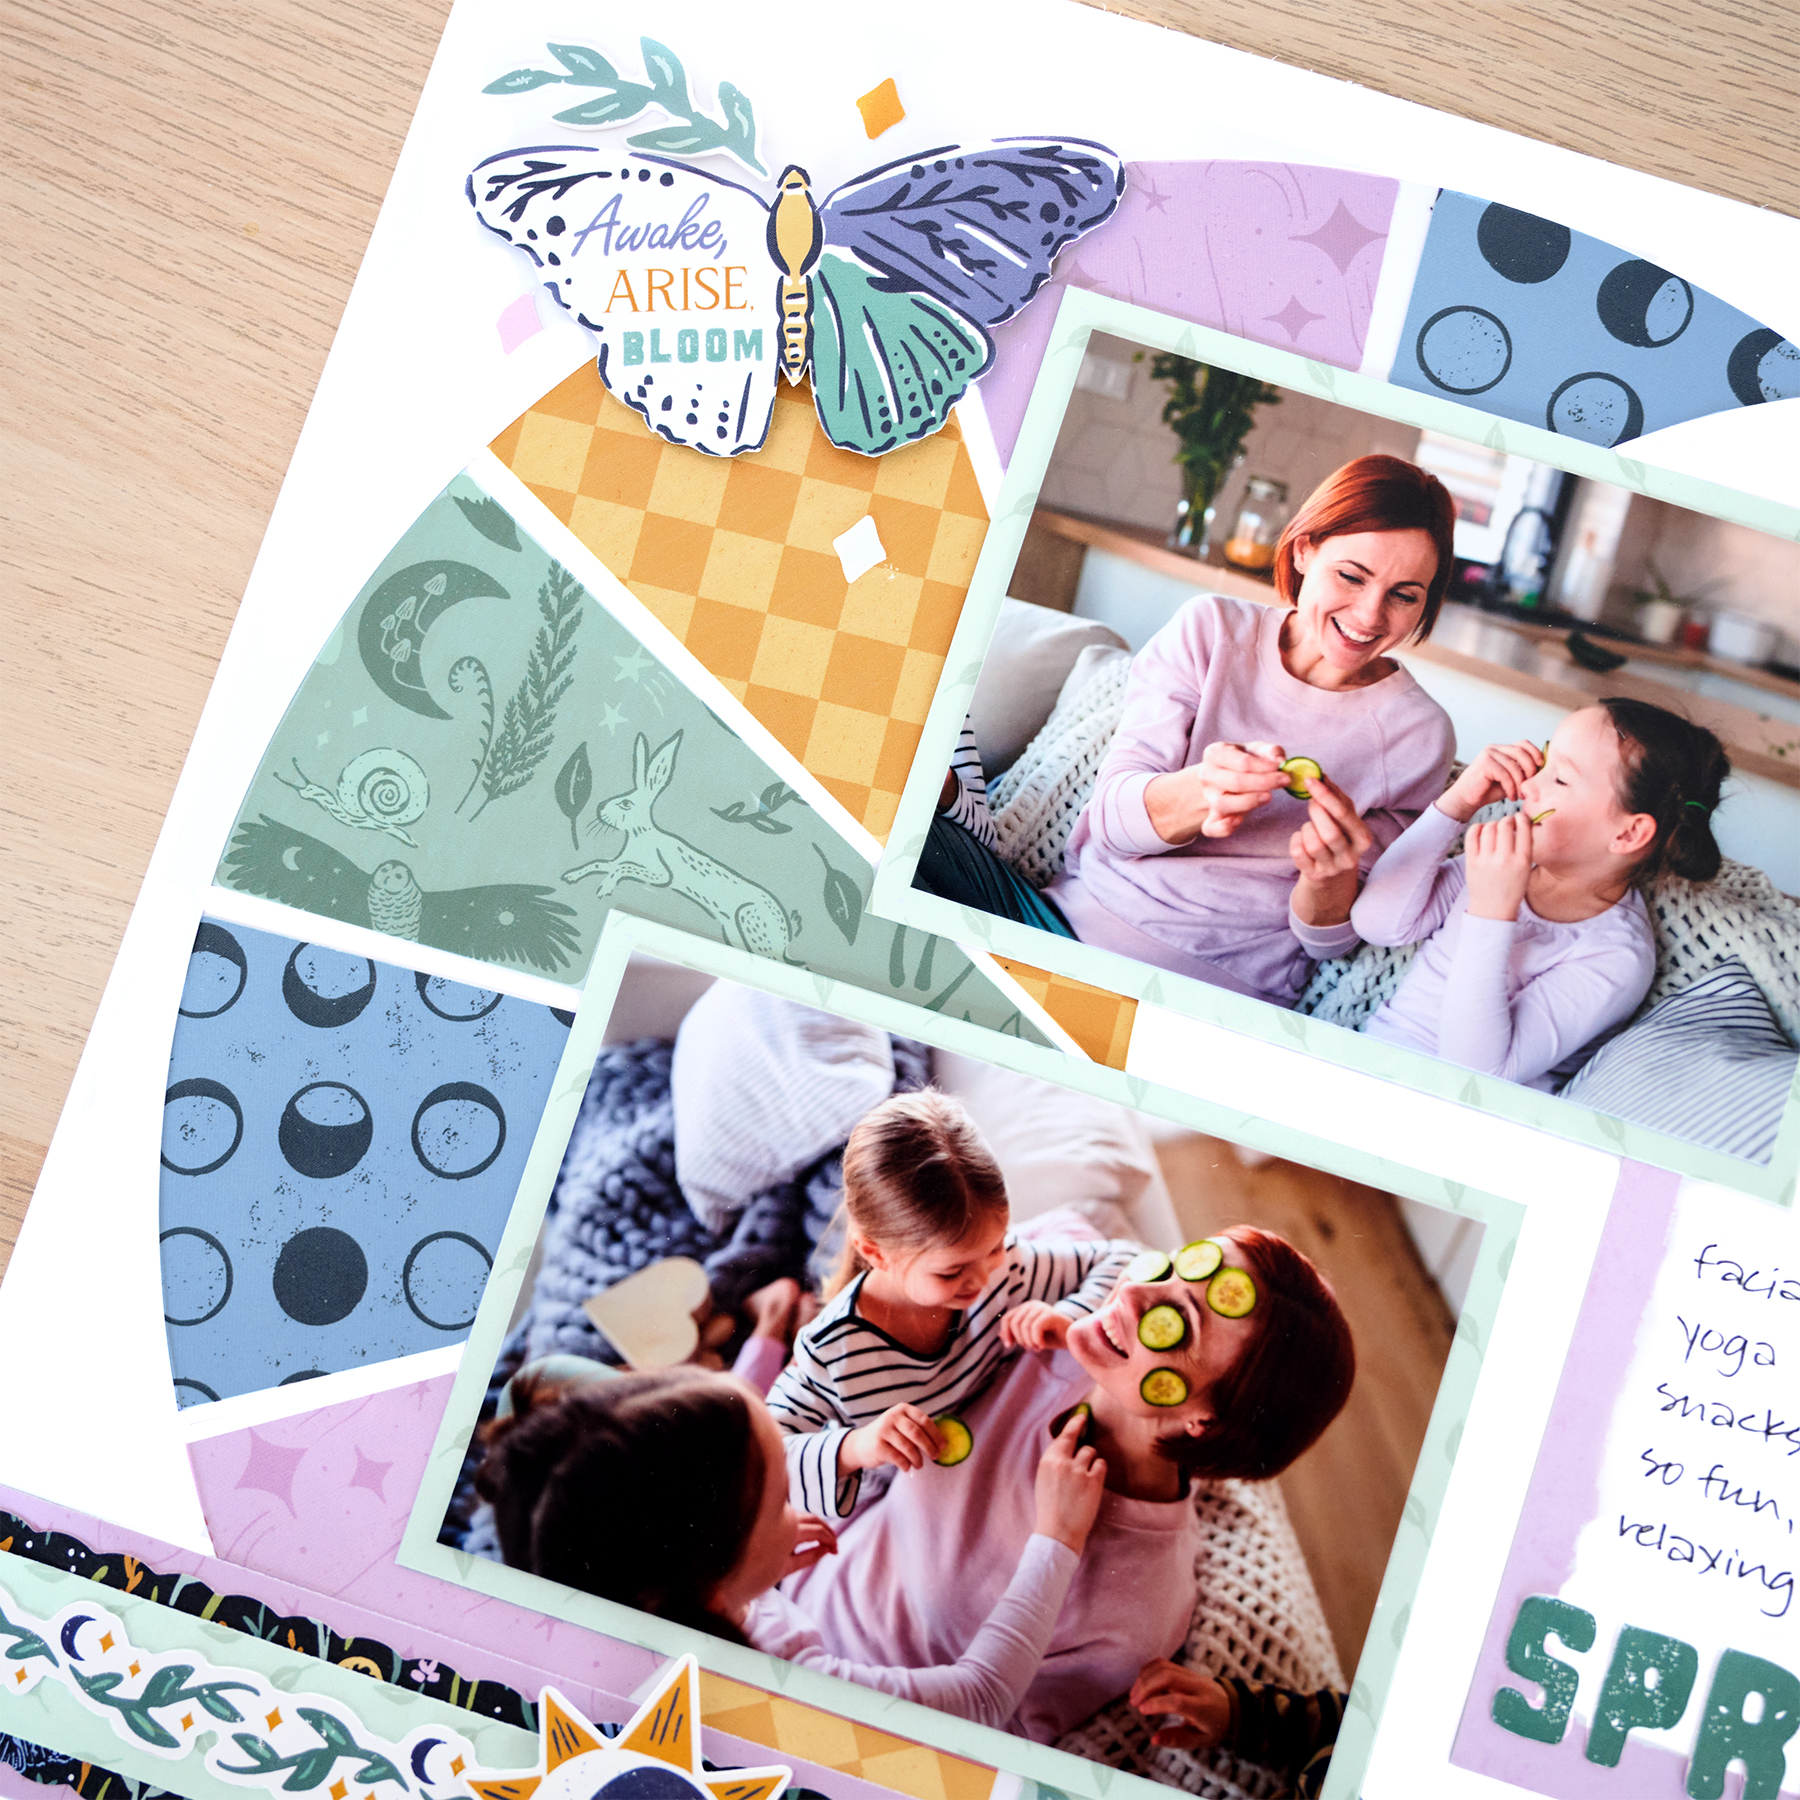
Capture magical spring moments with a layout that’s out of this world! This design uses the Custom Cutting System to create a crescent moon background filled with colorful designer paper. With the whimsical patterns of the Spring Equinox collection, this layout adds a playful celestial touch to your scrapbook pages.
To create this layout, you will need:
- Spring Equinox Designer Paper Pack
- Spring Equinox Stickers
- Spring Equinox Mat Pack
- Bright White Solid Cardstock
- 12-inch Trimmer
- 12-inch Trimmer Scallop Blade
- Custom Cutting System Bundle
- Jumbo Circle Custom Cutting System Pattern
- Micro-Tip Scissors
- Photo Trimmer
- Cutting Mat Layout Ruler
- Tape Runner
- Repositionable Tape Runner
- Foam Squares Variety Pack
- Black Dual-Tip Pen


Step 1: Use a sheet of Bright White Solid Cardstock as the base for this layout. You can also use the back of the Designer Paper Pack insert to create a thinner final page.
Step 2: Cut a second sheet of Bright White Solid Cardstock to 11-3/4″ x 11-3/4″. Place the paper on the CCS Cutting Mat, aligning it to the bottom-right corner. Using the outside edge of the CCS Jumbo Circle Pattern and the red blade, cut the outer edge of a crescent moon shape.
Tip: Use a ruler to mark the spot the pattern meets at 3-3/4″ from the top right and 1-1/4″ from the bottom right. You can lightly trace the moon shape with a pencil first to help guide pattern placement.
Step 3: Begin the cut approximately 3-3/4″ from the top right edge, moving the blade counterclockwise so the cut ends approximately 1-1/4″ from the bottom right edge.
Step 4: Move the Jumbo Circle Pattern so the left edge of the inside of the pattern aligns with the start and end points of the cut from Step 2. Using the red blade on the inside edge of the pattern, cut the inner crescent of the moon, being careful not to extend past the start and end points.
Step 5: Place the sheet with the moon cutout on top of the base sheet and lightly trace the shape with a pencil. Cut nine triangles measuring 2-3/4″ at the base and 5-1/2″ in length of these designer papers: moon dots, lilac stardust, yellow argyle and green animals. Adhere the triangles along the traced moon shape, alternating colors and leaving approximately 1/8″ between each piece. Adhere the moon cutout sheet on top, leaving 1/8″ of the base visible on all four sides.
Step 6: Cut a mat in half to measure 3-1/4″ x 4-1/2″ and adhere the lilac half to the layout as shown. Cut two 5-1/8″ x 3-5/8″ photo mats from the little leaves designer paper. Crop two photos to 4-3/4″ x 3-1/4″, mount on the mats and adhere to the layout.
Step 7: Cut a 12″ x 1-1/2″ strip from lilac stardust designer paper for the base of the border. Using the 12-inch Trimmer Scallop Blade, cut a 12″ x 1-1/4″ strip from the forest foliage designer paper and adhere on top. Use the 12-inch Trimmer Straight Blade to cut a 12″ x 1″ strip from the little leaves designer paper and mount on top. Place a foliage border sticker along the top edge. Adhere the completed border 1″ from the bottom edge of the layout.
Step 8: Fussy-cut the butterfly title from a mat and adhere it to the layout using foam squares. Add additional stickers, popping some up with foam squares for dimension.
Step 9: Journal as desired.
This crescent moon design is a fun way to showcase the many patterns of the Spring Equinox collection while creating a bold focal point for your photos. Try experimenting with different paper combinations to make the moon uniquely your own!
P.S. Are YOU a member of the Virtual Crop Group? It’s your go-to place for MONTHLY Virtual Crops, MONTHLY Completed Album Challenges, QUARTERLY Secret Box Openings with project tutorials and so much more! We hope you’ll join our community of more than 52,000 fellow memory-keeping enthusiasts — you’ll feel right at home!

