March 9, 2026
A Touch of Ink for Your Global Getaways
Adventure is always just around the corner with the Global Getaway collection. This layout keeps things nicely neutral so your travel photos can take center stage, while a playful touch of ink adds extra dimension and personality to the page. It’s a fun way to bring a little creativity to your travel memories and give your layout a look that feels just as adventurous as the moments you’re documenting.
To create this layout, you will need:
- Global Getaway Designer Paper Pack (Shop Canada | Shop Australia)
- Global Getaway Tone-on-Tone Paper Pack (Shop Canada | Shop Australia)
- Bright White Solid Cardstock (Shop Canada | Shop Australia)
- Global Getaway Embellishments (Shop Canada | Shop Australia)
- Black Micro-Tip Pen (Shop Canada | Shop Australia)
- 12-inch Trimmer (Shop Canada | Shop Australia)
- Micro-Tip Scissors (Shop Canada | Shop Australia)
- Repositionable Tape Runner (Shop Canada | Shop Australia)
- Foam Squares Variety Pack (Shop Canada | Shop Australia)
- 13×13 Non-Stick Craft Mat (Shop Canada | Shop Australia)
- Cutting Mat Layout Ruler (Shop Canada | Shop Australia)
- Gray Flannel Ink
- Craft Blending Brush
- Paintbrush
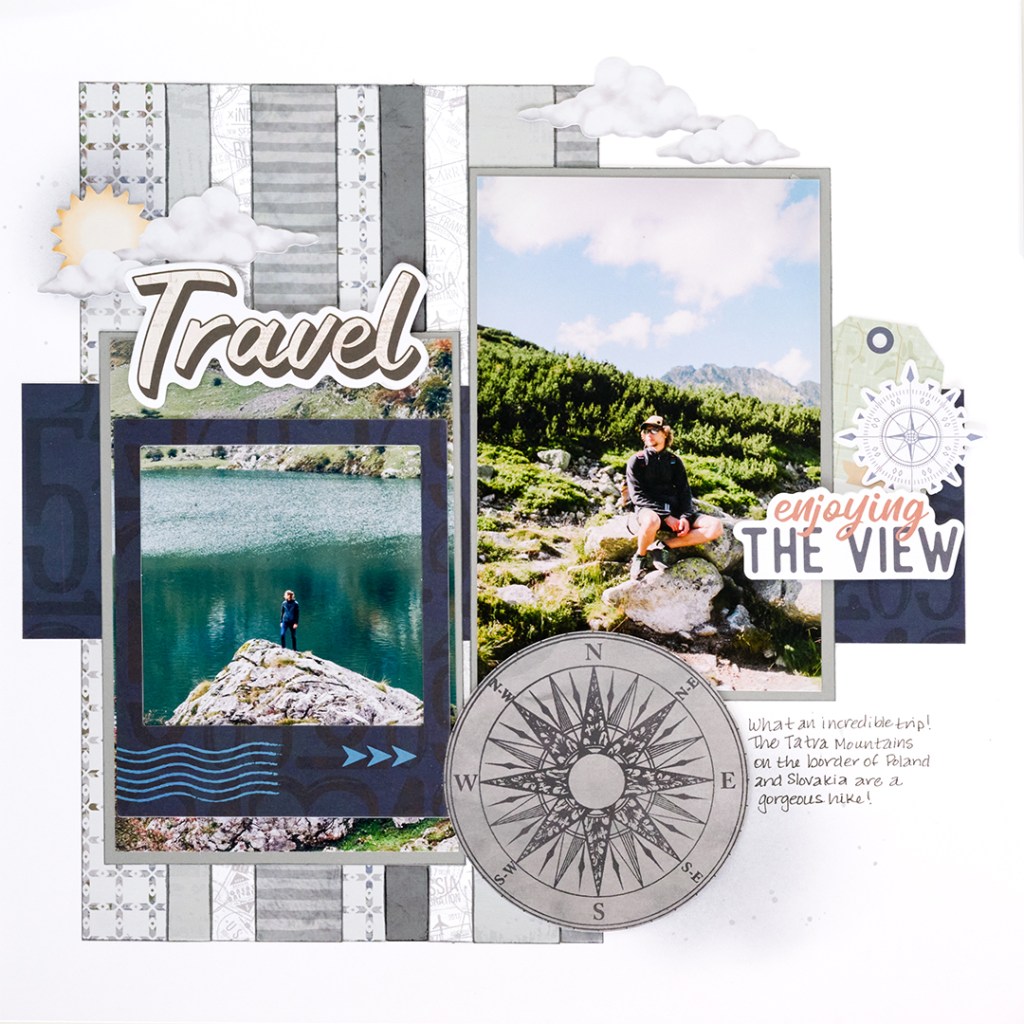

Step 1: Use a sheet of Bright White Solid Cardstock as the base for this layout.
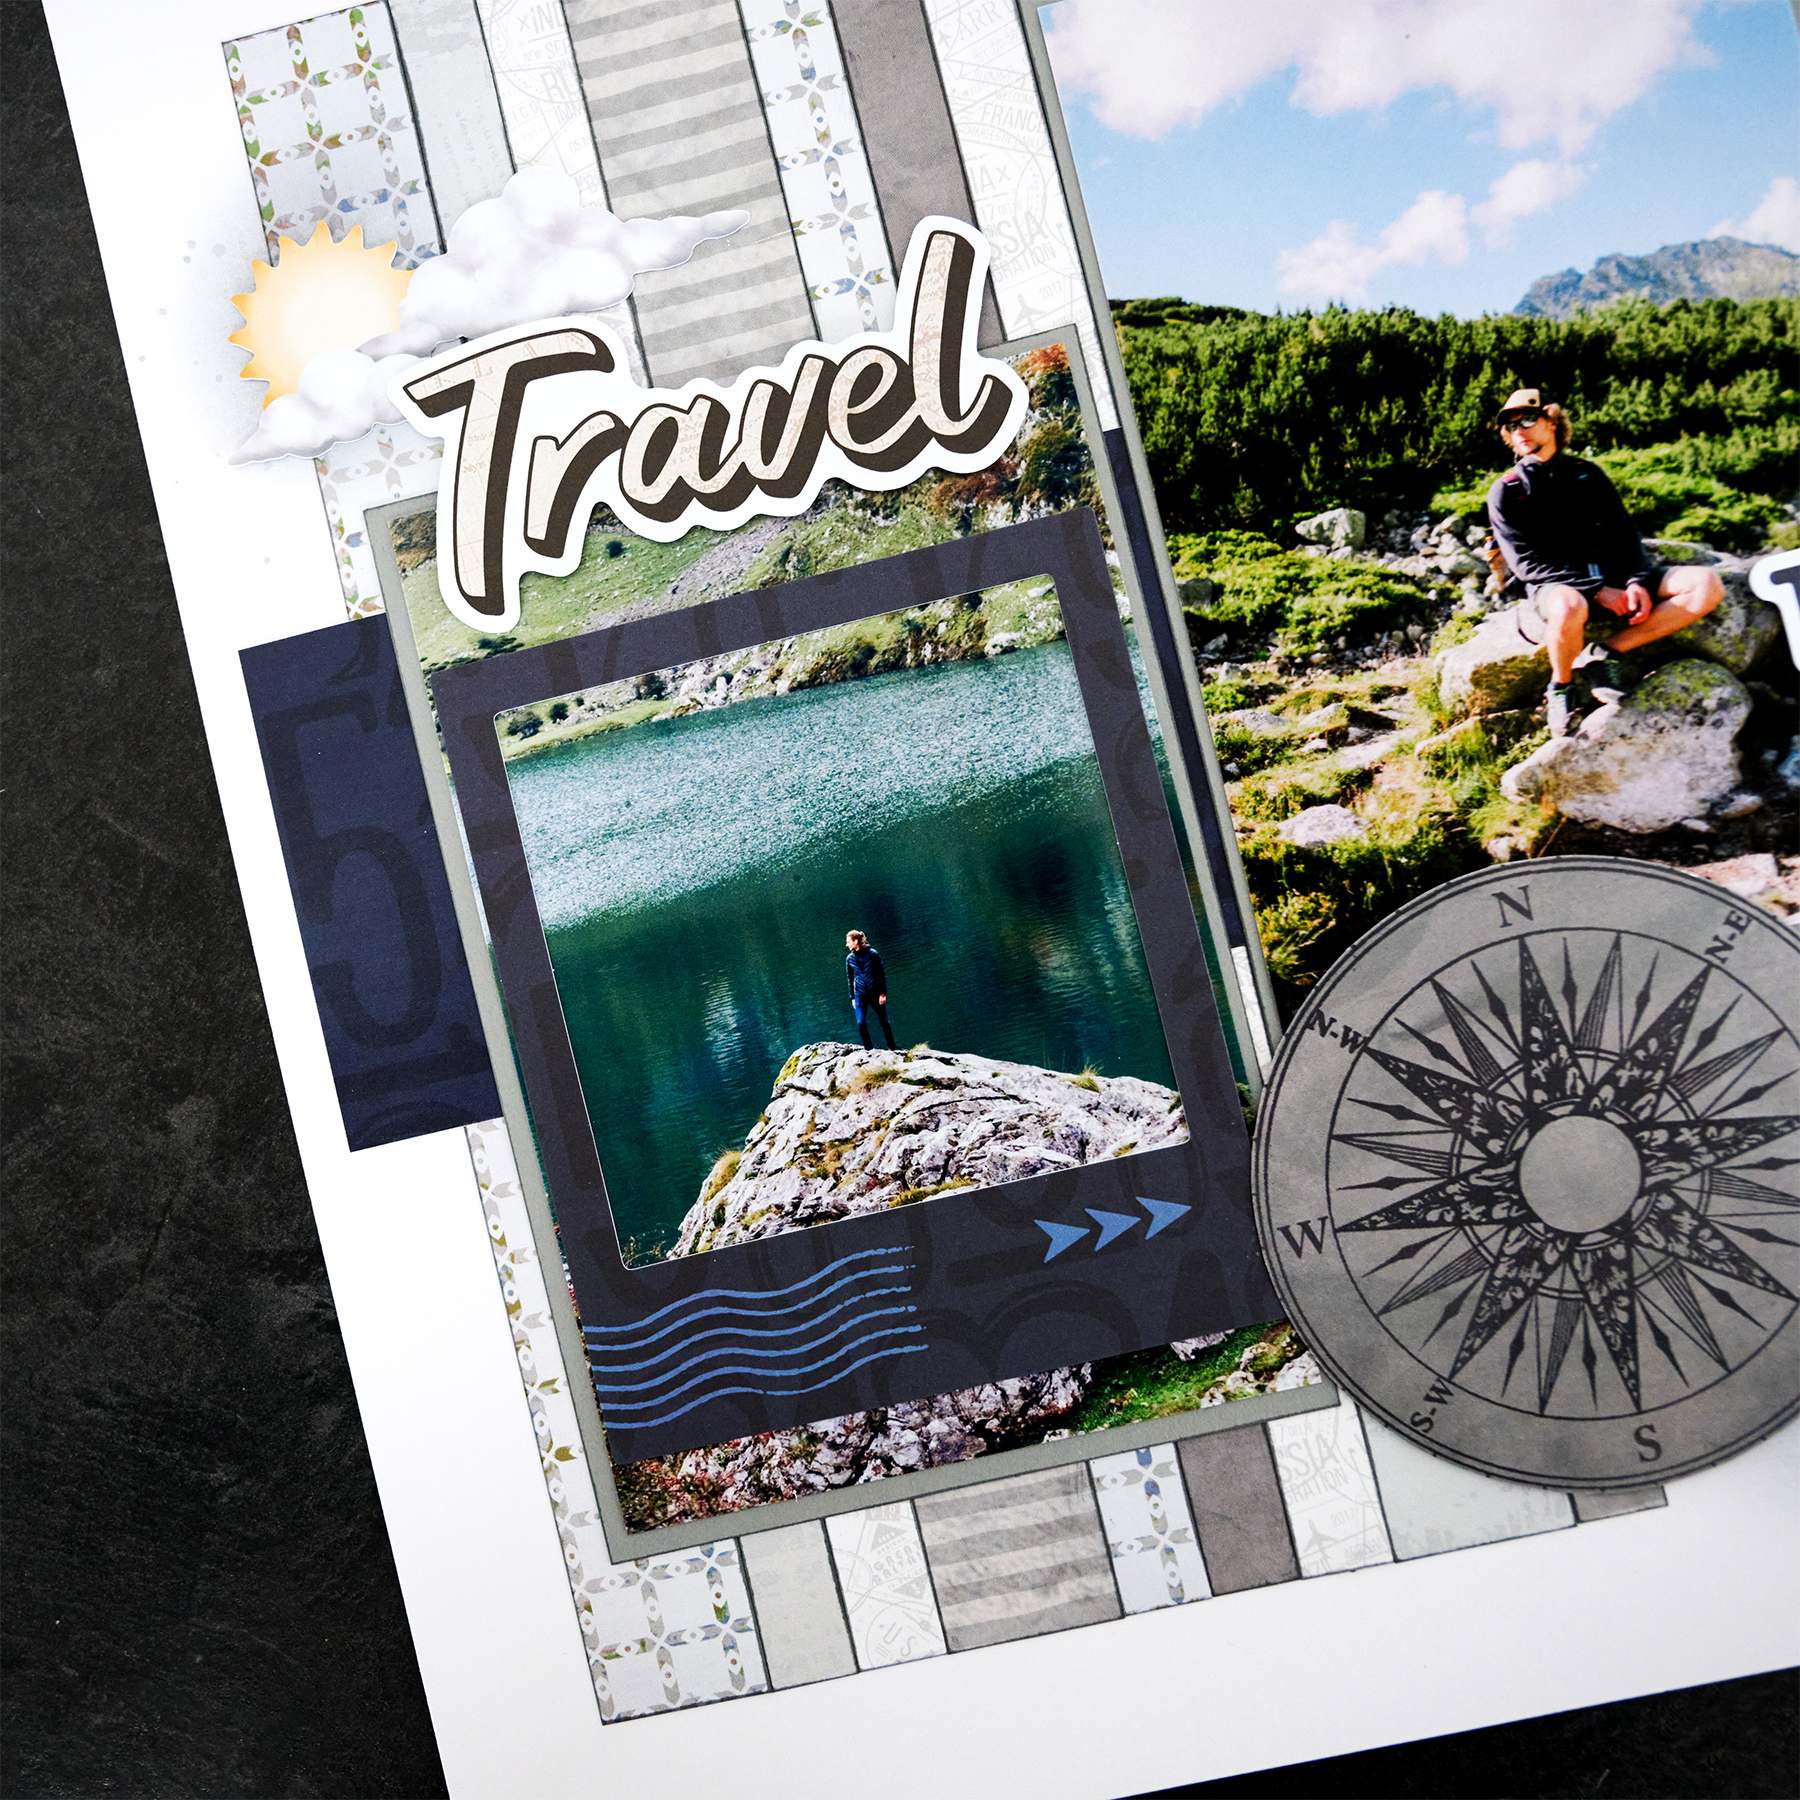
Step 2: Fussy cut the compass image from the dark gray designer paper and set it aside.
Step 3: Splatter Gray Flannel ink on the upper left and lower right on the page.
Tip: Do this simply by rubbing ink directly from the pad onto the 13×13 Non-Stick Craft Mat. Spritz the ink with water and mix it. Pick up the ink with a paintbrush and tap it onto the page.
Step 4: Next, lightly brush Gray Flannel Ink directly onto the page in a circular motion in two places. The first spot is 2″ from the top and 1/2″ from the left edge. The other spot is 3/4″ from the bottom and 1-1/2″ from the right edge.
Tip: Gather ink directly from the ink pad with your blending brush. Tap your brush on scratch paper before using it directly on your page to lighten your circle.
Step 5: Cut the following pieces and set them aside in the order they are cut:
- 1″ x 10″ gray squares designer paper
- 1/2″ x 10″ light gray map tonal paper
- 1/2″ x 10″ light gray postage stamp tonal paper
- 1″ x 10″ gray-striped tonal paper (make sure stripes are horizontal)
- 1/2″ x 10″ gray squares designer paper
- 1/2″ x 10″ dark dray dompass designer paper
- 1/2″ x 10″ light gray postage stamp tonal paper
- 1″ x 10″ light gray map tonal paper
- 1/2″ x 10″ gray-striped tonal paper (make sure stripes are horizontal)
Step 6: Use the Cutting Mat Layout Ruler to place the 10″ strips 1″ from the left and 1″ from the bottom of the page in the order they were cut.
Step 7: Cut an 11″ x 3″ piece of navy ABC designer paper. Adhere the piece 1/2″ from the left edge and 4-1/2″ from the bottom of the page.
Step 8: Cut (2) 4-1/4″ x 6-1/4″ pieces of cool gray designer paper to use as photo mats. Place the left mat 1-1/4” from the left edge and 1-3/4″ from the bottom of the page. Place the right mat 2-1/4″ from the right edge and 3-3/4″ from the bottom edge of the page.
Step 9: Adhere the compass image and embellishments using foam squares as desired. Journal to the right of the compass.
A touch of ink adds the perfect finishing detail to this travel-inspired page. Let this collection help bring your adventures to life!
P.S. Are YOU a member of the Virtual Crop Group? It’s your go-to place for MONTHLY Virtual Crops, MONTHLY Completed Album Challenges, QUARTERLY Secret Box Openings with project tutorials and so much more! We hope you’ll join our community of more than 50,000 fellow memory-keeping enthusiasts — you’ll feel right at home!

