June 12, 2026
The June 2026 Virtual Crop is HERE!
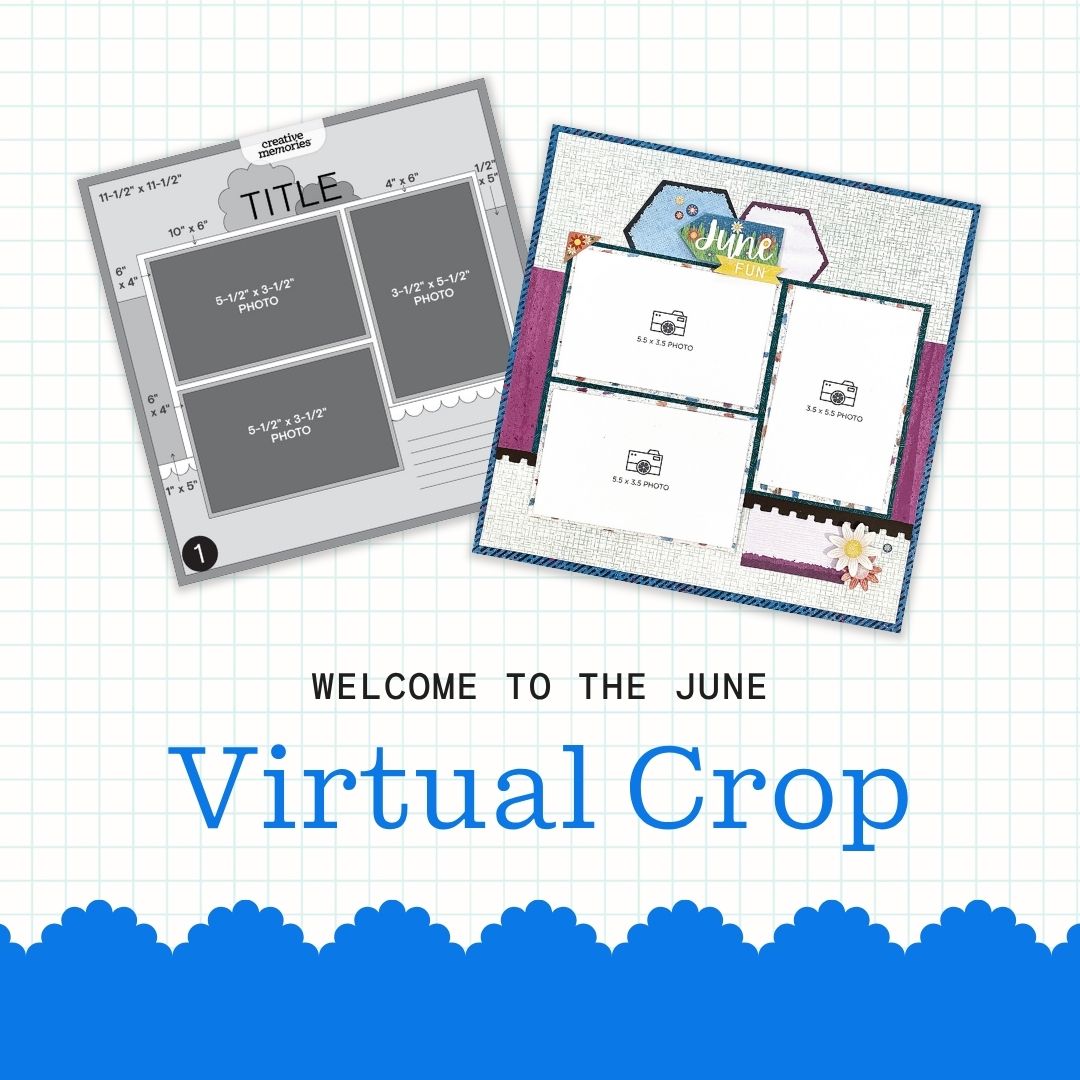
It’s officially time for the June Virtual Crop! This is your invitation to a weekend full of inspiration, connection and fun! Let’s get started!
If this is your first time participating in a Virtual Crop and you would like a quick step-by-step guide of what to expect before you jump in, you can get ALL the details about Virtual Crops in this blog post, including how to participate (in our Virtual Crop Group), supplies you’ll need, examples of challenges, types of prizes and more.
Know what you’re looking for? Find it faster here:
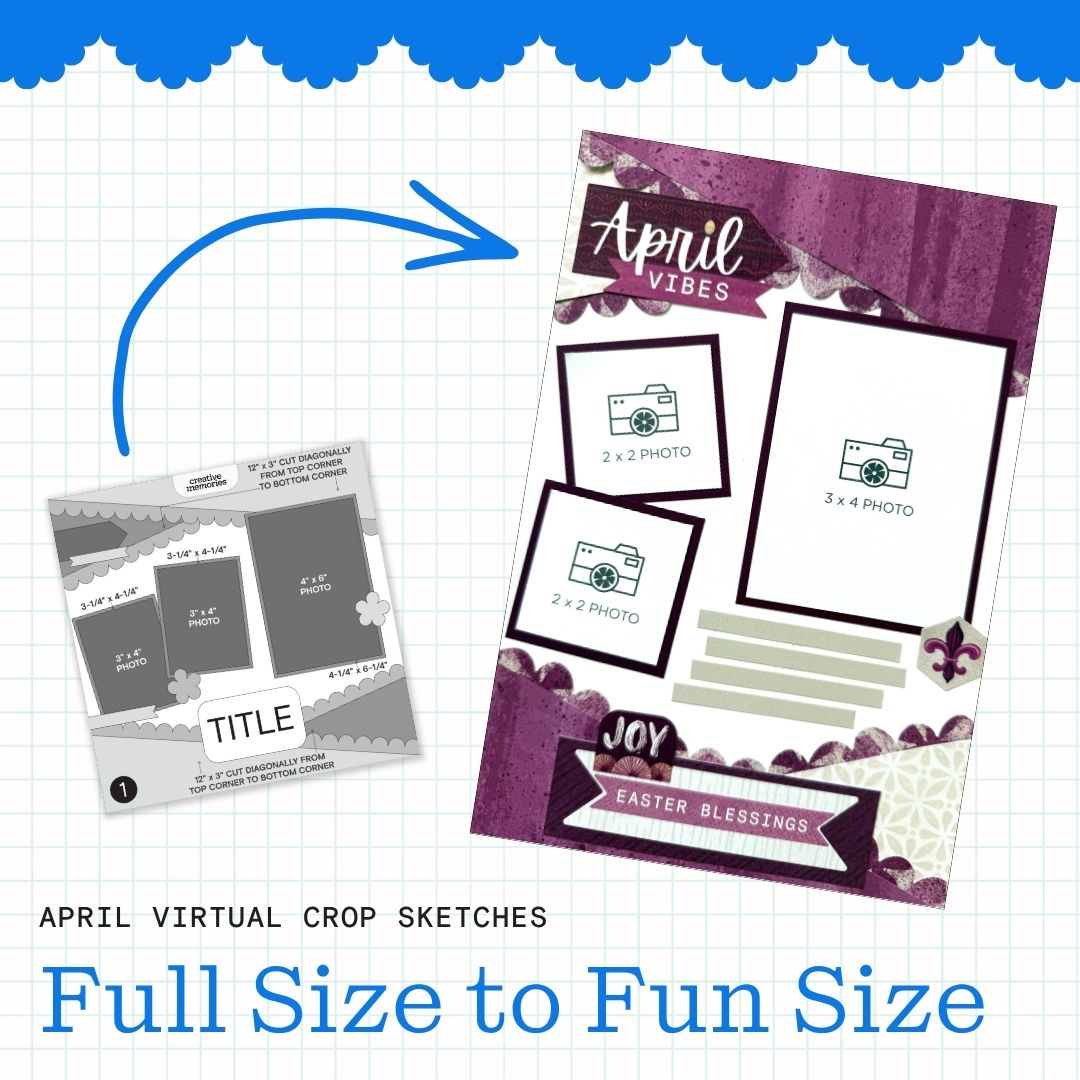
In this post, you will find ALL four sketches for this crop (these sketches are for the entire weekend; no additional sketches will be posted), a downloadable PDF with the four sketches for your convenience, hashtags to use when posting your challenge layouts in the Virtual Crop Group, prize information and layout inspiration. This is about to be an amazing weekend and we can’t wait to see what you create!
To make sure we see all your submissions for a chance to win, you’ll want to post each layout you complete as its own new post with the hashtag for that challenge. You have until Tuesday, June 16, at 11:59pm CT (AU: Wednesday, 17 June, 2:59pm AET) to submit your layouts for the chance to win a prize (more details on what you can win further down this post!). Again, we’re so excited that you’re here. Happy scrapping!


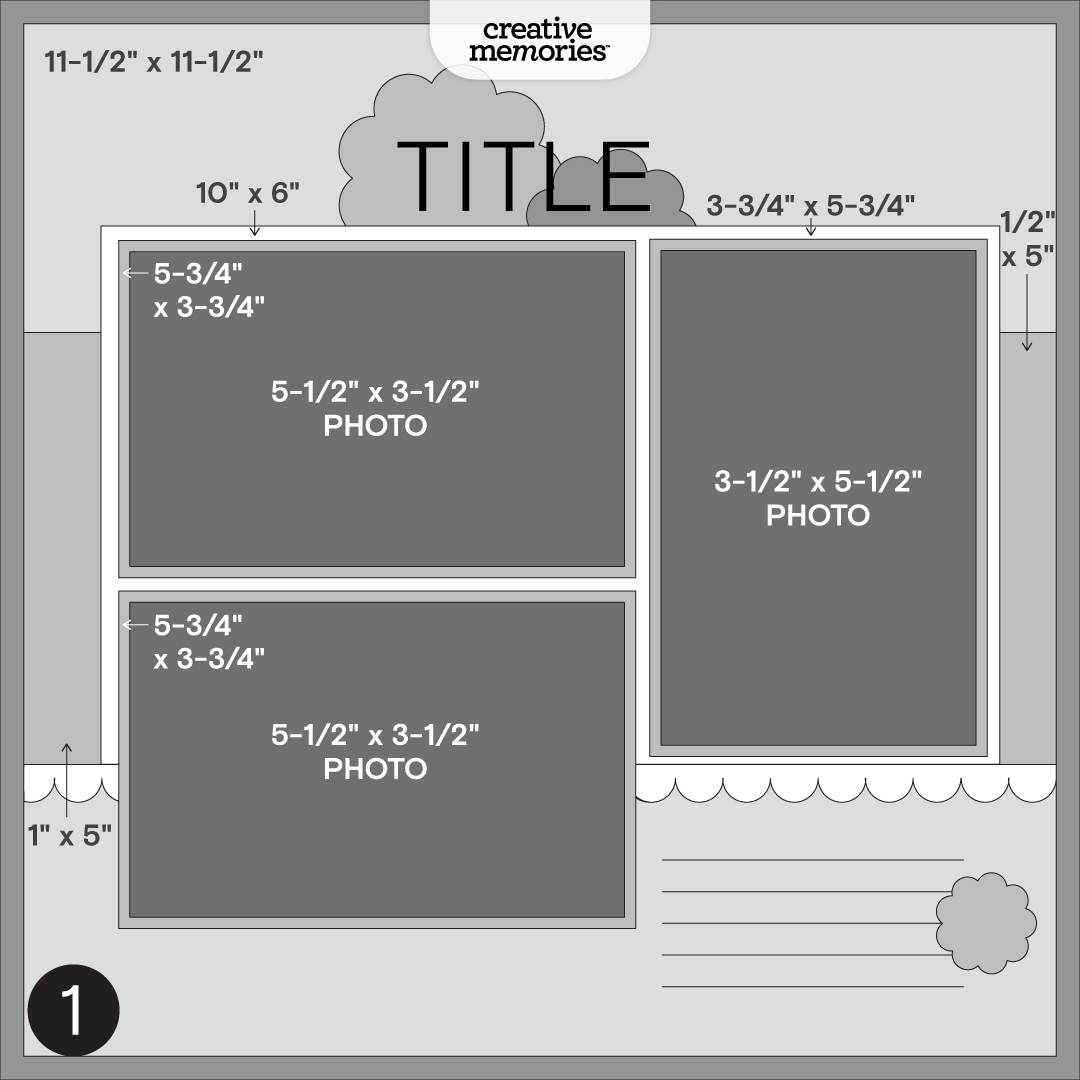
Challenge #1 — #CMVirtualCrop1June2026
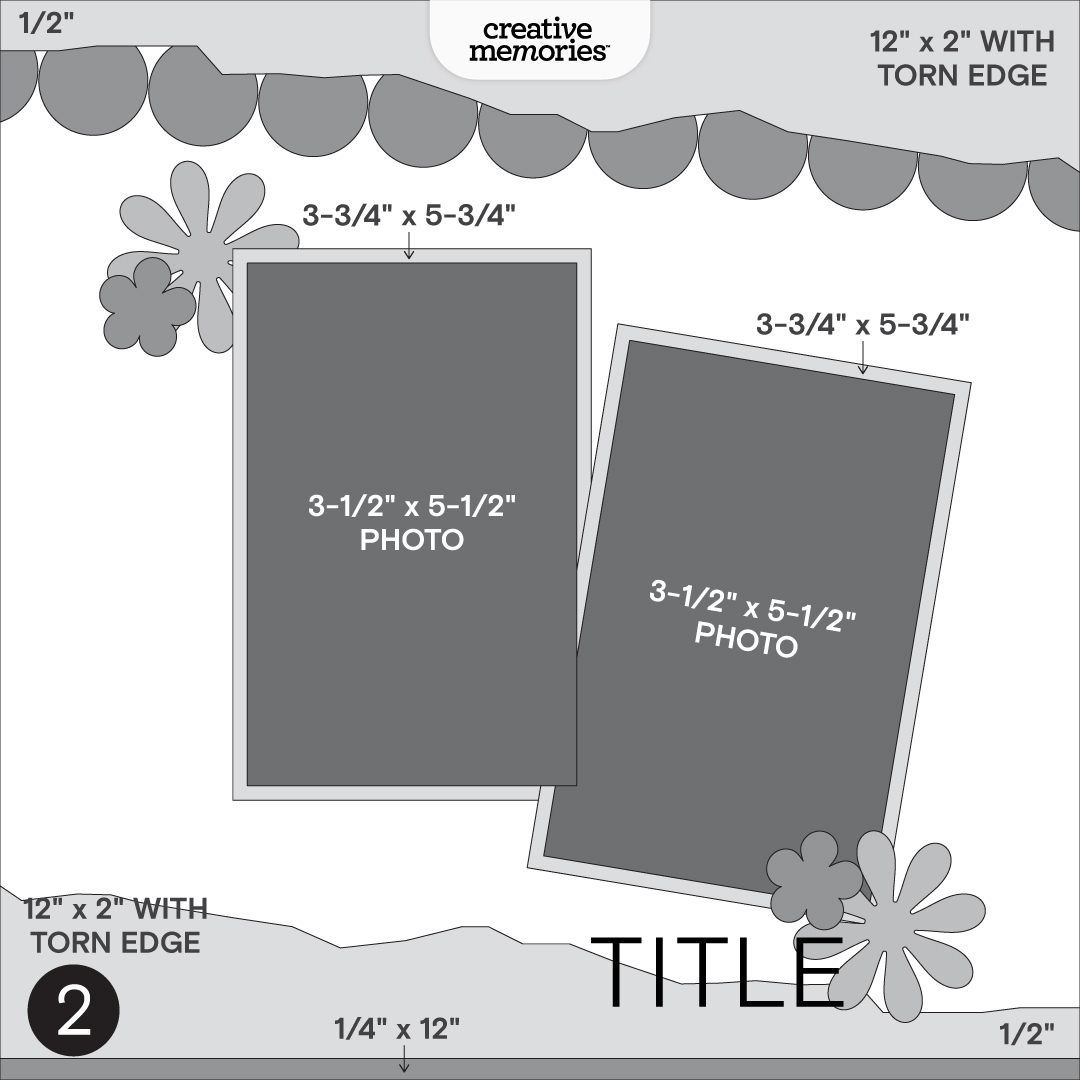
Challenge #2 — #CMVirtualCrop2June2026
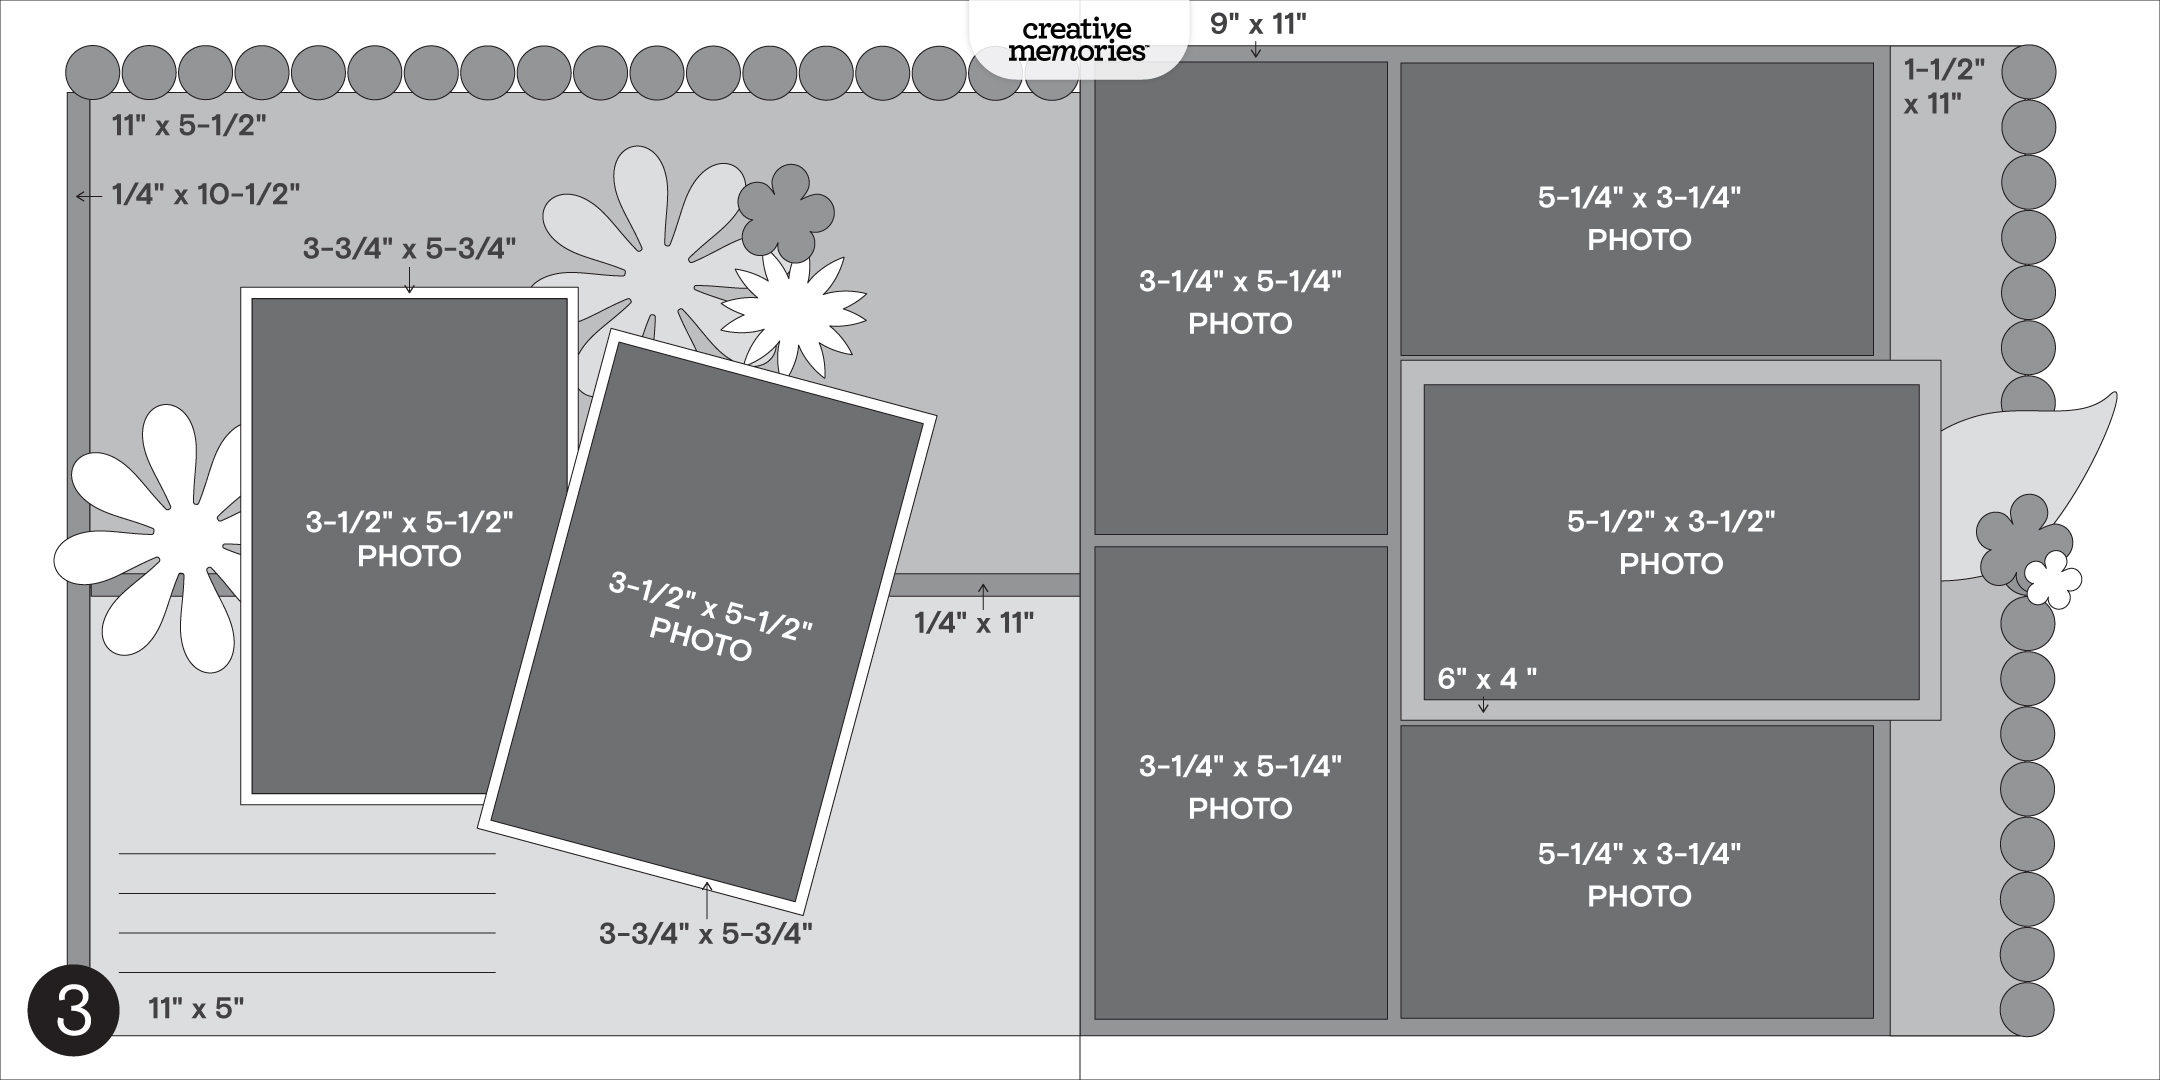
Challenge #3 — #CMVirtualCrop3June2026
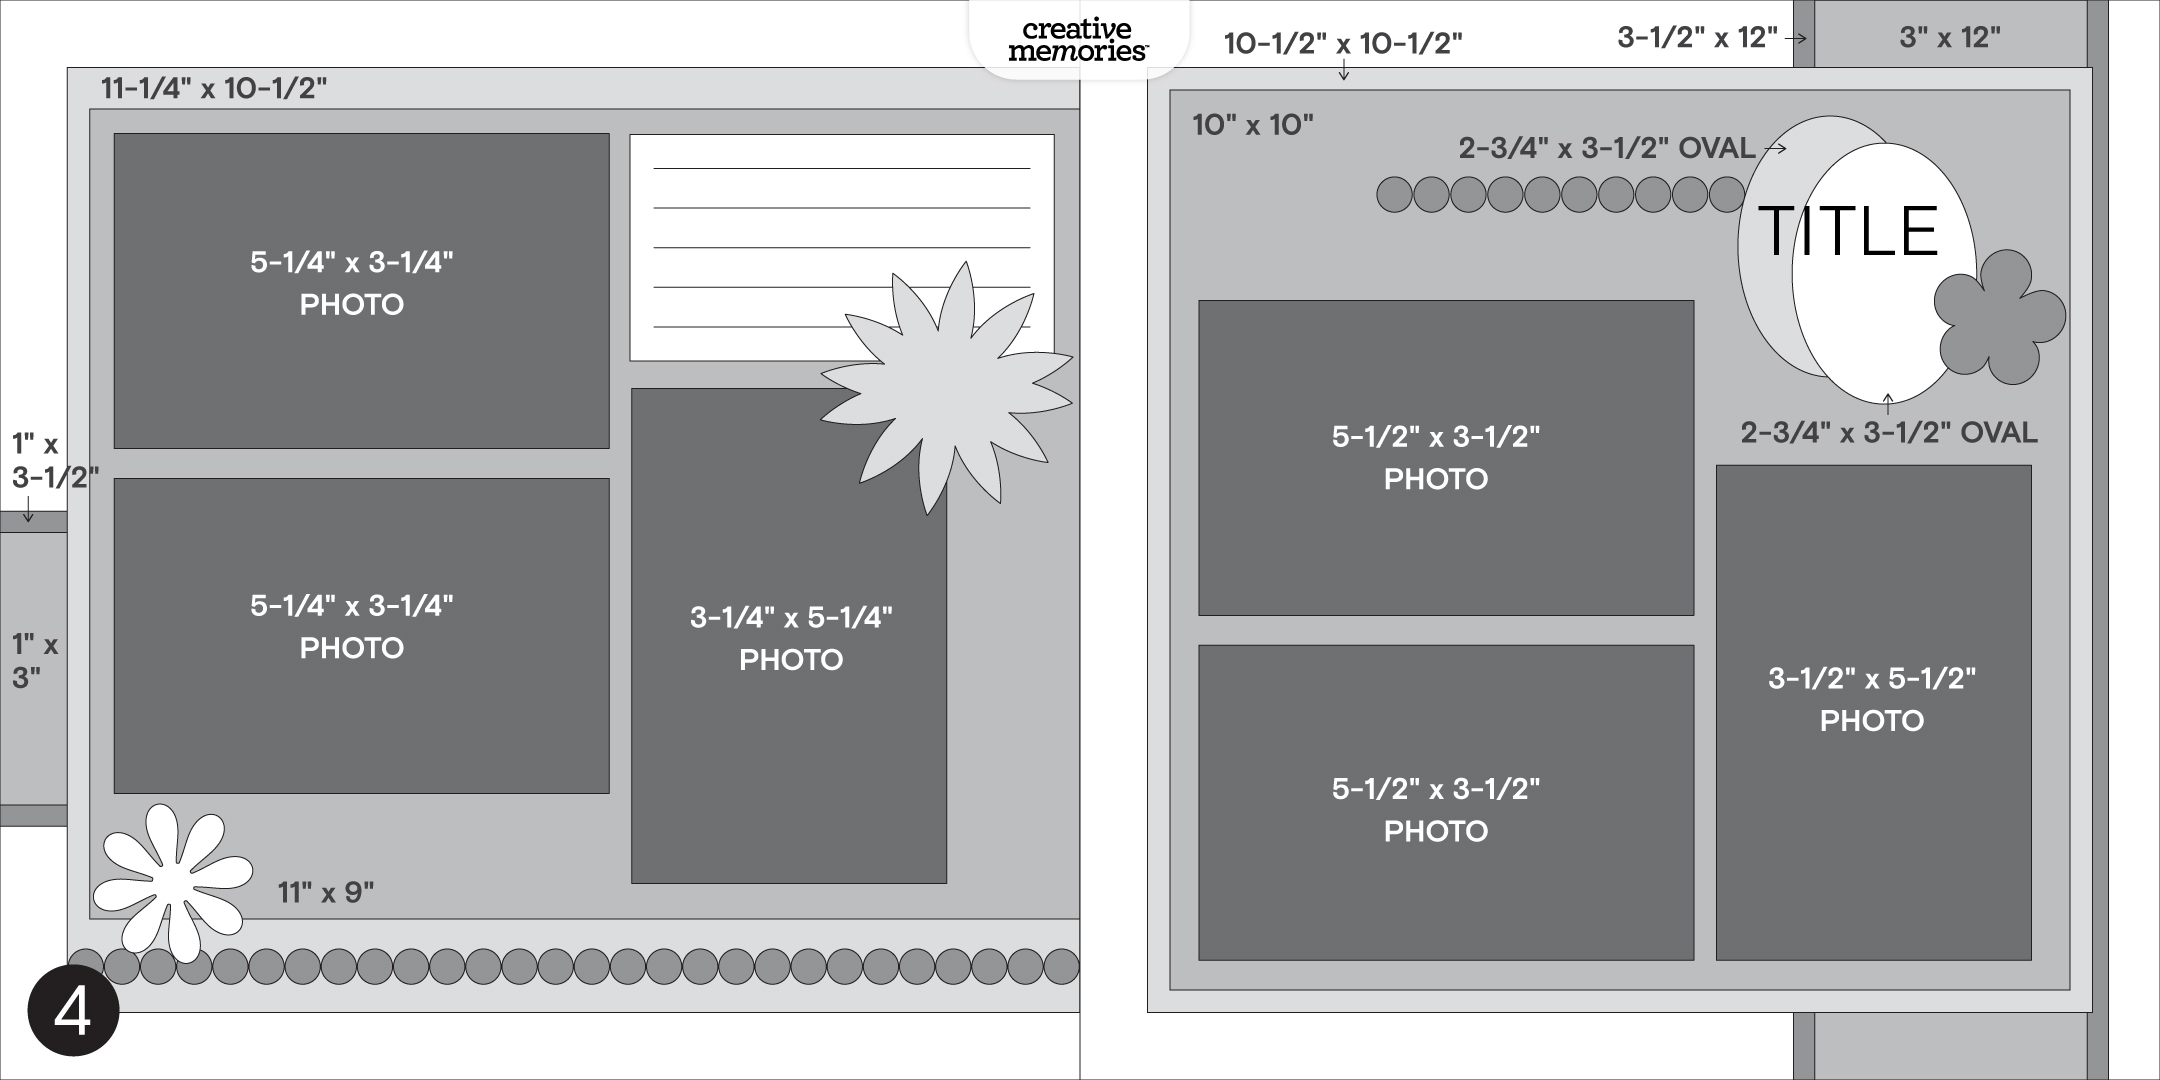
Challenge #4 — #CMVirtualCrop4June2026

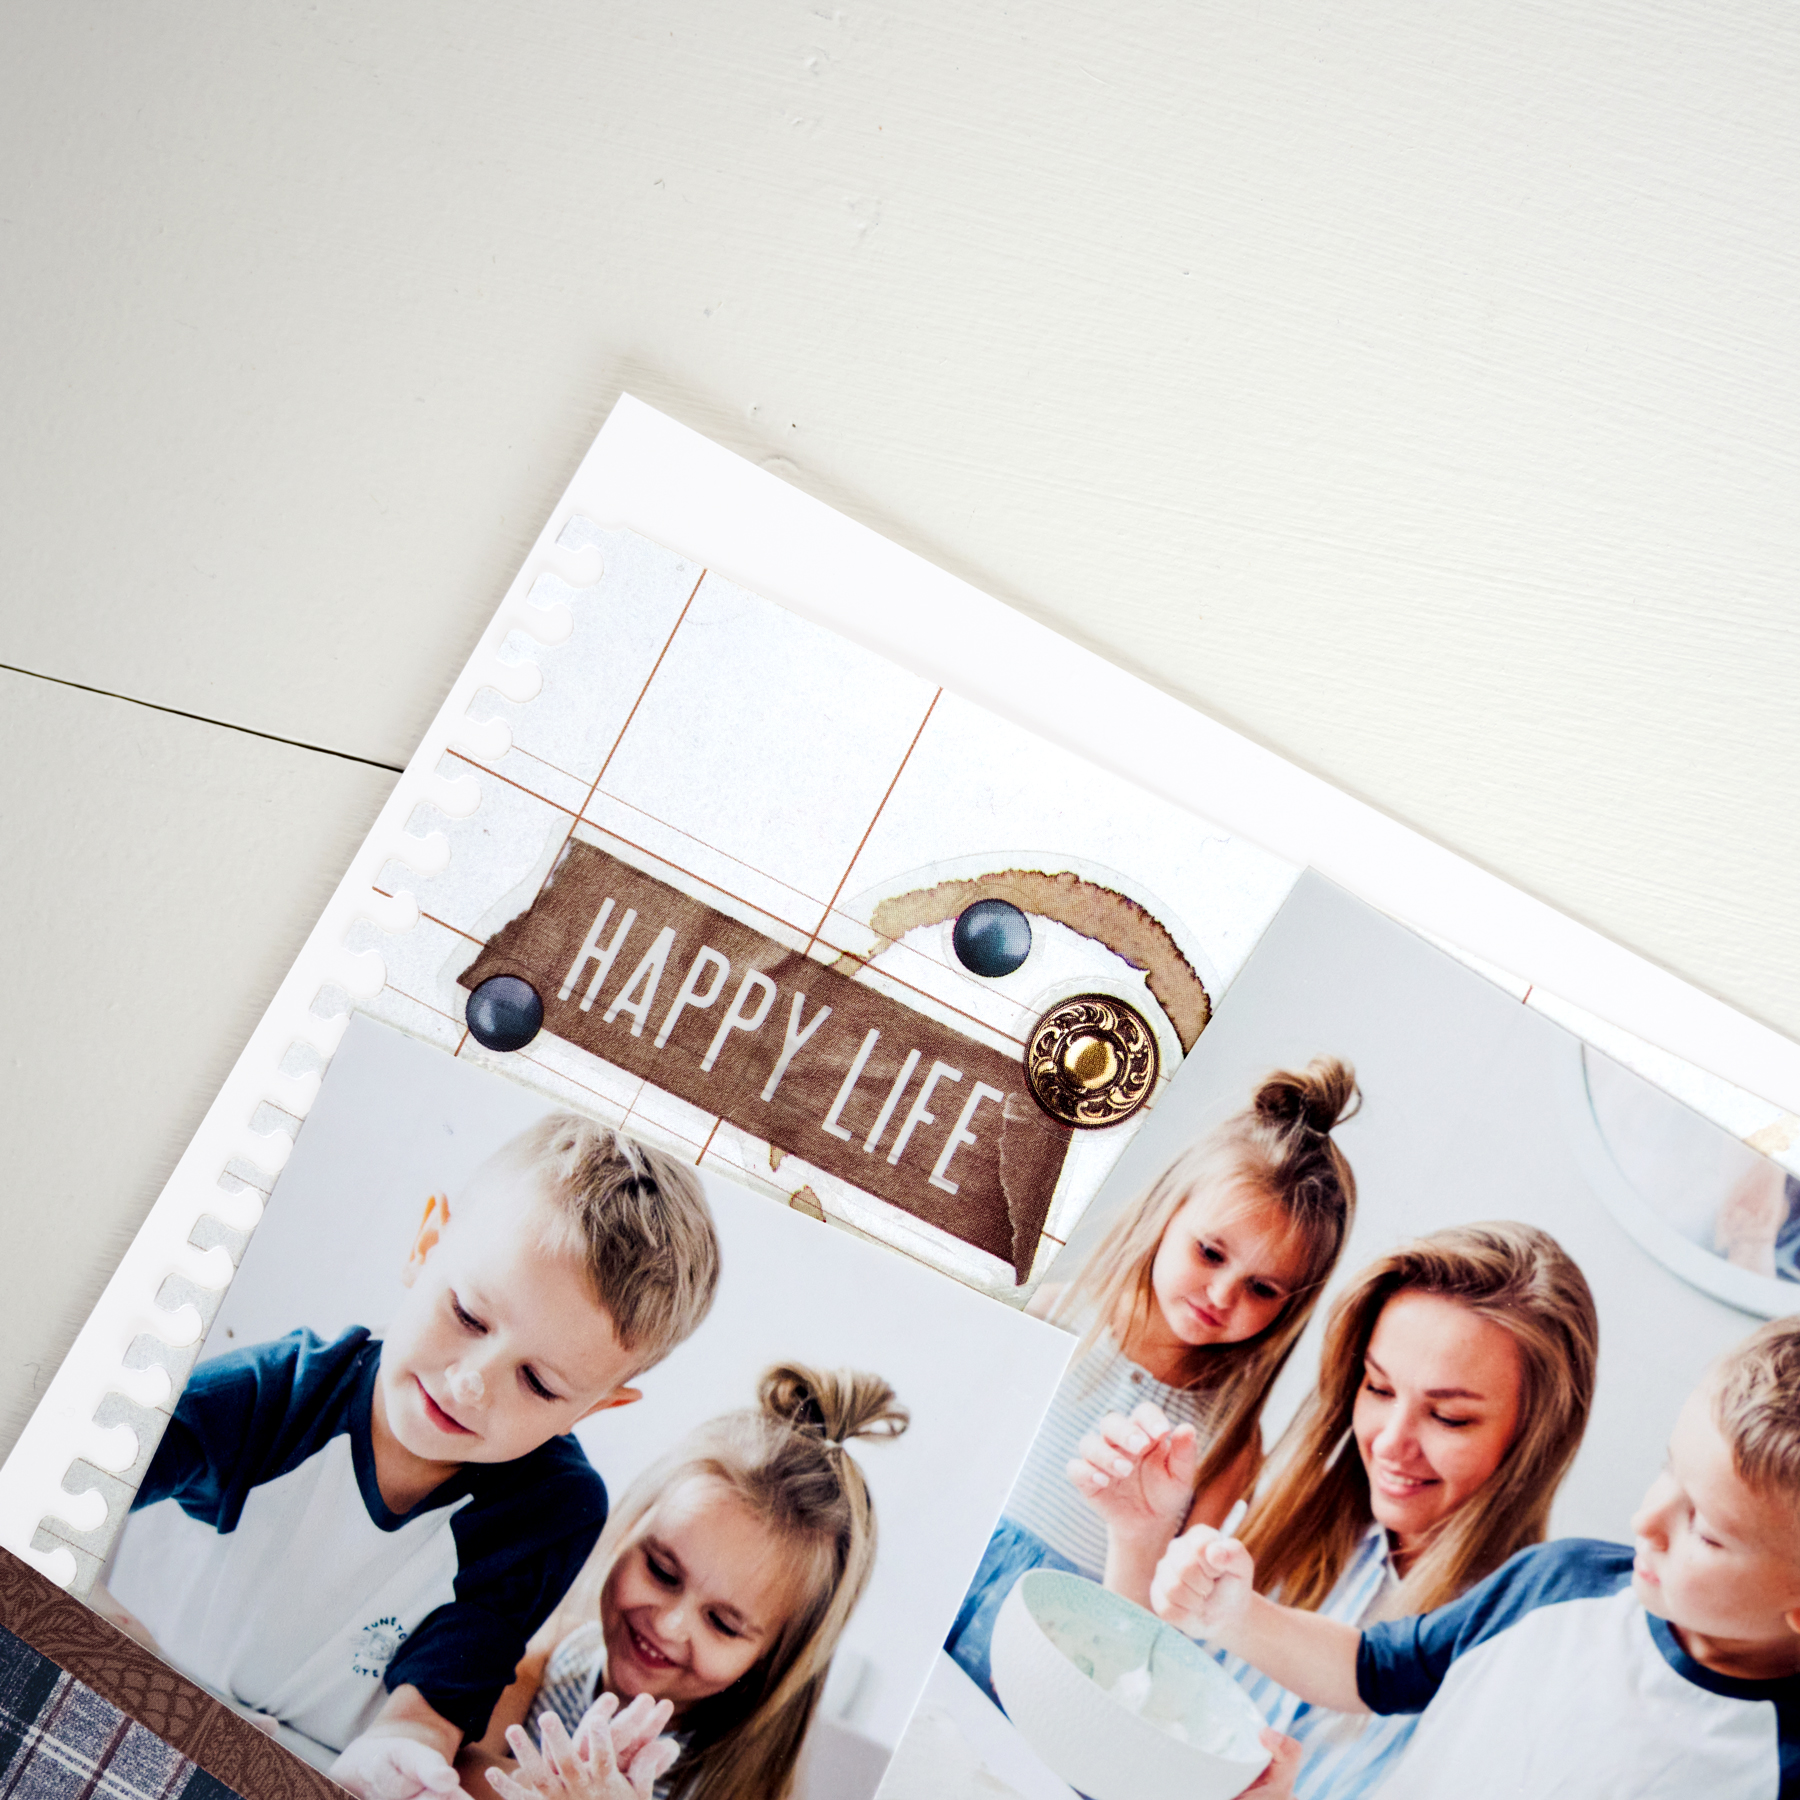
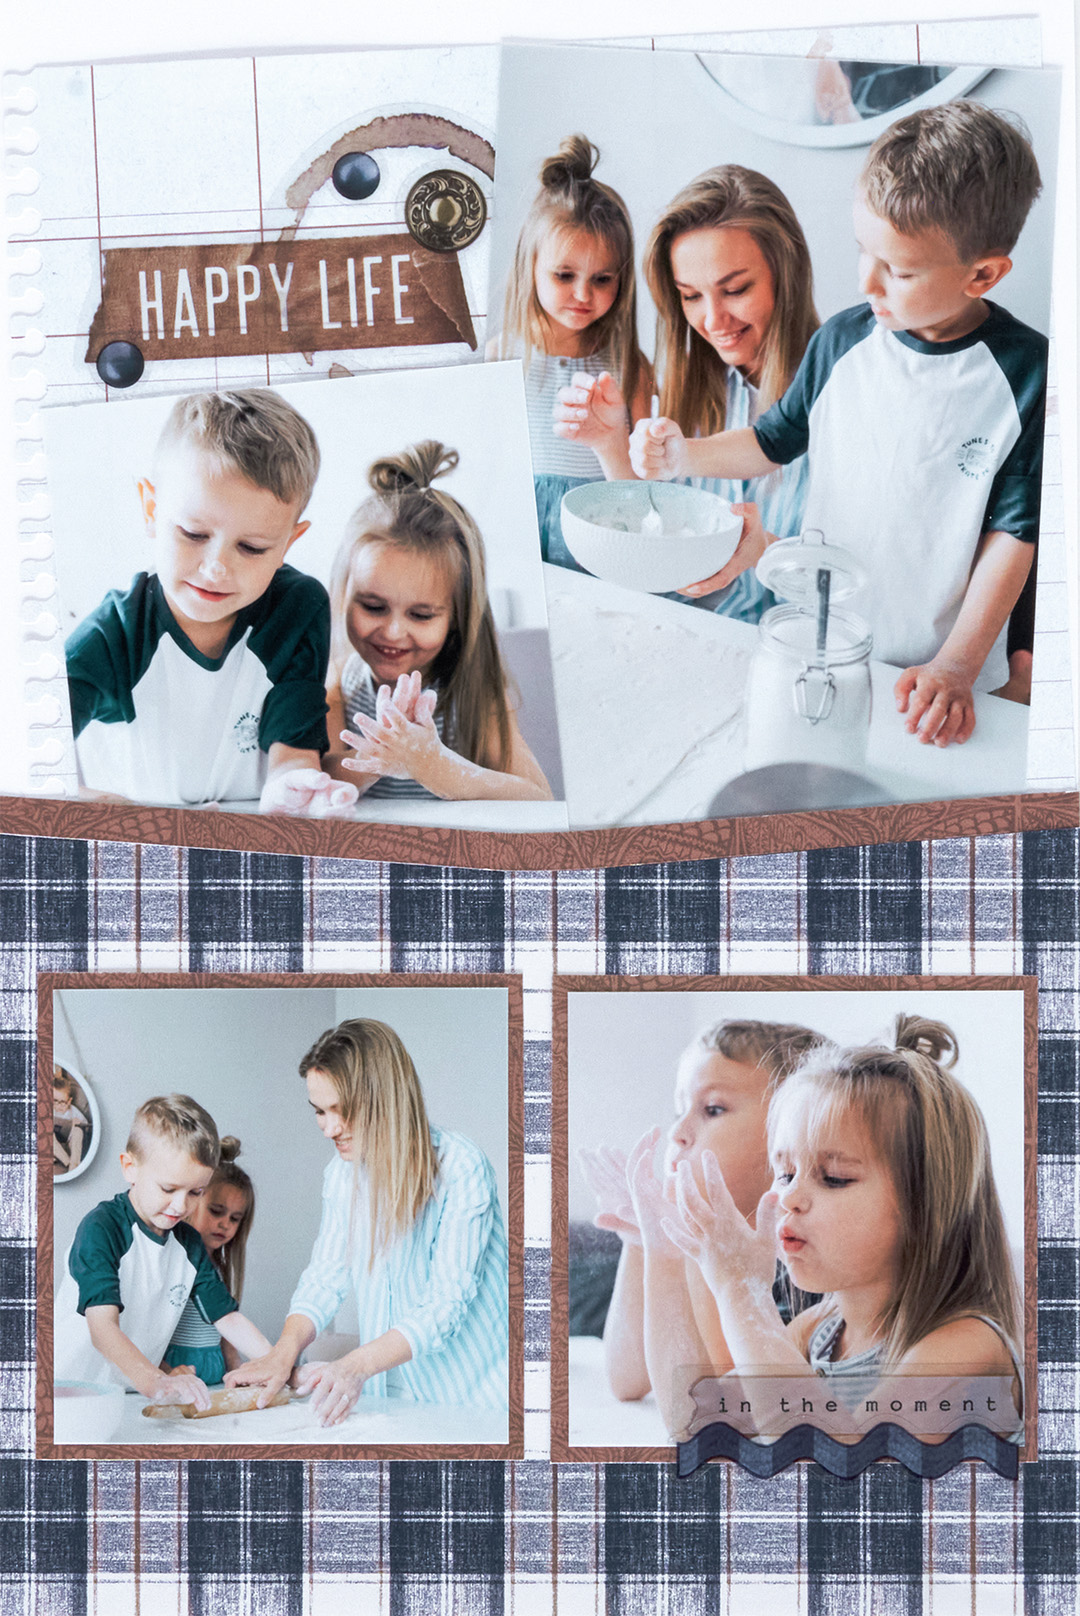
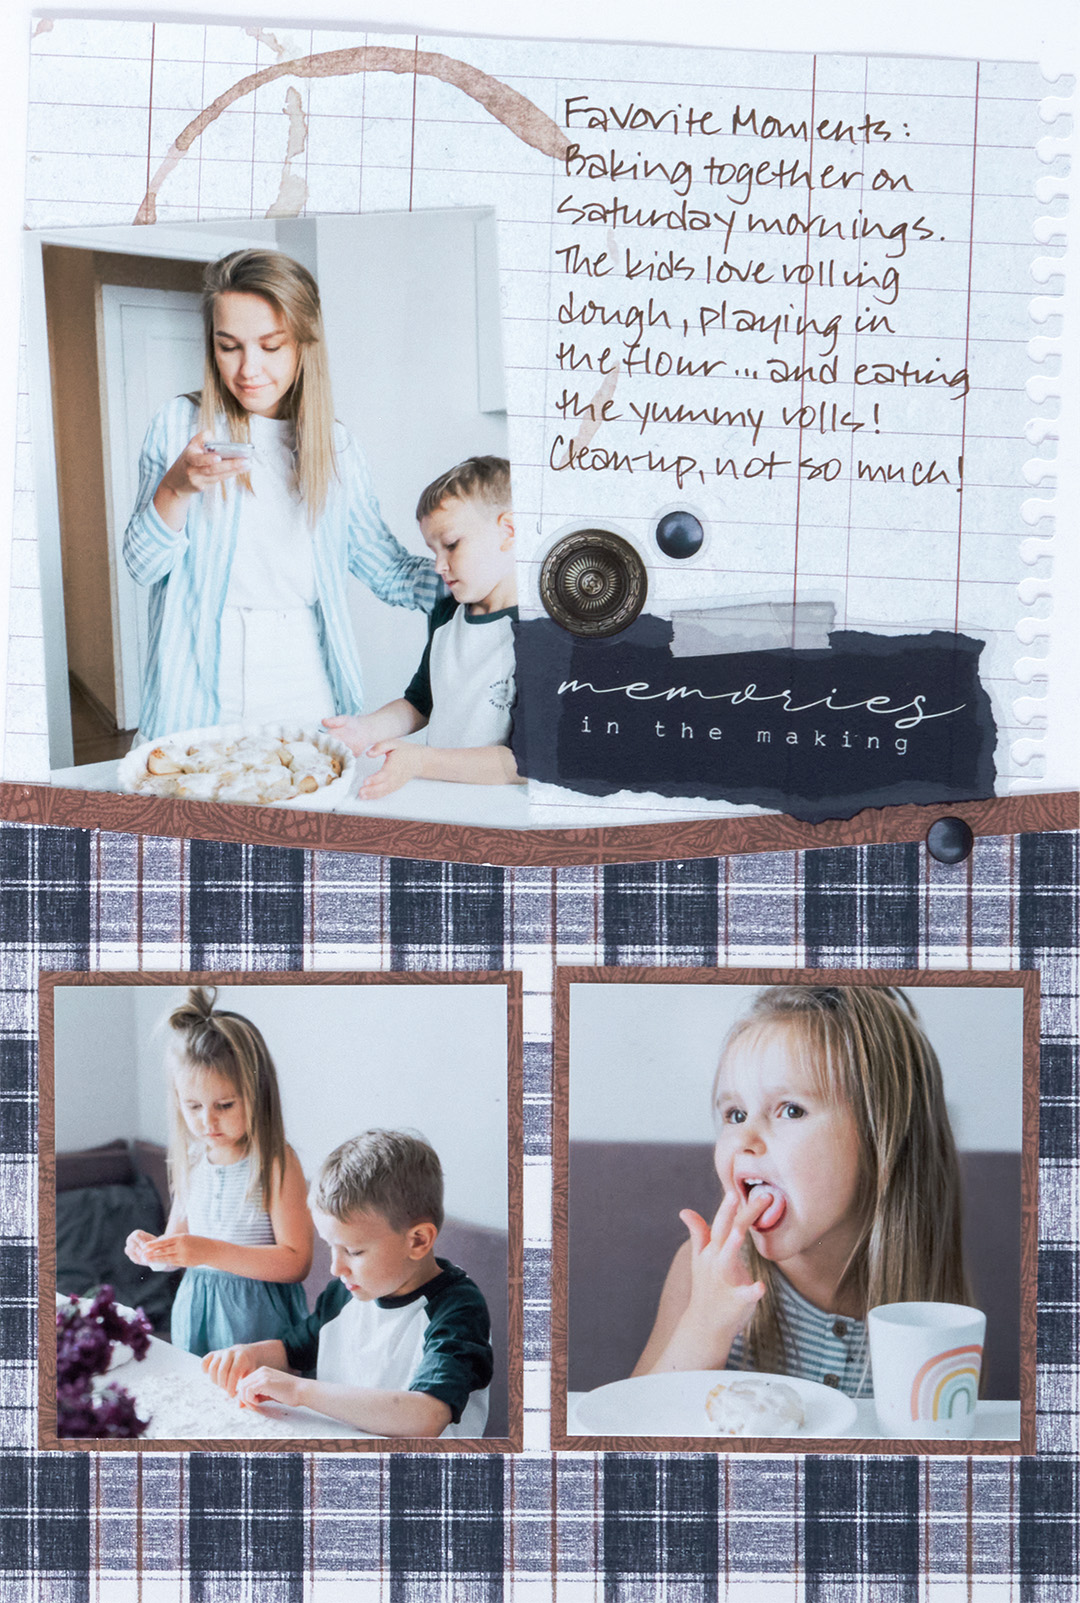
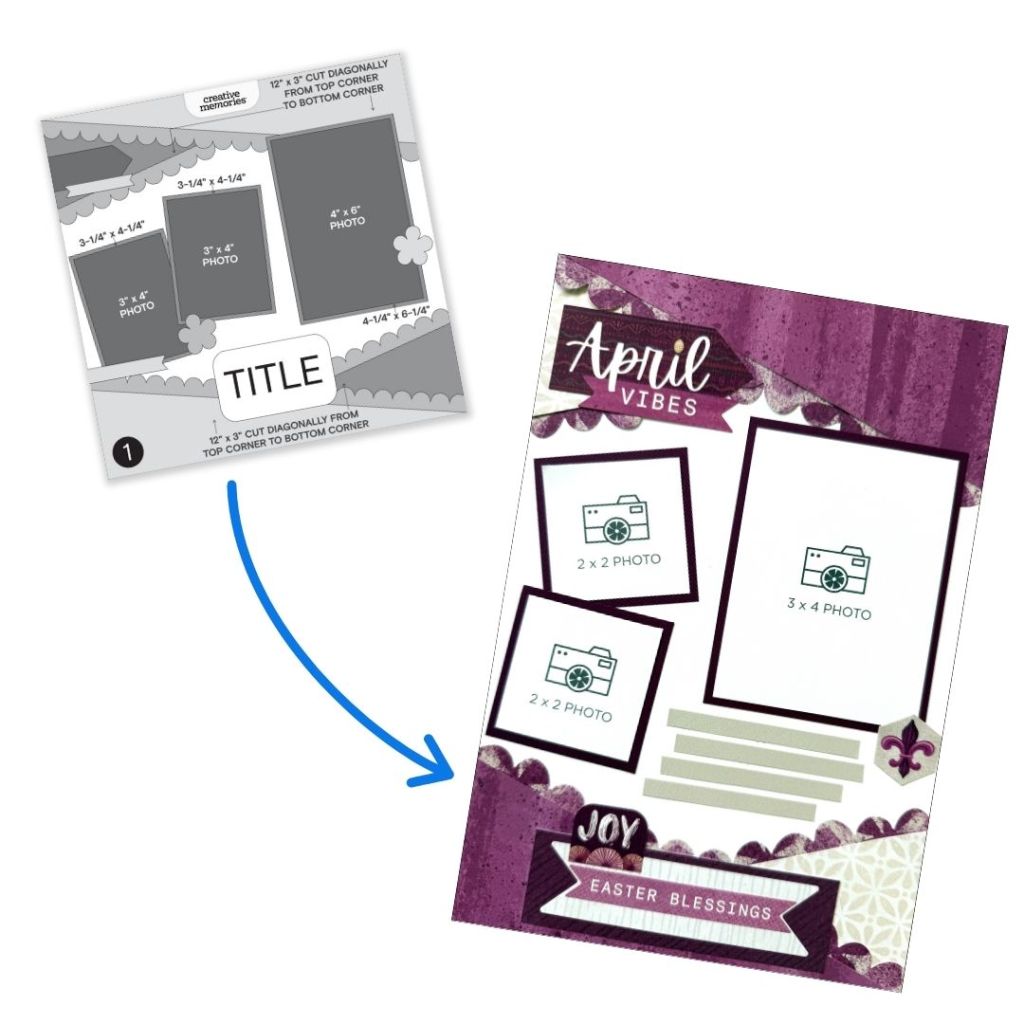
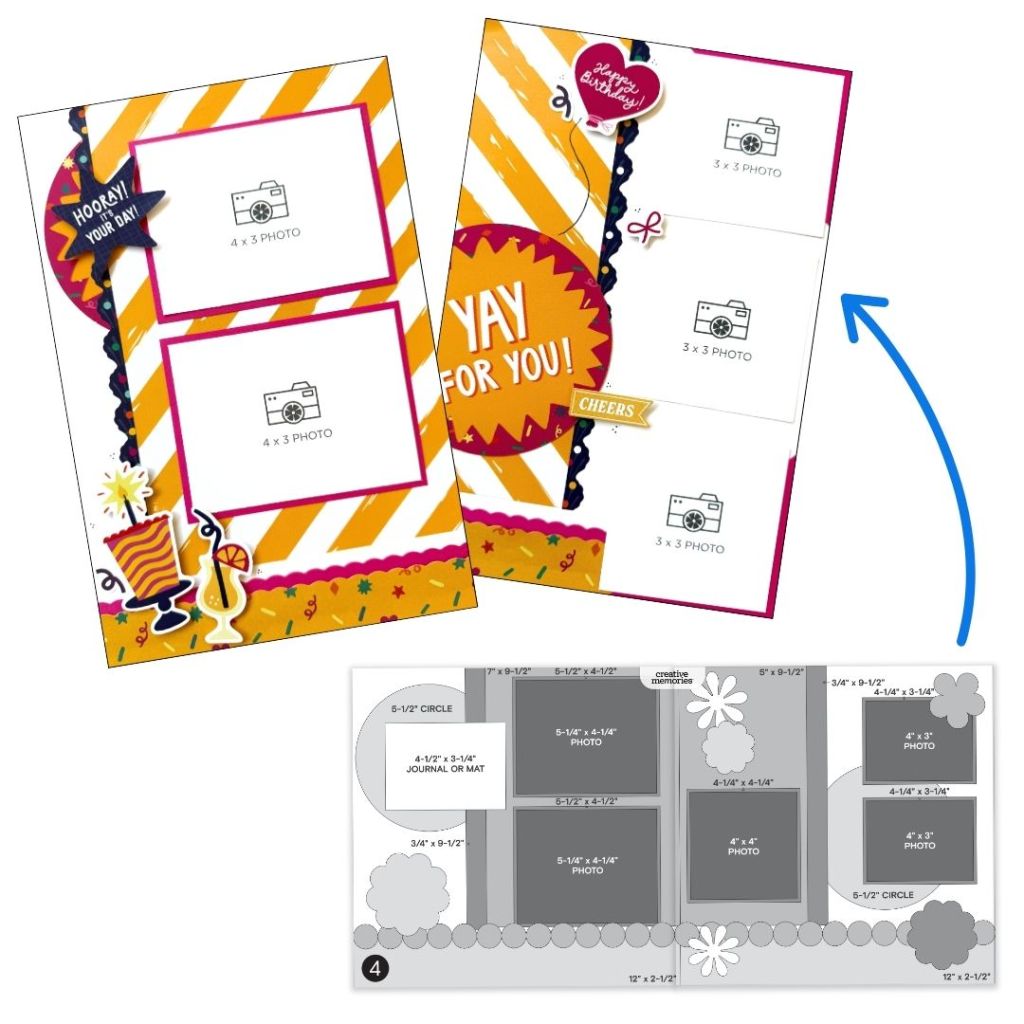
Challenge #1
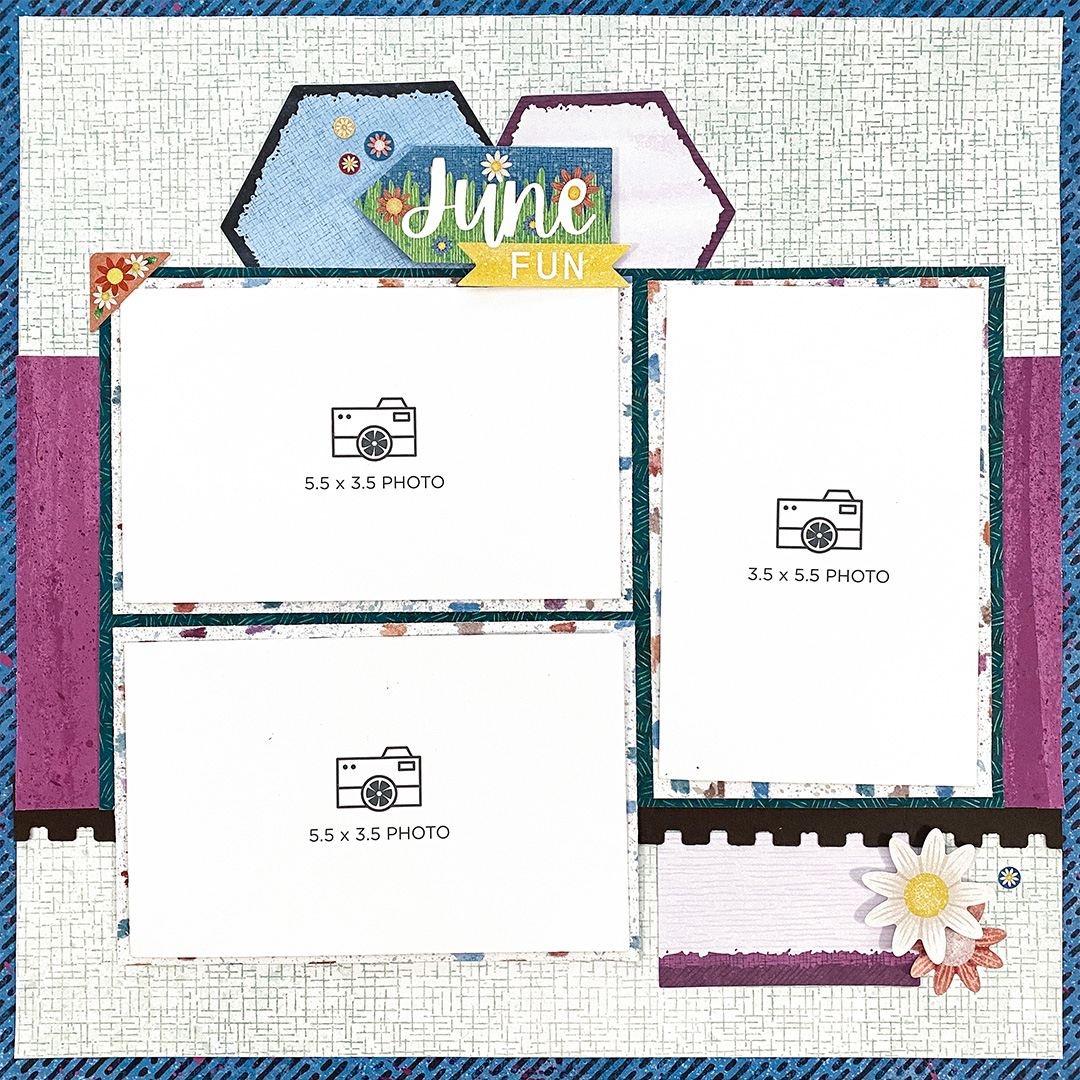
Collection Used: Your Own Way
Diane’s Tip: “I love how this layout combines multiple photos with playful layers and fun details, creating a page that feels organized, creative and full of personality. The Your Own Way Collection is the perfect go-to for those year around activities, literally something for every month of the year!”
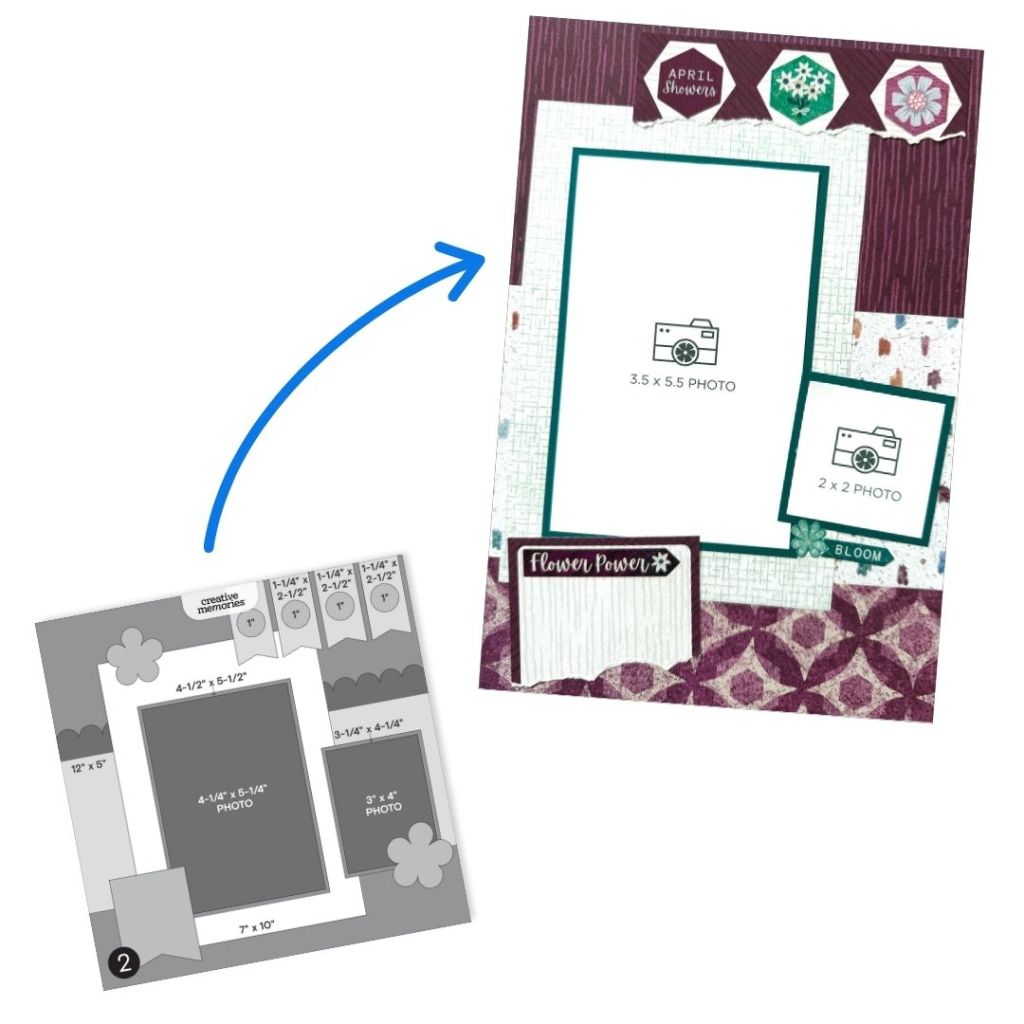
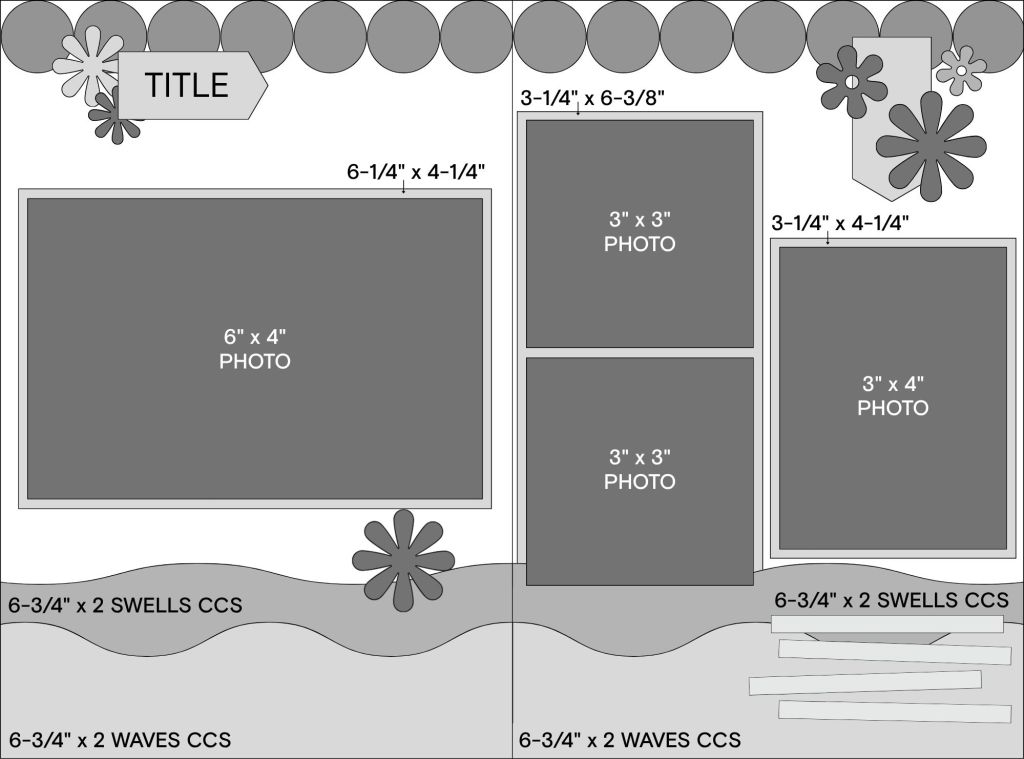
Challenge #2

Collection Used: Vivid Melodies
Diane’s Tip: “This design proves that simple can still be stunning. The torn paper edges and floral accents create a soft, beautiful backdrop for your favorite photos. Adding in the beautiful paper and embellishments from the Vivid Melodies Collection for the win!”
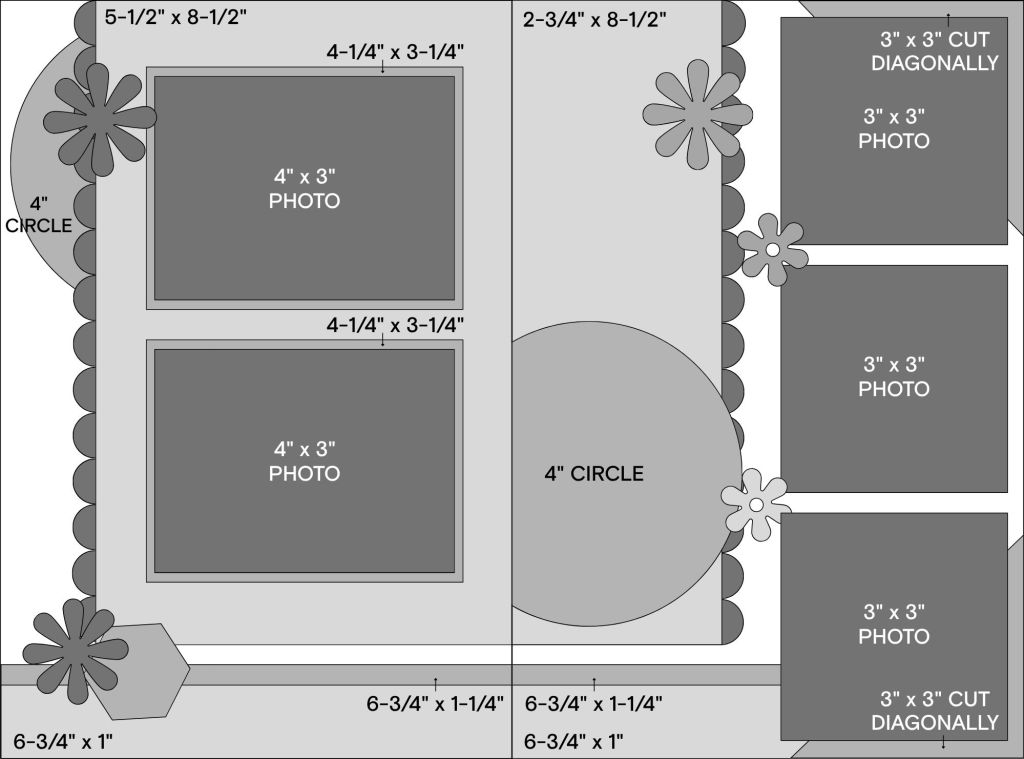
Challenge #3
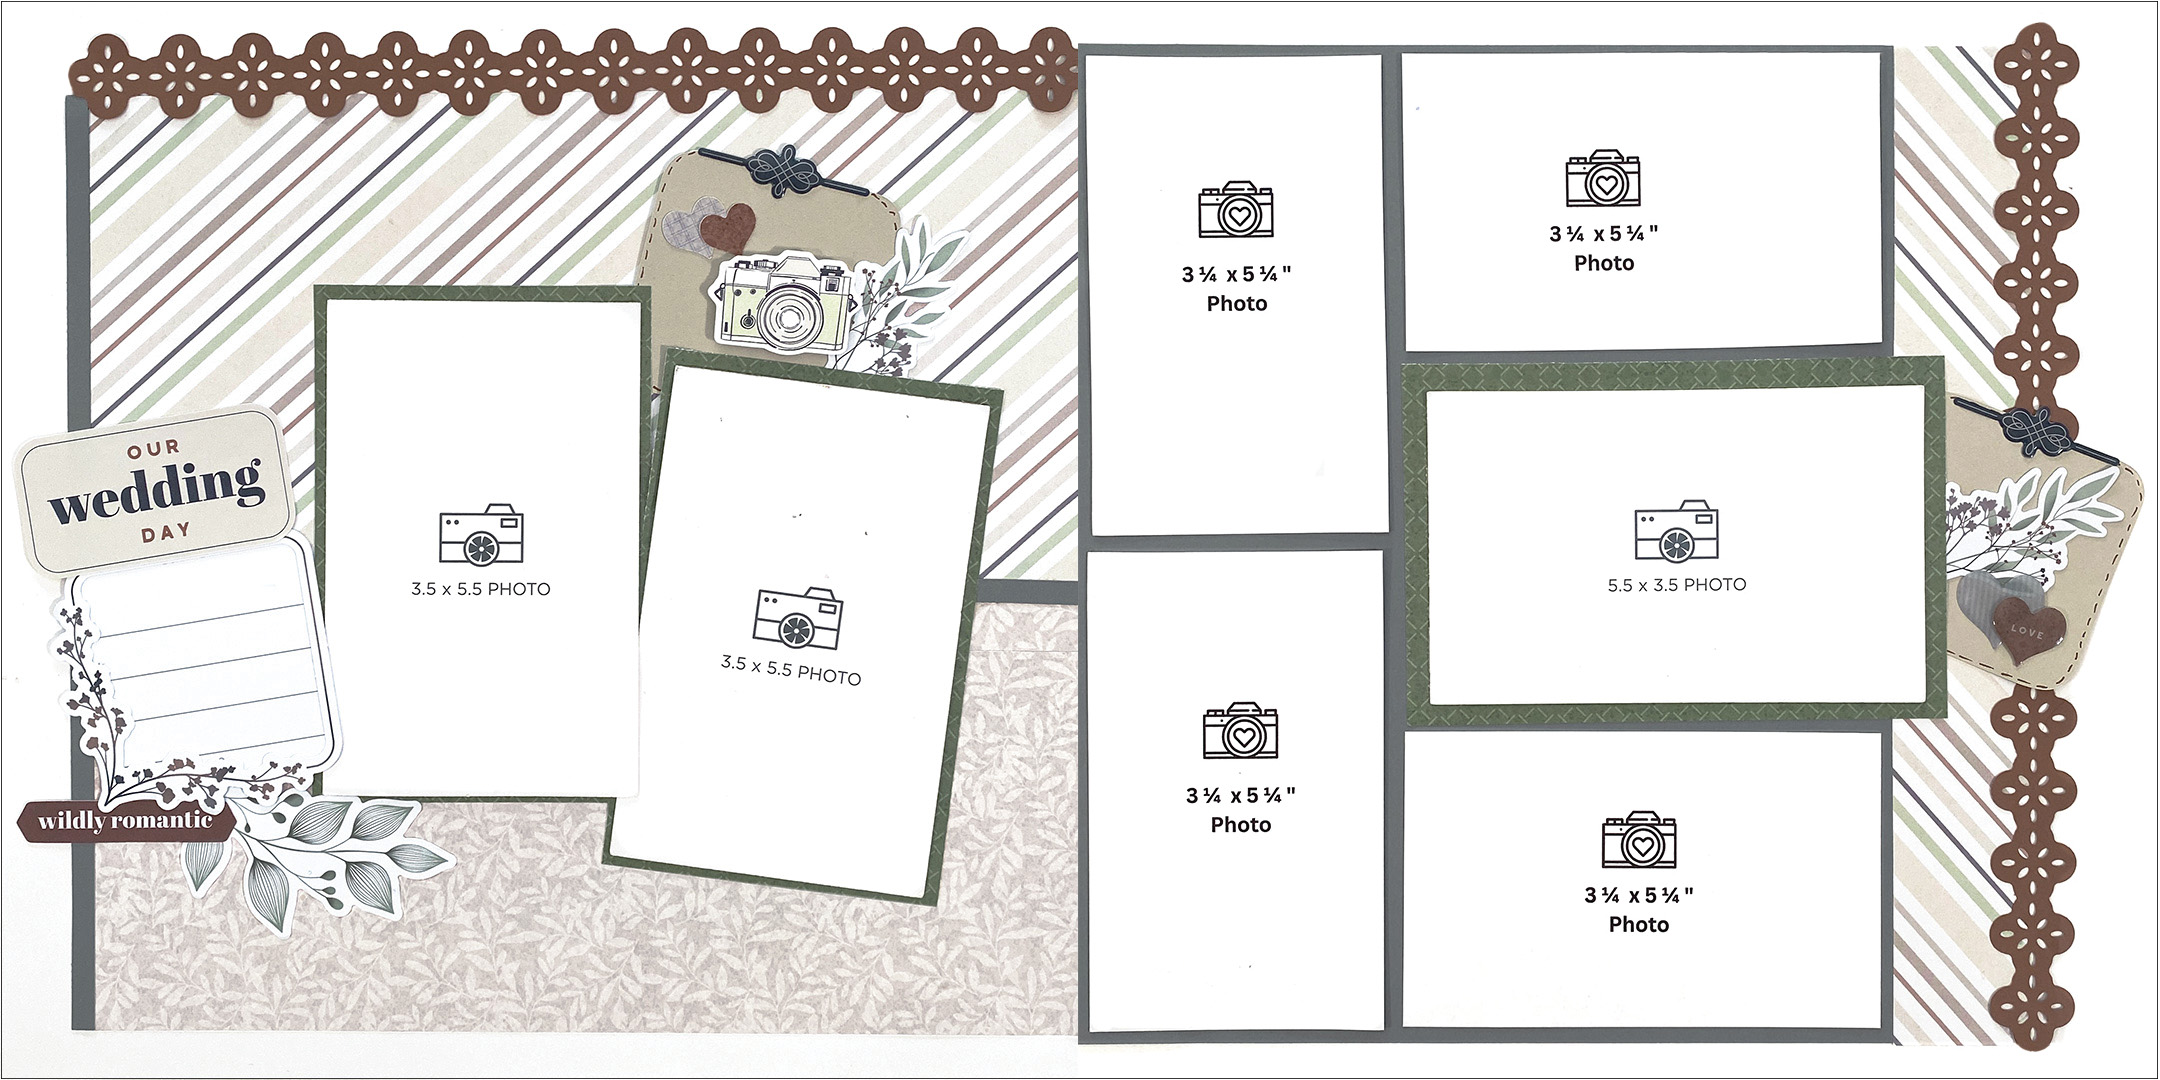
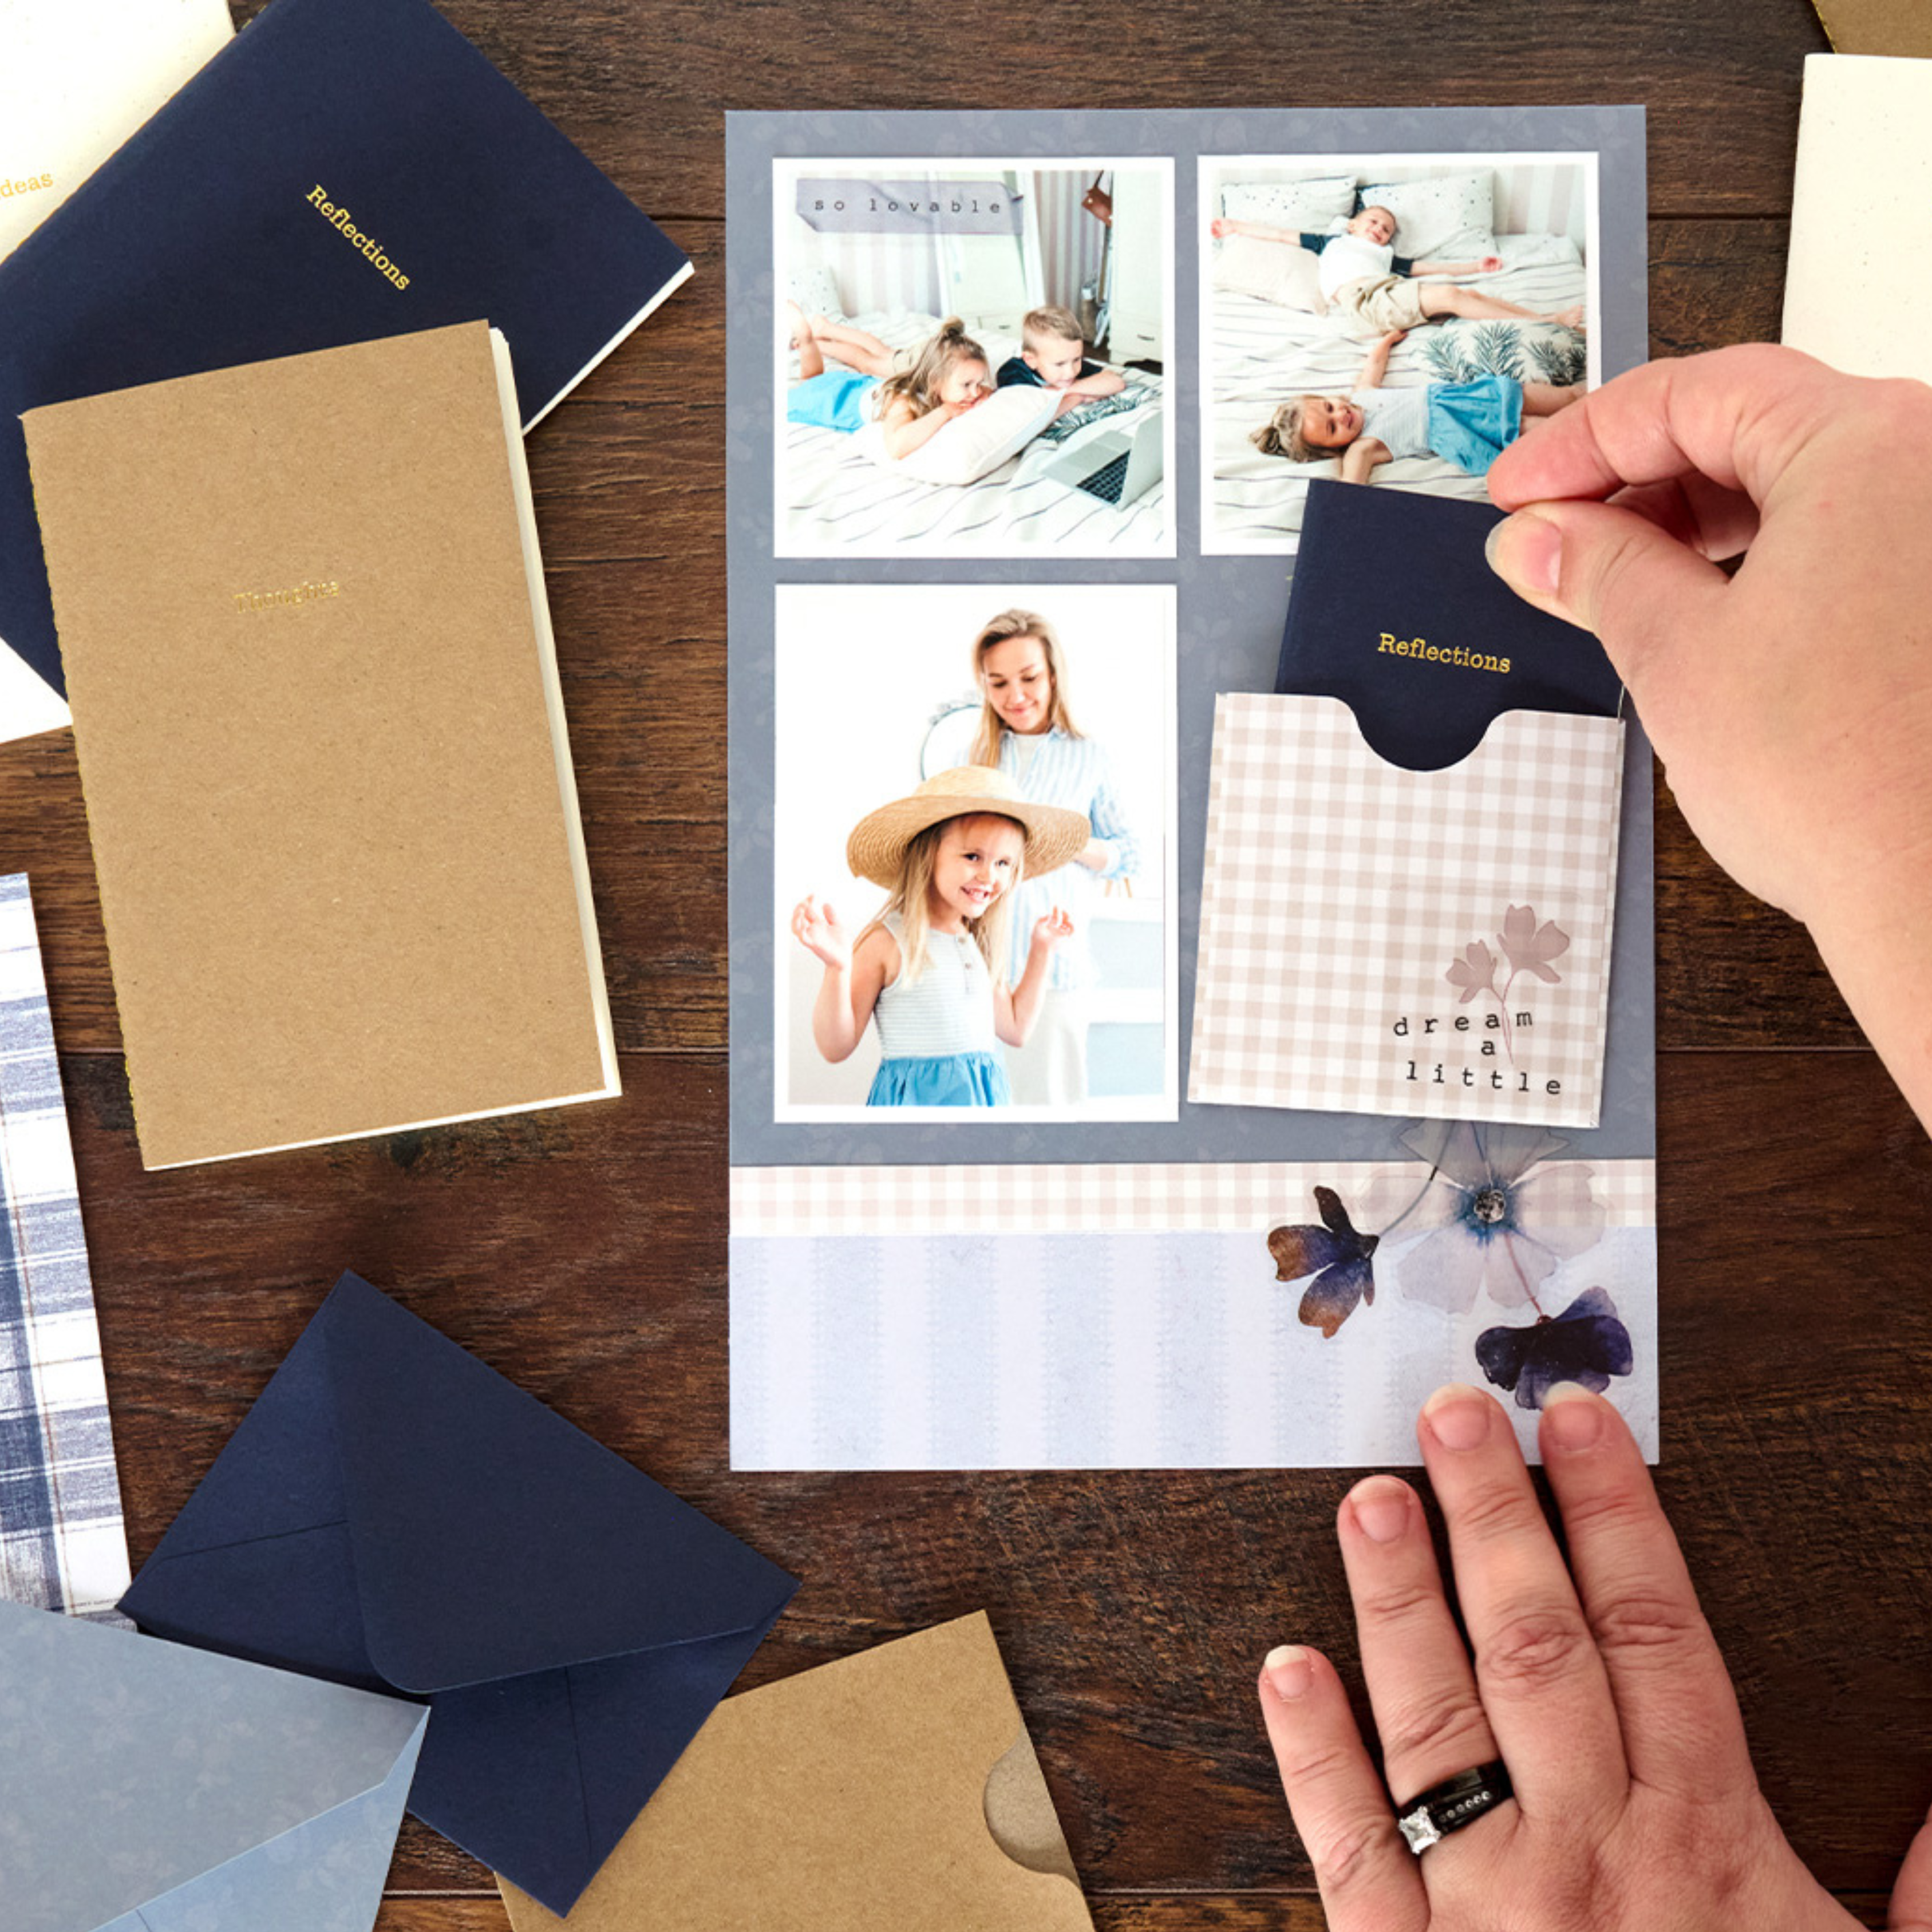
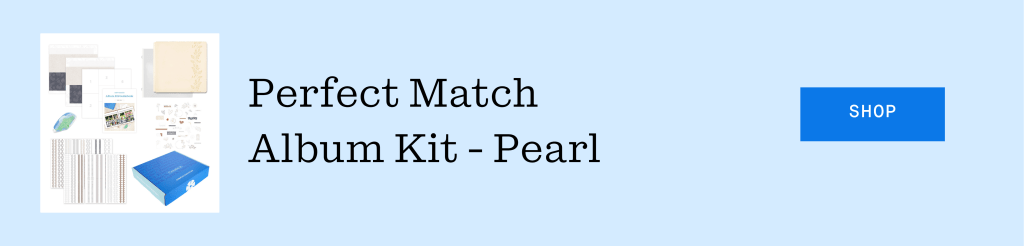
Collection Used: Perfect Match
Diane’s Tip: “The soft neutrals and layered accents make this design ideal for preserving life’s most meaningful moments. The soft neutrals and layered accents make this design ideal for preserving life’s most meaningful moments. Even wedding pages can have a bit of playfulness. Tilting the one photo in the grid draws attention to your favorite photo.”
Challenge #4
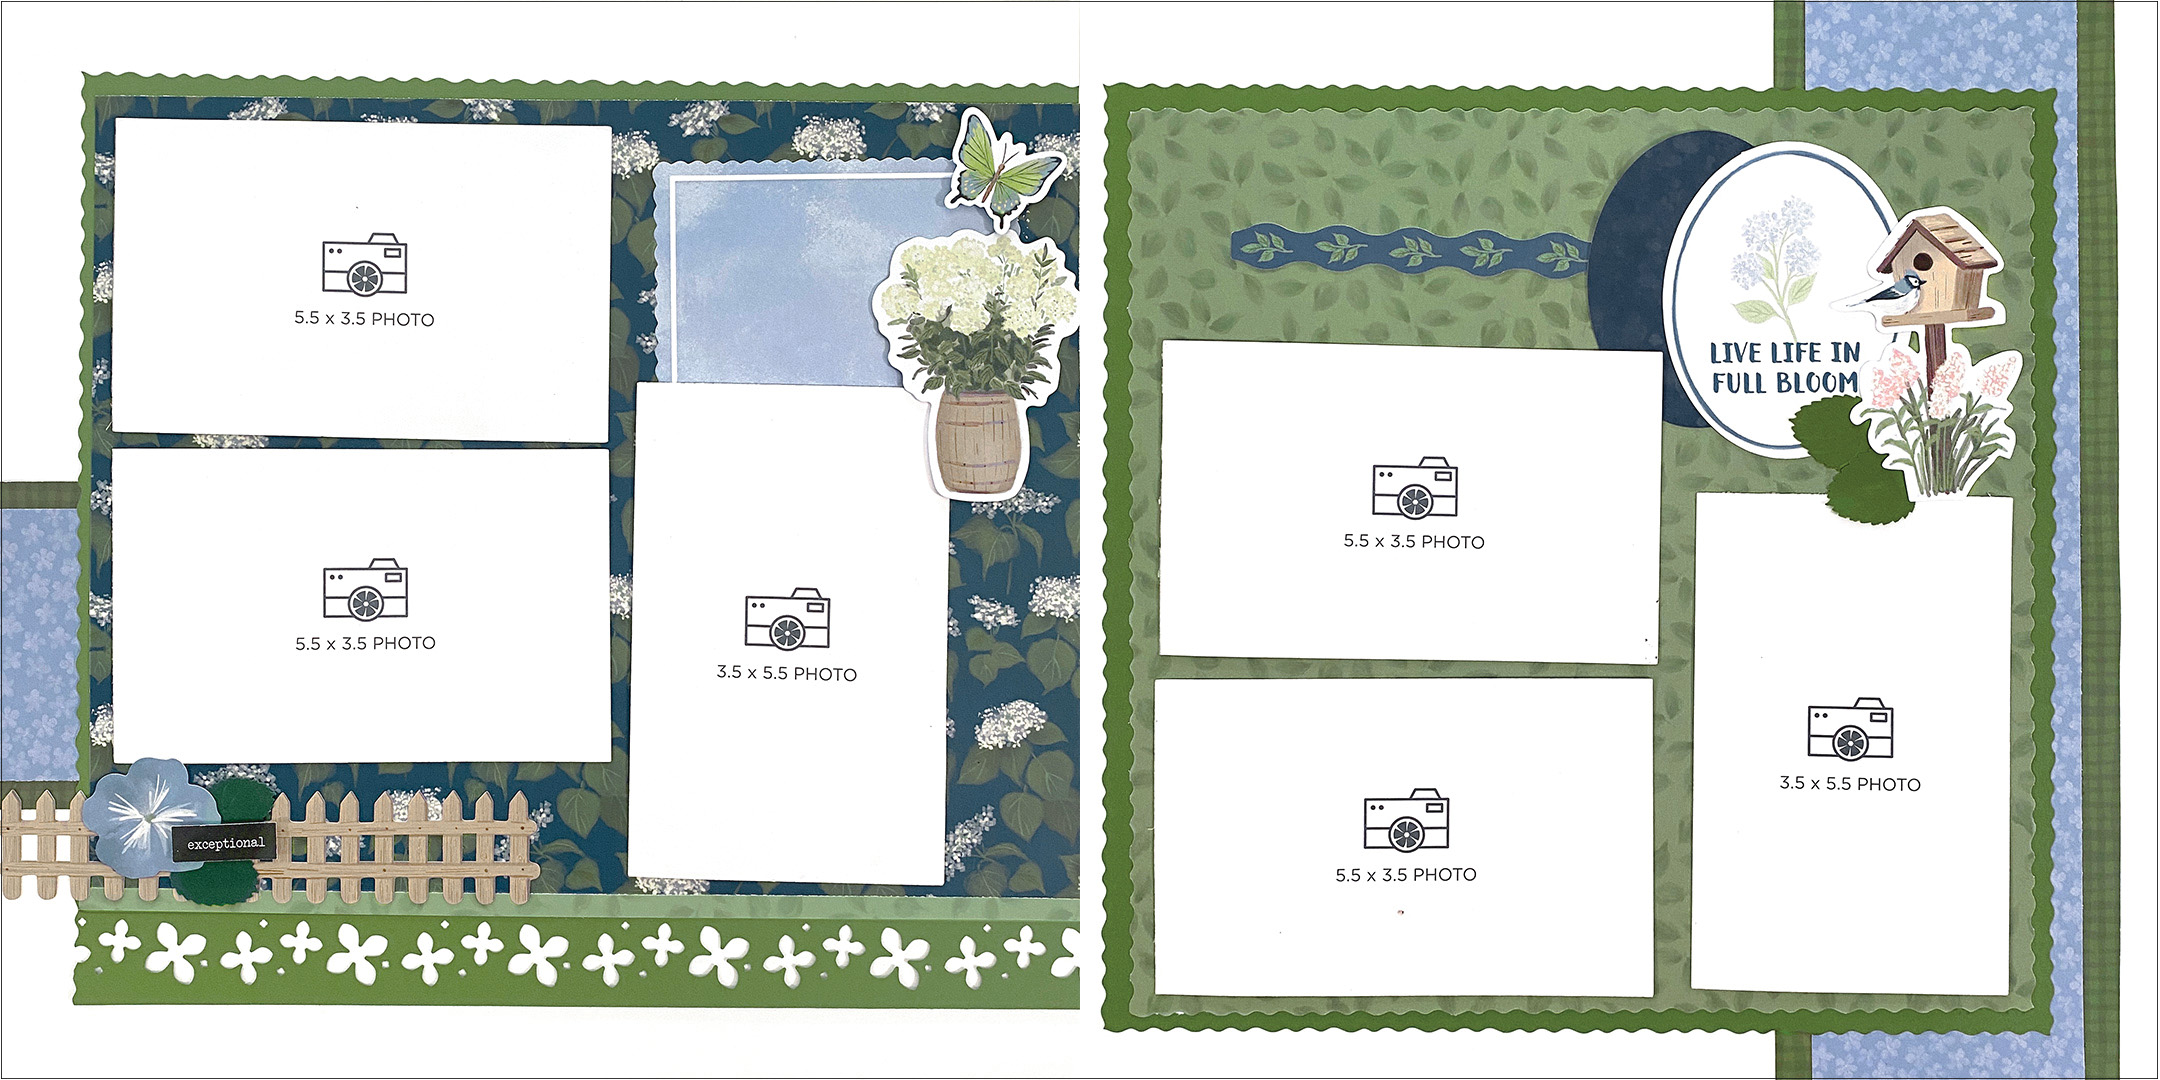
Collection Used: Hydrangea Haven – SNEAK PEEK!
Diane’s Tip: “A beautiful layout is often found in the details—layering elements, creating dimension and using simple tools in creative ways to make every page stand out. Repeating elements, like the large strip, then a small segment on the opposite page, gives a start and stop to your layout.”

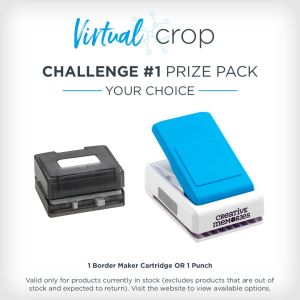

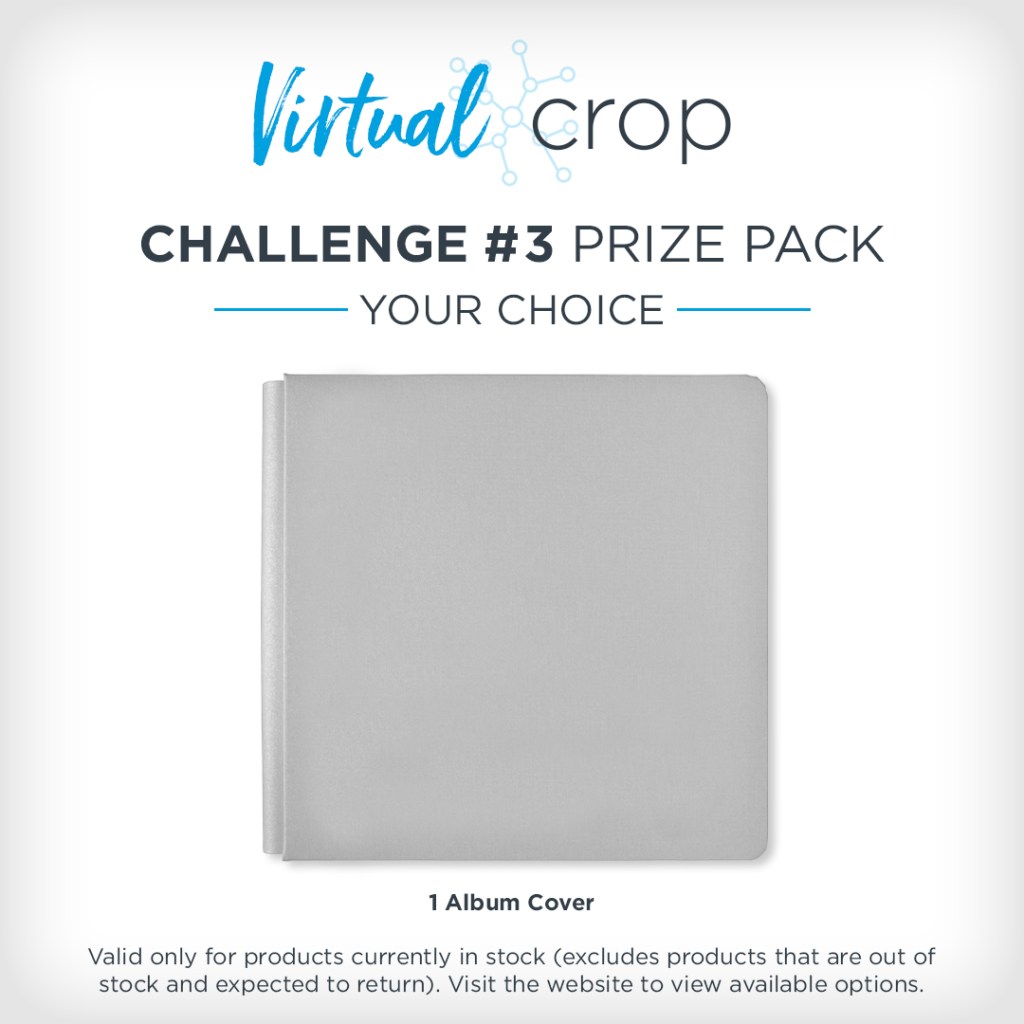
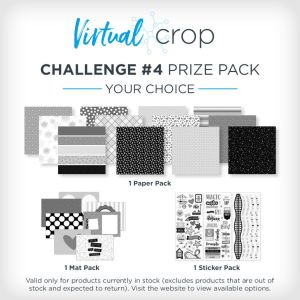
NOTE: The Prize Pack will be awarded to one (1) participant in each challenge. Valid only for products currently in stock (excludes products that are out of stock or expected to return).
We will award the prizes randomly, but to win, it must be obvious you used the sketch we provided as inspiration to create a project. You’re highly encouraged to use Creative Memories products, but it’s not a requirement to win. You have until Tuesday, June 16, at 11:59pm CT (AU: Wednesday, 17 June, 2:59pm AET) to submit your layout(s). Prize winners will be announced on Thursday, June 18, at noon CT (AU: Friday, 19 June).
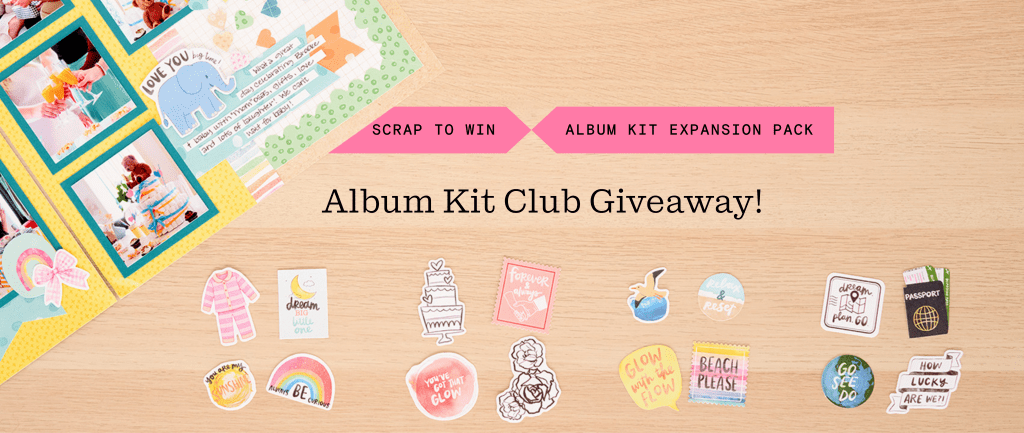
Virtual Crop Tracker
The 2026 Virtual Crop Tracker & Sticker Bundle is on sale now! You can also download the tracker yourself by clicking the image.
Color in or place a sticker on one shutter for each sketch challenge you complete during each monthly Virtual Crop in 2026. Once you’ve completed all 12 months’ sketch challenges (that’s 48 completed pages you’ll be adding to your albums), you can submit your tracker for a chance to be one of three grand prize winners! More information on how to submit will be shared in the Virtual Crop Group as we near the final sketch challenge.
P.S. Are YOU a member of the Virtual Crop Group? It’s your go-to place for MONTHLY Virtual Crops, MONTHLY Completed Album Challenges, QUARTERLY Secret Box Openings with project tutorials and so much more! We hope you’ll join our community of more than 53,000 fellow memory-keeping enthusiasts — you’ll feel right at home!
“Creativity is intelligence having fun.” – Albert Einstein