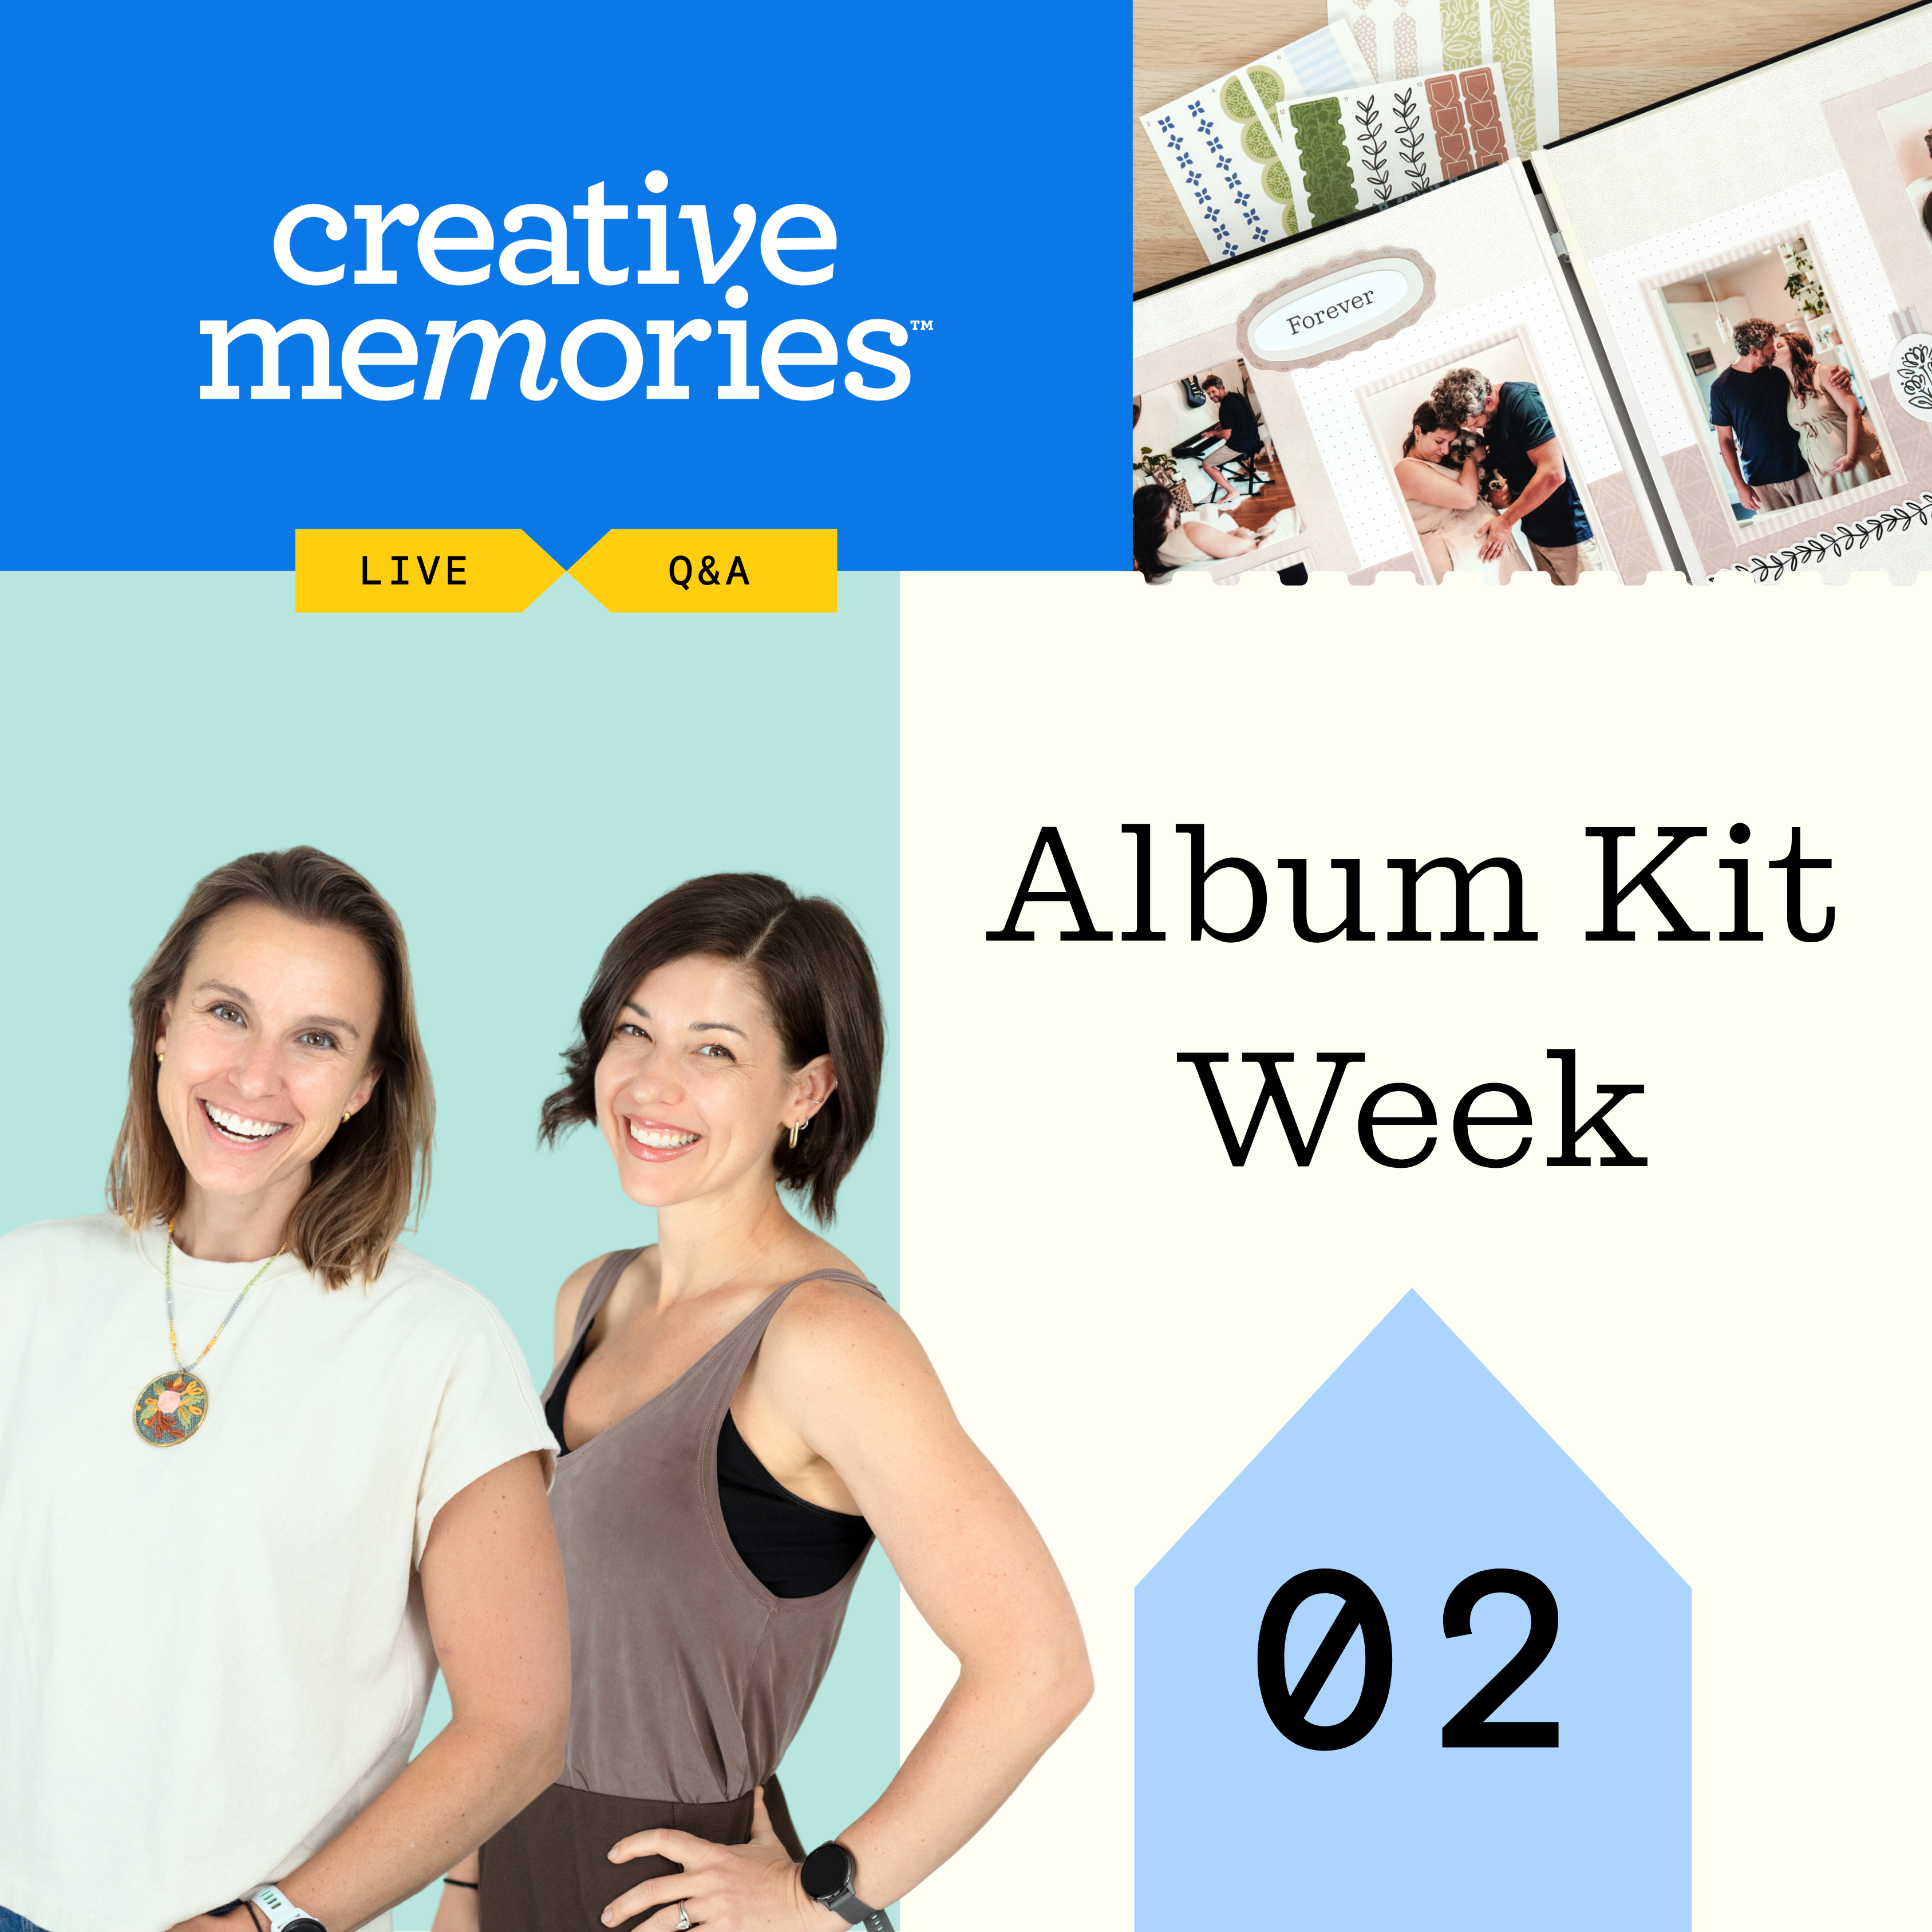
The momentum is building for Album Kit Week! It was so fun connecting with everyone in the comments yesterday as we explored the versatile and timeless world of the Natural Beginnings Album Kit.
Whether you are looking for a guided approach to your favorite photos or just want to finish a handful of spreads in one sitting, these kits are designed to meet you where you are. In this session, CEO Alison Dutton and Sheila Conlon,VP of Marketing, show you exactly how intentional and effortless memory keeping can be.
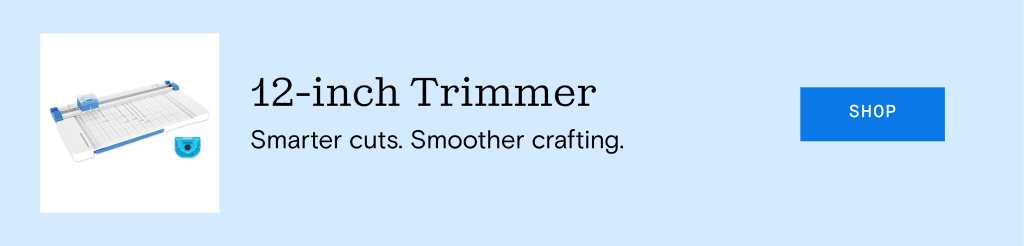
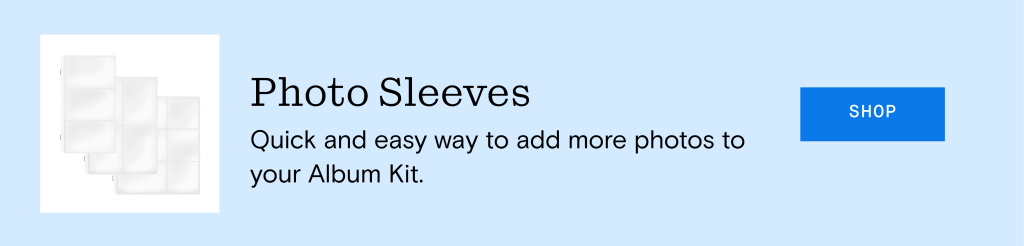
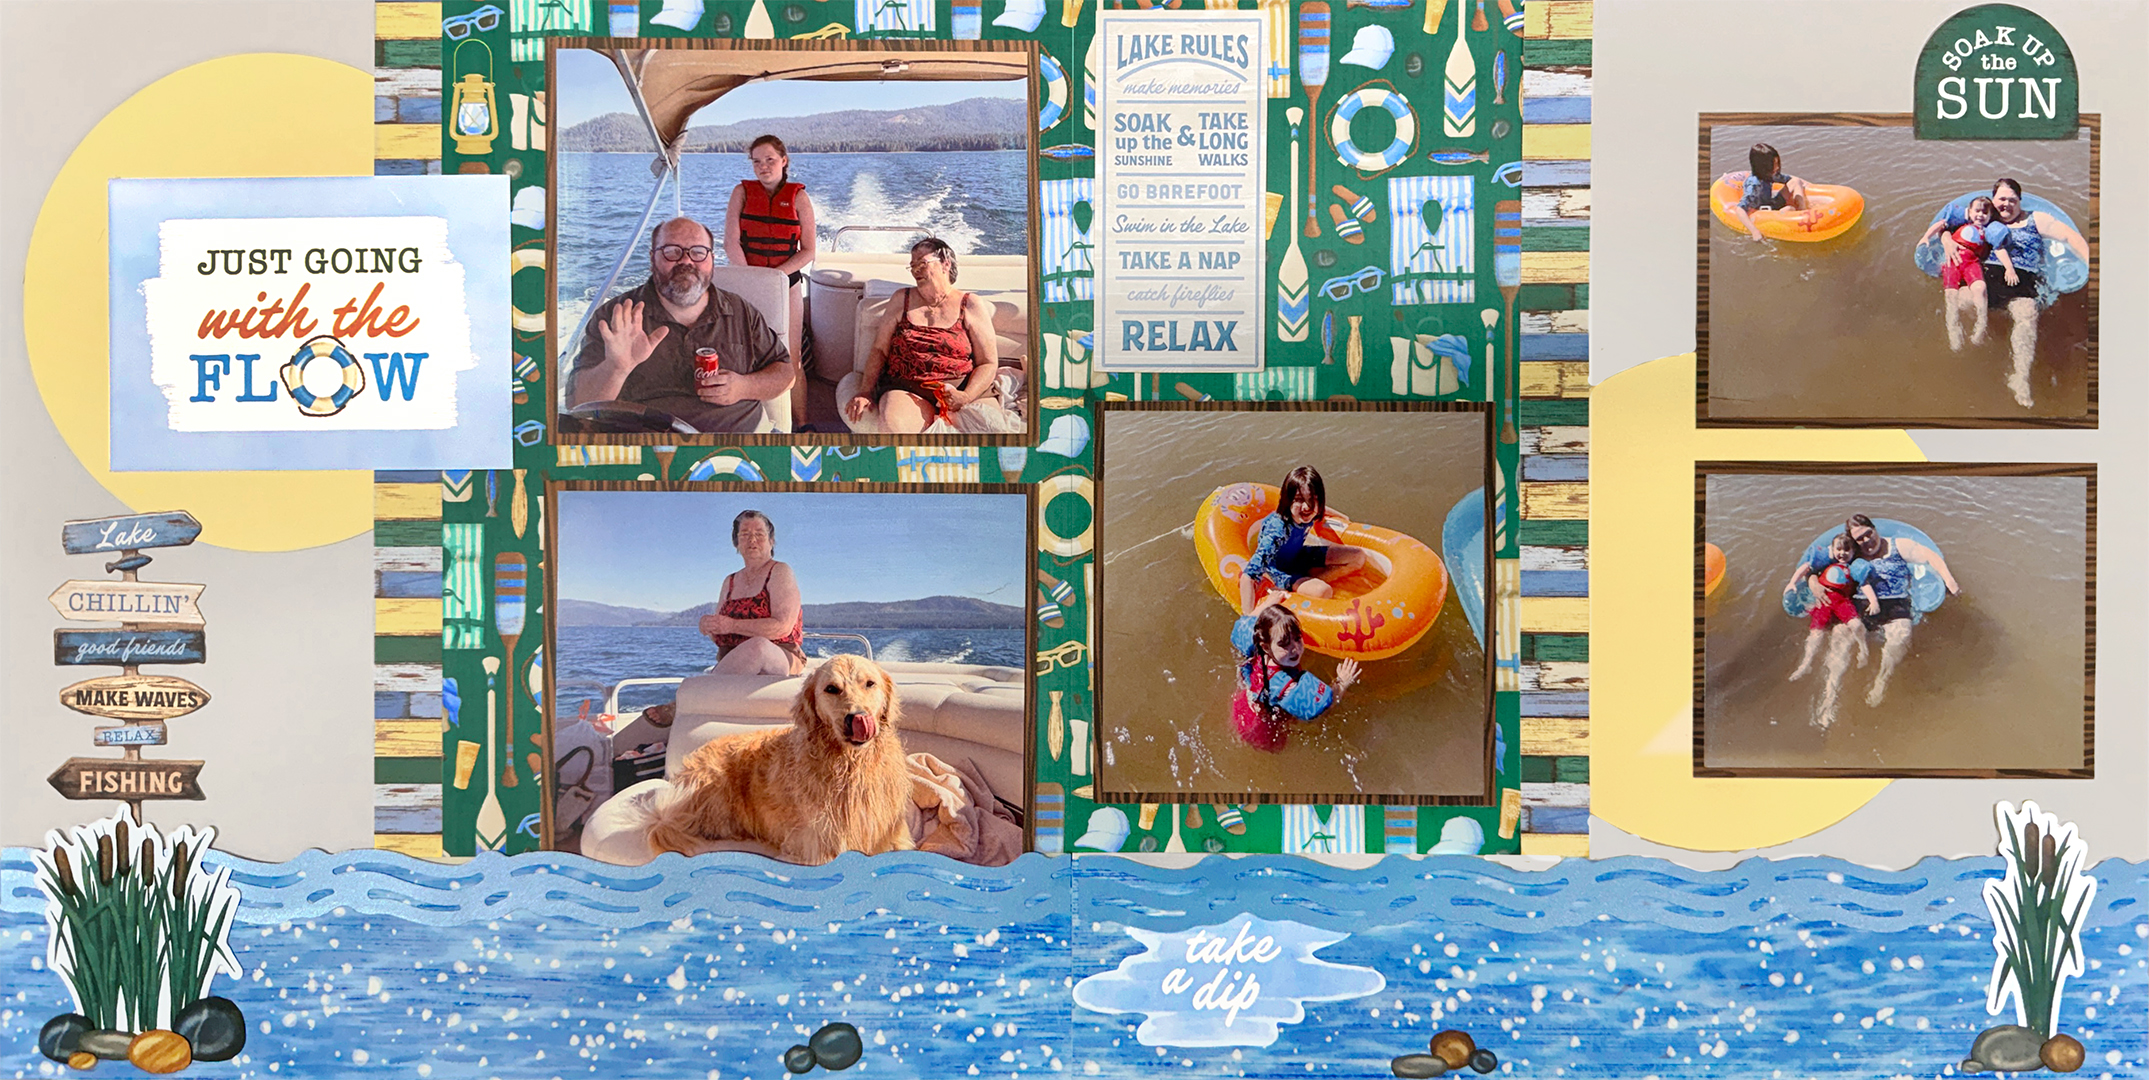
Watch as Alison flips through her personal Natural Beginnings album to show how this aesthetic is truly perfect for any story. You will even see how the addition of Photo Sleeves can easily expand your album to make room for more photos and memories. From clever trimmer tips to a look at the new Expansion Packs, this walkthrough is the perfect guide for getting those stories into an album.
Watch: The Natural Beginnings Album Kit walkthrough
Featured Products
Ready to get started? Shop the essentials from today’s walkthrough to help you document those timeless stories and the organic moments that matter most.
Join Us Today
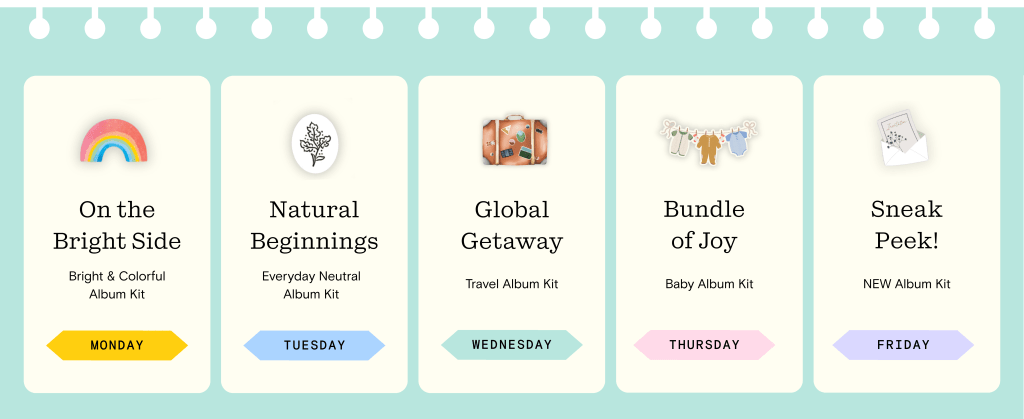
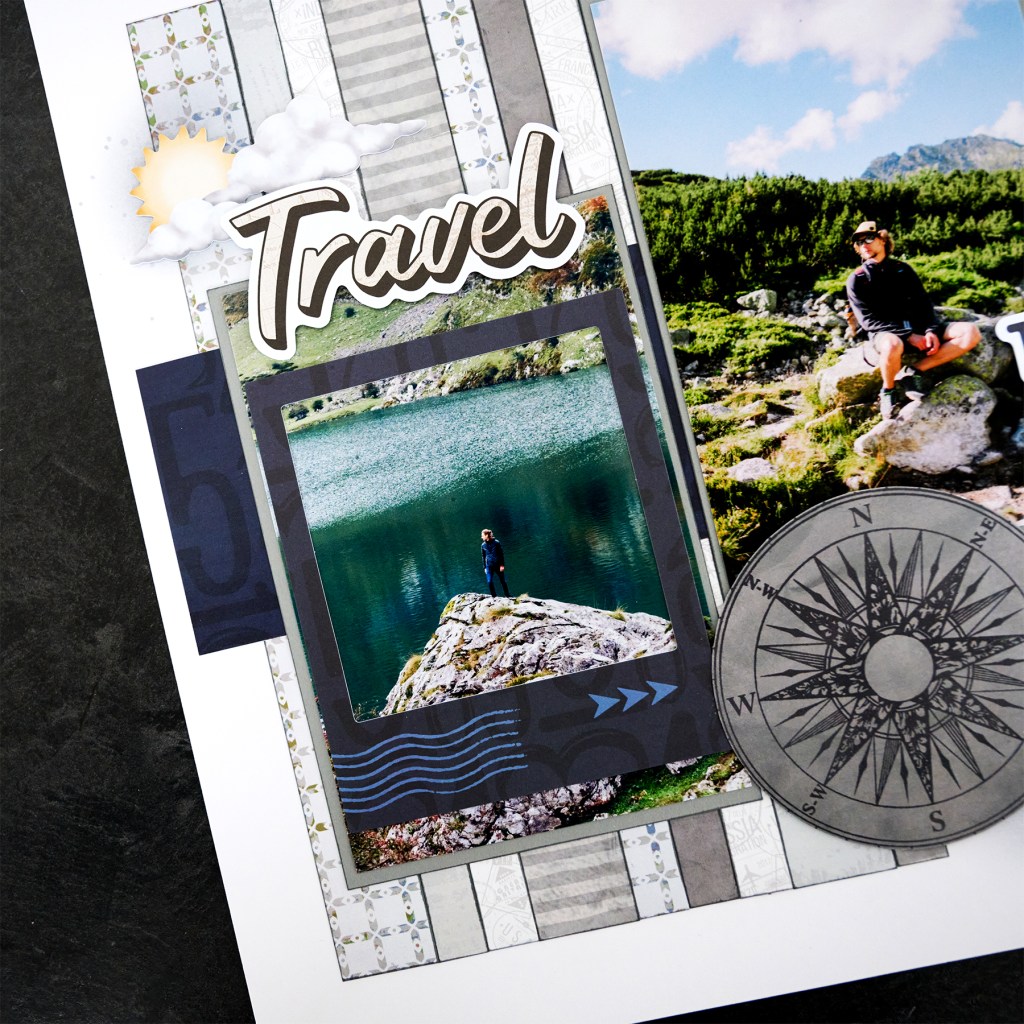
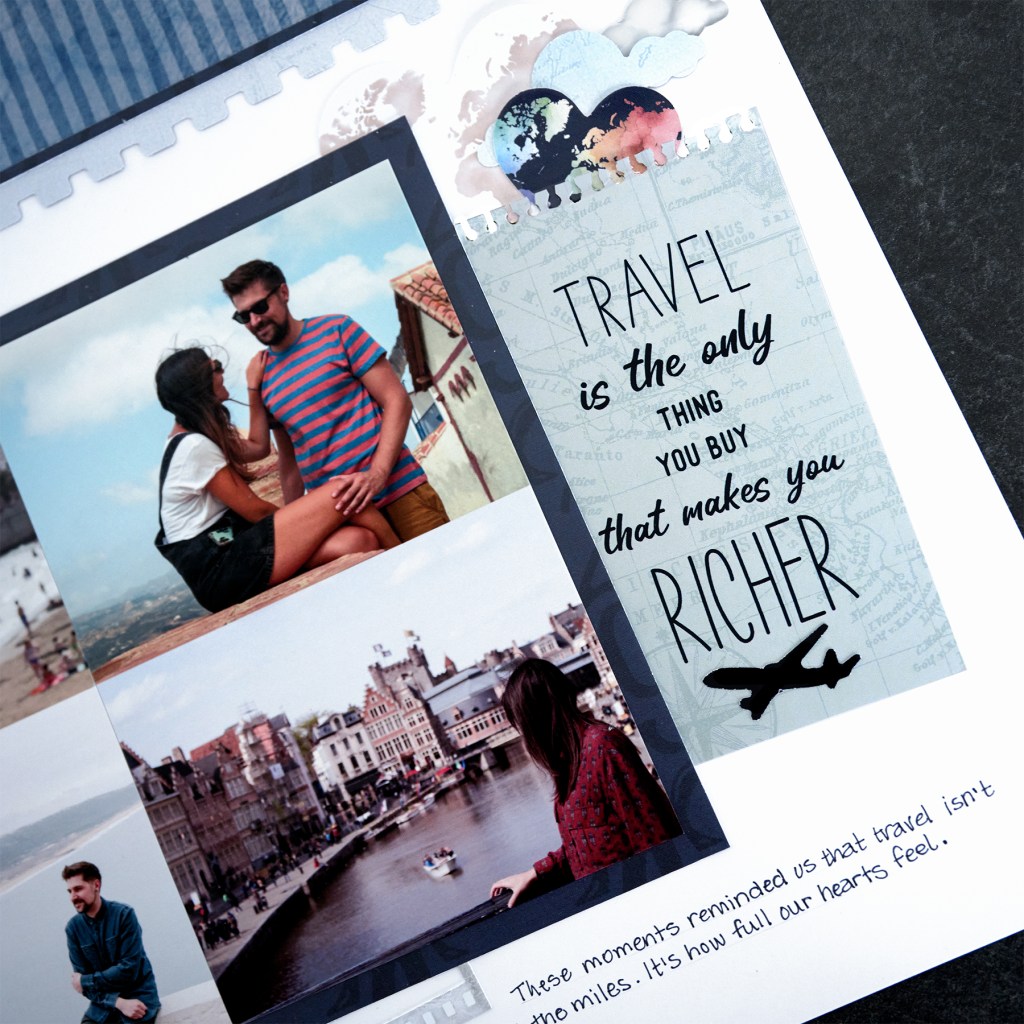
The fun continues this afternoon with the Global GetawayAlbum Kit. Join us at 3pm CST (6am AET) on Facebook or YouTube to see this beautiful, travel kit in action and chat with the team. We can’t wait to see you there!
We are so glad you are here to celebrate Album Kit Week with us. Whether you are catching us for a live chat in the comments or watching the recaps, we hope these sessions inspire you to get your stories off your phone and into a finished album you love.
April 14, 2026
Album Kit Week: On the Bright Side
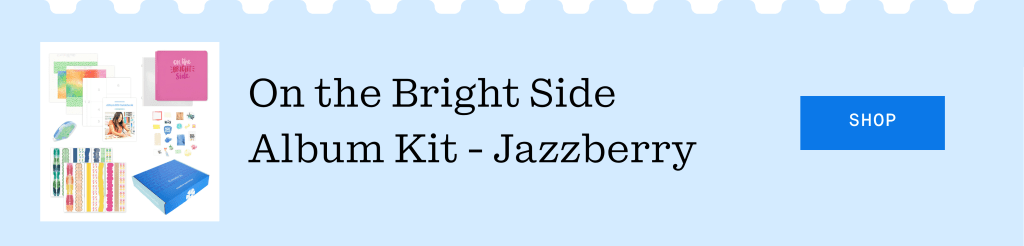
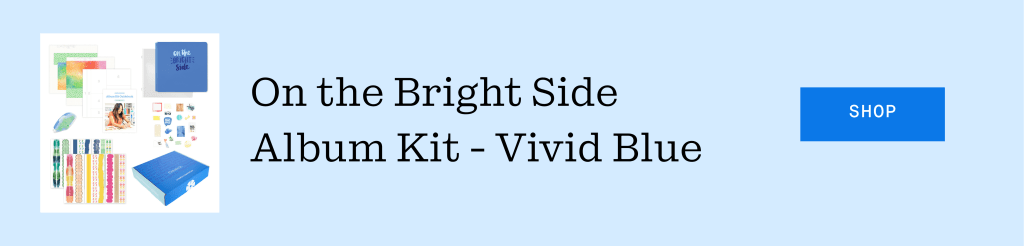
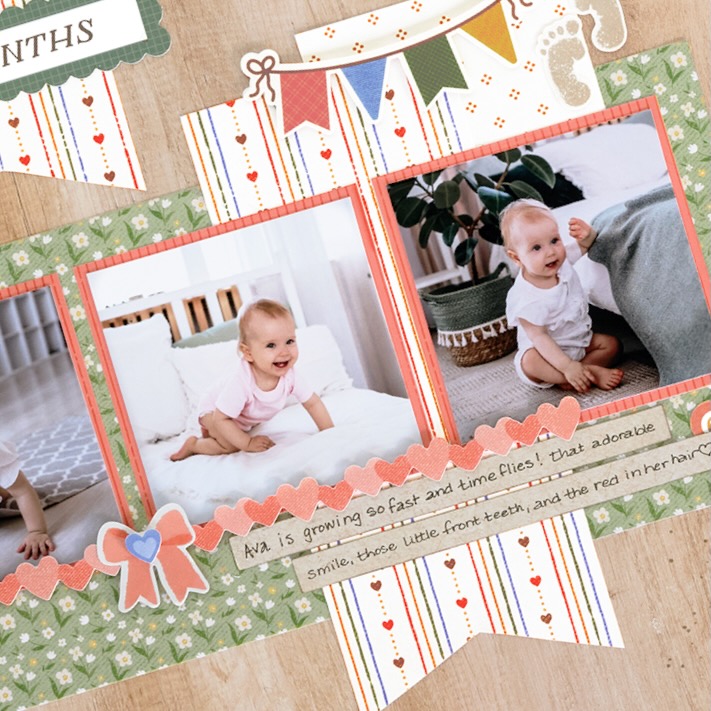
We had such a vibrant start to Album Kit Week yesterday! It was a joy to see so many of you in the comments as we kicked things off and dove into the colorful world of the On the Bright Side Album Kit.
Whether you are looking for a guided approach to your favorite photos or just want to finish a handful of spreads in one sitting, these kits are designed to meet you where you are. In this session, CEO Alison Dutton and Sheila Conlon, VP of Marketing, show you exactly how intentional and effortless memory keeping can be.
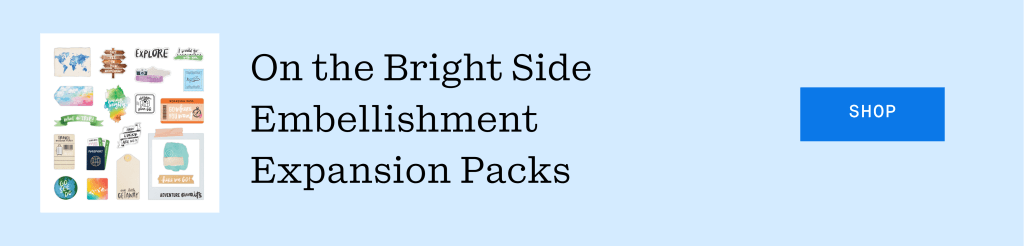
Watch as Alison shares a look inside her personal Disney album for inspiration before they dive into completing a layout from start to finish. From clever trimmer tips to a first look at the new Expansion Packs, this walkthrough is the perfect guide for getting those stories into an album.
Watch: The On the Bright Side Album Kit walkthrough
Featured Products
Ready to get started? Shop the essentials from today’s walkthrough to help you document all those bright photos and life’s most fun moments.
Join Us Today
The fun continues this afternoon with the Natural Beginnings Album Kit. Join us at 3pm CST (6am AET) on Facebook or YouTube to see this beautiful, neutral kit in action and chat with the team. We can’t wait to see you there!
We are so glad you are here to celebrate Album Kit Week with us. Whether you are catching us for a live chat in the comments or watching the recaps, we hope these sessions inspire you to get your stories off your phone and into a finished album you love.
April 13, 2026
Welcome to Album Kit Week
We are so excited to officially kick off a week dedicated to one of our favorite ways to tell stories. Album Kits are all about convenience, creativity and the joy of finishing a project from start to finish. This week, we are taking a closer look at our latest Album Kits as CEO Alison Dutton and Sheila Conlon, our VP of Marketing, share exactly how these guided kits can help you finish your albums with ease.
Starting today, we will be hosting daily video premieres at 3pm central on our Facebook and YouTube pages. Members of the Home Office team will be live in the comments from 3pm to 5pm CST each day to answer your questions and chat about all things scrapbooking.
The Schedule:
The Recap
If you can’t join us for the live chats, don’t worry. We will be posting a full recap right here on the blog every morning at 9am central. You will find the recorded walkthrough video along with a curated list of all the products featured in the session.
Join Us Today
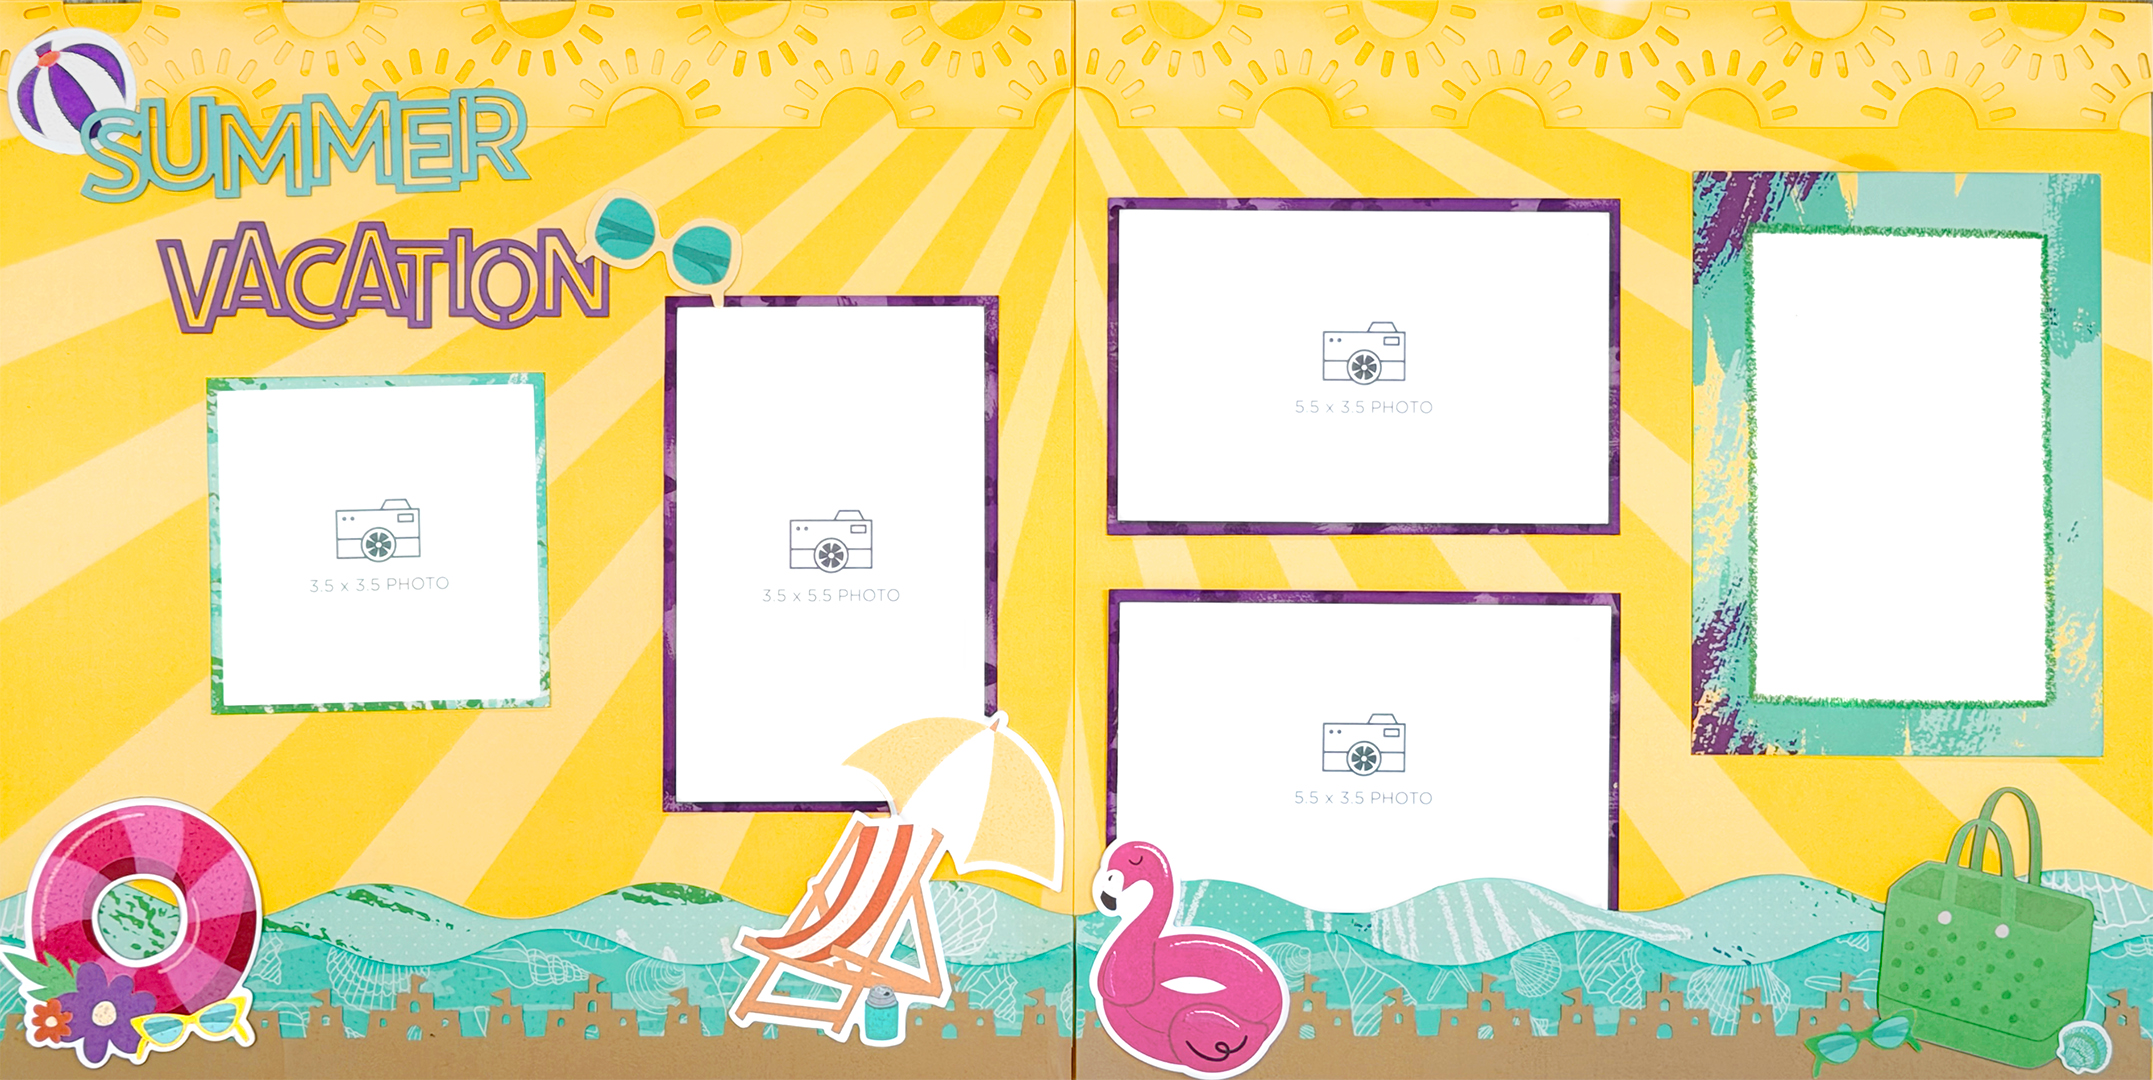
We are starting things off this afternoon with the On the Bright Side Album Kit. Join us at 3pm central (6am AET) on Facebook or YouTube to see this vibrant kit in action and chat with the team. We can’t wait to see you there!
We are so glad you are here to celebrate Album Kit Week with us. Whether you are catching us for a live chat or watching the recaps here on the blog, we hope these sessions inspire you to get your stories off your phone and into a finished album you love.
April 10, 2026
The April 2026 Virtual Crop is HERE!
It’s officially time for the April Virtual Crop! This is your invitation to a weekend full of inspiration, connection and fun! Let’s get started!
If this is your first time participating in a Virtual Crop and you would like a quick step-by-step guide of what to expect before you jump in, you can get ALL the details about Virtual Crops in this blog post, including how to participate (in our Virtual Crop Group), supplies you’ll need, examples of challenges, types of prizes and more.
Know what you’re looking for? Find it faster here:
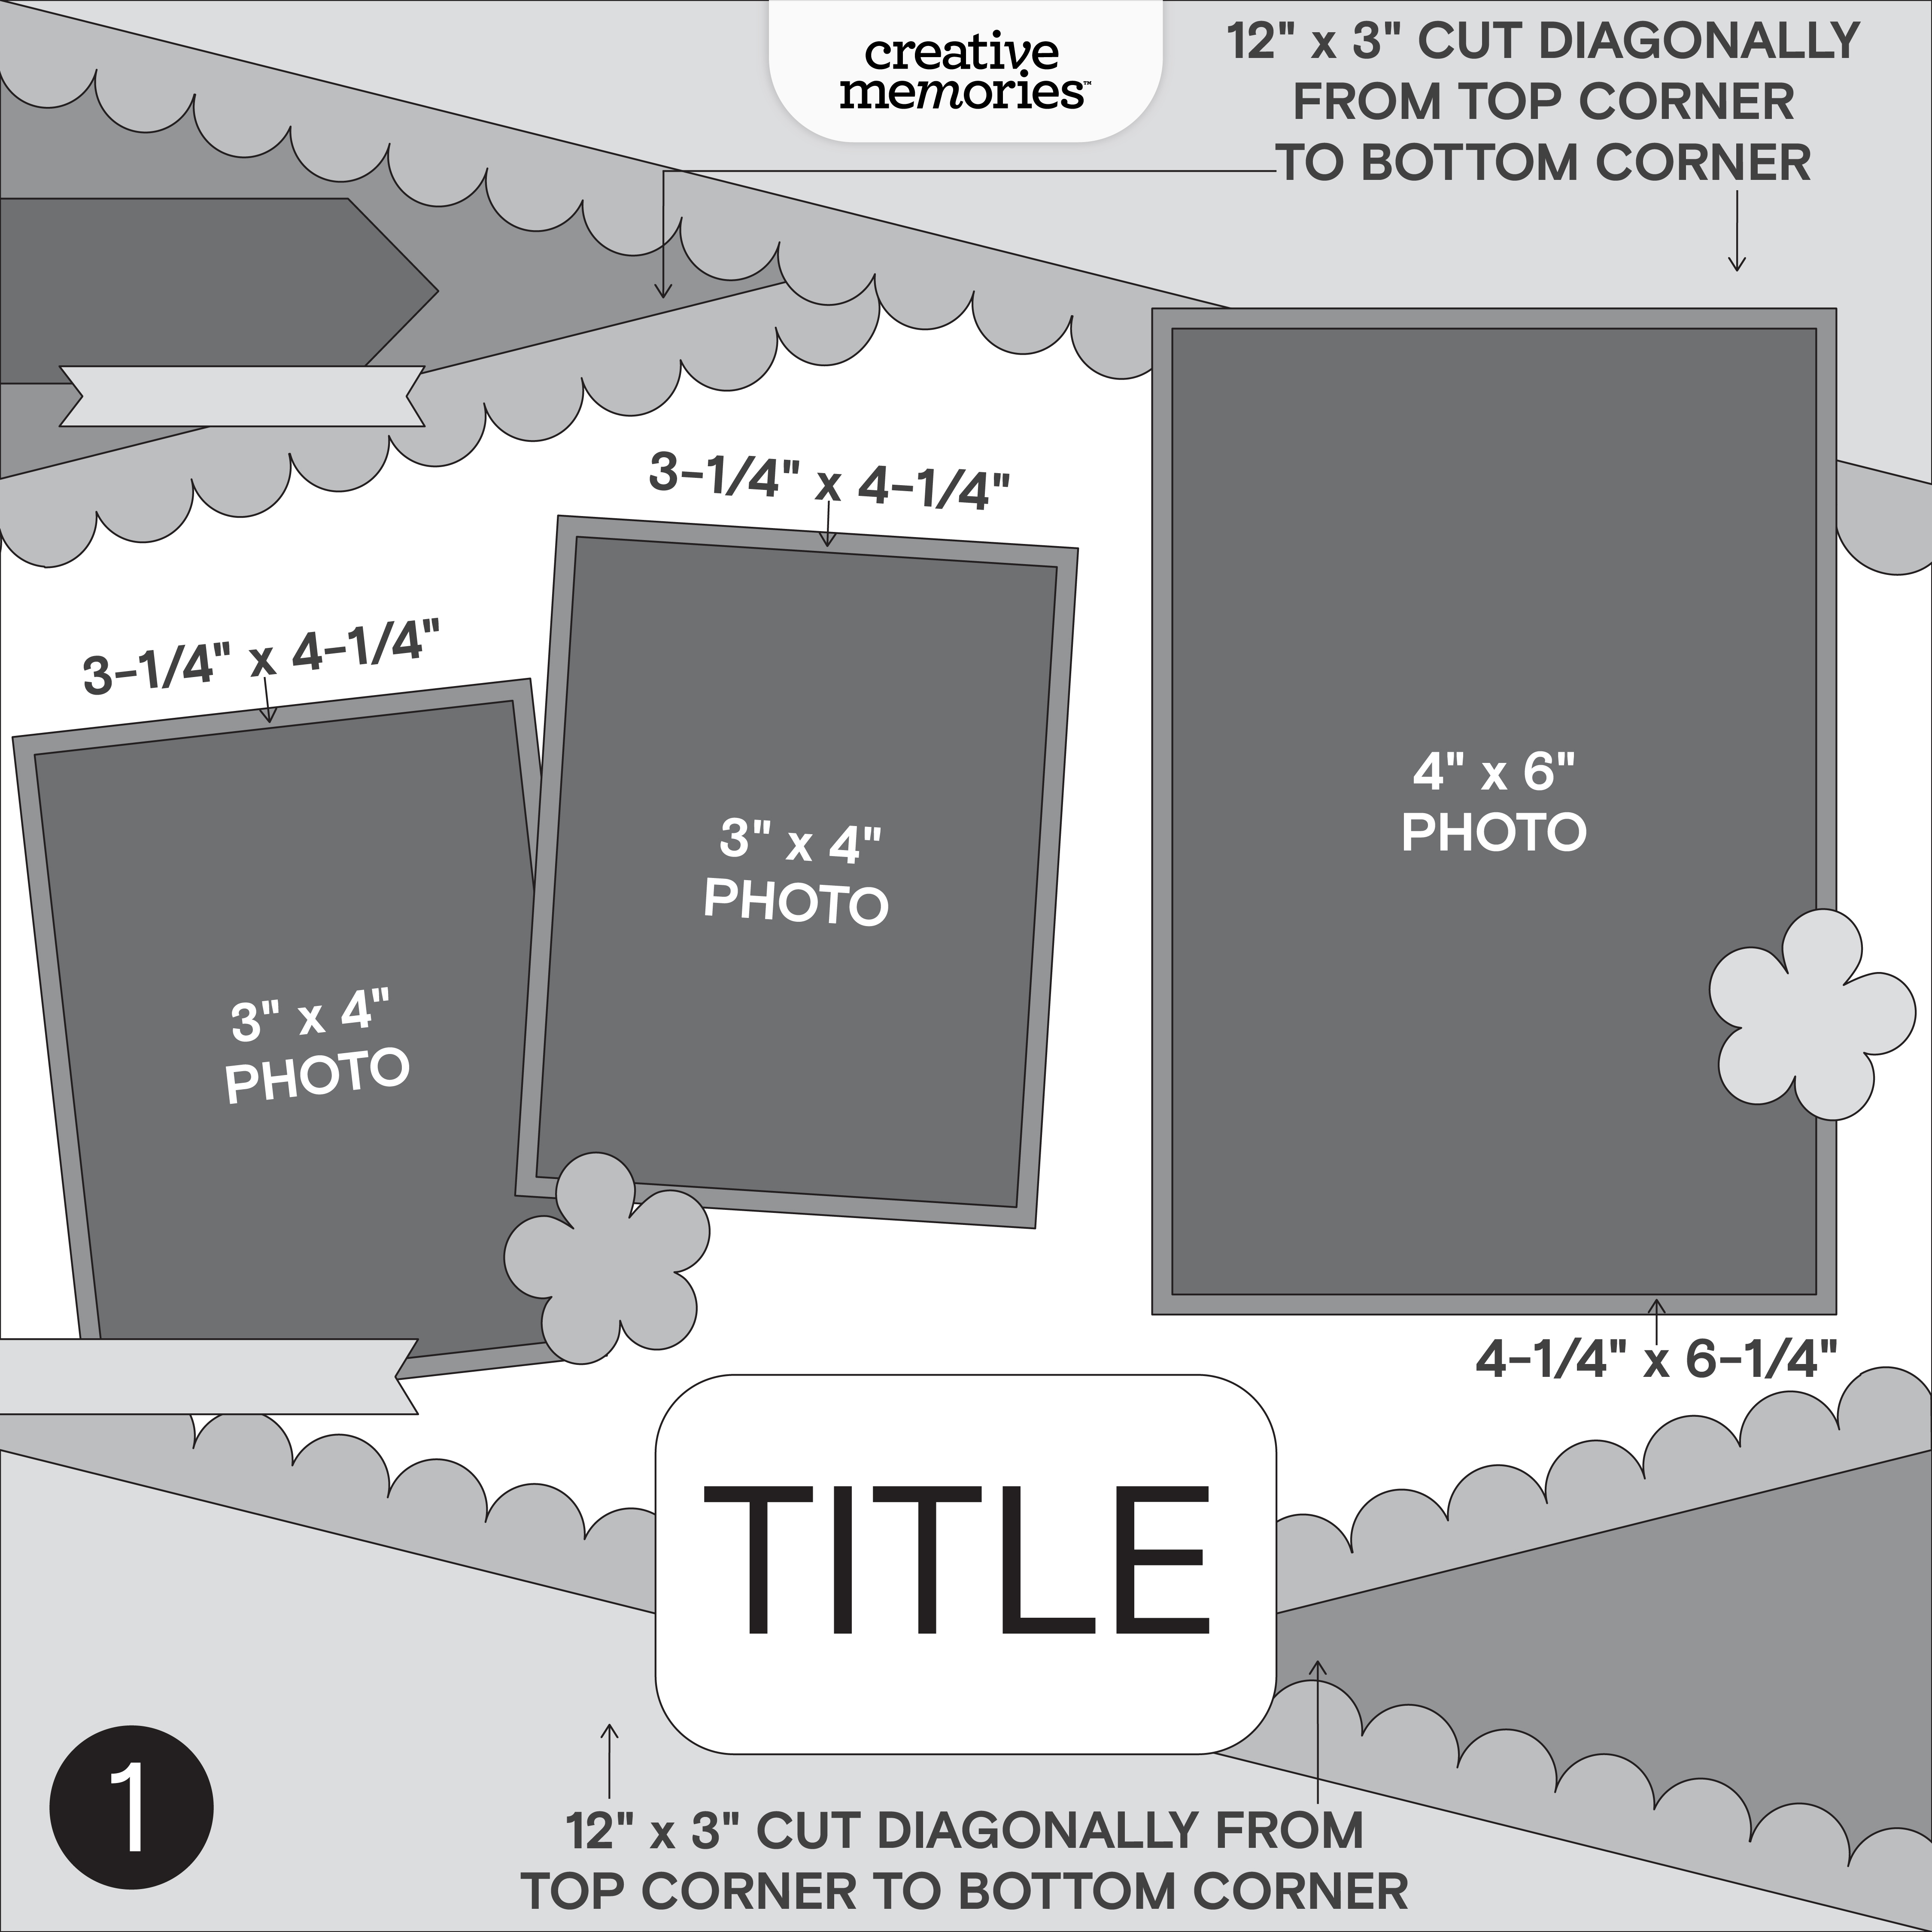
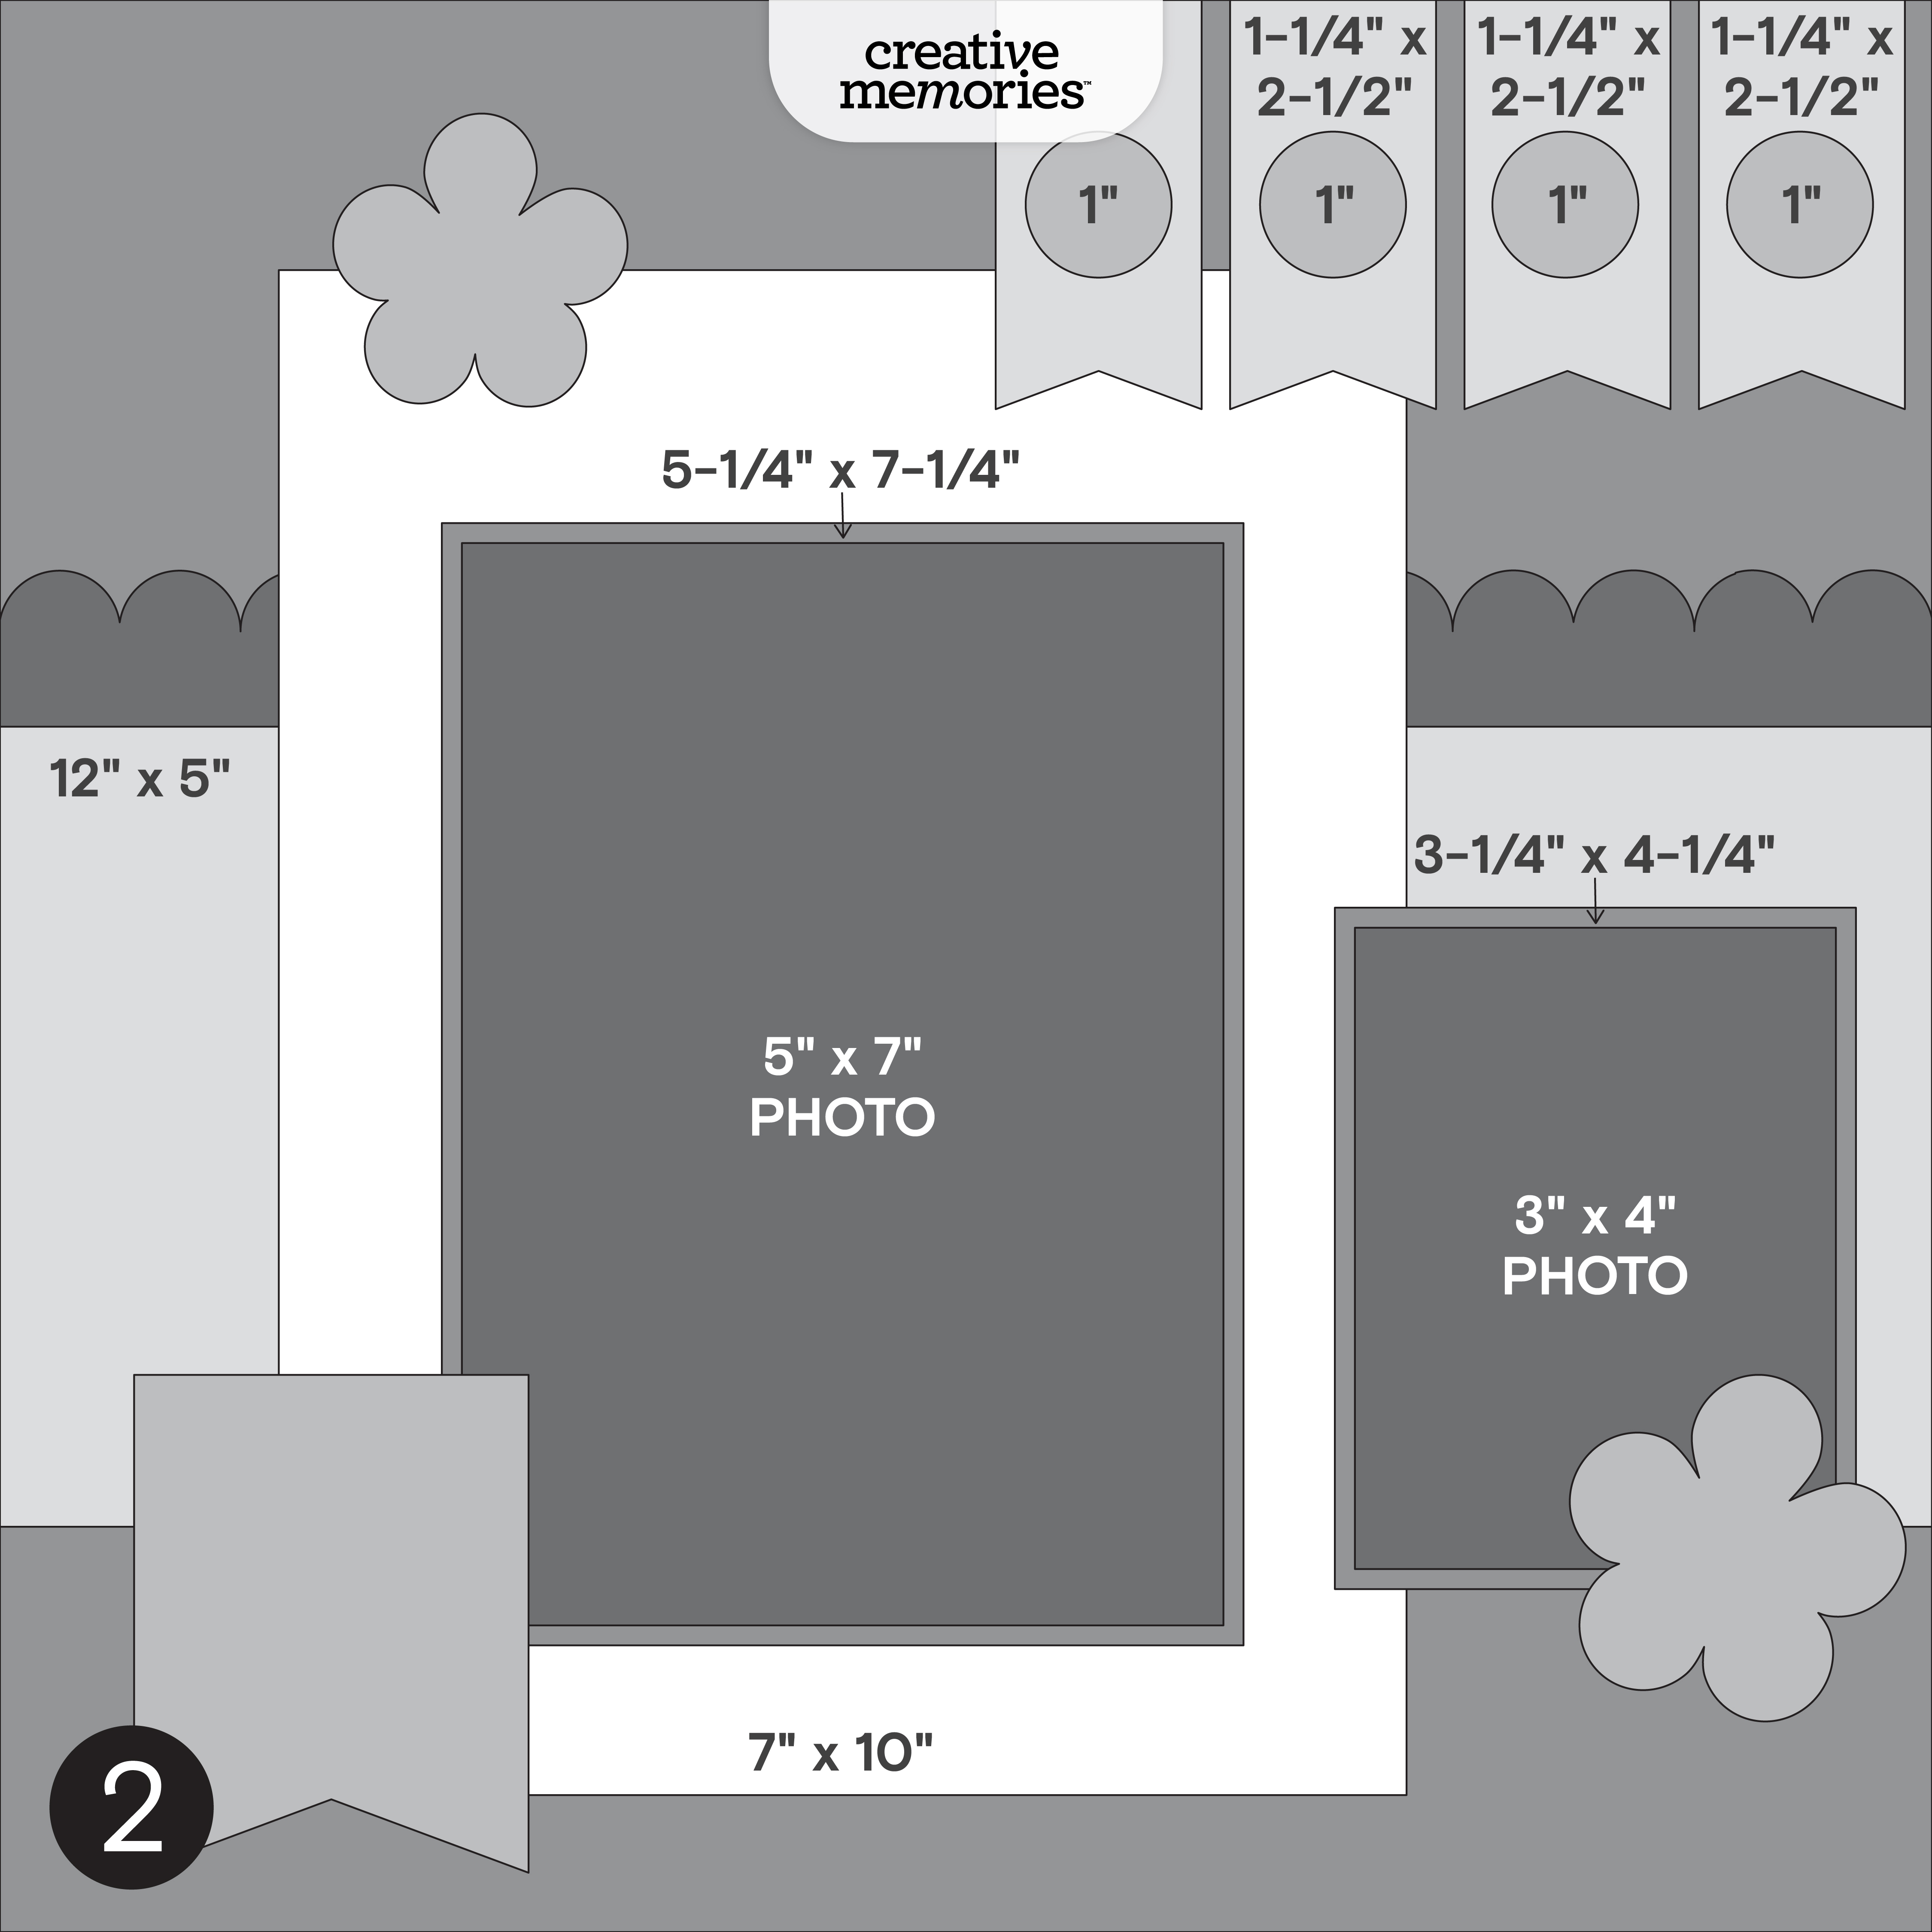
In this post, you will find ALL four sketches for this crop (these sketches are for the entire weekend; no additional sketches will be posted), a downloadable PDF with the four sketches for your convenience, hashtags to use when posting your challenge layouts in the Virtual Crop Group, prize information and layout inspiration. This is about to be an amazing weekend and we can’t wait to see what you create!
To make sure we see all your submissions for a chance to win, you’ll want to post each layout you complete as its own new post with the hashtag for that challenge. You have until Tuesday, April 14, at 11:59pm CT (AU: Wednesday, 15 April, 2:59pm AET) to submit your layouts for the chance to win a prize (more details on what you can win further down this post!). Again, we’re so excited that you’re here. Happy scrapping!
Sandra’s Tip:“Fussy cutting is a simple way to turn everyday pieces into something more eye-catching. Instead of leaving mats as basic rectangles, try trimming them into unique shapes to create titles or focal points. This adds movement and keeps the design from feeling too rigid. The Custom Cutting System can also be used to create clean, curved accents that complement those shapes. When working with stickers, consider cutting them apart while leaving the backing on so you can move them around freely until the placement feels just right.”
Sandra’s Tip: “Remember that sketches are meant to guide, not limit. If a sketch calls for a certain photo size, feel free to adjust based on what works best for your photos. Cropping larger photos into smaller sections can help highlight specific details and tell a more focused story. Choosing a color palette that complements your photos — such as black and white for this layout — will help the images stand out and remain the focal point of the page.”
Sandra’sTip: “It’s fun experimenting beyond the original design. Try swapping out expected elements, like using a larger feature piece in place of a border for added interest. Small changes can completely shift the feel of a layout and make it more personalized while still staying rooted in the original sketch.”
Sandra’s Tip: “When building embellishment clusters, start with the largest piece as your foundation and layer smaller elements around it until the arrangement feels balanced. This helps create a natural flow and keeps the design from feeling cluttered. A helpful trick is to take photos as you build your layout — this allows you to compare different arrangements and easily return to a version you liked best if you decide to move things around.”
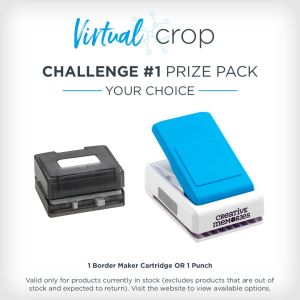
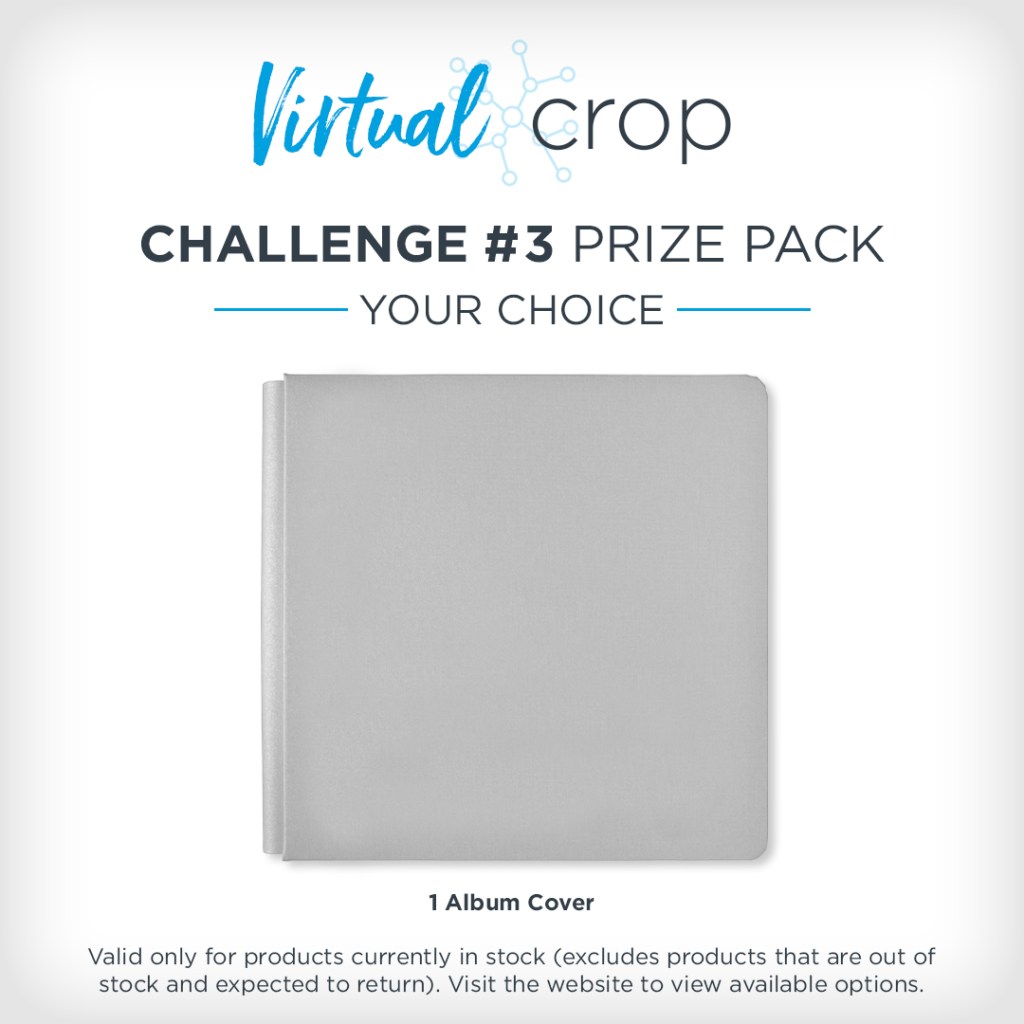
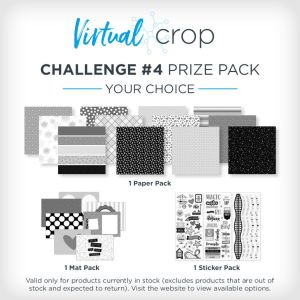
NOTE: The Prize Pack will be awarded to one (1) participant in each challenge. Valid only for products currently in stock (excludes products that are out of stock or expected to return).
We will award the prizes randomly, but to win, it must be obvious you used the sketch we provided as inspiration to create a project. You’re highly encouraged to use Creative Memories products, but it’s not a requirement to win. You have until Tuesday, April 14, at 11:59pm CT (AU: Wednesday, 15 April, 2:59pm AET) to submit your layout(s). Prize winners will be announced on Thursday, April 16, at noon CT (AU: Friday, 17 April).
Color in or place a sticker on one shutter for each sketch challenge you complete during each monthly Virtual Crop in 2026. Once you’ve completed all 12 months’ sketch challenges (that’s 48 completed pages you’ll be adding to your albums), you can submit your tracker for a chance to be one of three grand prizewinners! More information on how to submit will be shared in the Virtual Crop Group as we near the final sketch challenge.
P.S. Are YOU a member of the Virtual Crop Group? It’s your go-to place for MONTHLY Virtual Crops, MONTHLY Completed Album Challenges, QUARTERLY Secret Box Openings with project tutorials and so much more! We hope you’ll join our community of more than 52,000 fellow memory-keeping enthusiasts — you’ll feel right at home!
“Creativity is intelligence having fun.” – Albert Einstein
April 9, 2026
The Official Guide To Creative Memories Inks
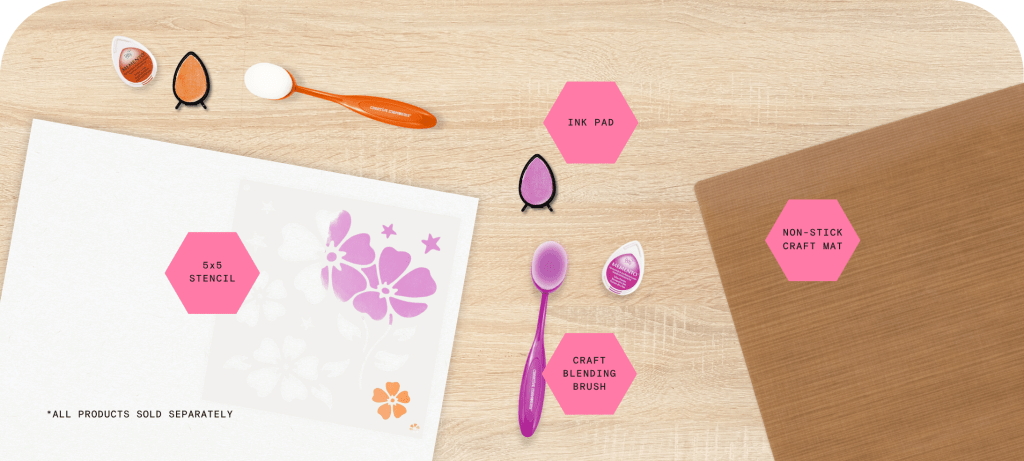
Welcome to the heart of color at Creative Memories! Whether you are a seasoned ink enthusiast or just beginning to explore the world of blending and stenciling, this guide is your go-to resource for mastering our most versatile toolkit yet. The Creative Memories Inking System isn’t just about adding a splash of color; it’s about providing the quality tools you need to create intentional, customized and truly beautiful layouts.
We’ve curated our inks to bring effortless color harmony to your projects. Each pad is hand-selected to complement our cardstock and pairs with a Craft Blending Brush for seamless, artistic application.
Available as individual pieces, these tools allow you to build a personalized palette at your own pace. It’s a flexible, mix-and-match approach designed to fit your unique creative journey.
The System at a Glance
Curated inks selected to complement our cardstock and soft-bristle brushes for a smooth, airbrushed finish.
Add artistic layers with reusable stencils. Use our 4 newest designs to create custom backgrounds with ease.
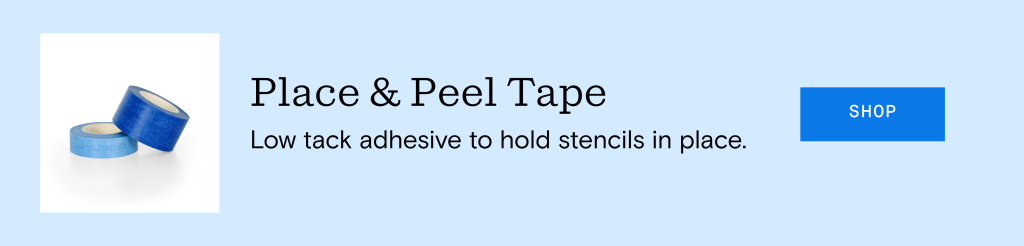
Low-tack tape that holds stencils securely and masks off edges for crisp lines without tearing your paper.
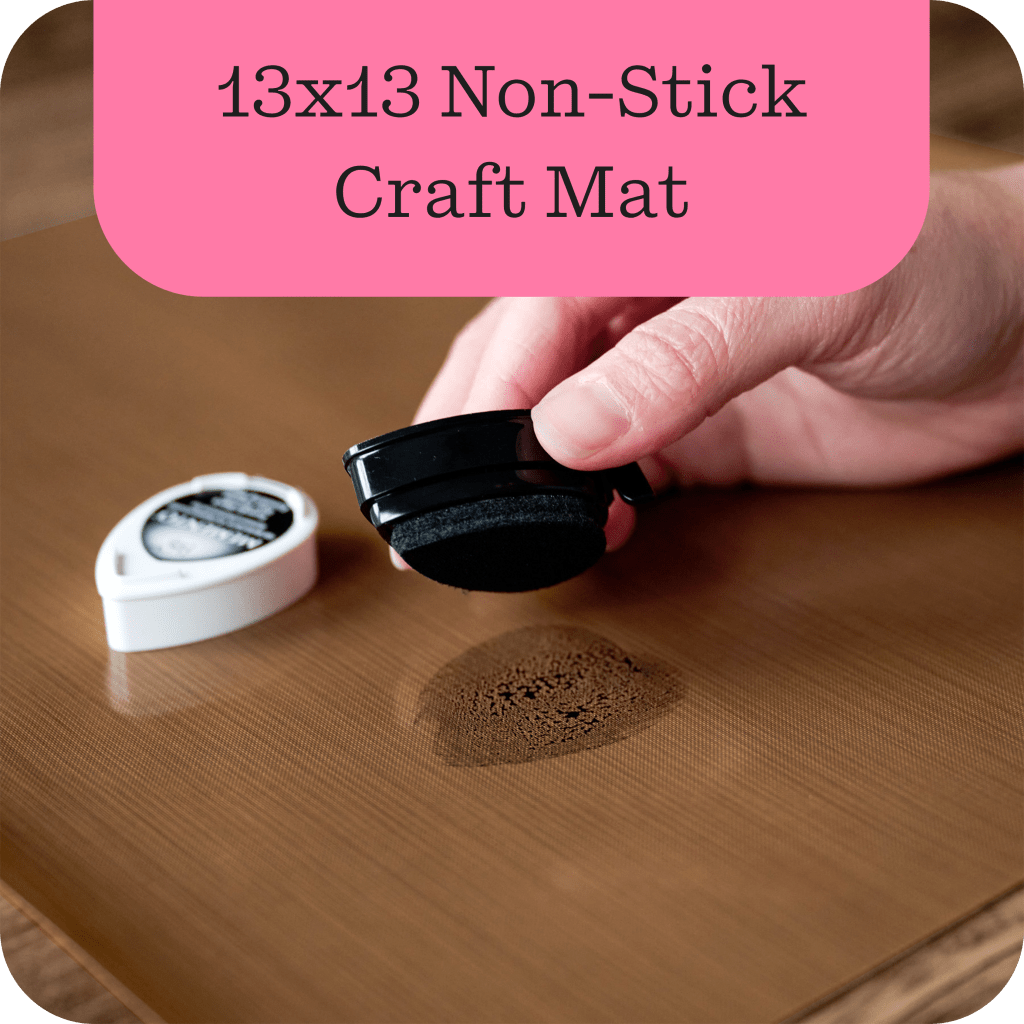
A non-stick surface perfect for mixing ink pools, smooth blending and protecting your workspace.
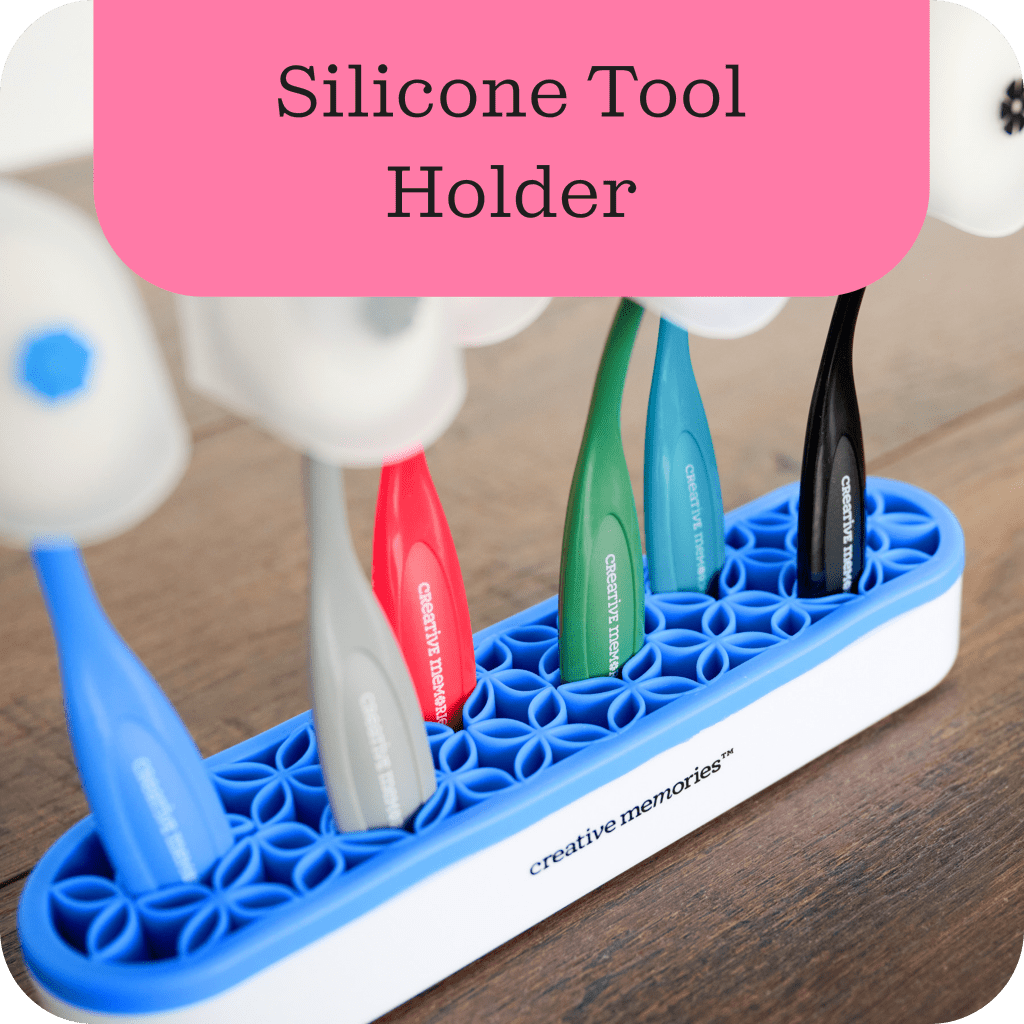
A handy desk tool that keeps your active brushes organized and upright to prevent messes while you work.
Stackable foam trays that fit inside our Organizer Case to keep 10 inks and 10 brushes clean and contained.
Features of the Inks & Tools
Archival Quality These water-based, acid-free inks are fade-resistant and photo-safe. They meet the high standards required for scrapbooking, ensuring your memories stay vibrant for years to come.
No-Bleed Performance Selected for their compatibility with high-quality cardstock, these inks provide high-impact color without bleeding through your pages.
Fast-Drying Dye Ink Smear-free within seconds, making it ideal for layering and quick crafting.
Ergonomic Brush Design Our Craft Blending Brushes feature soft, densely packed synthetic bristles and a protective cover with our signature shutter detail.
Why You’ll Love Them
Build Your Way Choose the specific colors you need. Start with a favorite shade and expand your personal stash as you go.
Accessible Artistry Achieve professional blending and stenciling results with tools designed for every skill level.
Creative Freedom From soft background gradients to bold accents, these tools allow you to customize any layout, card or craft.
The Perfect Finish Having the right tools on hand means you can always add that final professional touch to any project.
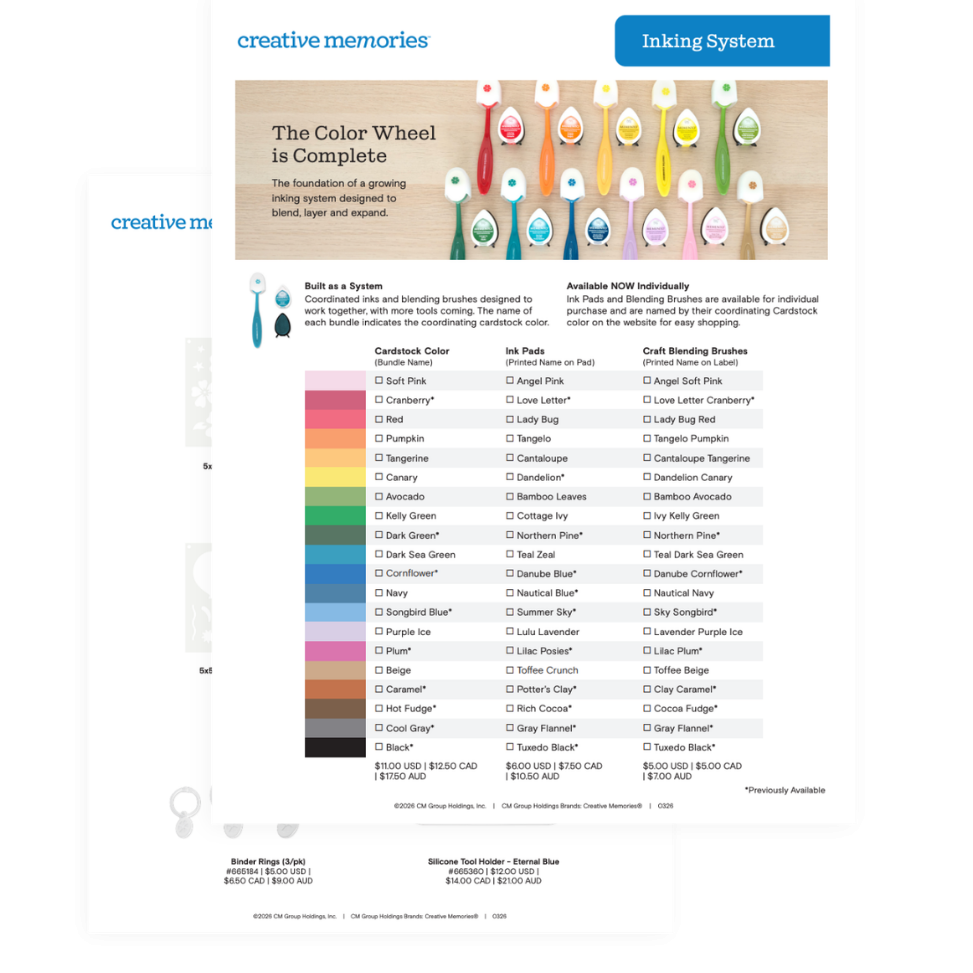
Coordinated Confidence Rest easy knowing that every individual ink, brush and stencil is designed to work together. Download our Inking System Flyer to see all your coordinating color and tool options at a glance.
The Inking Essentials Guide
This two-page guide maps every ink pad to its coordinating cardstock and blending brush. It’s the perfect resource to see your entire creative range at a glance.
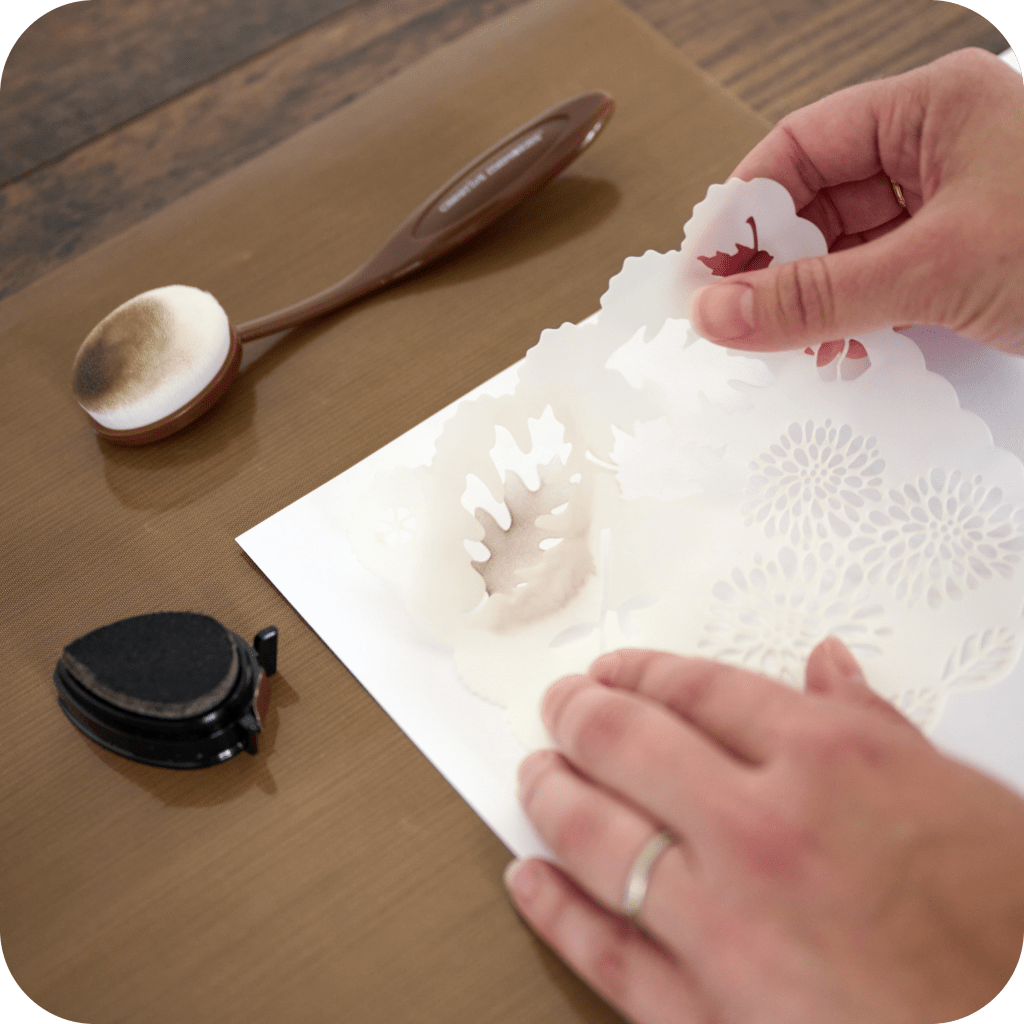
Think of your non-stick mat as a painter’s palette. Press your ink pad face-down onto the mat to create a pool of color, then swirl your brush in it to load the bristles evenly. You can even add a drop of water for a fun watercolor splatter!
Blend with the Craft Brush
The secret to a soft, airbrushed glow is starting your brush on your craft mat first. Sweep the color onto your paper in soft, circular motions to prevent harsh spots and create a perfectly smooth, airy gradient every time.
Pattern with Inking Stencils
Stencils are the easiest way to add intricate, shimmering designs. Use Peel & Place Tape to secure your stencil so nothing shifts while you work. Then, use a tapping motion with your brush to keep the ink from sliding under the edges for a crisp, clean look
Define with the Ink Pad
For a quick, polished finish, go straight to the source. Lightly swipe the edge of your cardstock or photo mat directly against the ink pad. This “edge-inking” creates a soft, shadowed frame that makes your focal point pop without needing extra layers.
Watch: Join Advisor Brenda R. to see how simple stenciling and inking can turn a blank card into a custom masterpiece!
Shop Creative Memories Inks & Tools
Explore the inking collection to find the perfect palette for your next story.
Custom inking is a simple way to add an artistic, hand-painted feel to your projects. These tools and techniques are designed to help you build beautiful, layered layouts that highlight what matters most—the memories you’re preserving.