July 14, 2017
Slice of Summer done two ways!
One of the greatest things about scrapbooking is that it cannot be done wrong. The way one person scrapbooks is bound to differ from the way the next person does — and that’s okay! The options for exercising your creativity are endless, and if by the end of the album you’ve saved your memories and shared your story, then your efforts were a success!
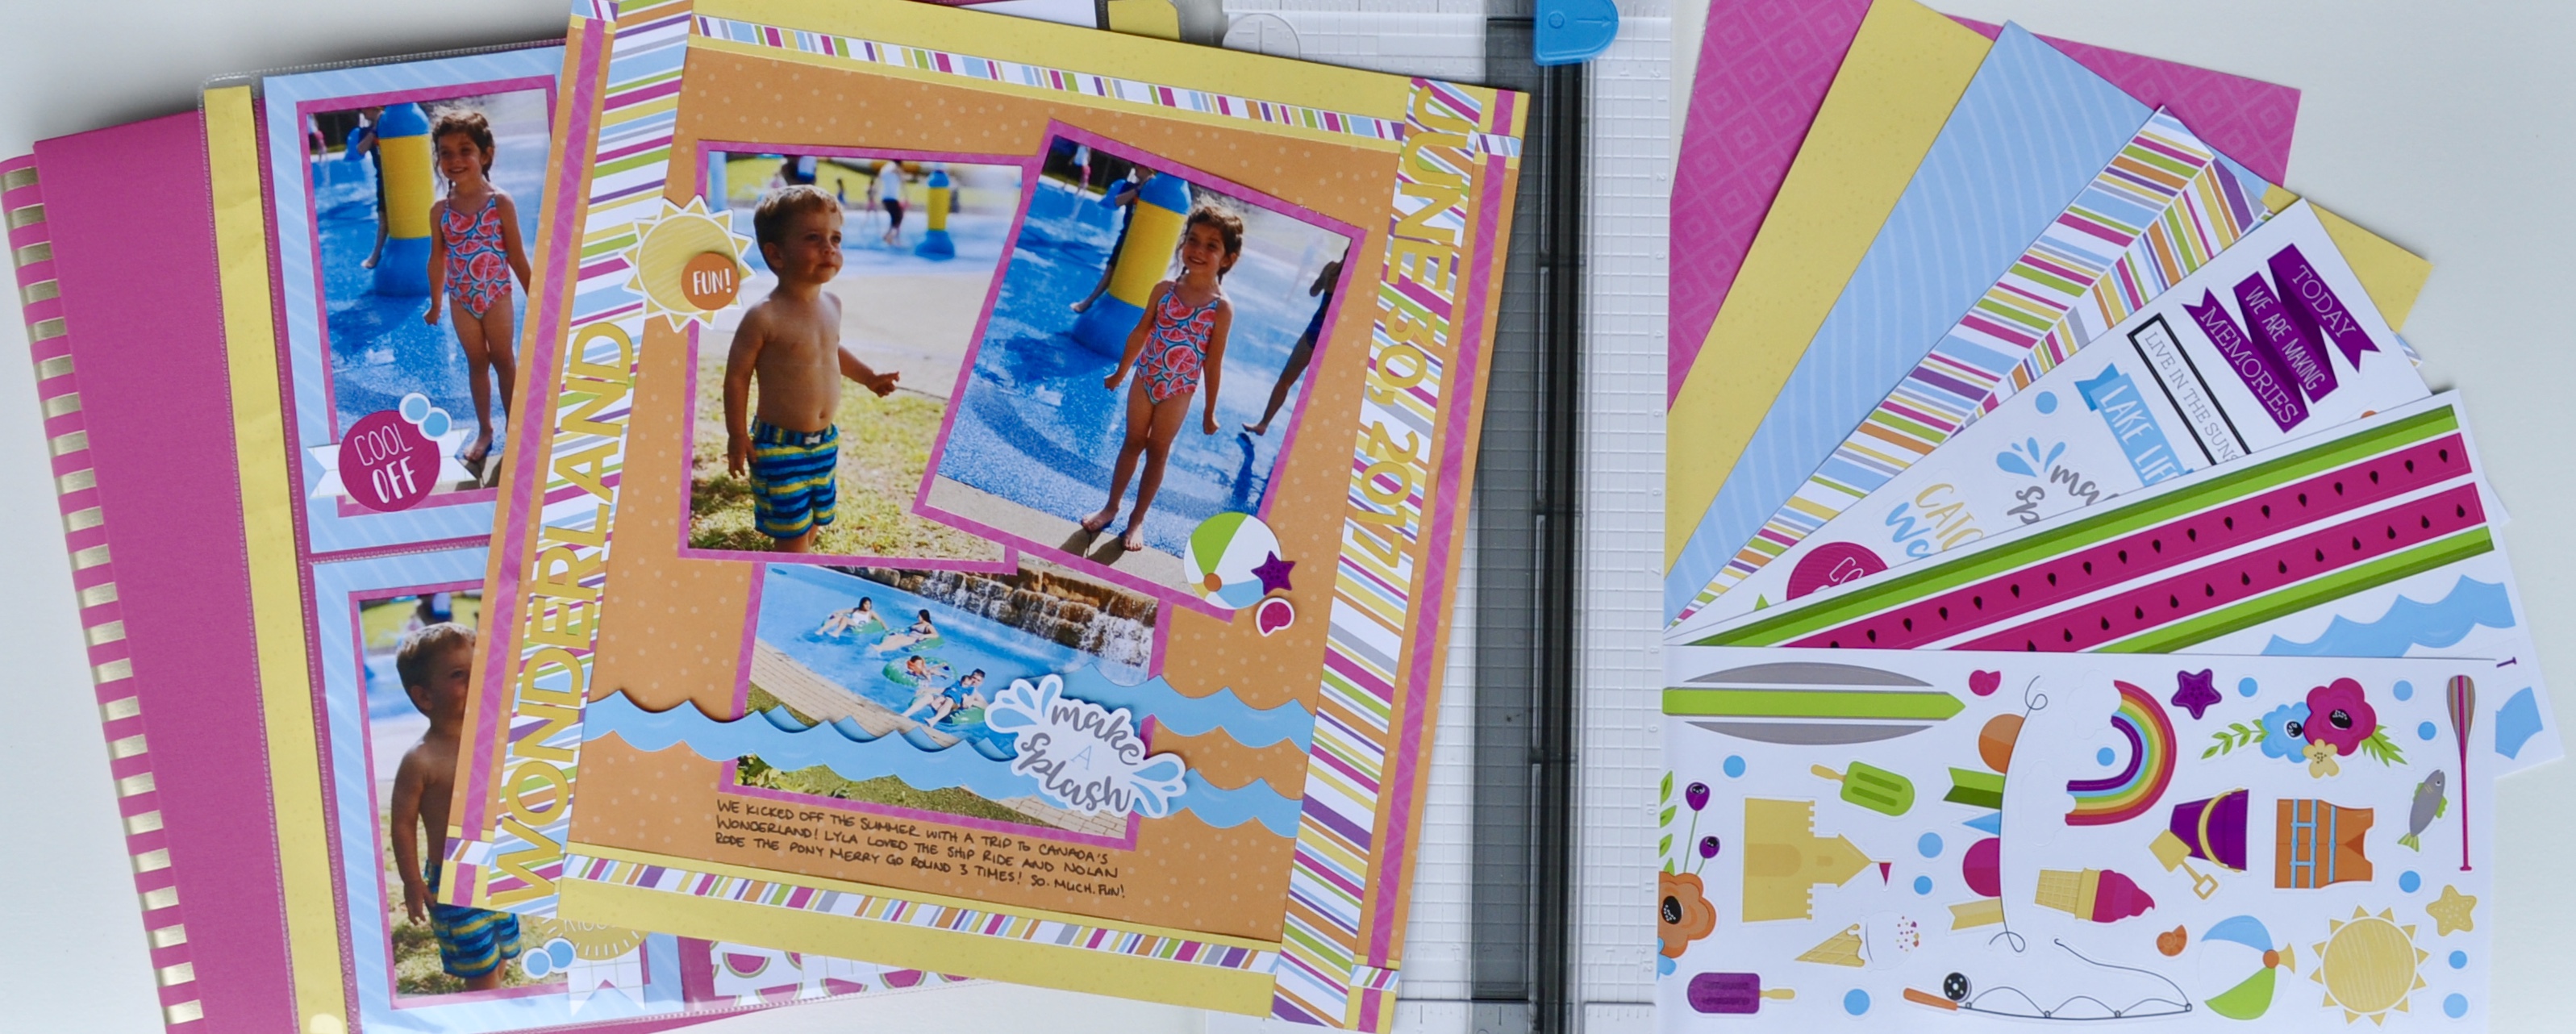
Today I want to share with you two of my favourite ways of scrapbooking. The first is a more traditional method and the second is fun and sometimes quicker method of saving memories. I’ve used the same photos on each layout and I’ve used the same collection for both layouts. No matter how you prefer to scrapbook I hope these give you some new ideas and maybe encourages you to try something new and different!
For the first layout, I used a 12″ X 12″ piece of patterned paper from the Slice of Summer collection as my base. I then built onto that with my photos, more patterned paper and the Slice of Summer Stickers. I used the Gold ABC/123 Stickers to create the title and date off to either side.
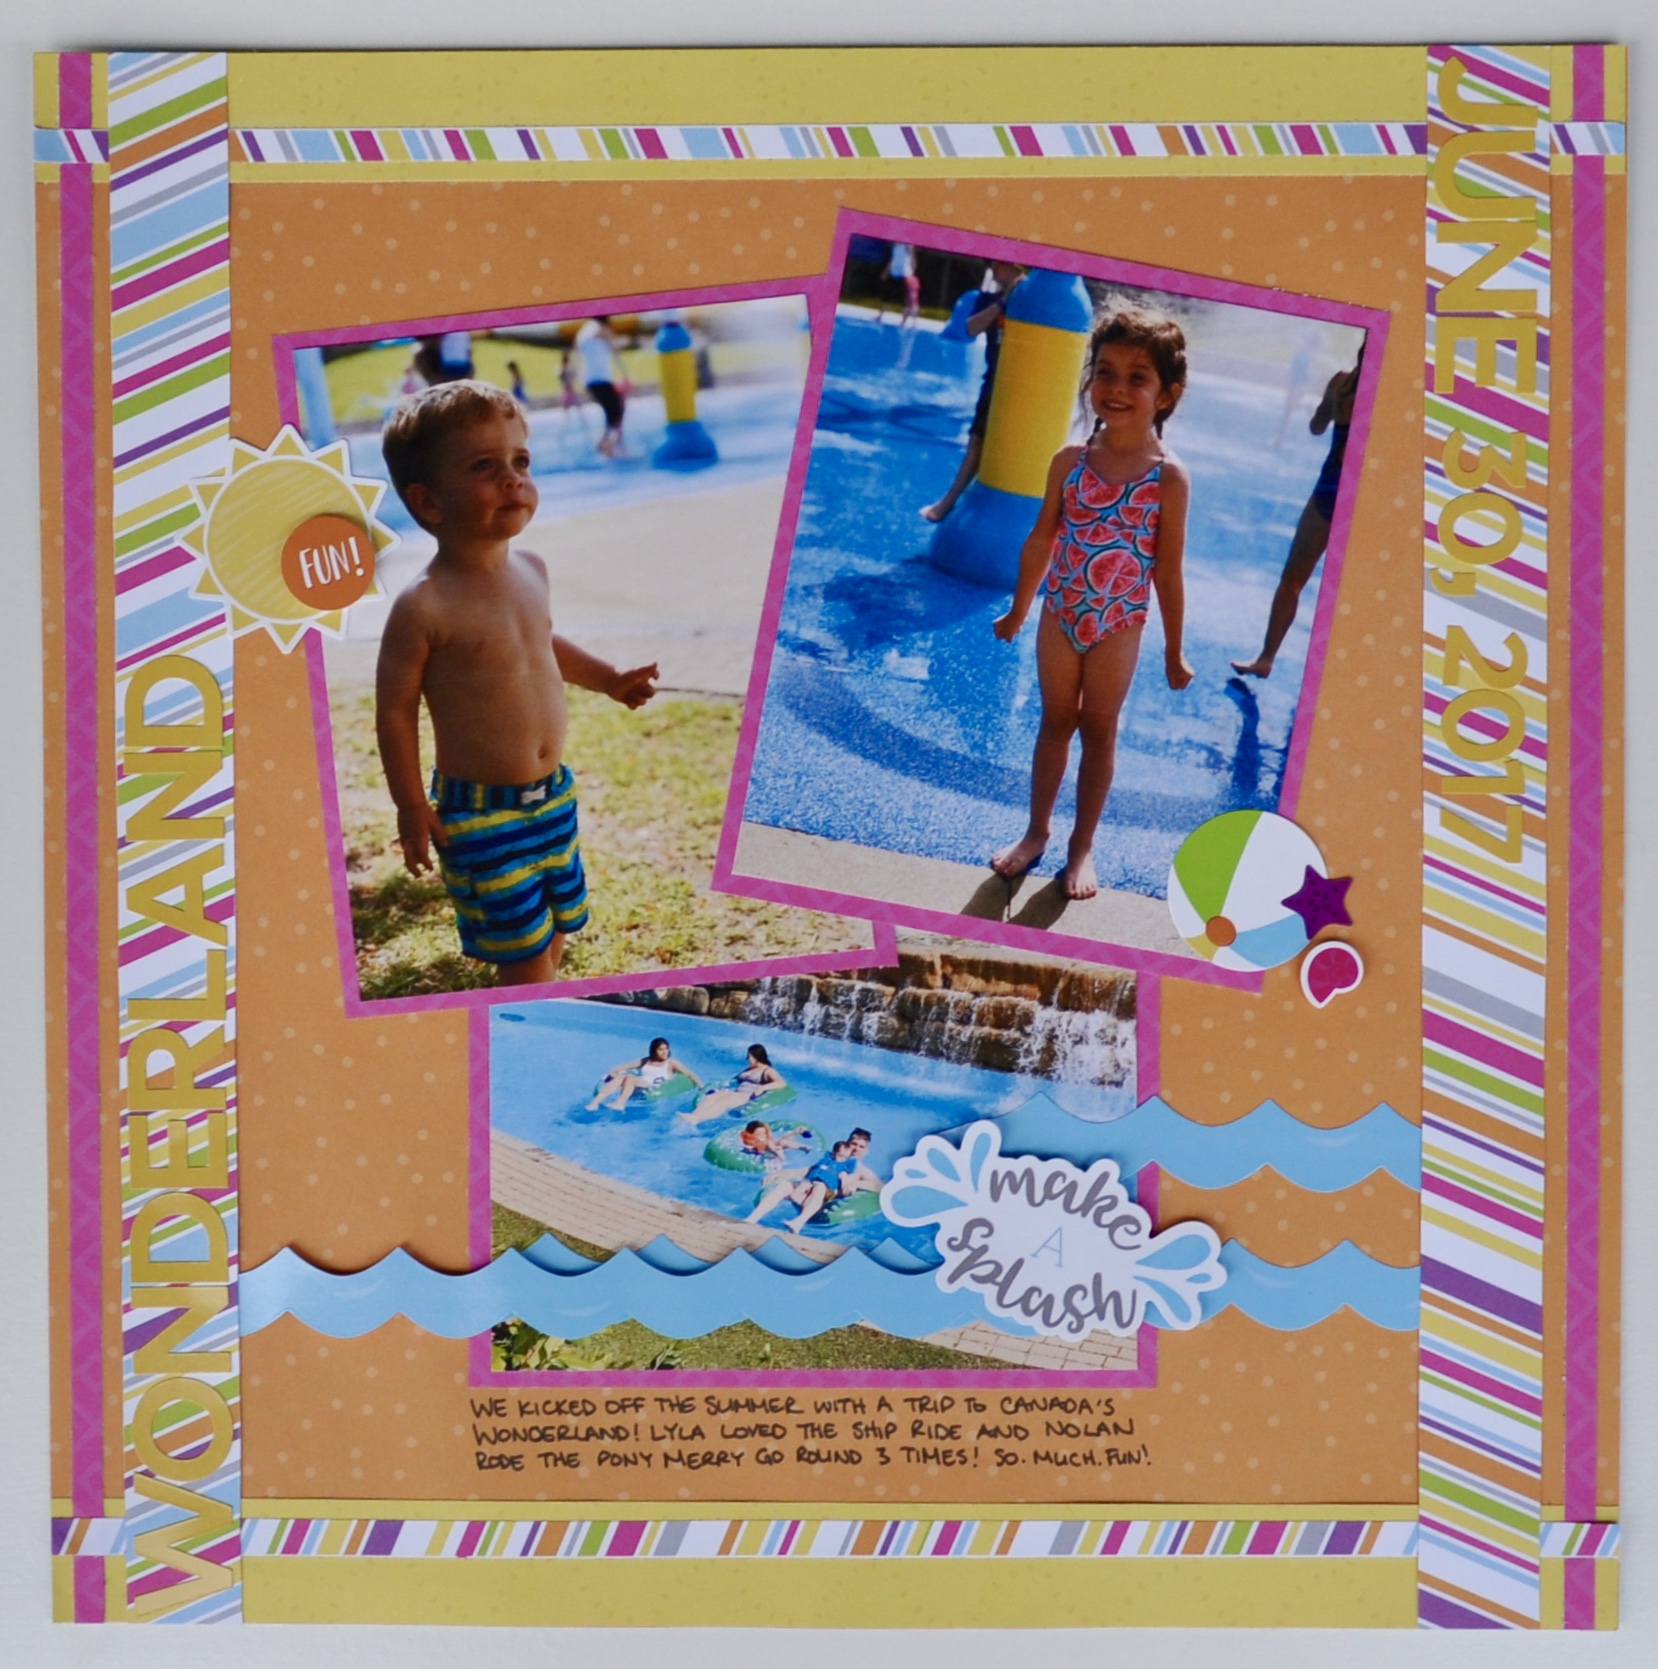
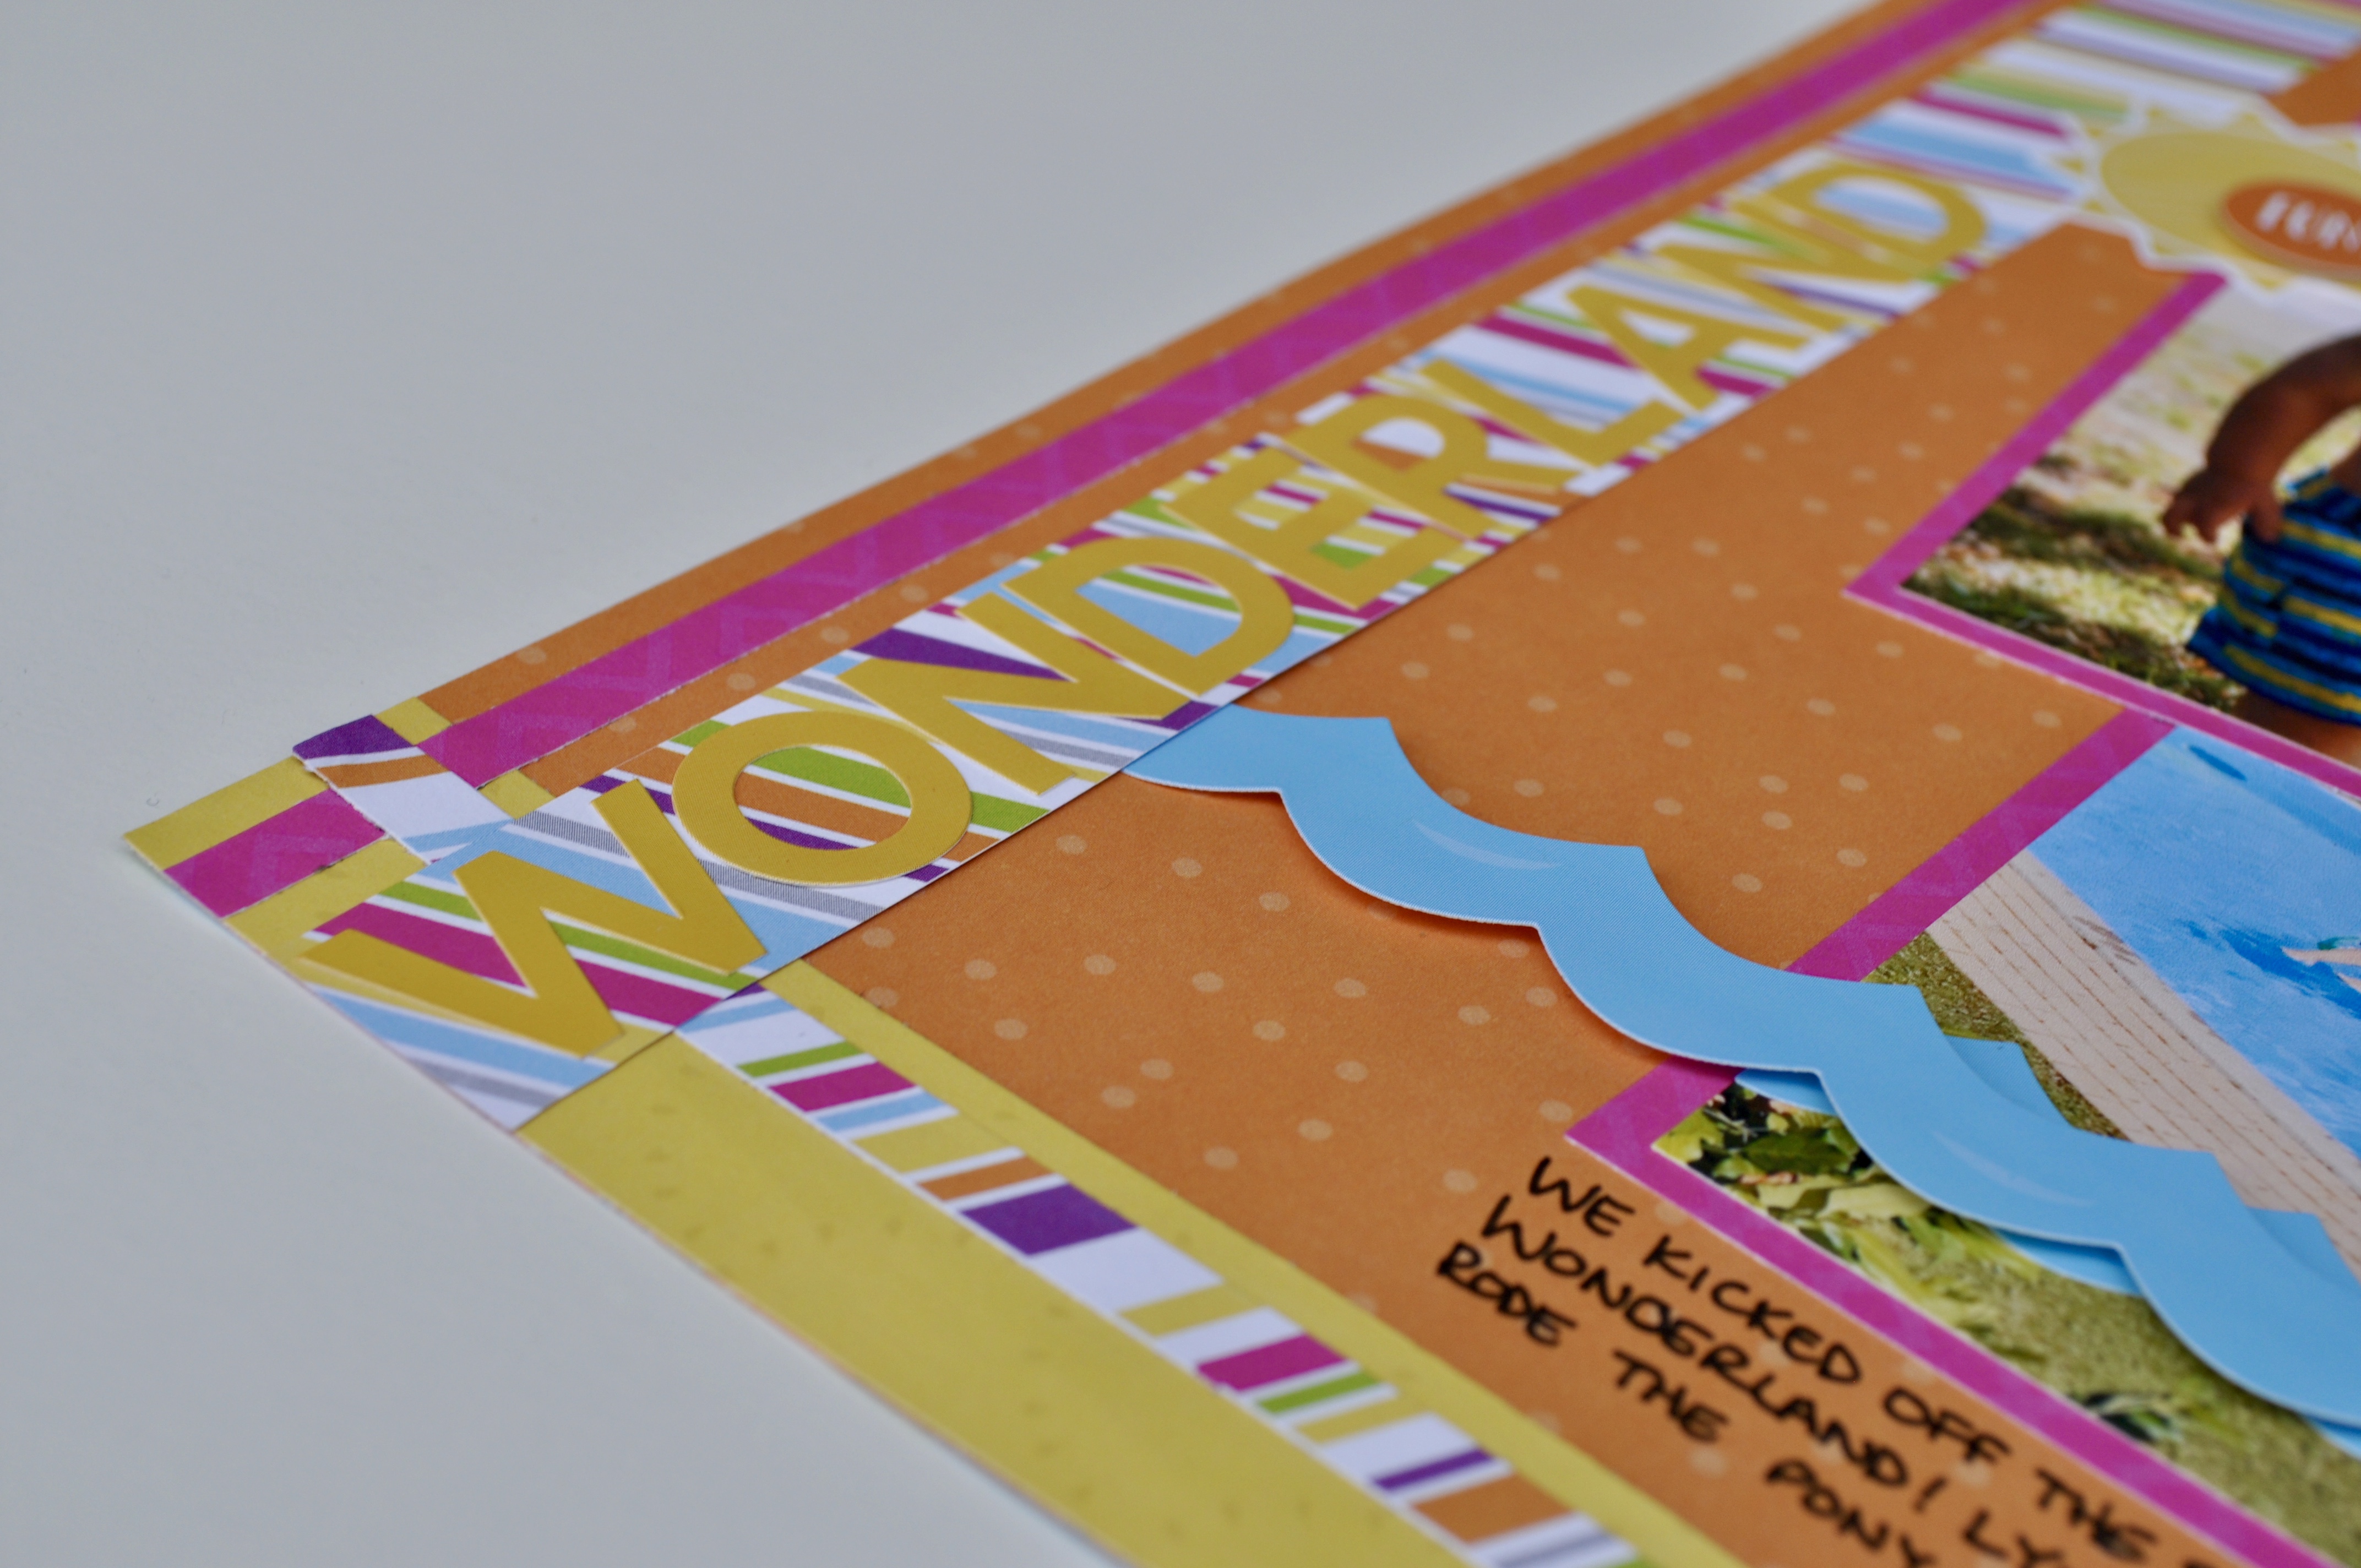
For the title and date, I thought it would be fun to have it sort of disappear into the border strip — still able to be read, but not bold and taking attention away from the photos. The strips of patterned paper made a fun border around the page – this would be so easy to do to use up scraps from your stash!
For the photos, I wanted to arrange them in a fun cluster in the center of the page so I matted them in coordinating patterned paper and then had each of them at a slightly different angle when placing them down. I then used the Slice of Summer Stickers to embellish, doing a small cluster on each of the top two photos and then using the wave border strips to add some interest to the bottom photo. I alternated between sticking the stickers directly to the layout and adding foam squares to create some depth and interest.


I finished the layout off by adding journaling to the bottom of the page using the Black Dual-tip Journalling Pen. I chose to use the thicker end of the pen so that the words would have a good contrast from the polka dotted background.
Tips for creating a traditional layout:
1 – Working in odd numbers can be beneficial for the design flow of a layout. Whether talking about your photos or your embellishments, even numbers create symmetry, but odd numbers create interest. An odd number of details is more effective at capturing your gaze. Odd numbers force your eyes to move around the grouping – and by extension, the layout!
2 – Create a visual triangle. Again, with both your photos and your embellishments, it is a good idea to create a visual triangle. This forces the eyes to travel across the entire layout. If things are laid out in a linear fashion the efforts made outside of the line of interest can go unnoticed.
3 – If you want something to stand out, matte it. Whether you decide your focus should be the title, the photos, or the journalling whatever is most important can be made to stand out by adding a single or double matte behind it.
For the second layout I want to share with you today I used a pocket page as the base for the layout rather than a 12″ X 12″ piece of cardstock/patterned paper. This is a fun way of pulling together layouts and can sometimes be quicker and save some time while creating your album!
I chose to start by adding strips of the yellow patterned paper from the Slice of Summer Paper Pack to the left and right borders on the pocket page. There are no openings for these pockets so I just took my scissors and lightly scored along the top seams on either side, it was then easy to slide the paper strips in.

To bring the page together I chose to mat my three photos all in the same way, first with a 1/8″ border on the pink patterned paper and then with a 1/2″ border on the blue patterned paper.
For the top right pocket, I used one of the cards from the Slice of Summer Variety Mat Pack. I kept in mind that I would be using the Gold ABC/123 Stickers to create a title on this so made sure to choose one with a simple border and lots of open space.

For the bottom right pocket, I cut a piece of the watermelon patterned paper to 4″ X 6″ and then added a trimmed down card from the Slice of Summer Variety Mat Pack that prompted my journalling with the title “Summer Bucket List”. I thought this was a fun way to add journaling in a different and unique way for this layout.
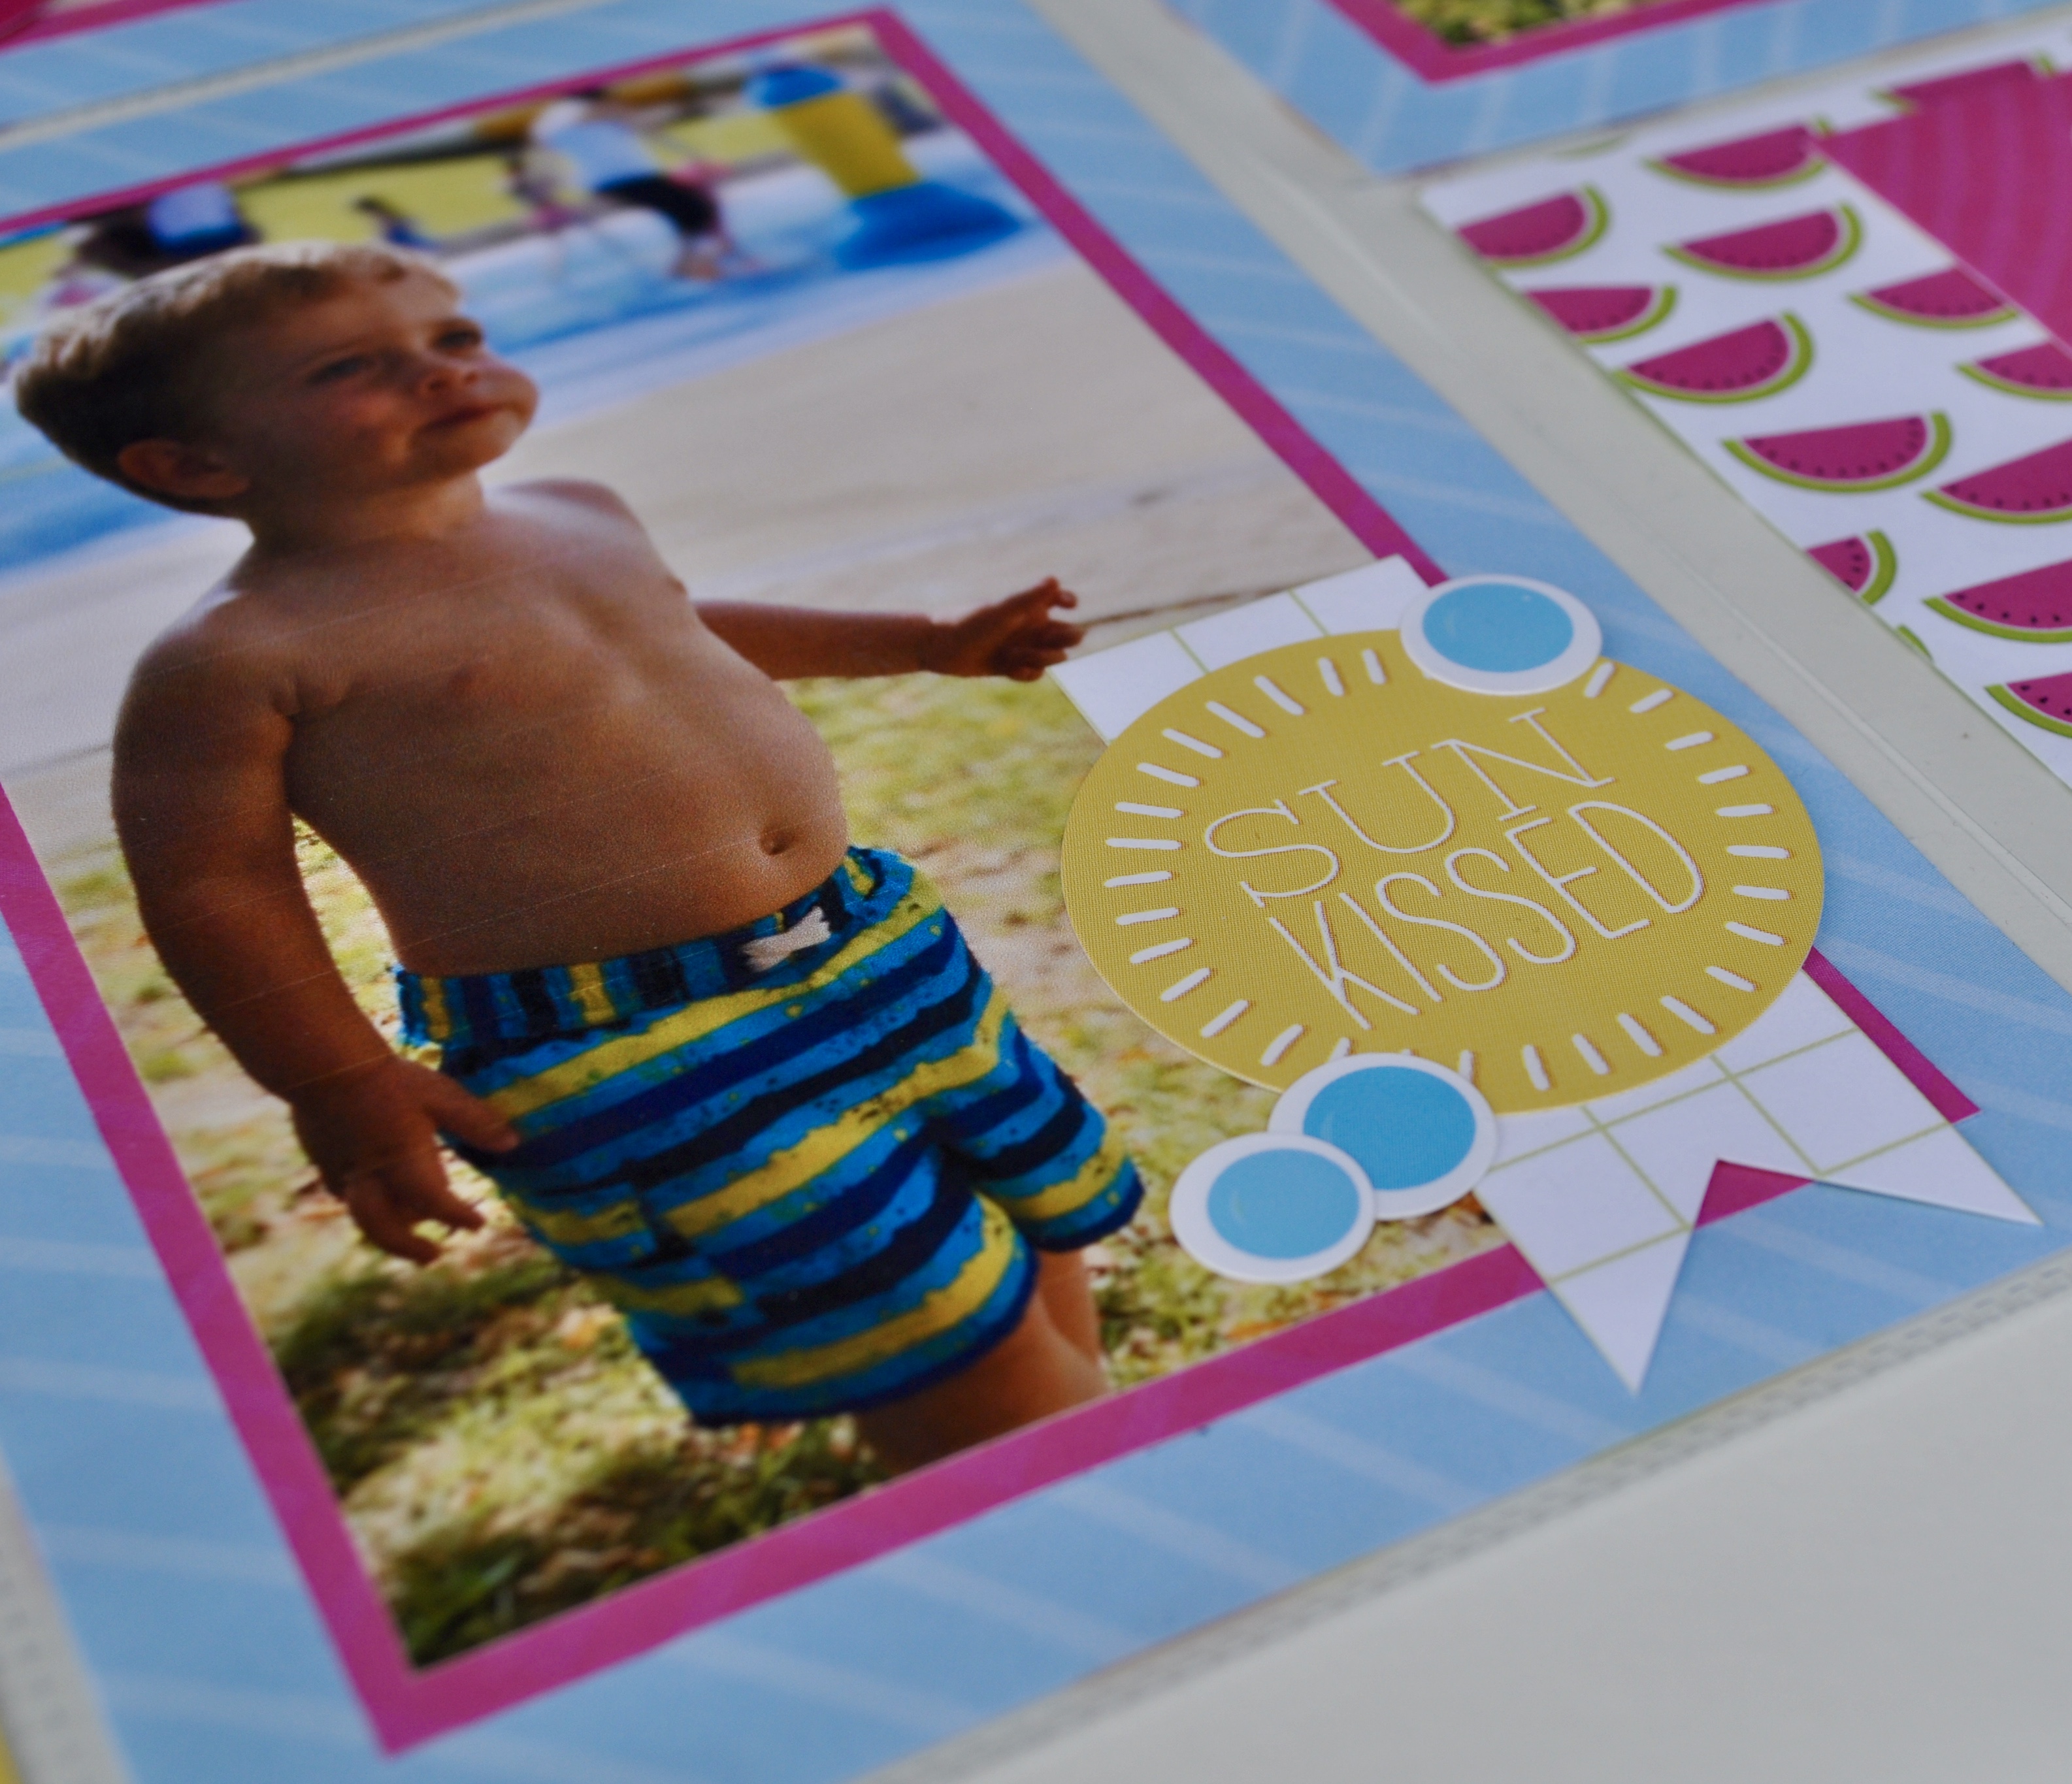
When embellishing my photos I used the scrap paper that I had cut off of the journalling card to tie the five pockets on the page together. On the photos, they serve as a base/background to the Slice of Summer Stickers, on the title card it served as a space to record the date, and of course, on the journalling card, it was the background for the bucket list!


Tips for creating a pocket page layout:
1 – Have elements that connect your pockets. Whether it is a common patterned paper that is used throughout or the use of a common embellishment or sticker it will help bring the page together to have connections between the pockets.
2 – Just as with traditional layouts, be sure to consider your visual triangles when choosing which pockets to use for photos, titles, and journaling. Try to encourage the viewer to engage with each of the pockets while keeping it as one cohesive layout.
3 – Consider using pocket pages in different ways throughout your albums. Some can be well scrapbooked with mats, embellishments, titles, and journaling, while others can be more simple with 4″ X 6″ photos that have an embellishment or two scattered here and there for interest and a journalling tag to tell the basic story. This can bring your album together much more quickly and still be absolutely beautiful!
I hope you are inspired to try pocket pages if you’re a traditional scrapbooker or traditional pages if you’re a pocket page scrapbooker! It’s fun to intermix them in the same album — remember, there are no rules to scrapbooking. Your album, your way!
Happy scrapbooking :)


LOVE your creativity! Thank you for designing and sharing!
I love both of them, but I would so do the second one on a plain 12X12 page without the pockets.
Thanks for sharing! I use slide in pages throughout my albums (especially travel for brochures, etc.), but never thought to incorporate pocket pages, too. I will definitely add this idea in my album pages.
Love this Marja…love the new Slice of summer line
Super ideas to share at a crop or with a newbie.
I love how you say your album, your way!! That is what I have always taught people who I teach scrapbooking to. It puts less pressure on everyone. There are no rules!! It is creativity, just like any art!! Thanks for sharing!!
I love that you showed us both ways with the same photos. If it is ok, I will show this to customers who feel the pocket pages can’t be as creatively done.