August 17, 2017
Simple Borders Using Dancing Daisies!
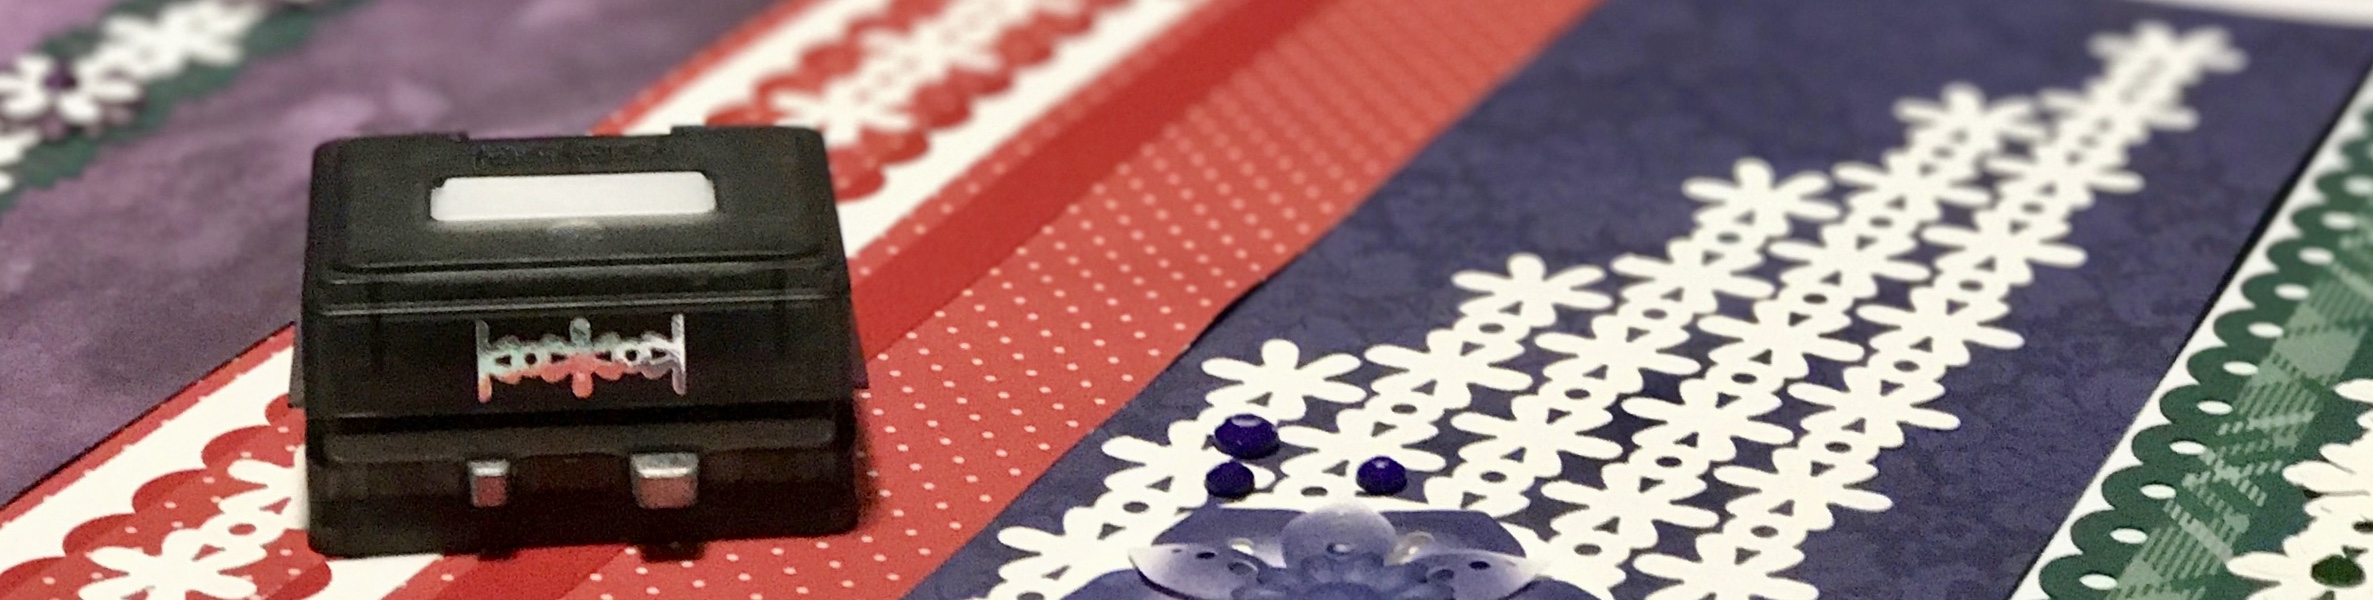
One of my favourite things to do when Creative Memories launches a new Border Maker Cartridge is to punch out a whole pile of the new border and just play! I like to see how it can be layered, stacked, positioned on a page, etc. I just love spending some time being creative! I also love seeing which other Border Maker Cartridges coordinate nicely with it.
Today I want to share with you what came out of my playing and experimenting with the new Dancing Daisies Border Maker Cartridge. I chose to punch a pile of white border strips as a starting point and then used the Mix and Match Paper Pack and Embellishments to complete some borders.
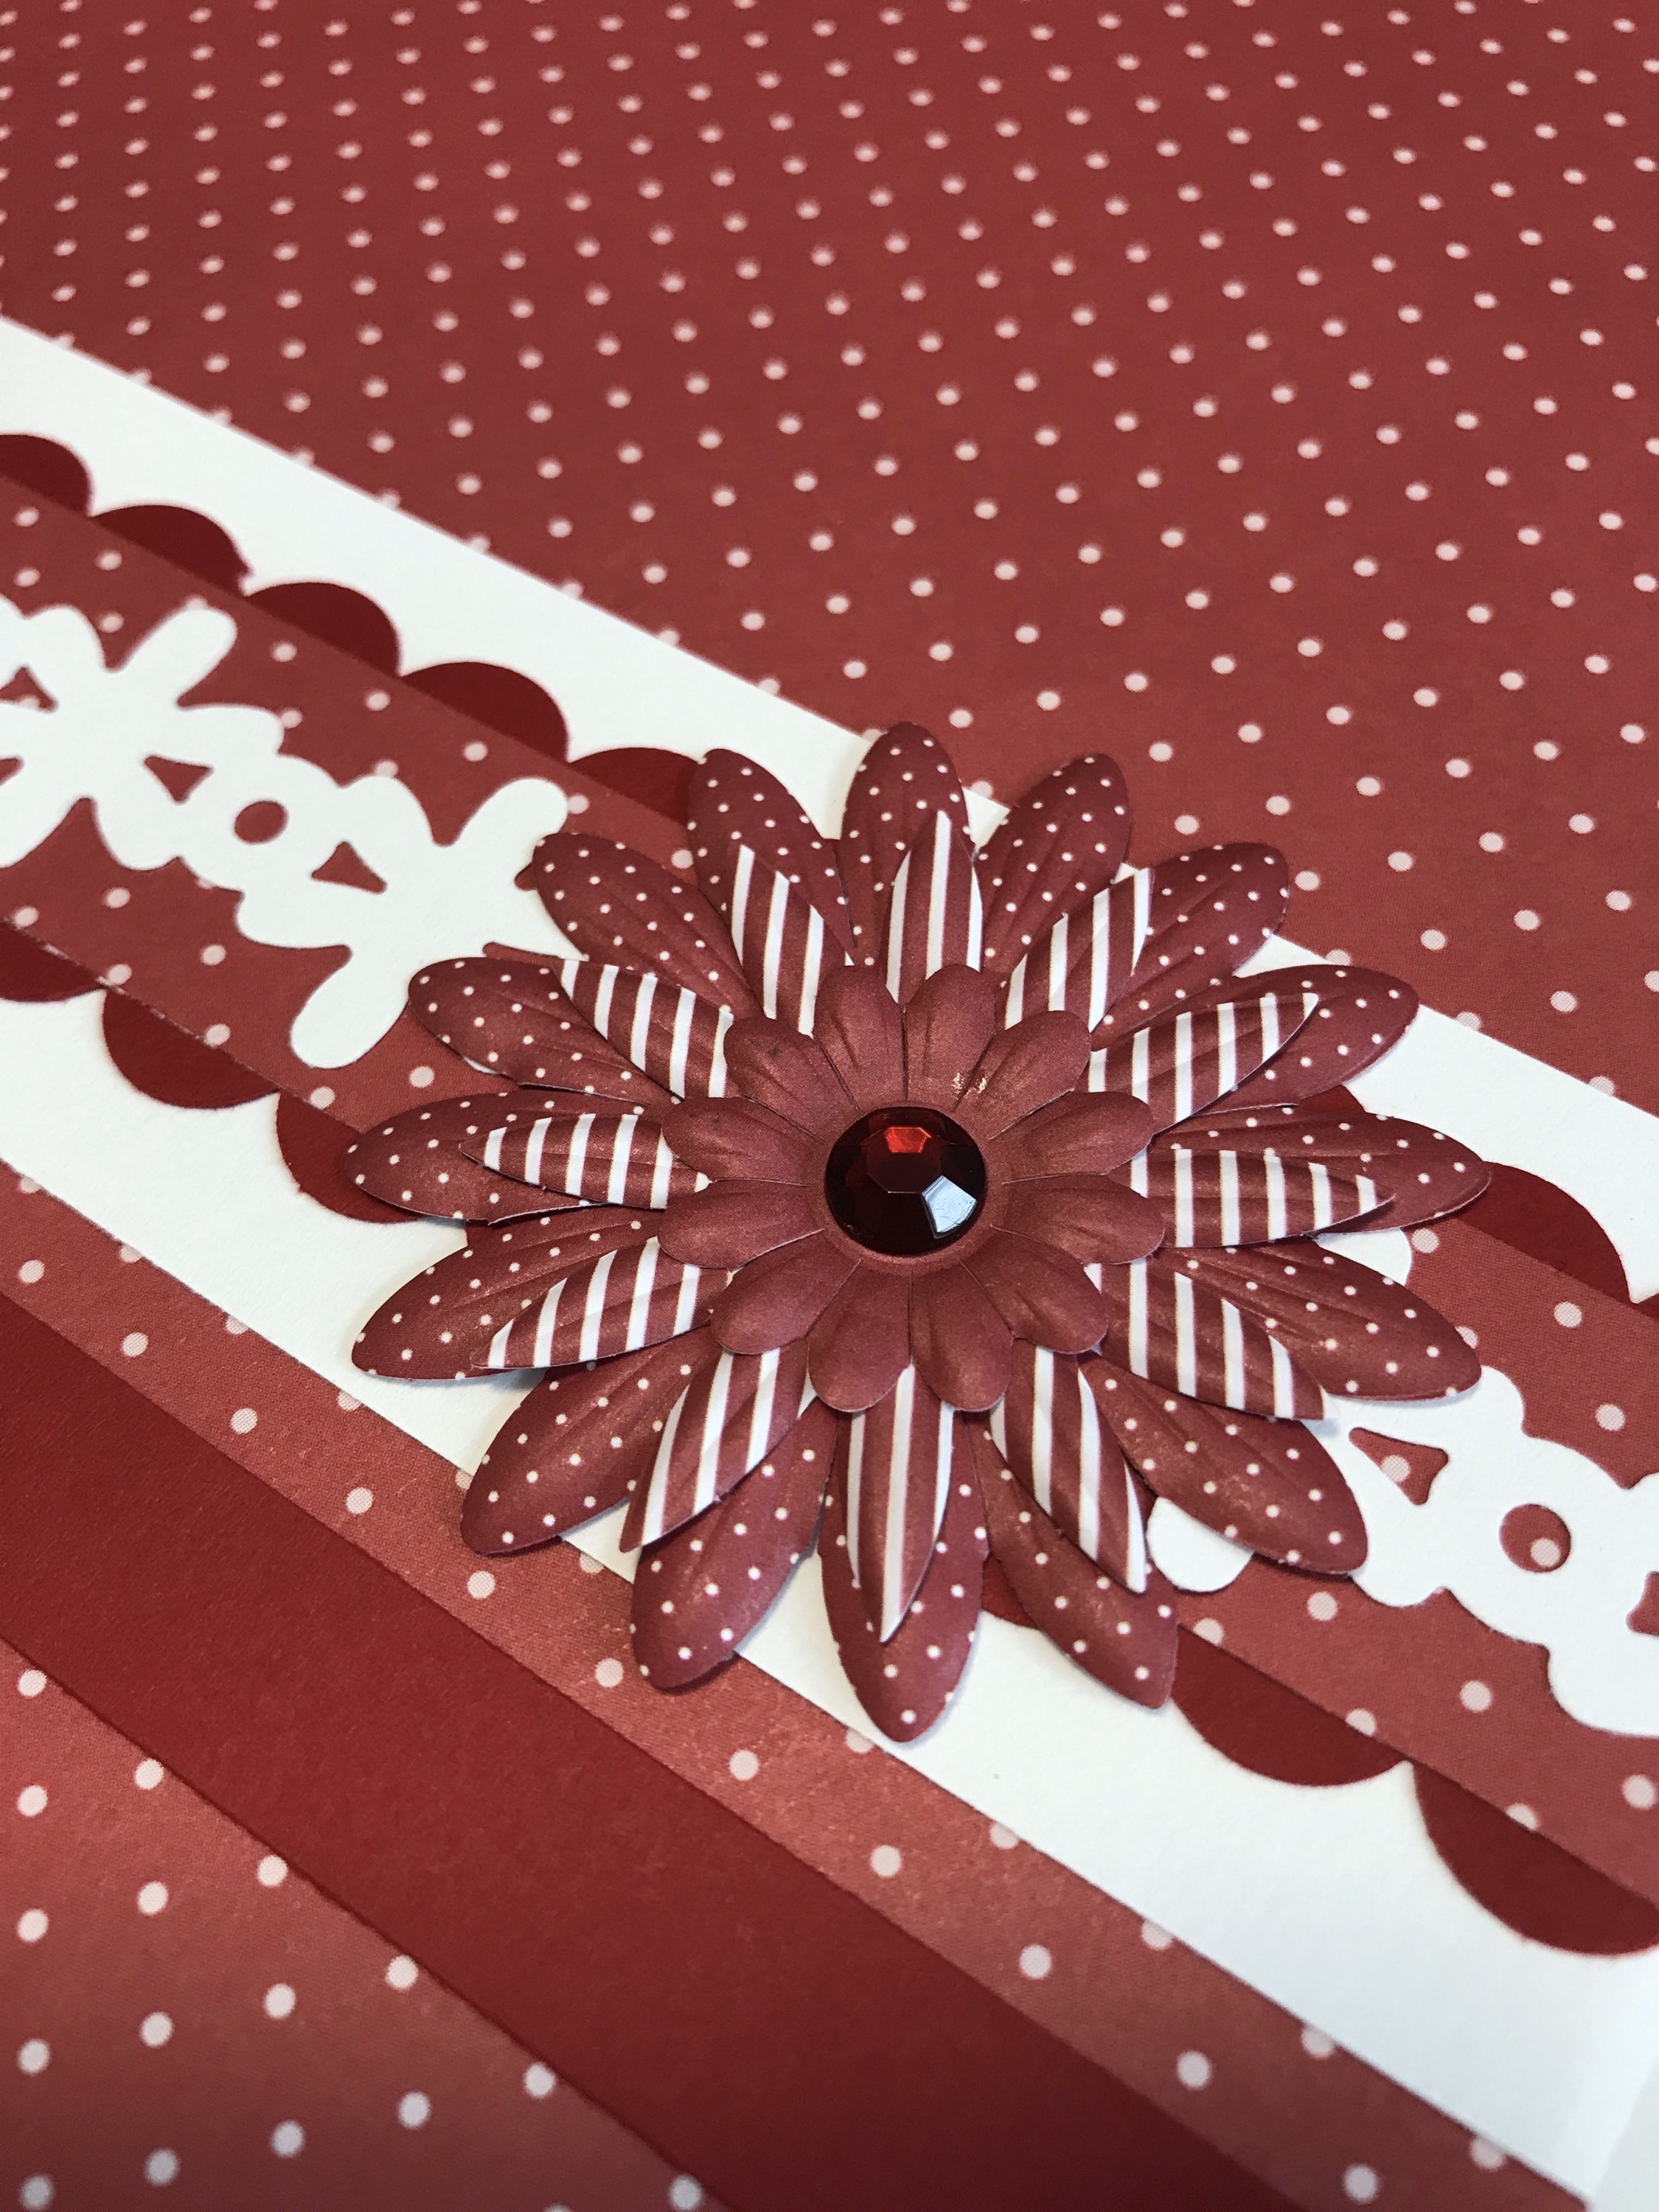
The first one I made is super simple:

I didn’t do anything fancy with the border itself (it’s absolutely beautiful on its own!) I adhered the Dancing Daisies to a 1″X12″ strip of the Cranberry Mix and Match polka-dot patterned paper and then added a scalloped edge by punching two 12″ strips of Cranberry Cardstock with the Scalloped Dot Border Maker Cartridge. When I was adhering that to my border I chose to tuck the dots in behind the polka-dot strip and just have the scalloped edge peeking through. Once I had both of those strips adhered; one above and one below, I adhered the whole strip to a 1-3/4″ strip of White Cardstock to help it pop off the page. All I needed to do then was adhere a beautiful layered flower using the Cranberry Mix and Match Embellishments.
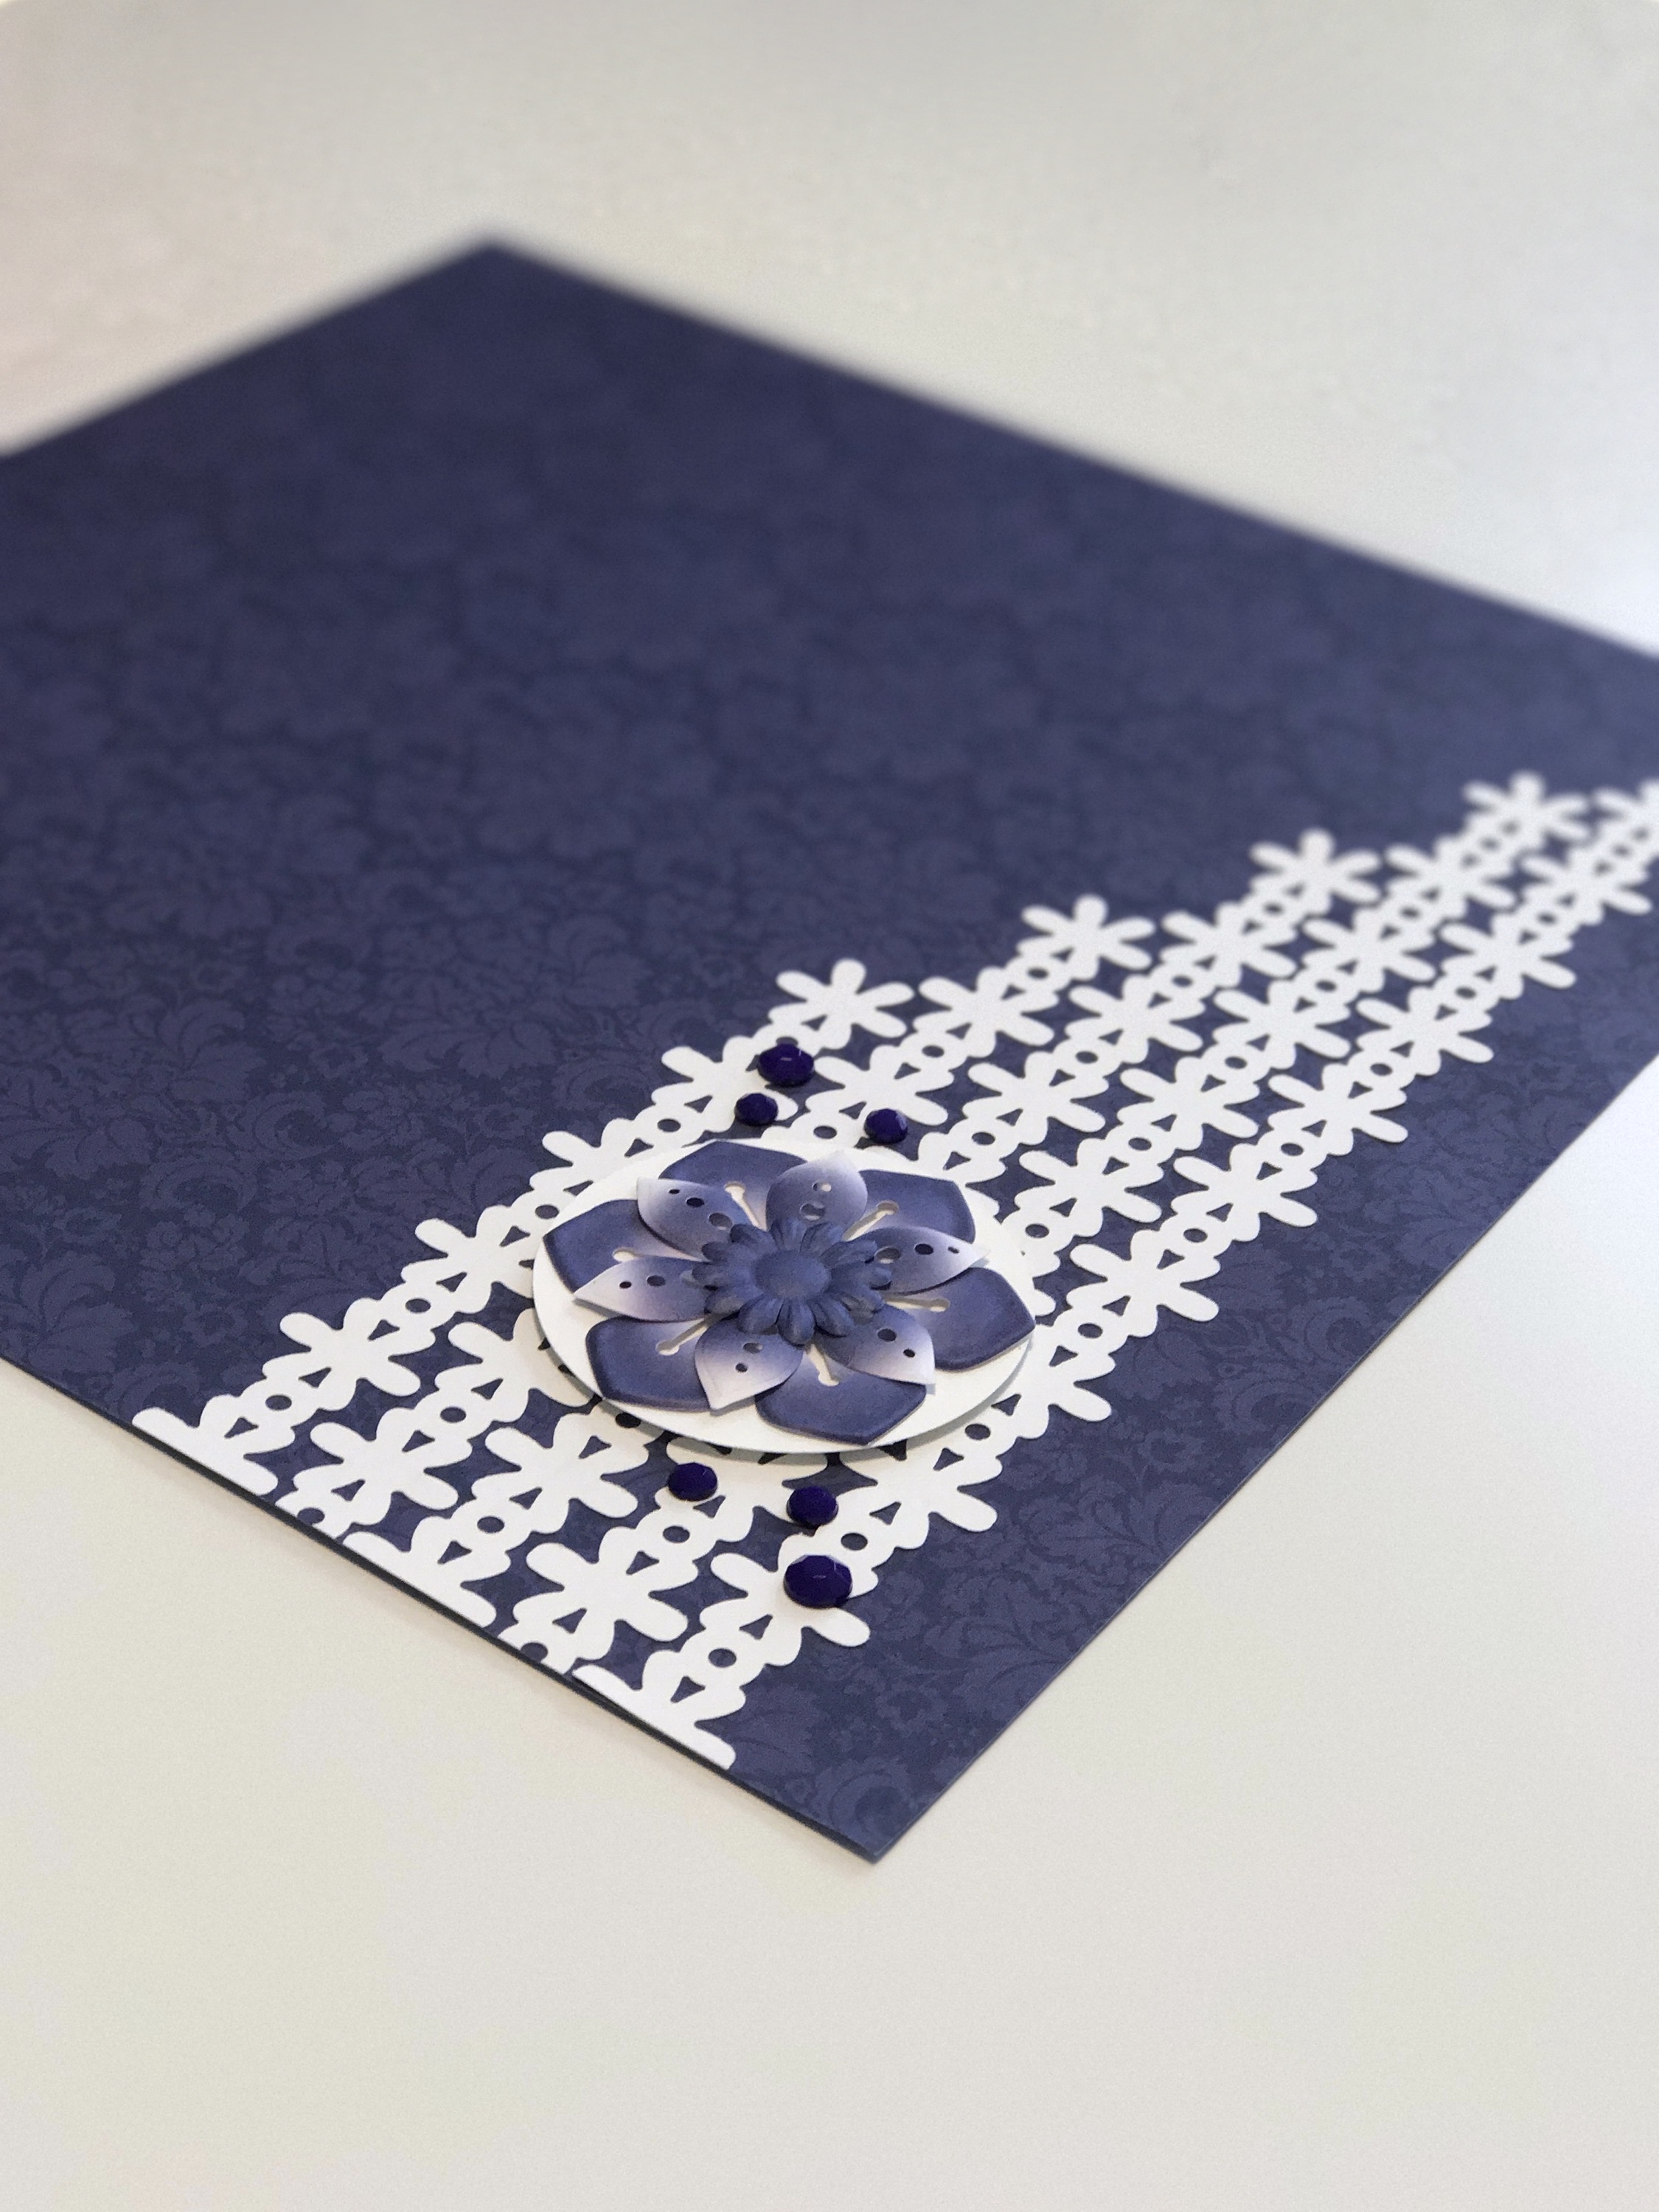
For my second layout, I thought it would be fun to play with the placement of the Dancing Daisies Border. I absolutely LOVE the card that Melissa Ullmann created in an earlier blog (you can find it HERE). I think it looks so fun when these daisies fit together like a little puzzle.
For this Royal Blue layout I chose to keep them all the same colour (since I had already punched a pile of white ones!) and then stagger them off to the left so that the border tapered off to an angle on the right side. Then I used my Custom Cutting System to cut a 2-1/2″ circle out of White Cardstock to use as a base for my stacked flower and I created the flower out of the Royal Blue Mix and Match Embellishments.

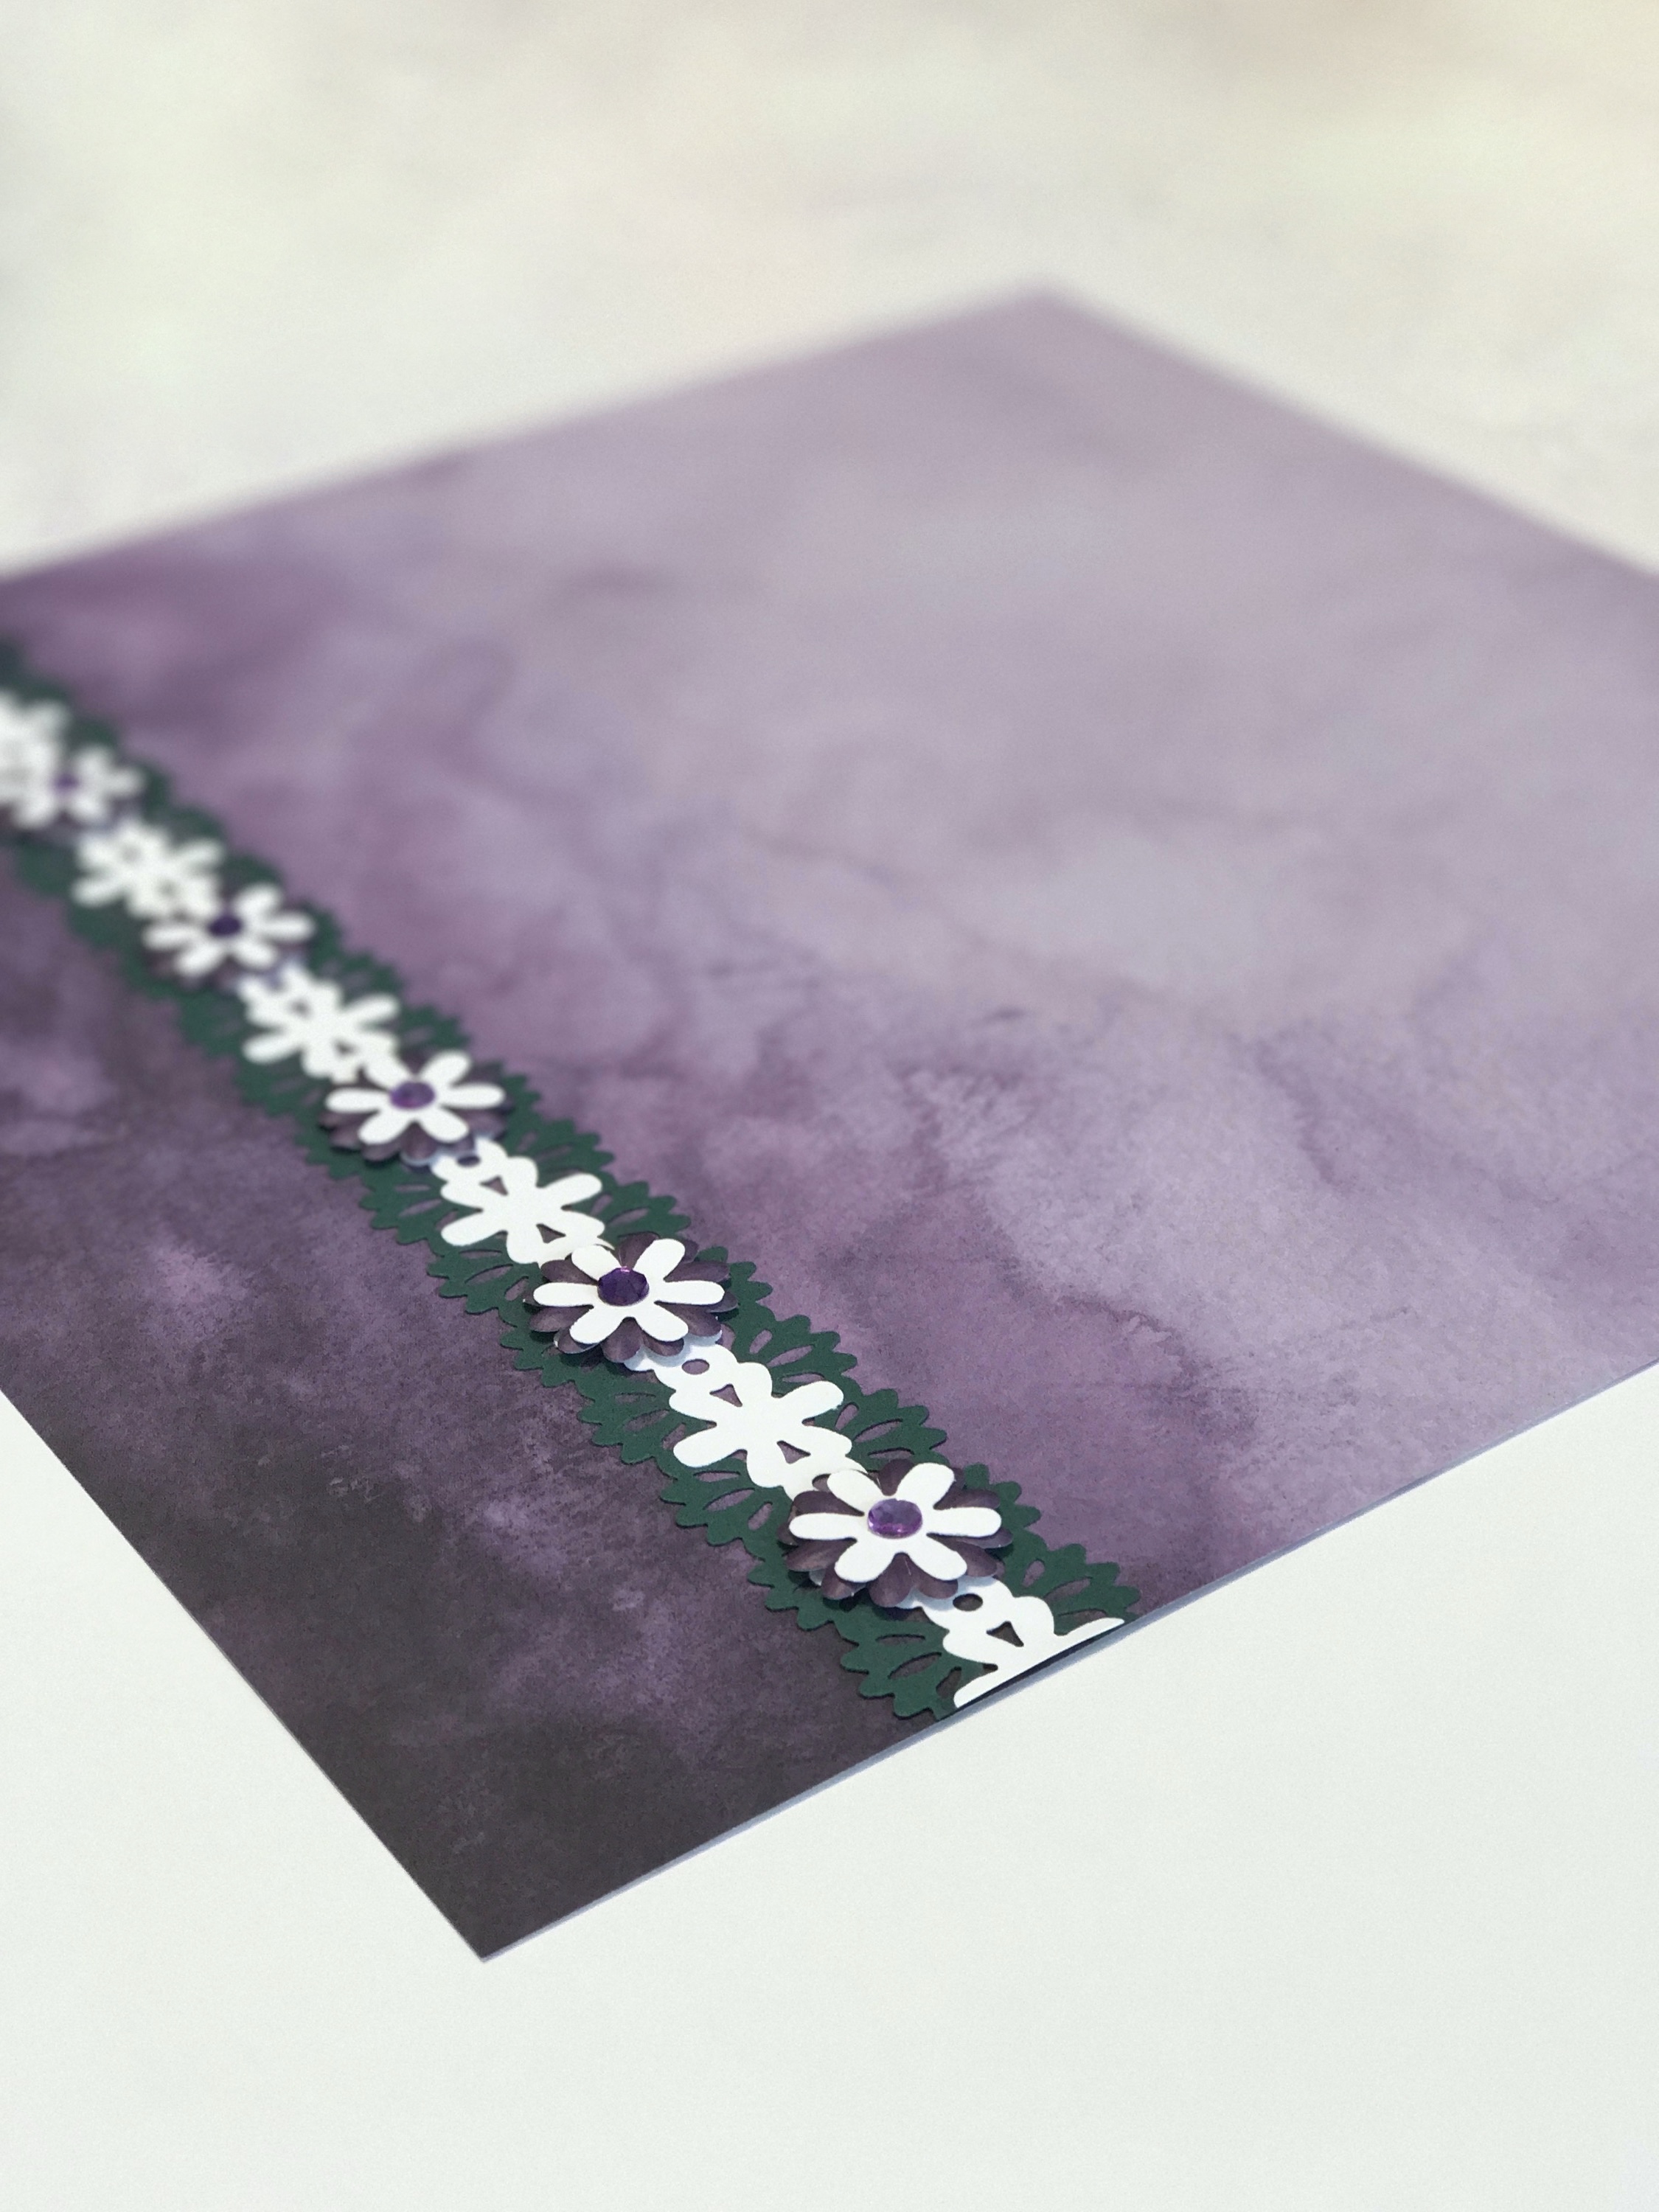
For my third layout, I decided to use the Eggplant Mix & Match Paper Pack and Embellishments. To create this border I used one 12″ strip of the Dancing Daisies Border punched from White Cardstock and then I punched two 12″ strips of Evergreen Cardstock punched out using the Lace Scalloped Border Cartridge. I thought to adhere the Lace Scallop above and below the Dancing Daisies sort of looked like leaves!

I took another strip of the white Dancing Daisies and cut out six individual daisies from the strip. I adhered those to the smallest flower in the Eggplant Mix and Match Embellishments and then added a gem to the center. I adhered these to the border strip with foam squares so that they popped up a bit off the page.
For my last layout, I did lots of cutting! I started with two 12″ strips of Dancing Daisies cut out of White Cardstock. I took one of those strips and cut it right along the center and adhered it to the back side of the other 12″ strip so that there was a slight shadow above and below the daisies. Then I took another strip and cut out six individual daisies and adhered them to the border to every-other daisy. When placing them down I was sure to offset the flower petals.
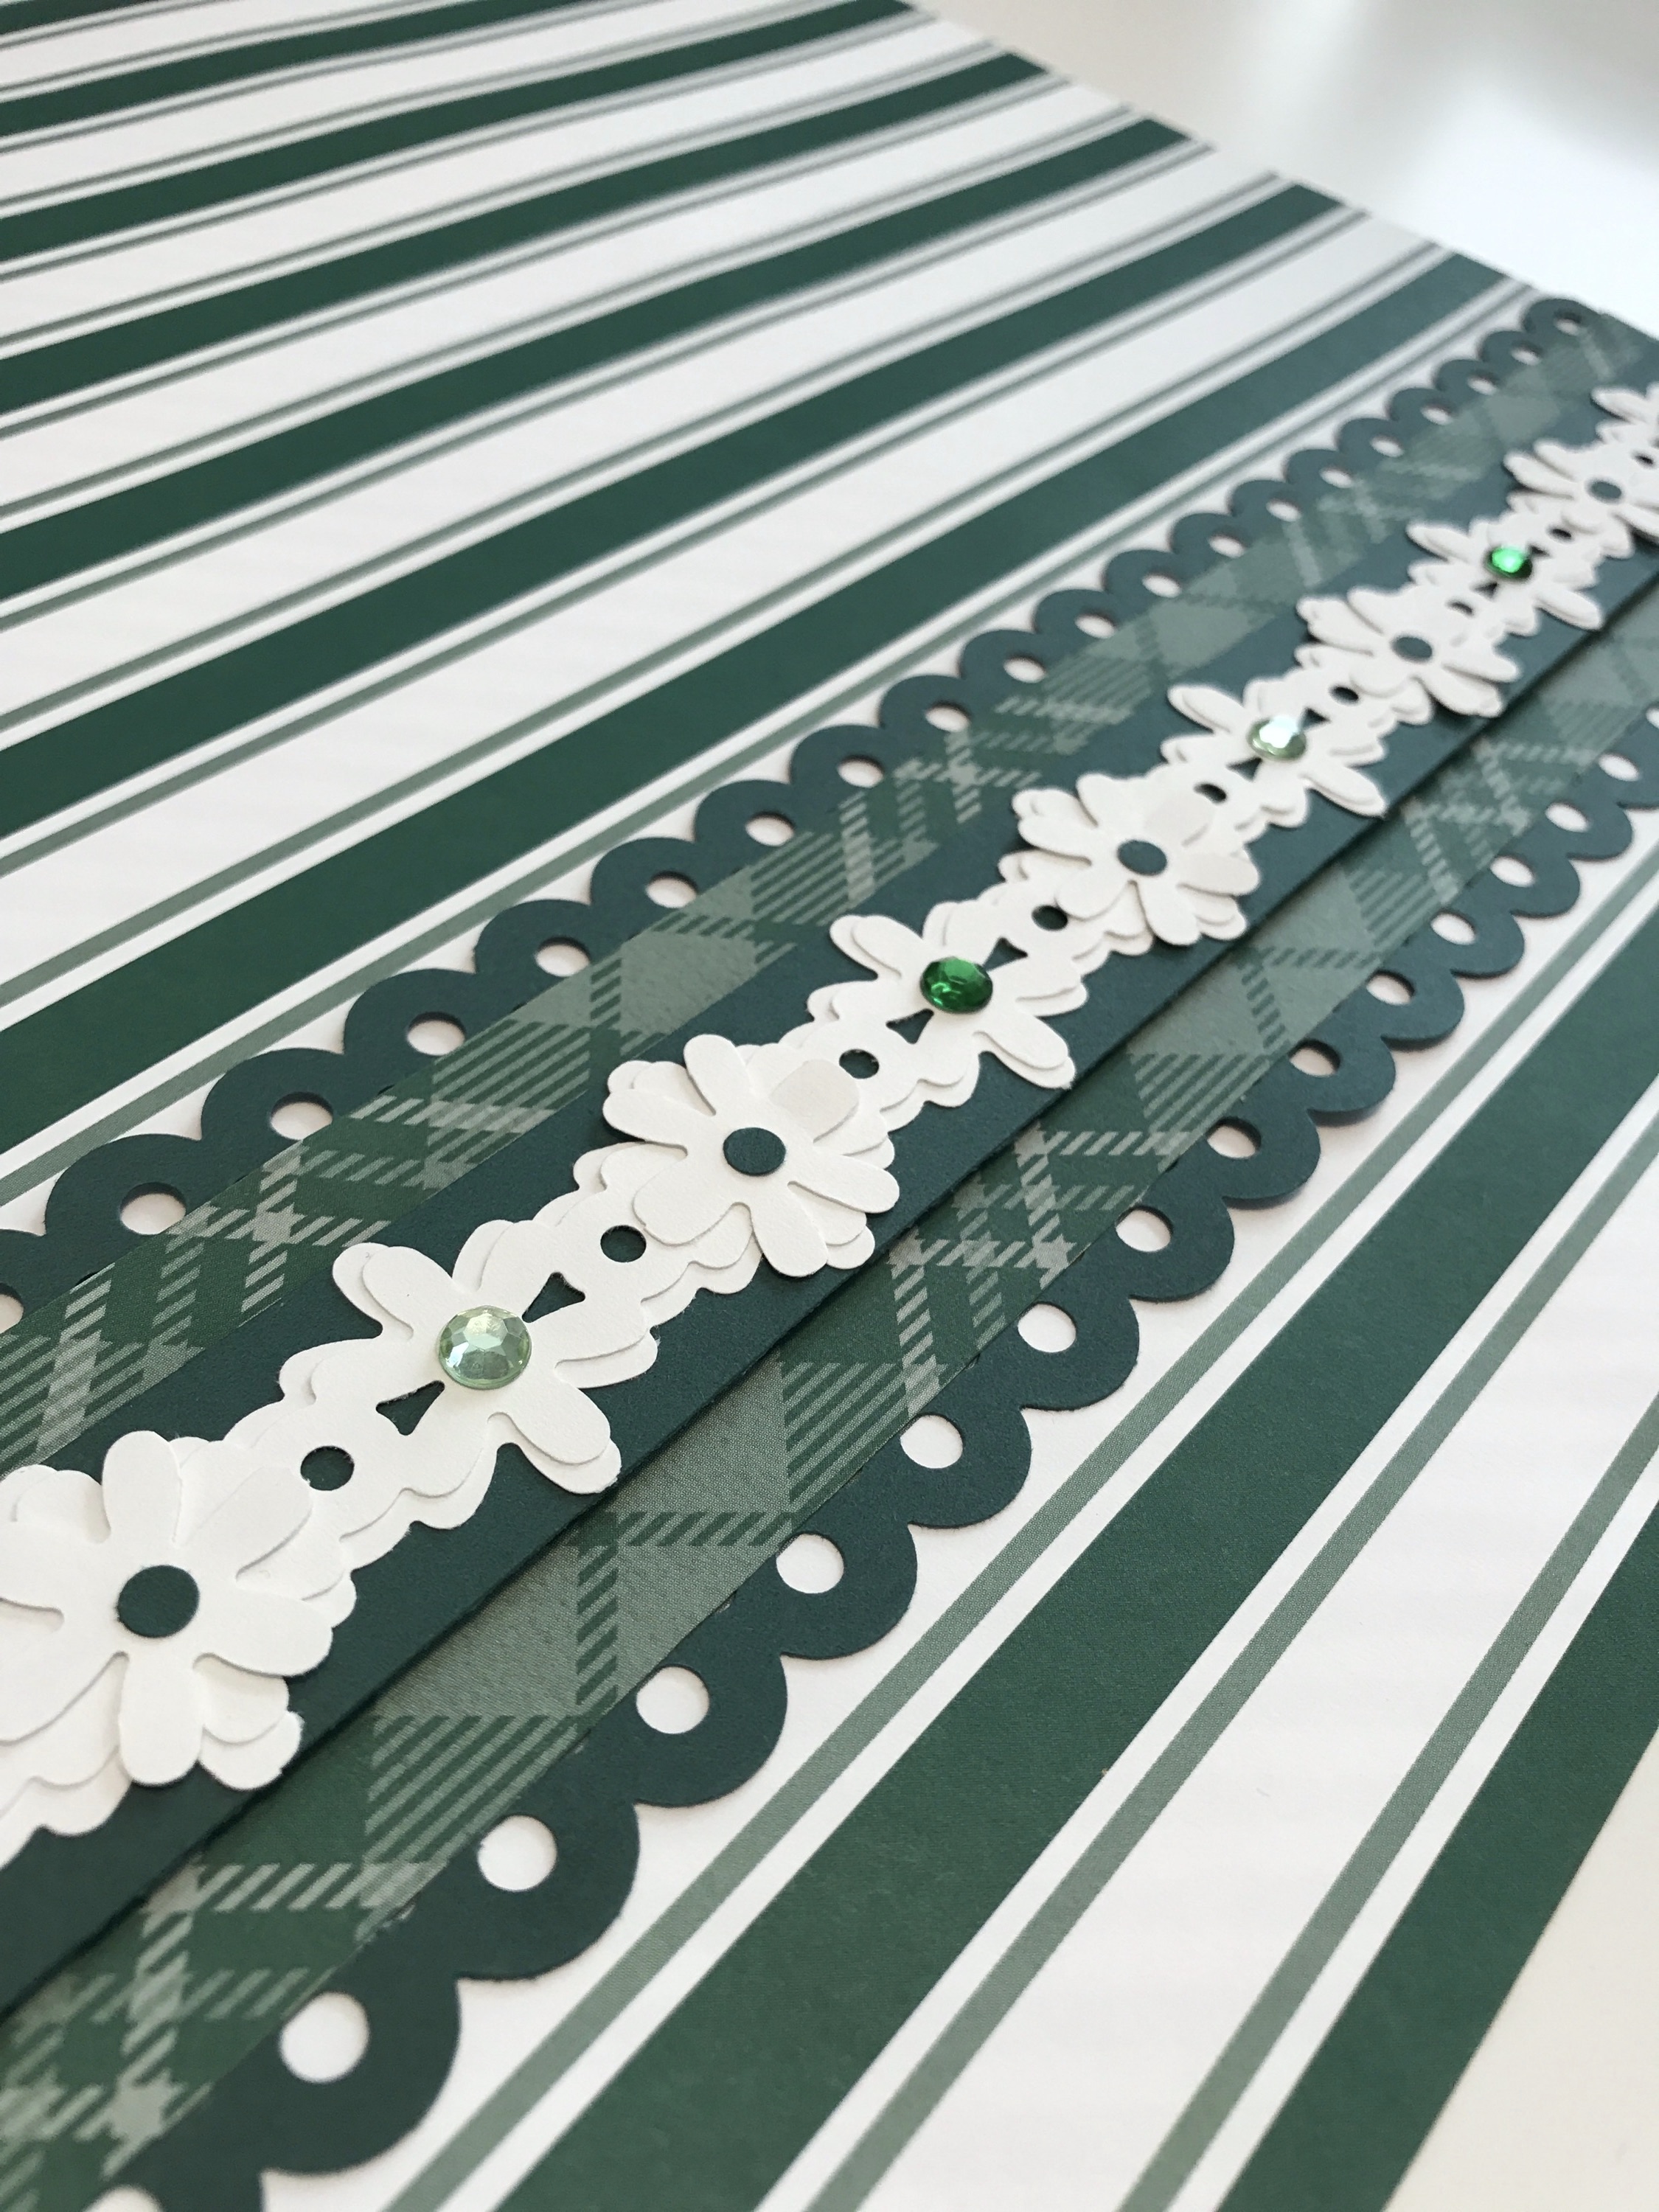
I adhered this border strip to a 1″ X 12″ strip of Evergreen Cardstock and then adhered that strip to a 1-3/4″ X12″ strip of Evergreen Mix and Match Paper. I then used the Scalloped Dot Border Cartridge and adhered a 12″ strip above and below the whole border. To embellish the flowers I used gemstones on every-other flower and the tiny circle cut out from the Scalloped Dot Border for the remaining daisies.

I hope you are excited to get your hands on the Dancing Daisies Border Maker Cartridge and start doing some playing of your own! Happy creating :)


Beautiful borders.
Just beautiful! And so easy to do. Thanks.
Just love your border ideas! Thanks.
Great inspirational ideas! Thank you,
Love them- simple and fast!
Love these ideas! Simple technique is what I need. Thank you! Thank you!!
How sweet, love the look! Thanks for sharing this cute enhancement!
I love simple and not too busy. Might even simplify the simple ones!
I love the borders!!!! Thank you!!
I agree – simple is perfect!
beautiful .. beautiful .. thanks you
I especially liked the royal blue designs – spread out instead of stacked
I cut 2 dancing daisy borders, and cut one in half. laying the full one horizontally or vertically and put one half behind each, looking like a shadow.