November 14, 2017
Wintery Glacier Borders

As hard as it is to see the fall season come to an end, there’s something crisp, quiet and cozy about the long winter ahead that holds an appeal for me. It doesn’t hurt that Creative Memories has just introduced this beautiful Glacier collection to enhance and enliven our pages of all things snowy! Playing with it has gotten me in the spirit of the season, a very looooong one for some of us! Bring it on!
To make these borders you’ll need:
- Glacier Paper Pack, Variety Mat Pack and Stickers
- Snowflake Trio Punch
- Border Maker System with Snowflake Chain, Snowman, Dancing Daisies and Jumbo Jet Border Maker Cartridges
- Custom Cutting System with Circle Patterns
- 12-inch Straight Trimmer
- All-Purpose Scissors
- Jagged Tearing Tool
- Tape Runner with Repositionable Tape Runner Refill
- Foam Squares
- Precision Point Adhesive
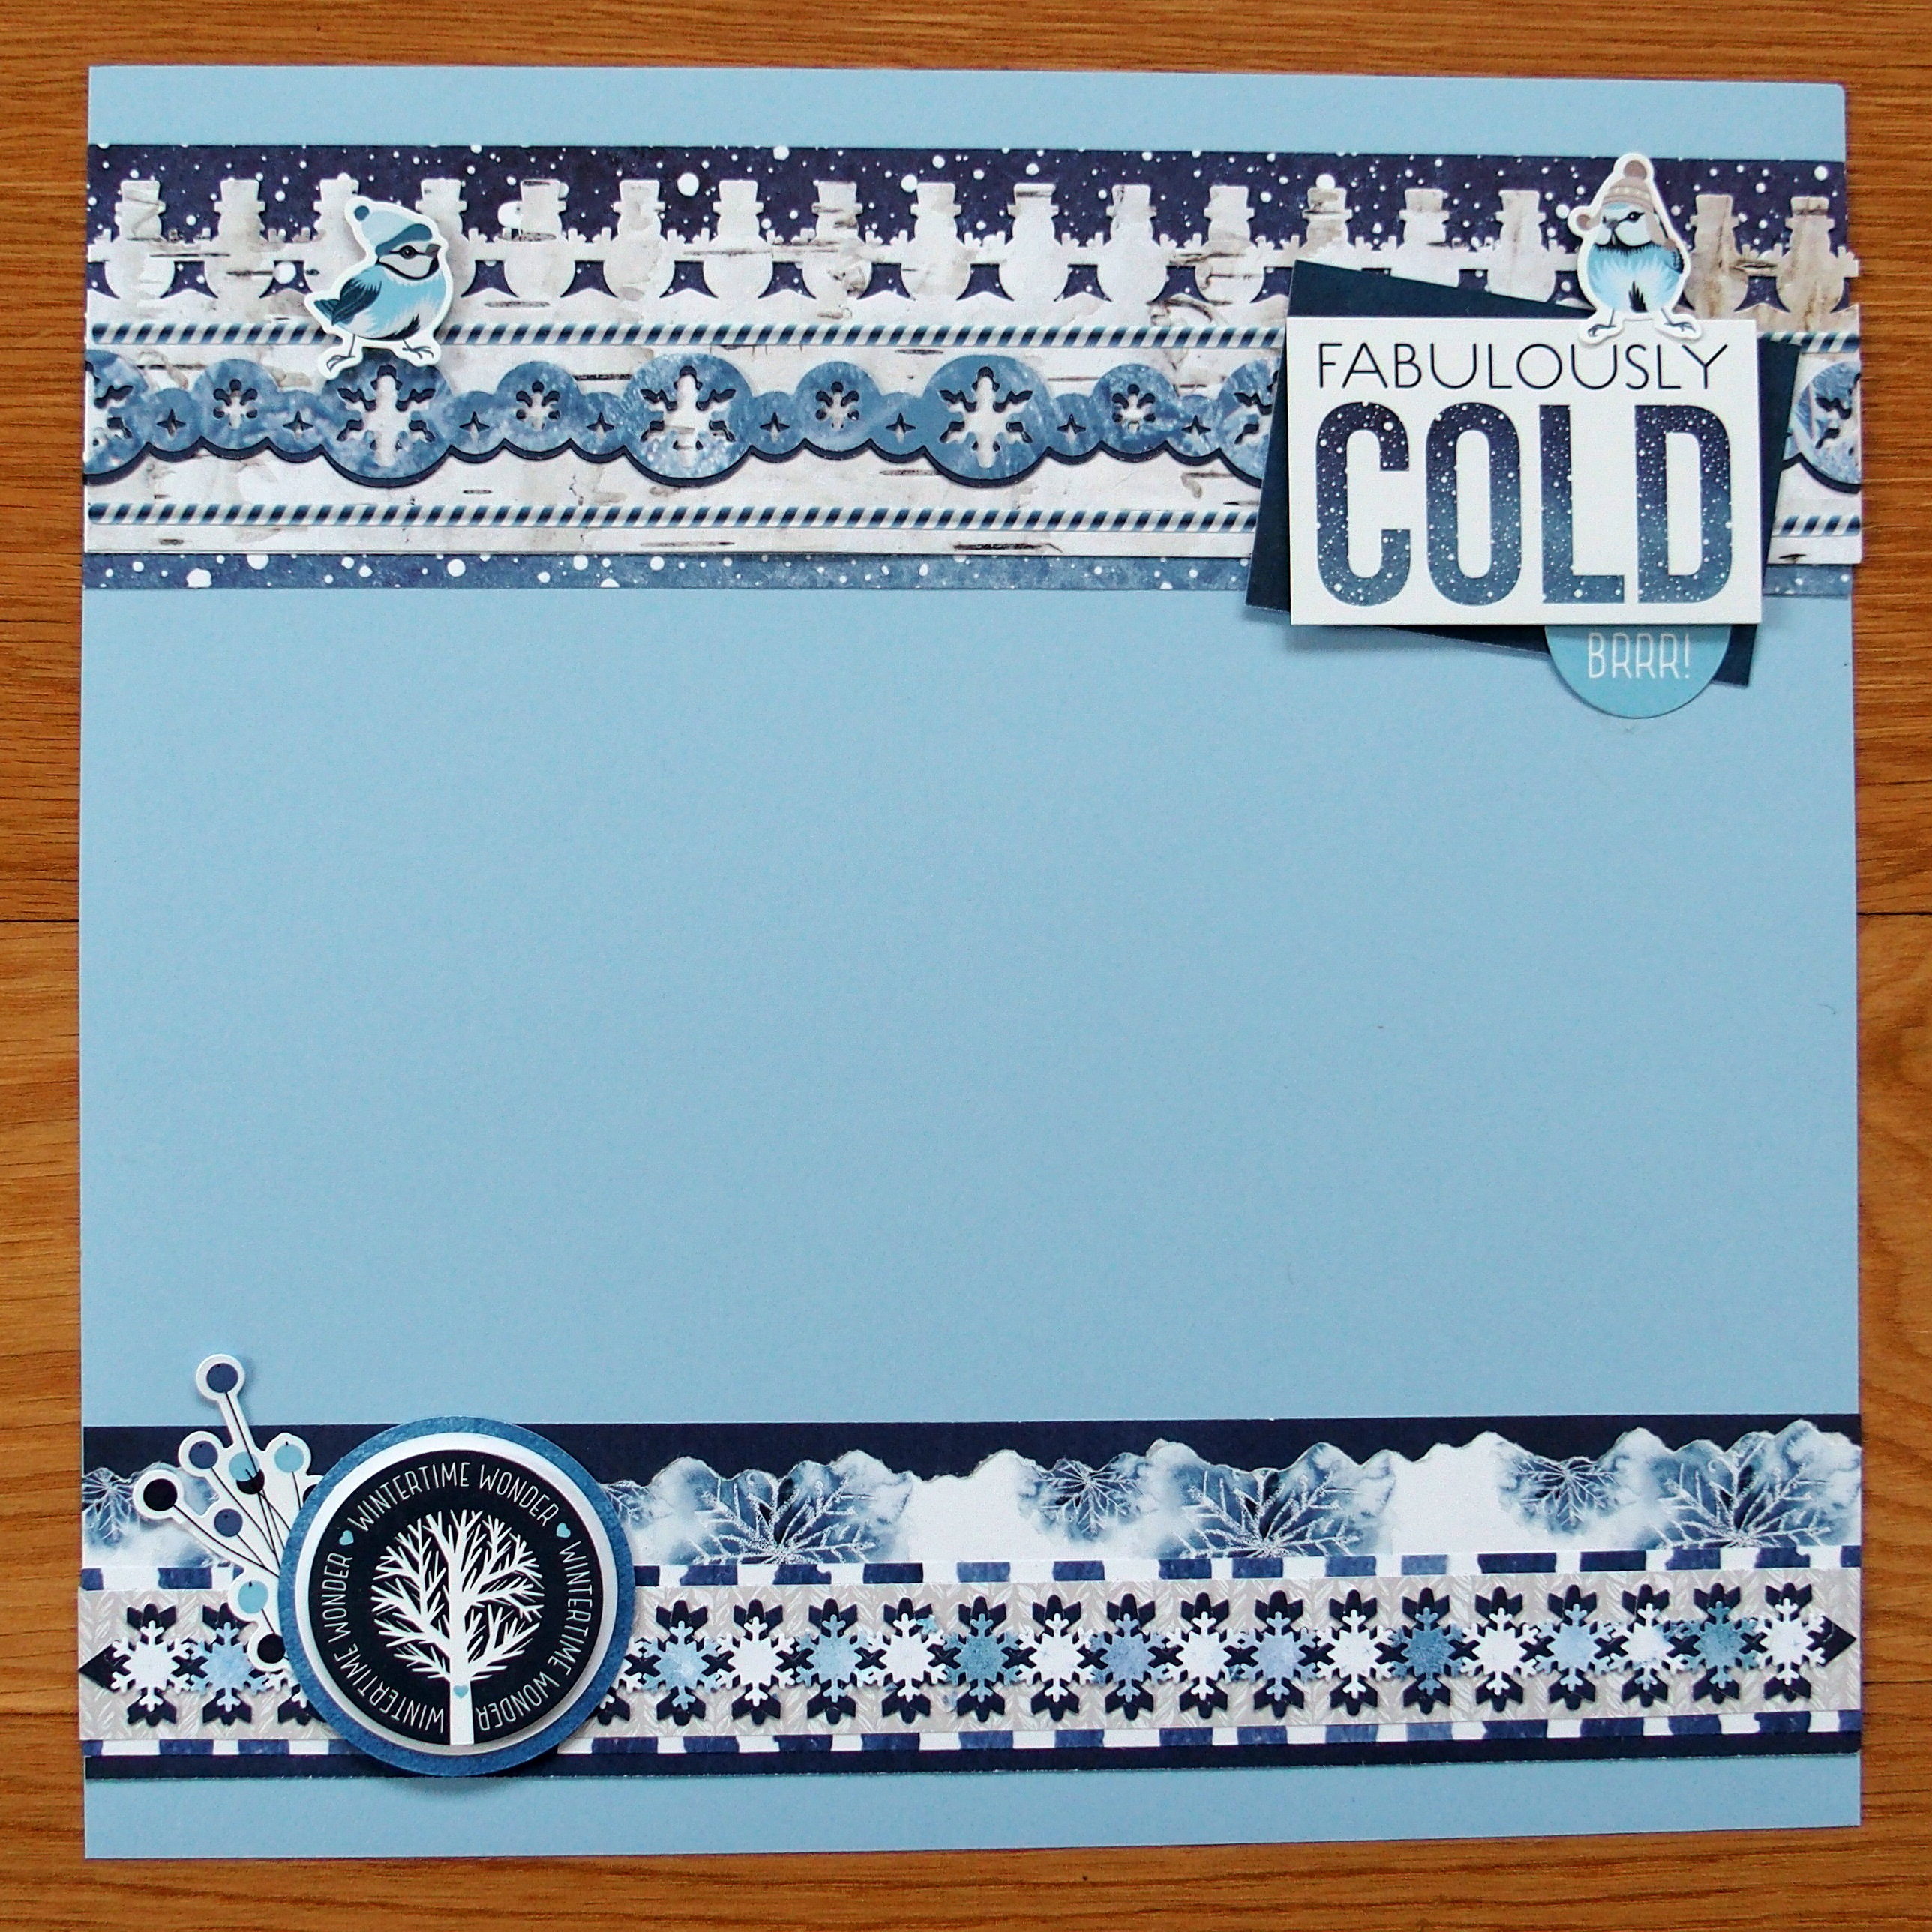
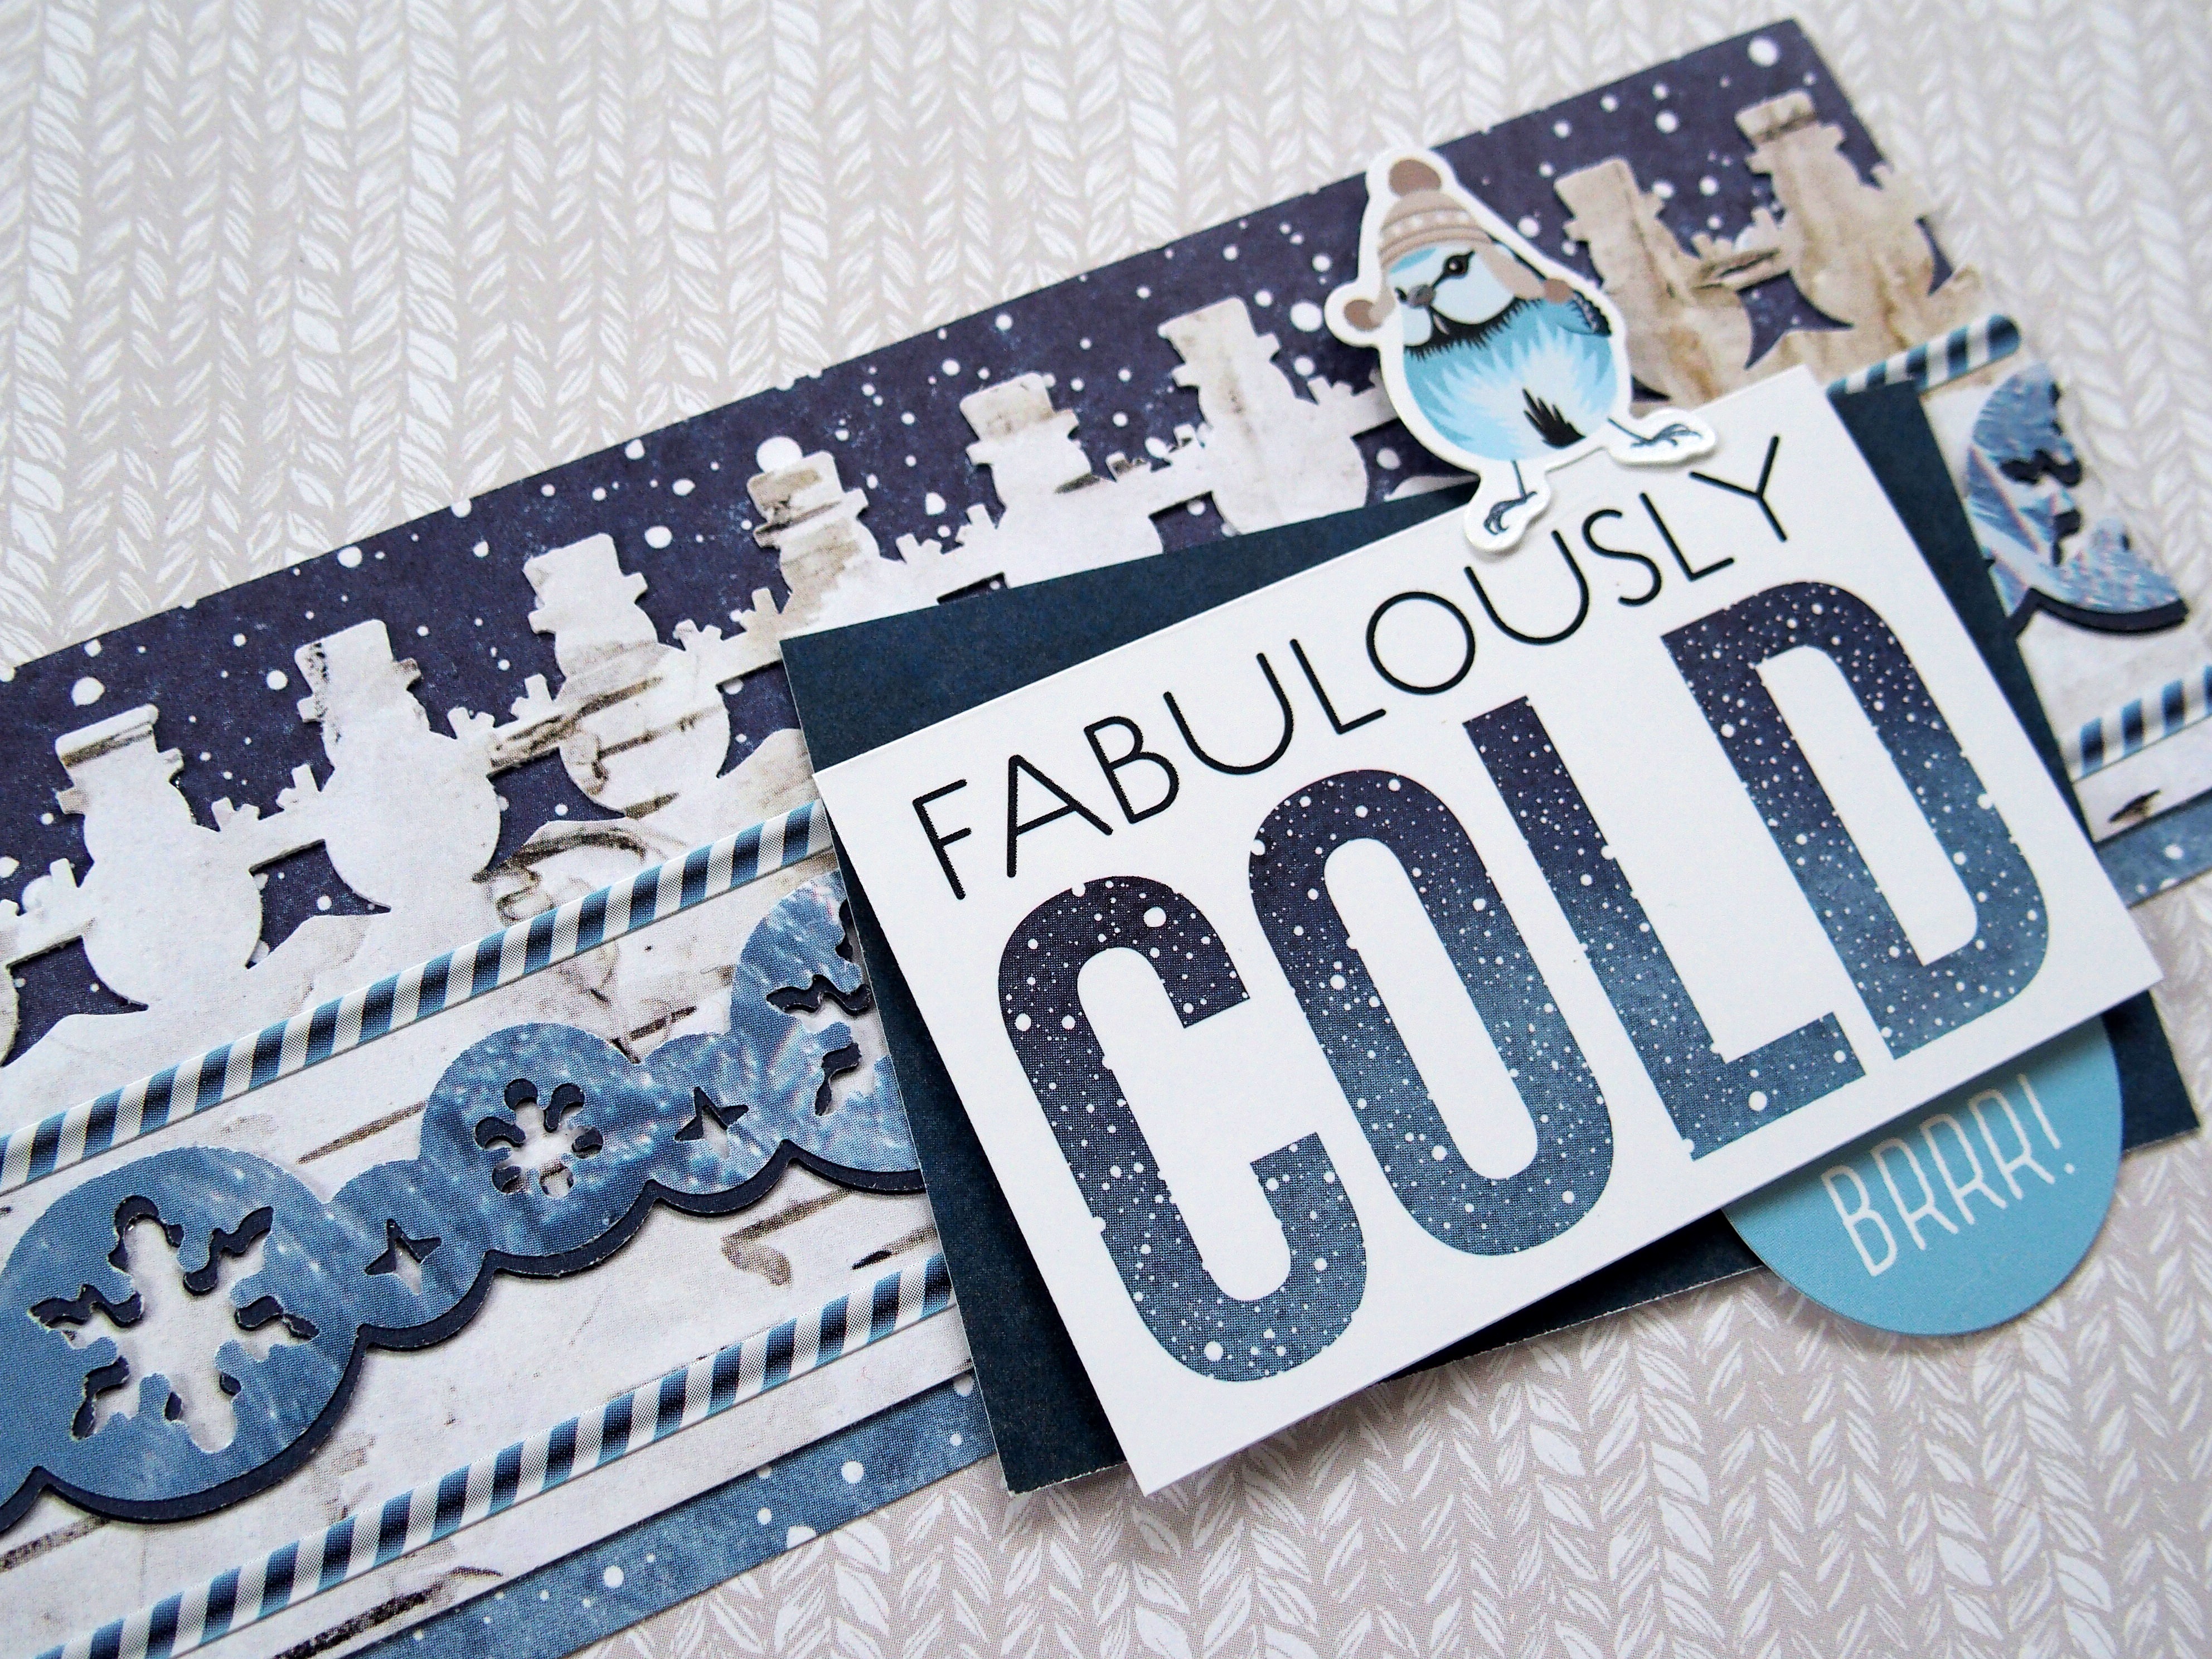
Fabulously Cold Border
- Cut a 3″ x 12″ strip of falling snow paper (darkest edge) for the base.
- Using the snowman cartridge, punch a border with birch bark paper. Trim to 2-1/2″ x 12″ and add to border.
- Using the snowflake chain cartridge, punch a border with each dark blue and frosty window papers. Layer them in the middle of the birch bark strip as shown. Add long striped stickers above and below.
- Cut a dark blue piece of mat paper to 3-1/2″ x 2-1/2″. Mount at an angle to the right side of the border. Top with “Fabulously Cold” sticker (using foam squares) and “Brrr” sticker as shown. Add blue jay stickers with foam squares.
Wintertime Wonder Border
- Cut a 2-1/2″ x 12″ strip of dark blue paper for the base. Using the jagged tearing tool, tear off a 2″ x 12″ strip and add to the base, jagged side on top.
- Cut a 1-1/4″ x 12″ strip of striped paper. Cut a 1″ x 12″ strip of sweater paper and add on top. Place both on the lower edge of the border as shown.
- Using the jumbo jet cartridge, punch two borders with dark blue paper. Place one on top of the other, facing the opposite direction so that the tails resemble snowflakes. Adhere to the border as shown, trimming each end to form an arrow.
- Punch 23 small snowflakes with various mats. Use the precision point adhesive and carefully apply flakes to the border as shown.
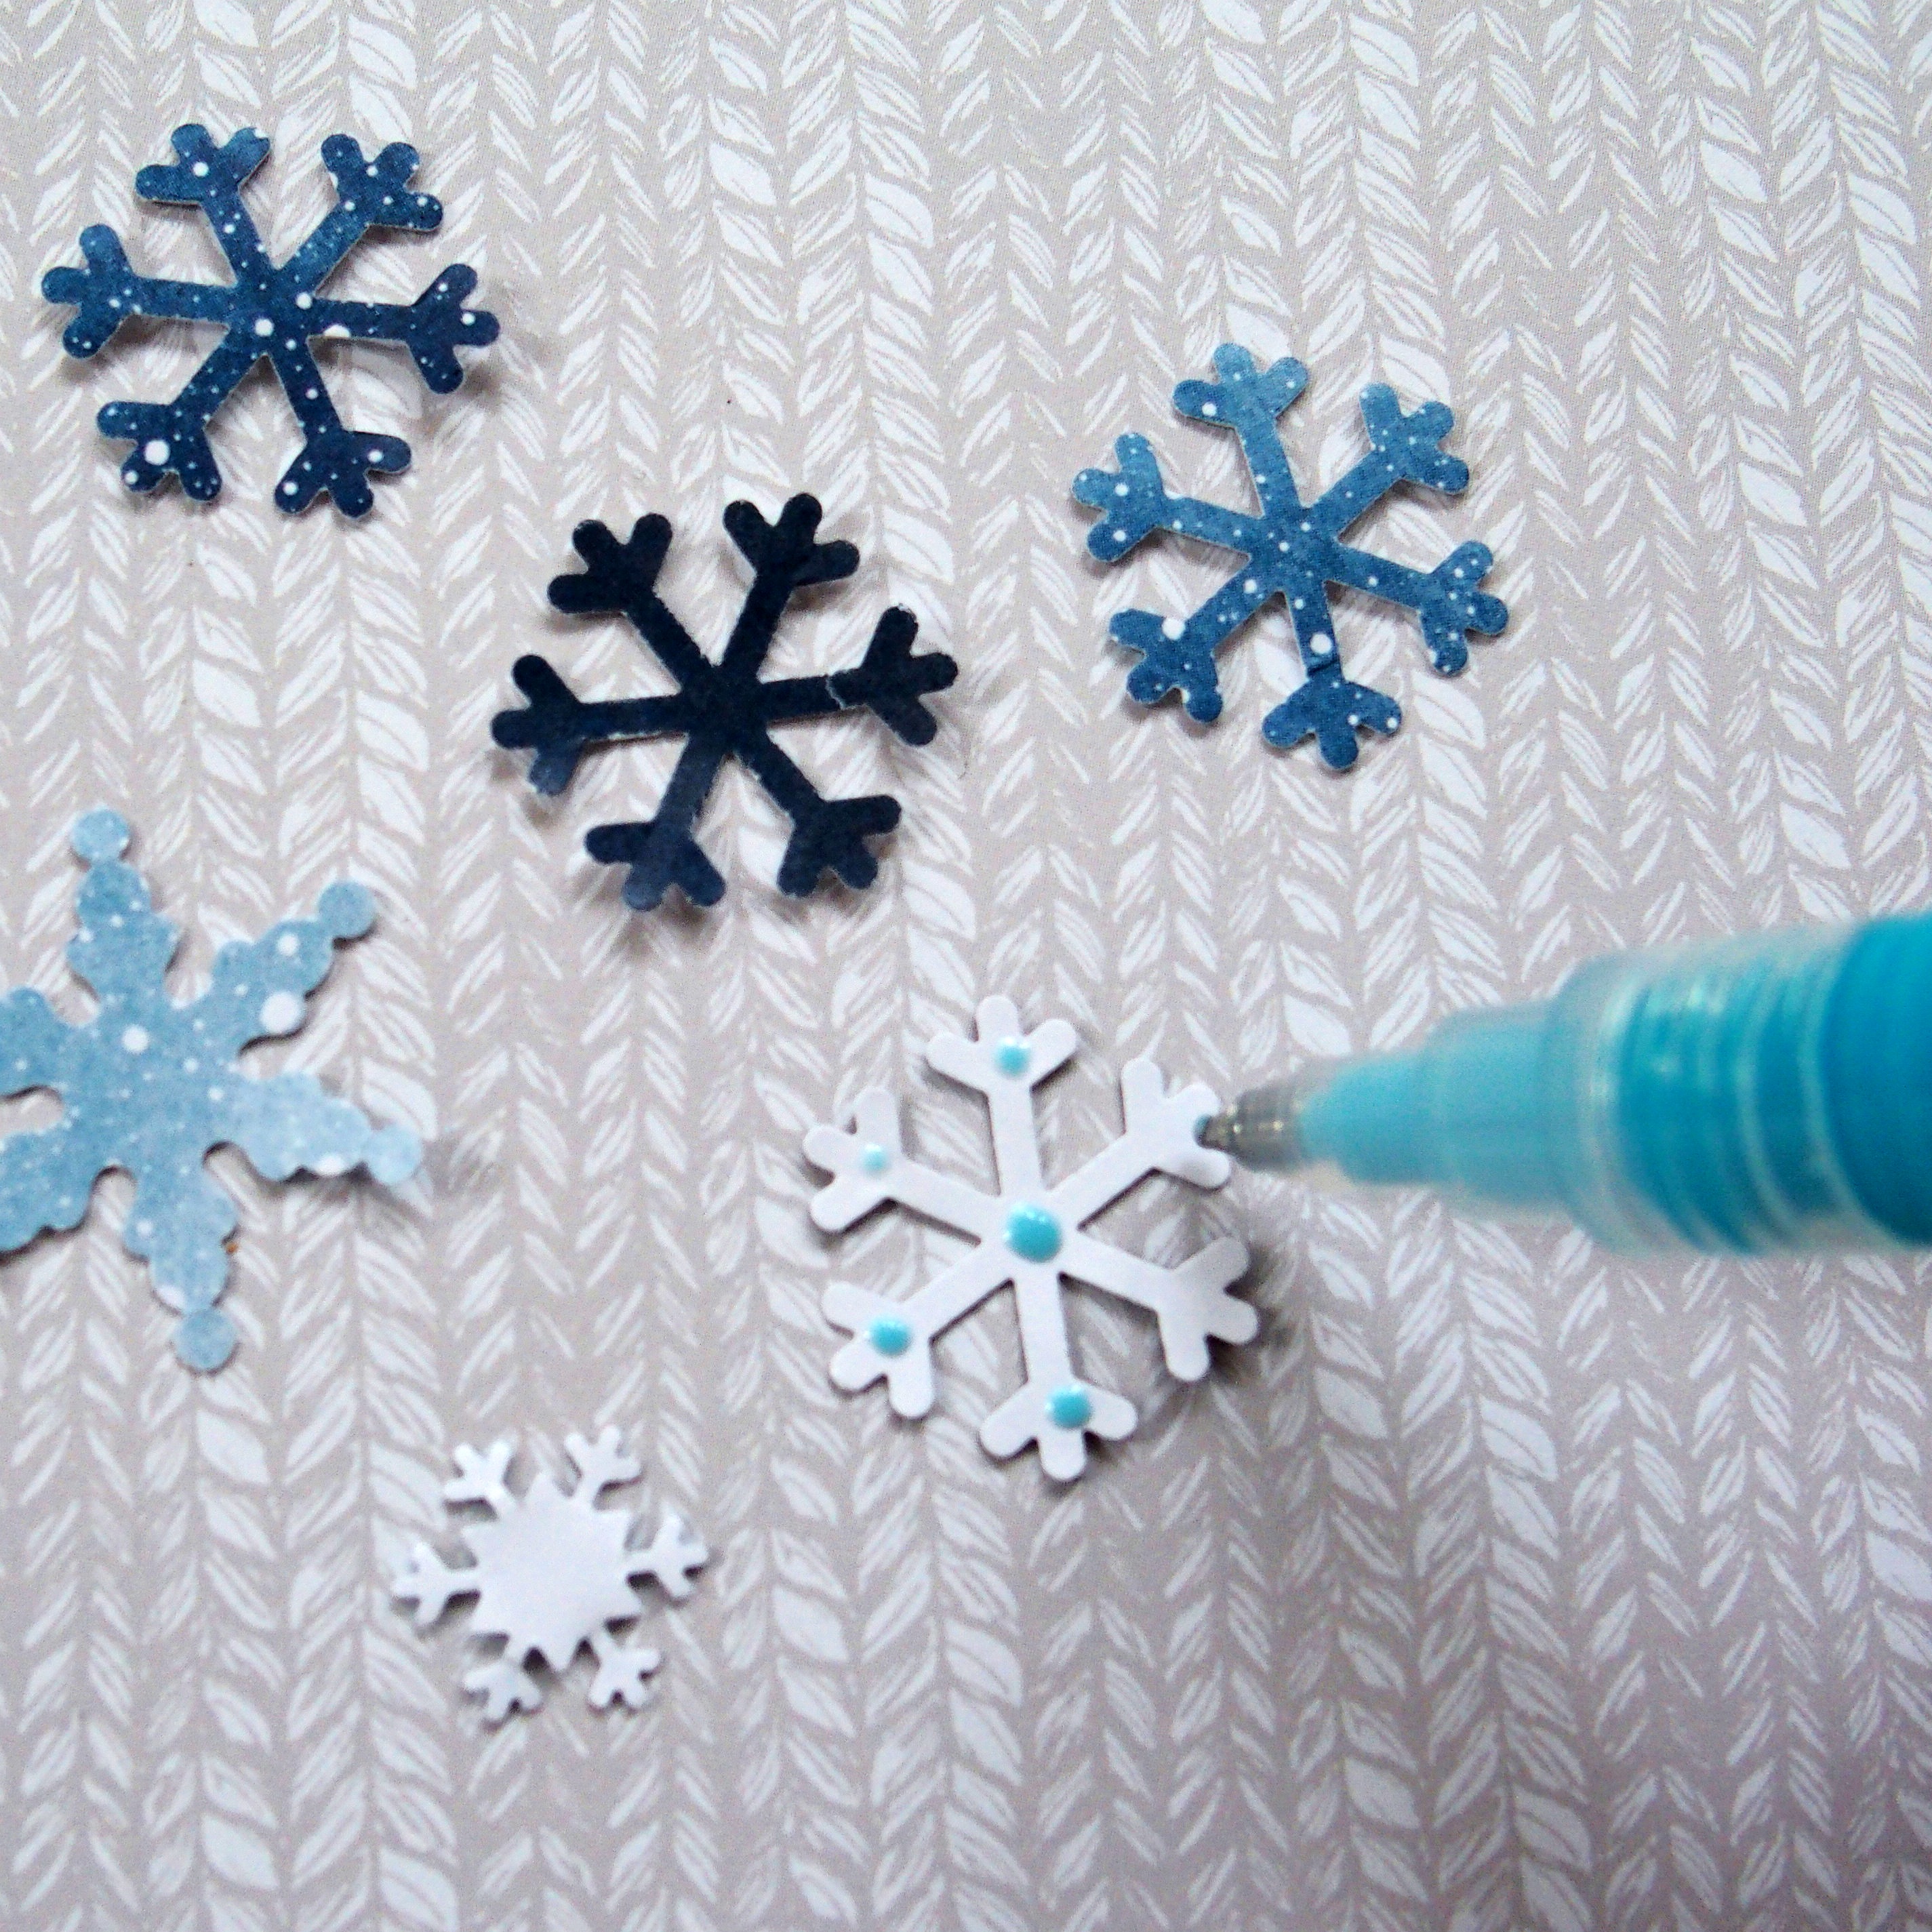
Precision Point Adhesive is the perfect choice for these delicate snowflakes. Just press down to dispense tiny dots of adhesive to all the little edges. - Using the inside of the medium sized circle pattern and the green blade, cut a circle with a white mat; using the red blade, cut a circle with a medium blue mat. Top blue circle with white circle. Apply “Wintertime Wonder” sticker with foam squares and add to the border, along with branch sticker.


Warm & Cozy Border
- Cut a 3″ x 12″ strip of striped paper for the base. Cut a 2-1/2″ x 12″ strip of dark blue paper and apply on top of the base; then cut a 2-1/4″ x 12″ strip of falling snow paper and add on top.
- Cut four 2-1/4″ x 1-3/4″ pieces of beige branch paper and add to the border at regular intervals. Cut the houses sticker into 2-1/4″ lengths and apply to the middle of each beige piece as shown.
- Add “Warm & Cozy” sticker underneath second house strip; then add “Love this time of year” sticker with foam squares as shown.
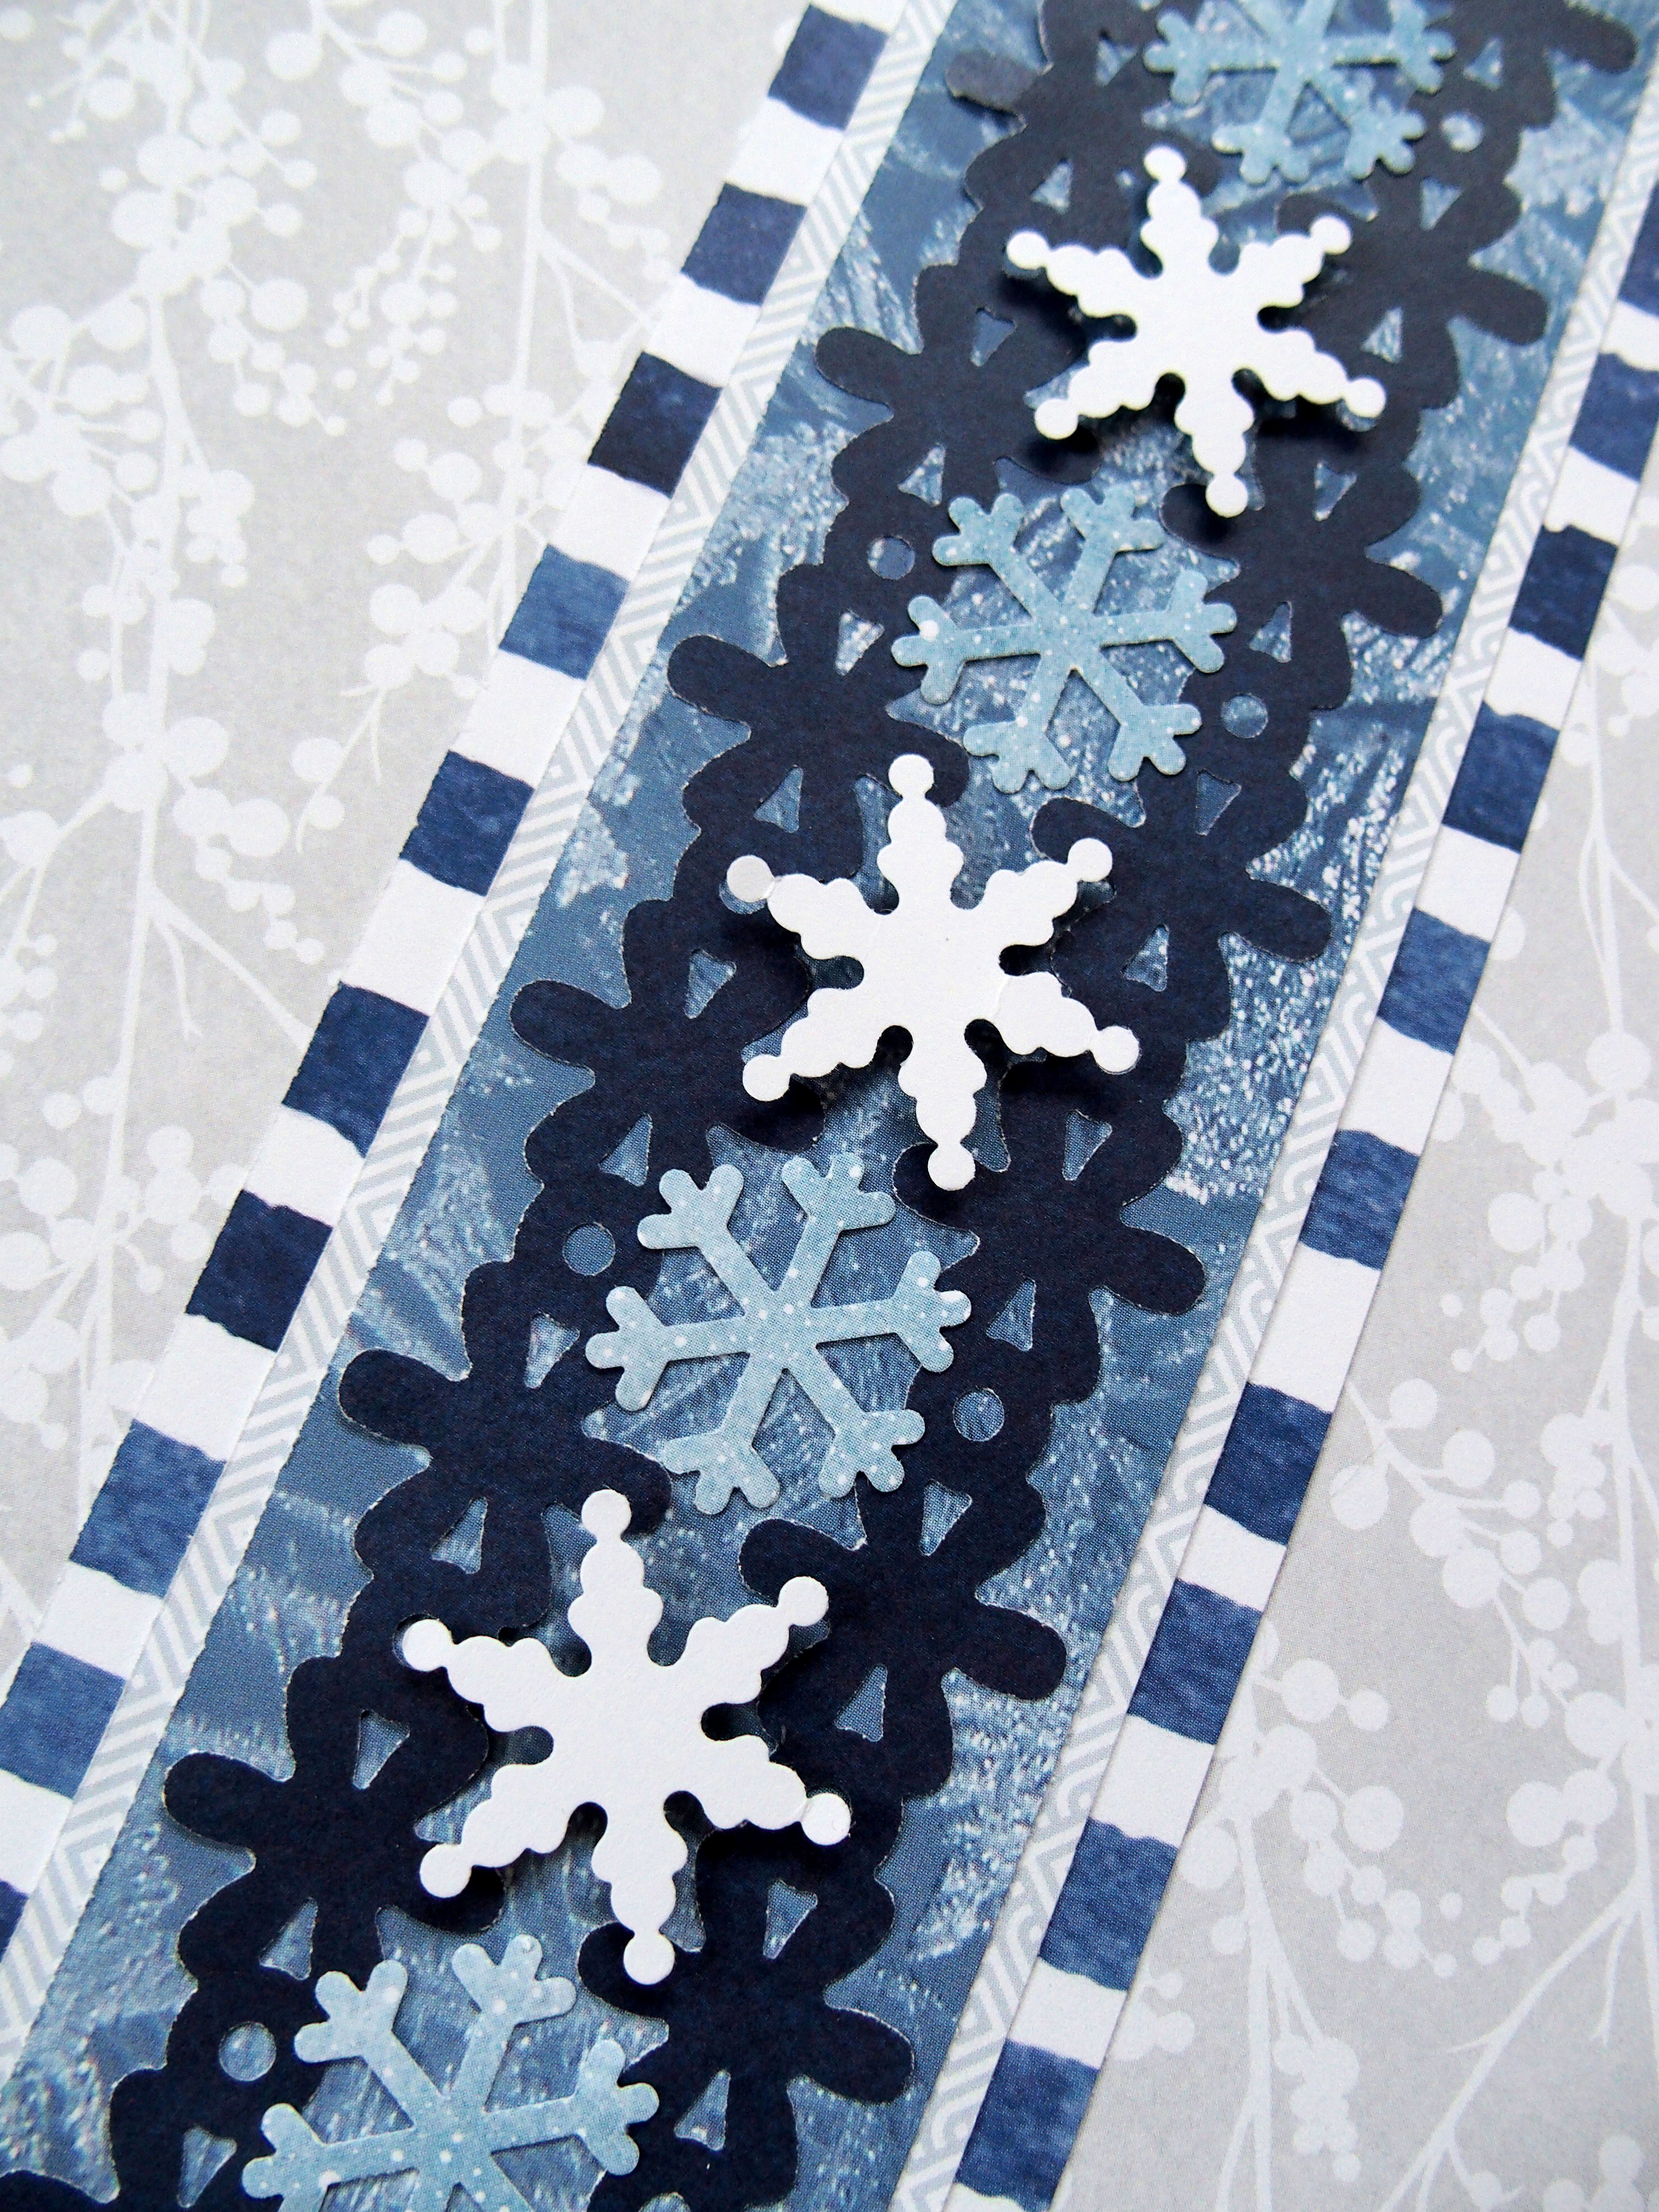
Snowflake Border
- Cut a 2-3/4″ x 12″ strip of striped paper for the base. Cut a 2-1/4″ x 12″ strip of light blue geo-patterned paper and add to the base. Cut a 2″ x 12″ strip of frosty window paper and add on top.
- Using the dancing daisies cartridge, punch two borders with dark blue paper. Apply side by side on the border as shown.
- Punch 6 medium snowflakes with a falling snow mat and 6 large snowflakes with a white mat. Use precision point adhesive to apply medium snowflakes and foam squares to adhere the white ones, as shown. (Tip: Align white snowflake tips with the circles of the dancing daisies borders.)


Love these borders!
Icy and so eye catching! Beautiful!
Love these, Krislyn!
Gorgeous! Thanks for the ideas!
Thank you, once again for your very helpful ideas. i have ordered the Glacier set and will have so much fun creating the borders.
i
Love it, love it, love it, thought I didn’t need another snowflake punch but you proved me wrong.
Can’t wait to order!
BEAUTIFUL IDEAS
As always, love all your creative works, Kris!
Wish sometimes you can just buy a border that someone has made. Sometimes you only need the punch once.
This is perfect for the Polar Vortex weather we are having in Pittsburgh this week! Thank you for theses awesome creations and have a Happy and Safe New Year!