December 14, 2017
Imagine Digital Pages
Imagine all of the occasions, events, trips you can use the Imagine Digital Kit for in your albums. I can think of lots of photos that are going to work perfectly with this kit. I had to stop myself from doing more pages!
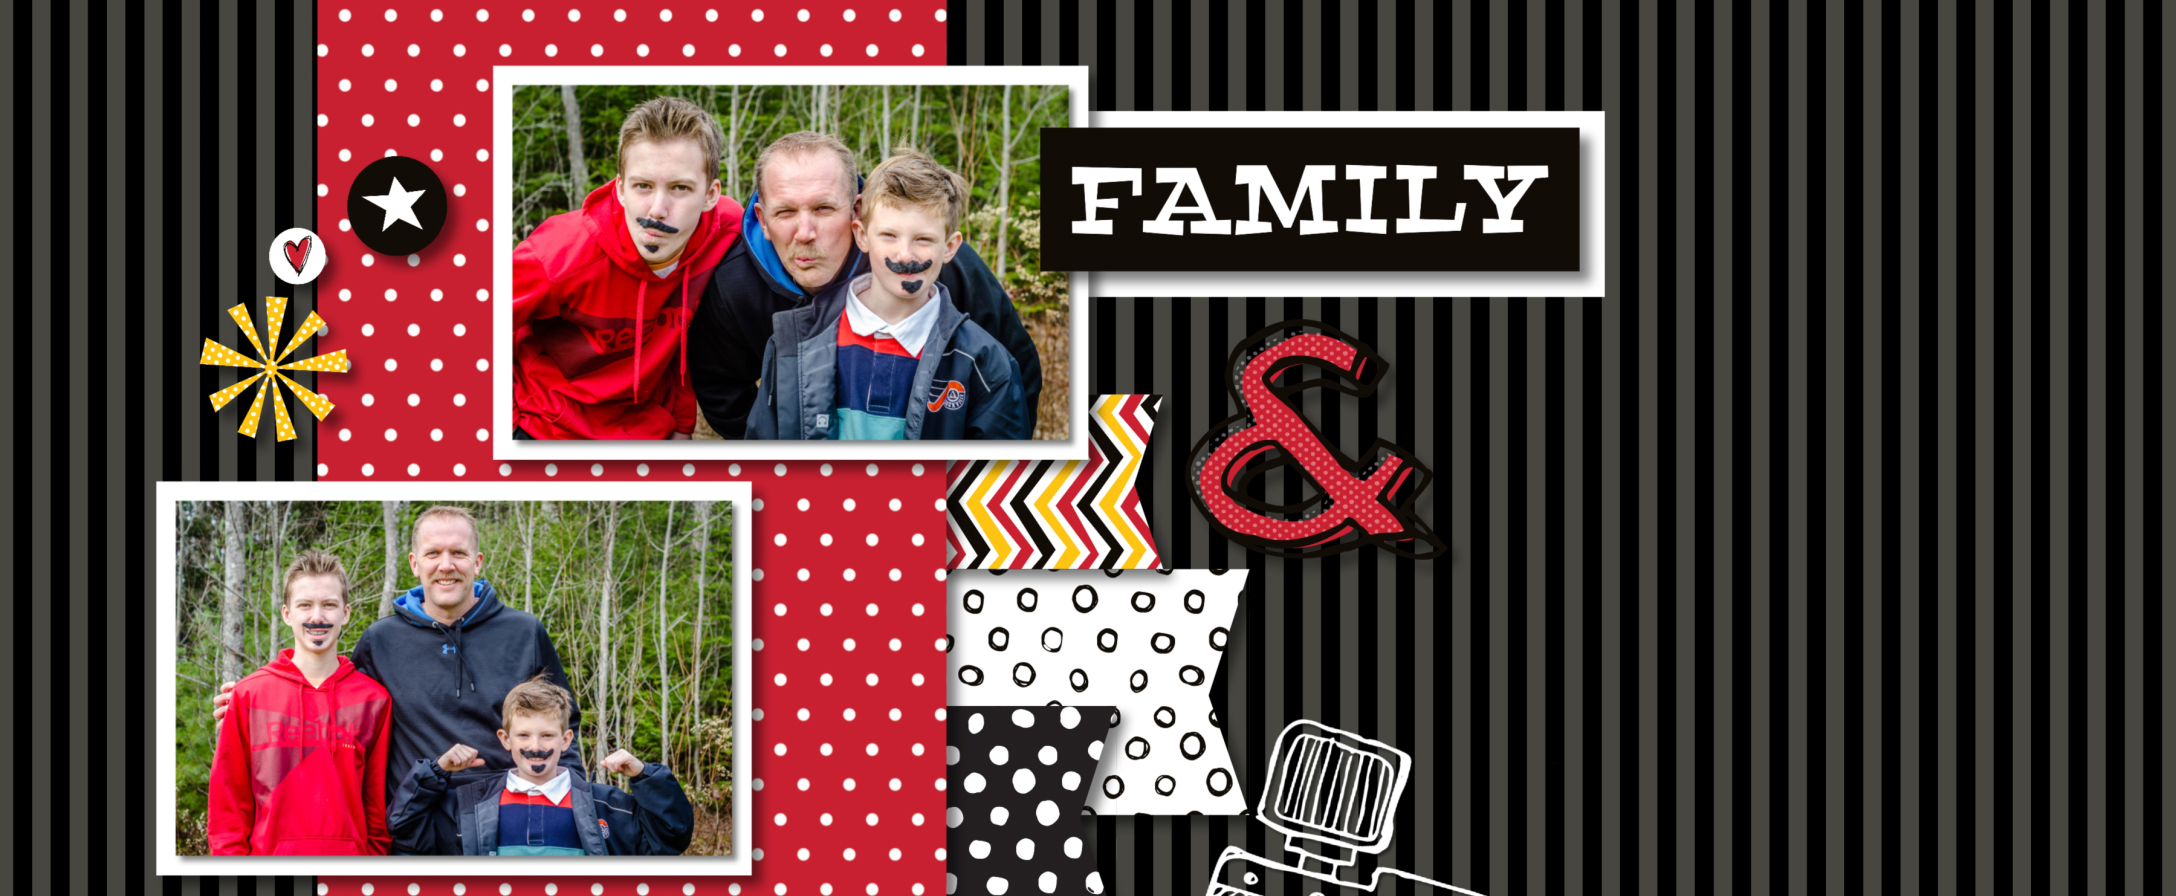
My husband has participated in Movember for a few years and we thought it would be fun for all of the boys in the family to have a mustache!

Tips:
- Add a photo, size it the size you want, copy and paste it as many times as you want. Fill photos with the desired photos.
- Change the color of the camera overlay to white from black so it will show up on the black background.
- Resize the banners and rotate them.
- Copied and pasted Movember title and changed one to white and shifted it slightly so the black would act as a shadow under the white.
- Add a piece of firework paper, soften the edge and change the opacity.

Amusement parks are always a favorite when we are on vacation! The bigger and faster the roller coaster the better! The Imagine Digital Kit has all of the right embellishments for these photos!

Tips:
- Shrink the banners to fit.
- Resize the banner and make it long, rotate and refill with paper of your choice so the aspect ratio of the design on the paper is corrected.
- Add stitching on the photos and embellishments.
- Make the string banner by using a photo mat, erase the white background, cut the banner you want.
- Add star embellishments and add a 3D edge to hold banner in place.
- Restring the banner as some of it gets erased when erasing the background. Add a curved solid line to join the banners together.
Black and white is always striking with a pop of red!

Tips:
- For background striped paper, rotate diagonal striped paper 90 degrees so stripes are vertical. Enlarge paper to cover background.
- Change “Being Goofy” title to all white and add red burst embellishments.
- Shrink, cut and repeat borders.
Have fun with the kit and I can only Imagine what beautiful pages you will design!


Love ’em all!
Thanks Barb!