June 8, 2026
Add Extra Storytelling Space with This Faux Pocket Scrap Journal Layout

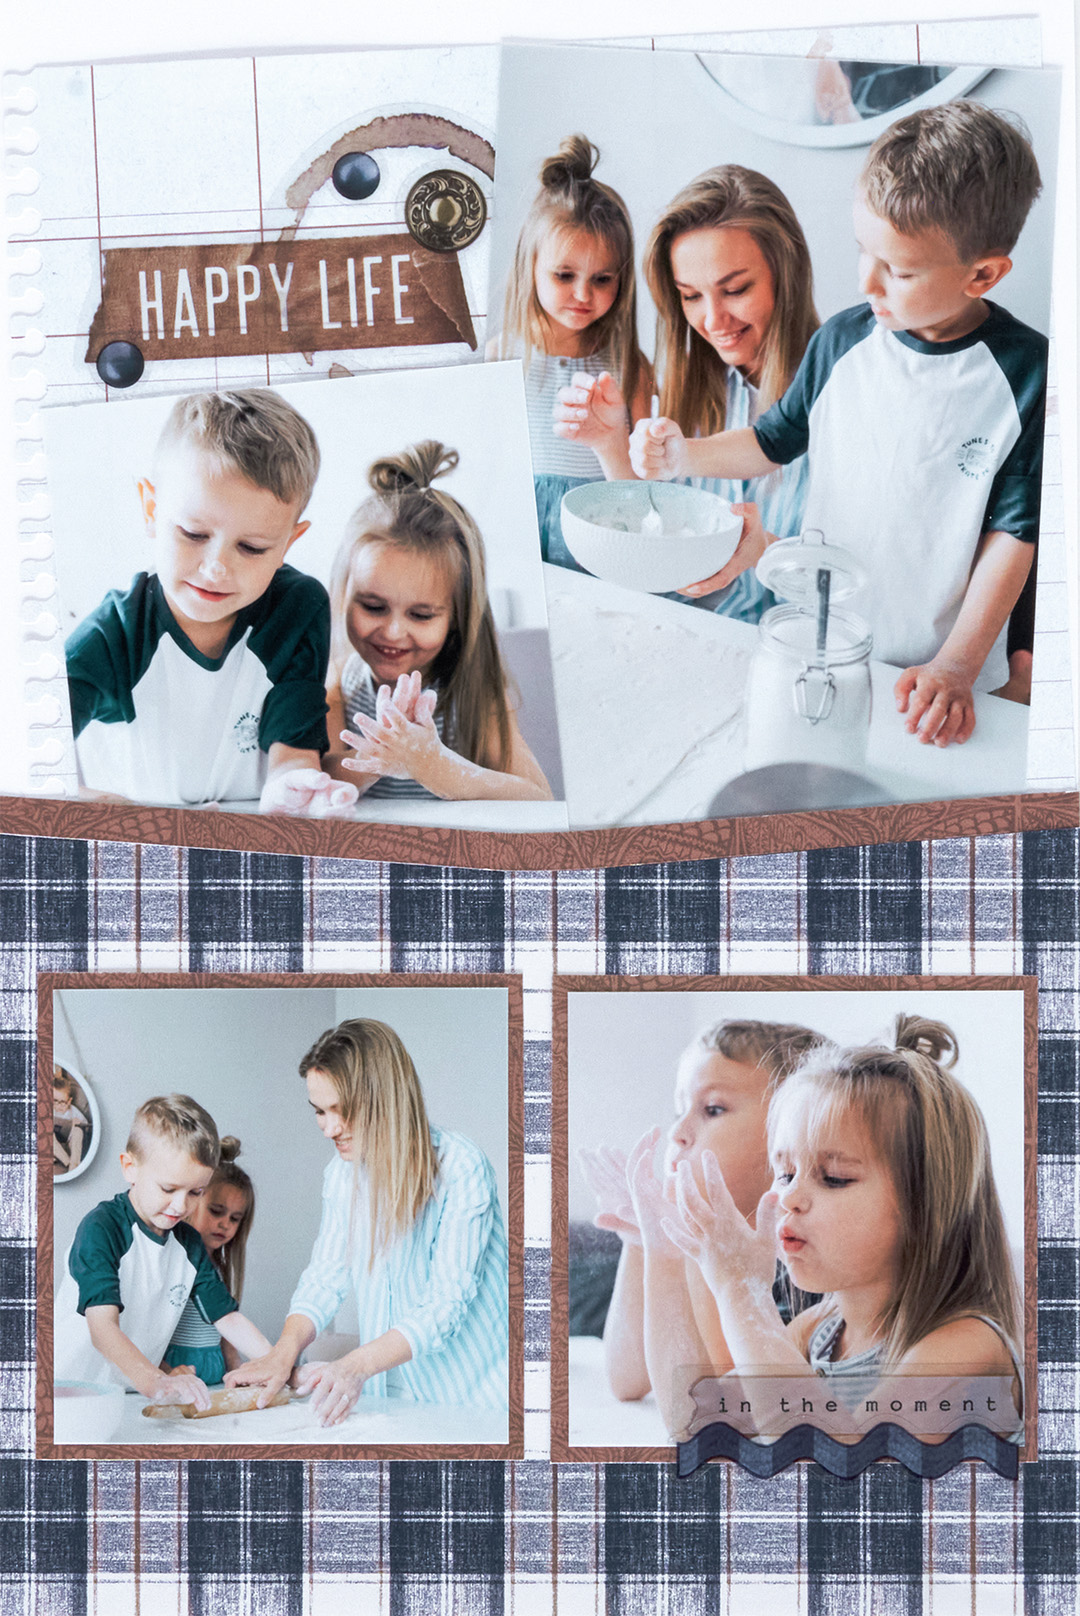
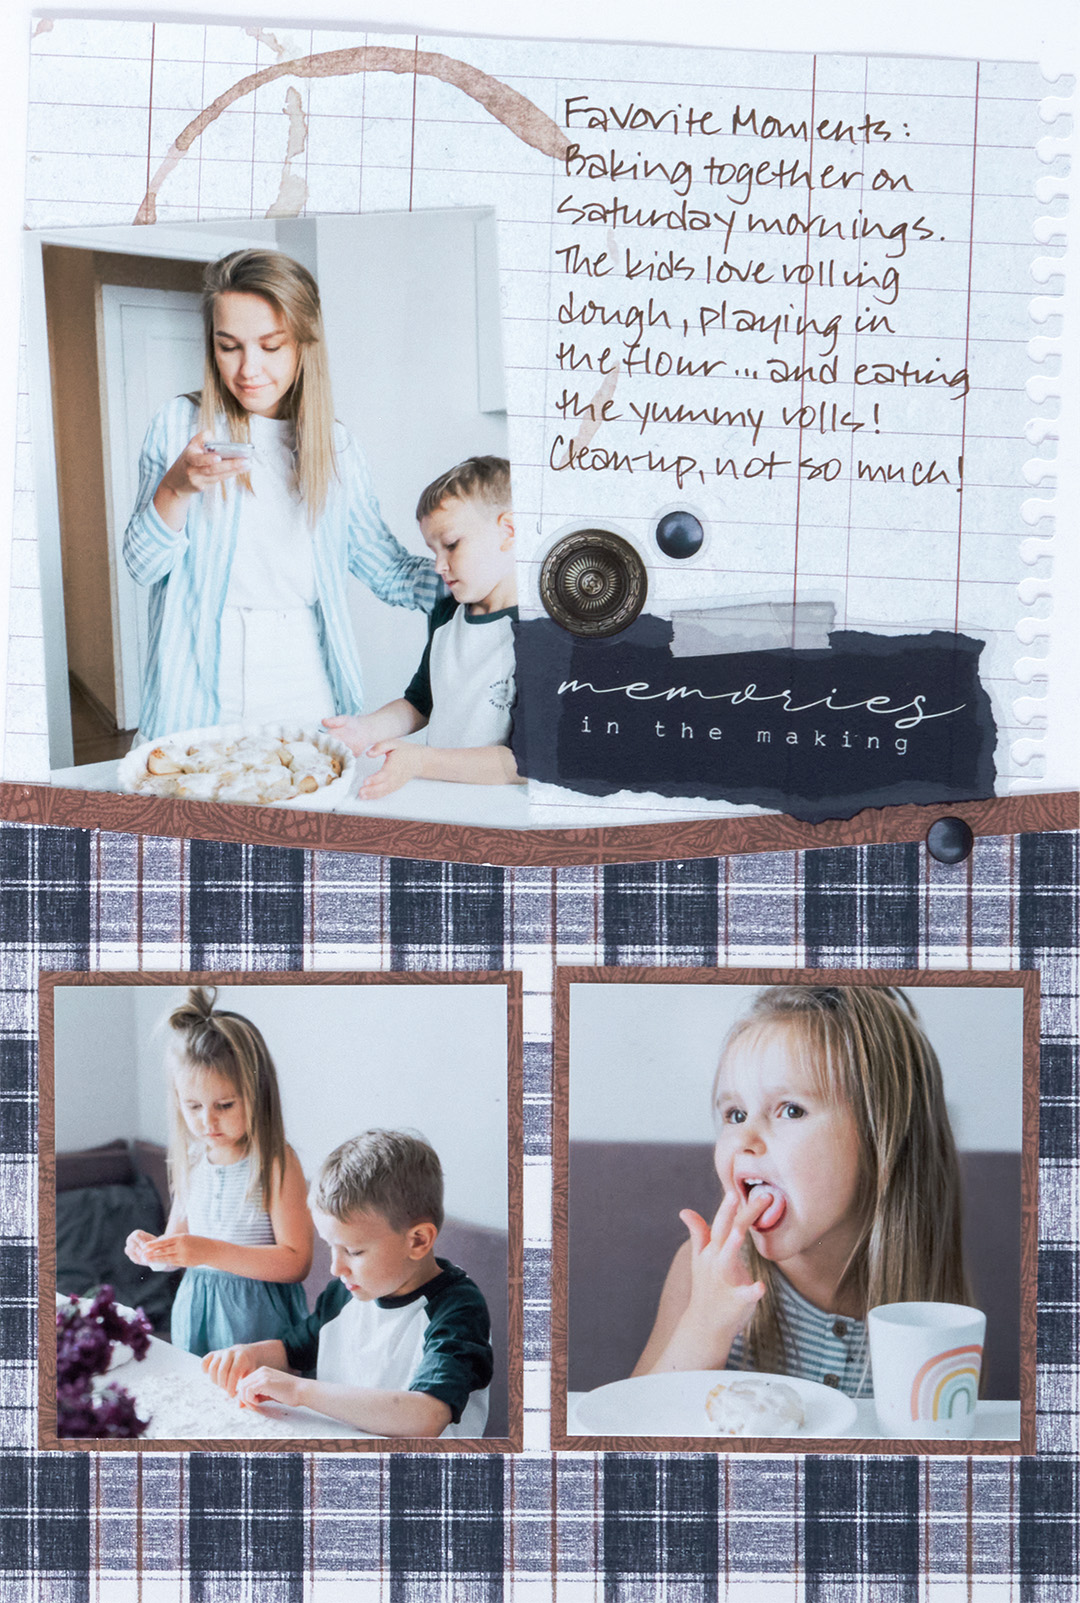
If you’re looking for a layout that feels a little different, this Weathered Indigo Scrap Journal two-page spread is a fun one to try. The layered papers and notebook-inspired details give it that collected-over-time look, while the faux pockets add extra interest and plenty of possibilities. They’re perfect for tucking in journaling cards, memorabilia, extra photos or little notes that help tell the story behind your everyday moments.
To create this layout, you will need:
- Weathered Indigo Scrap Journal Paper Pack
- Weathered Indigo Clear Stickers
- Bright White Solid Cardstock
- Original Border Maker System
- Notebook Edge Border Maker Cartridge
- CCS Border Cutting Tools – Peak
- 13×13 Cutting Mat
- CCS Blades – Red & Blue
- 12-inch Trimmer
- Photo Trimmer
- Repositionable Tape Runner
- Foam Squares
- Brown Dual-Tip Pen

Step 1: Cut two sheets of Bright White Solid Cardstock to 6-3/4″ x 10″ to create the bases for this two-page layout.
Step 2: Using the Notebook Edge BMC, punch along one long side of a sheet of lined scrap journal designer paper. Cut the sheet in half to make two 6-3/4″ x 5″ pieces. Adhere the pieces on the top halves of each base paper, with the punched edges facing the outer sides and positioned at a slight angle.
Step 3: Cut a sheet of plaid scrap journal designer paper in half to make two 6-3/4″ x 5″ pieces. Lay one on the 13×13 Cutting Mat with the trimmed edge centered on the mat. Using the Peak Border Making Tool pattern and the red blade, cut a slight V along the edge. Repeat this step with the other plaid piece. Adhere both pieces on the bottom halves of the base papers with the V edge at the top, leaving the top edges without adhesive to create pockets.
Step 4: Lay a sheet of damask scrap journal designer paper on the center of the cutting mat. Using the Peak Border Making Tool pattern and the blue blade, cut a slight V along the short edge. Without moving the pattern, switch to the red blade and cut a strip. Repeat this step to make two strips. Apply adhesive to just the outside edges of the strips and adhere them just above the plaid pieces.
Step 5: Cut four 3-3/4″ x 3-3/4″ mats with damask scrap journal designer paper. Crop four photos to 3″ x 3″ and mount them on top. Adhere the matted photos on the plaid pieces as shown.
Step 6: Crop two photos to 3″ x 4″ and one photo to 3-1/2″ x 5″. Adhere the photos on the notebook paper, tucking the bottom ends into the “pockets”.
Step 7: Adhere clear stickers and add journaling as desired.
One of the best parts of this layout is how versatile those faux pockets can be. Use them to hold journaling, keepsakes or anything else that adds a little more personality to your page. However you fill them, this spread is a great reminder that even the ordinary days are worth documenting. Happy scrapping!
P.S. Are YOU a member of the Virtual Crop Group? It’s your go-to place for MONTHLY Virtual Crops, MONTHLY Completed Album Challenges, QUARTERLY Secret Box Openings with project tutorials and so much more! We hope you’ll join our community of more than 50,000 fellow memory-keeping enthusiasts — you’ll feel right at home!


Are the measurements reversed on Step 5, for the photos and the background?