February 12, 2018
8 Simple Steps to a Scrapbook Layout

Think beautiful scrapbook layouts have to be time-consuming? Think again! We’ve got an idea you’re going to love that makes creating a gorgeous spring scrapbook layout a breeze… and no, it’s not a Fast2Fab™ (although those are also an awesome option for completing an album quickly!). Curious what it is?
Using the Full Bloom Mat Pack as a focal point for your layout! Follow the steps below to see how quick and easy it can be to make a stunning backdrop for your springtime memories.


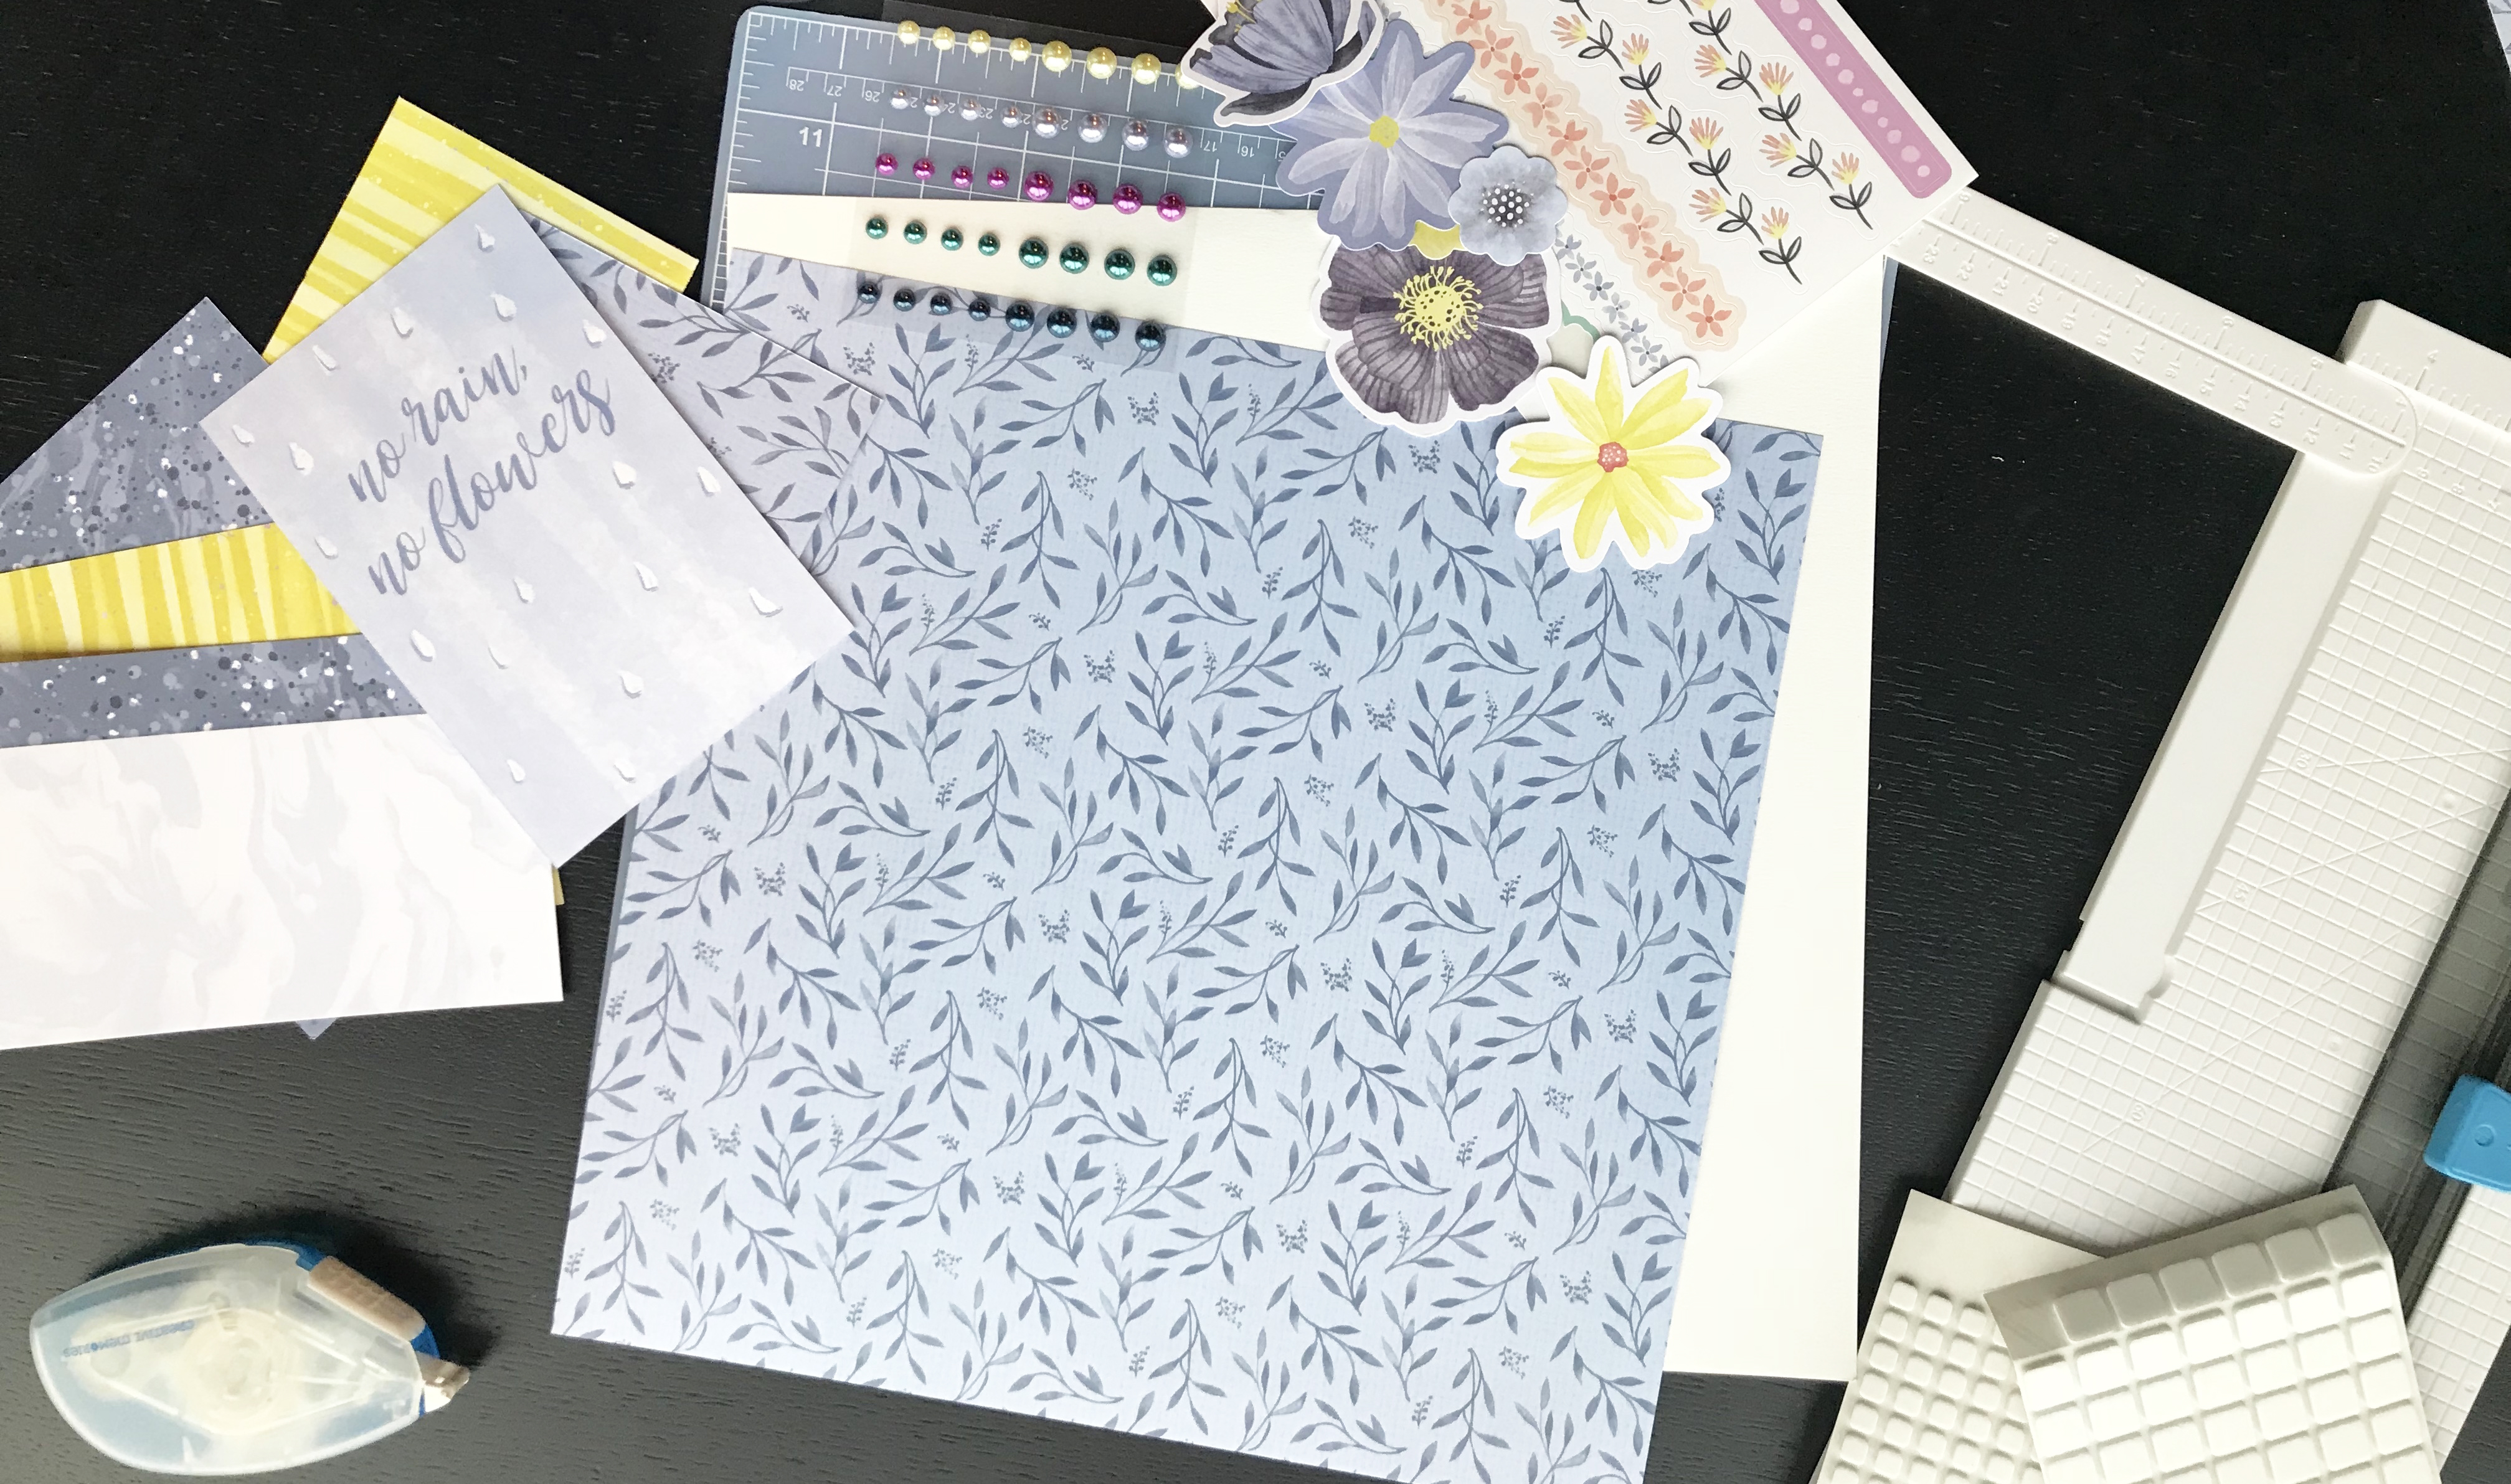
To create this scrapbook layout you’ll need:
- White Cardstock
- Full Bloom Paper Pack
- Full Bloom Mat Pack
- Full Bloom Stickers
- Full Bloom Embellishments
- 12-inch Trimmer
- Scissors
- Tape Runner
- Foam Squares
Step 1: Lay down your Cardstock as the base for this layout.
Step 2: Cut a ½” from the top of your Designer Paper and flip it 90 degrees and cut another ½” from your paper and adhere it to your Cardstock base.
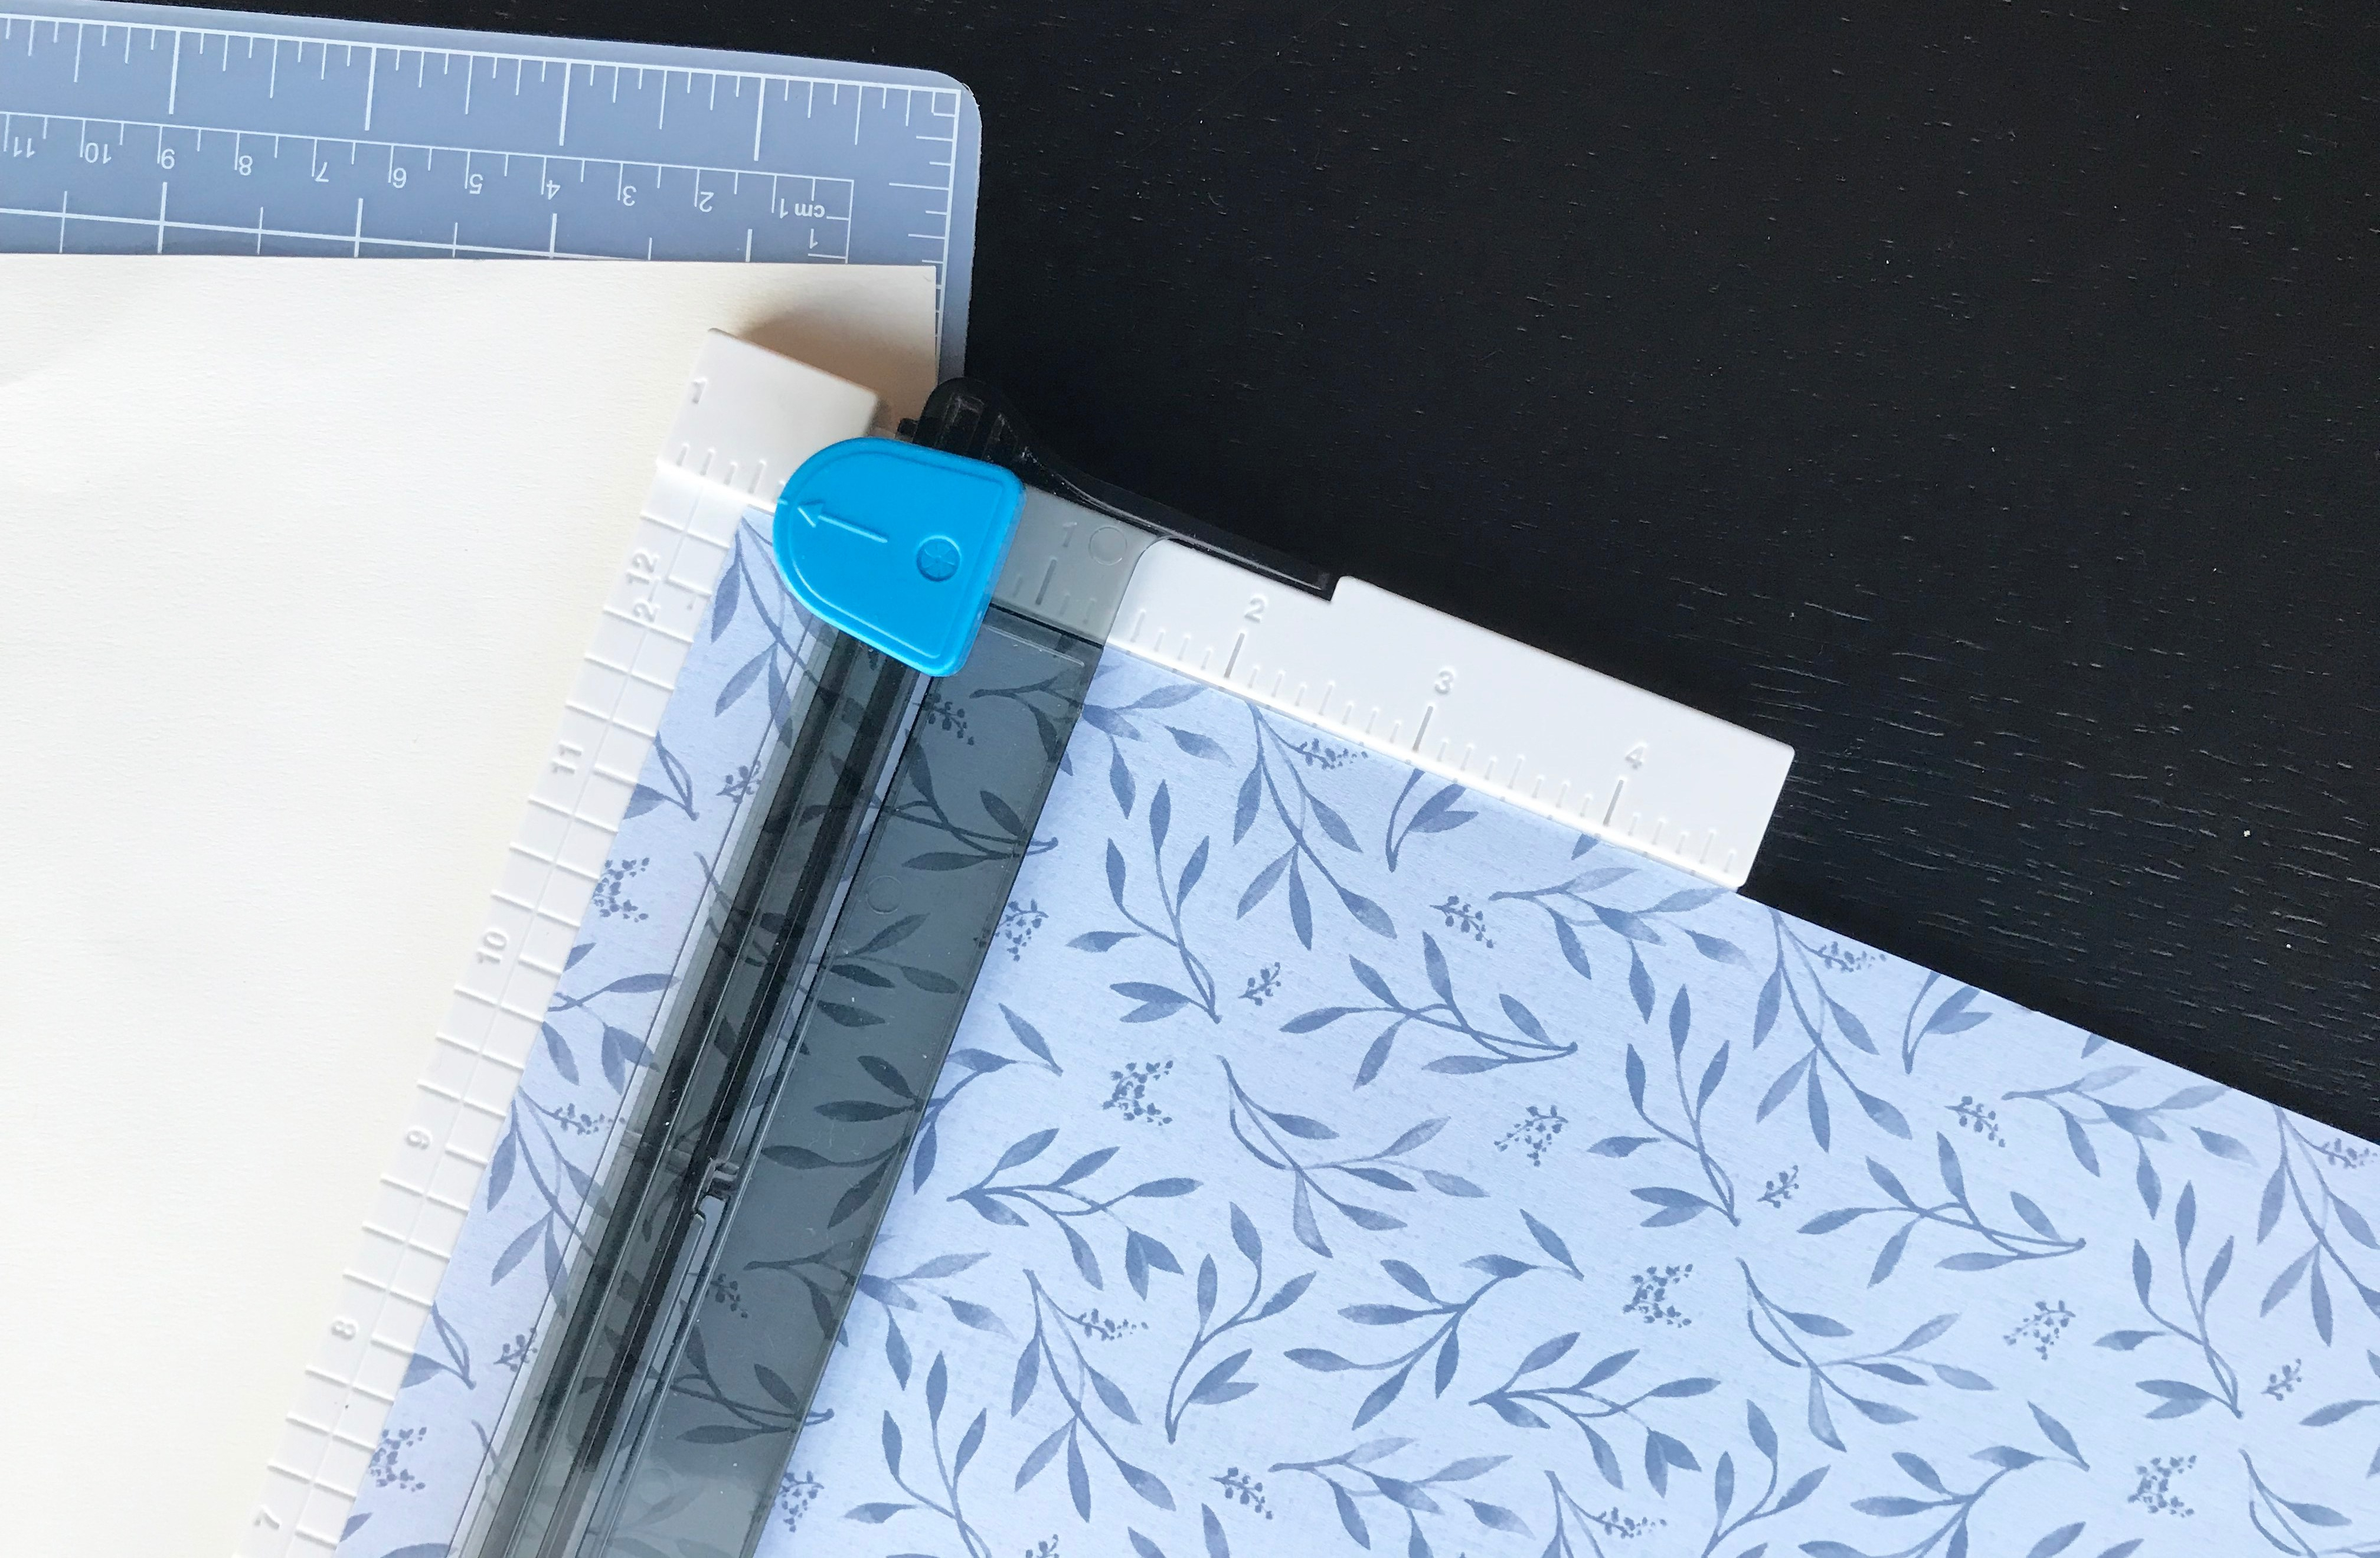
Don’t forget to save these additional paper pieces for your borders!

Step 3: Three of your Mats will be touching the edge of your spread, so lay these down first.
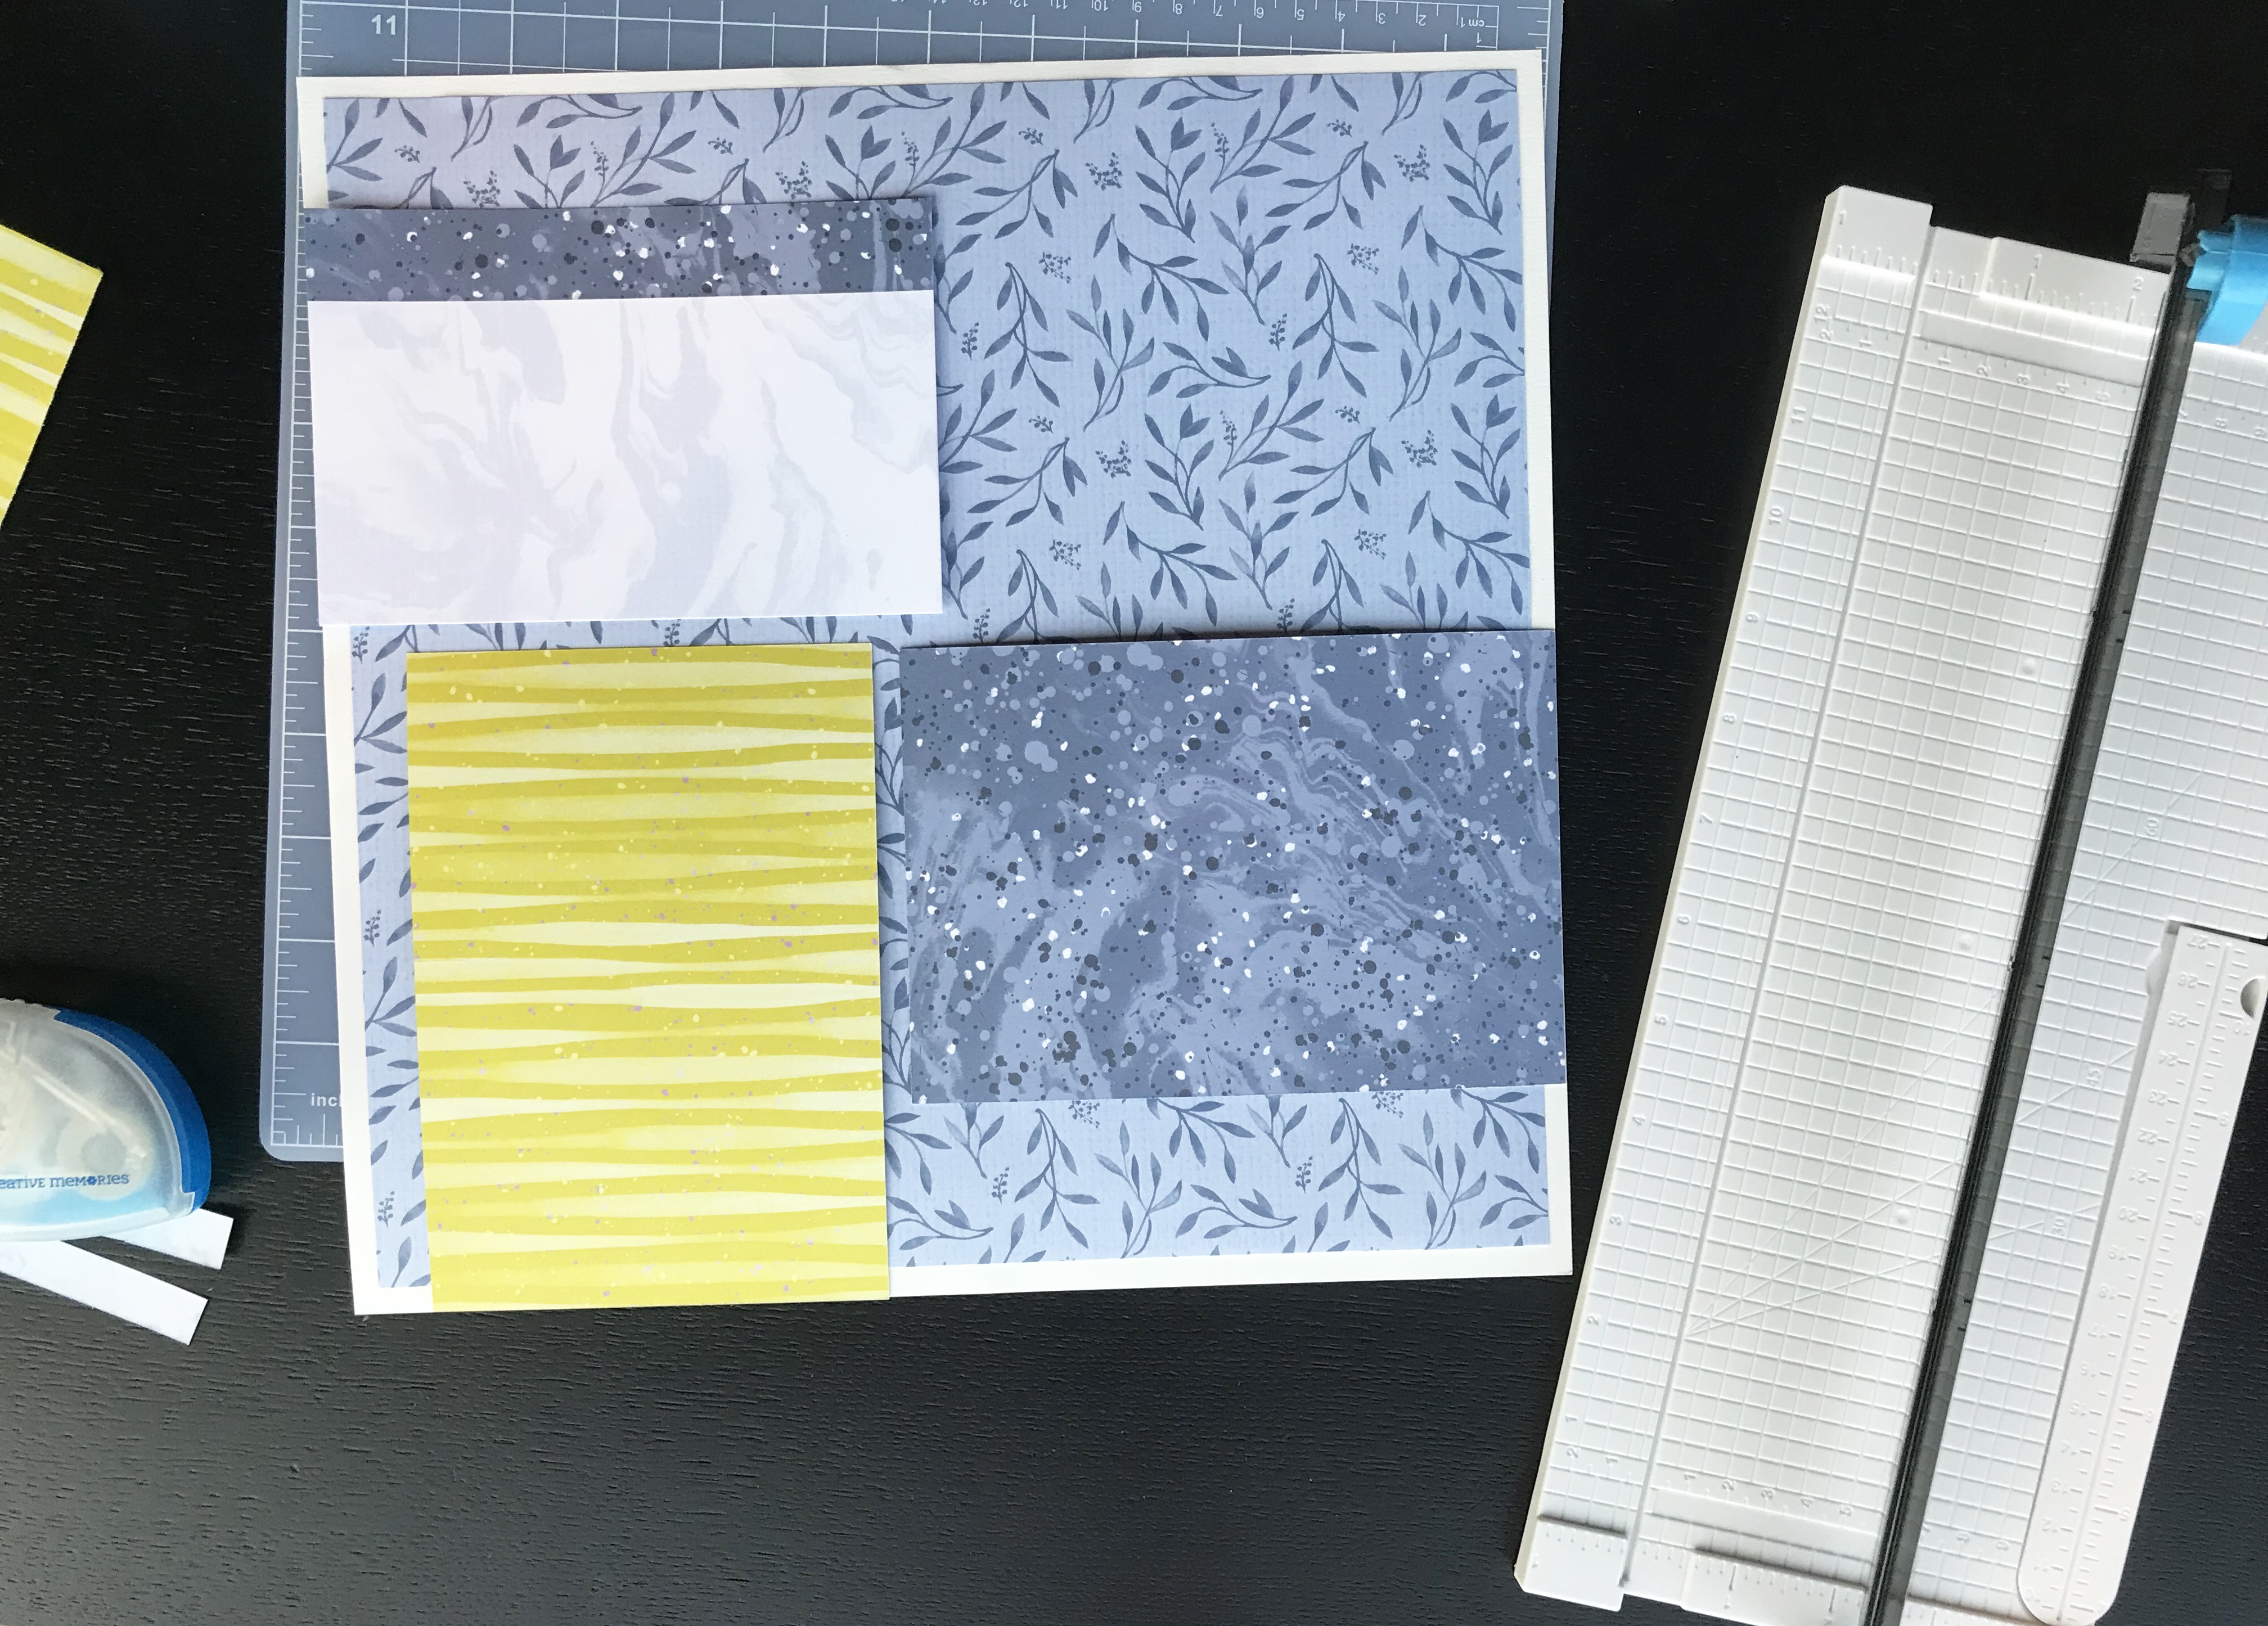
Step 4: Take your other piece of Designer Paper, and create a mat for your Journal Mat. You will need to trim the Yellow Designer Paper down to 3-1/2″ x 5 “.
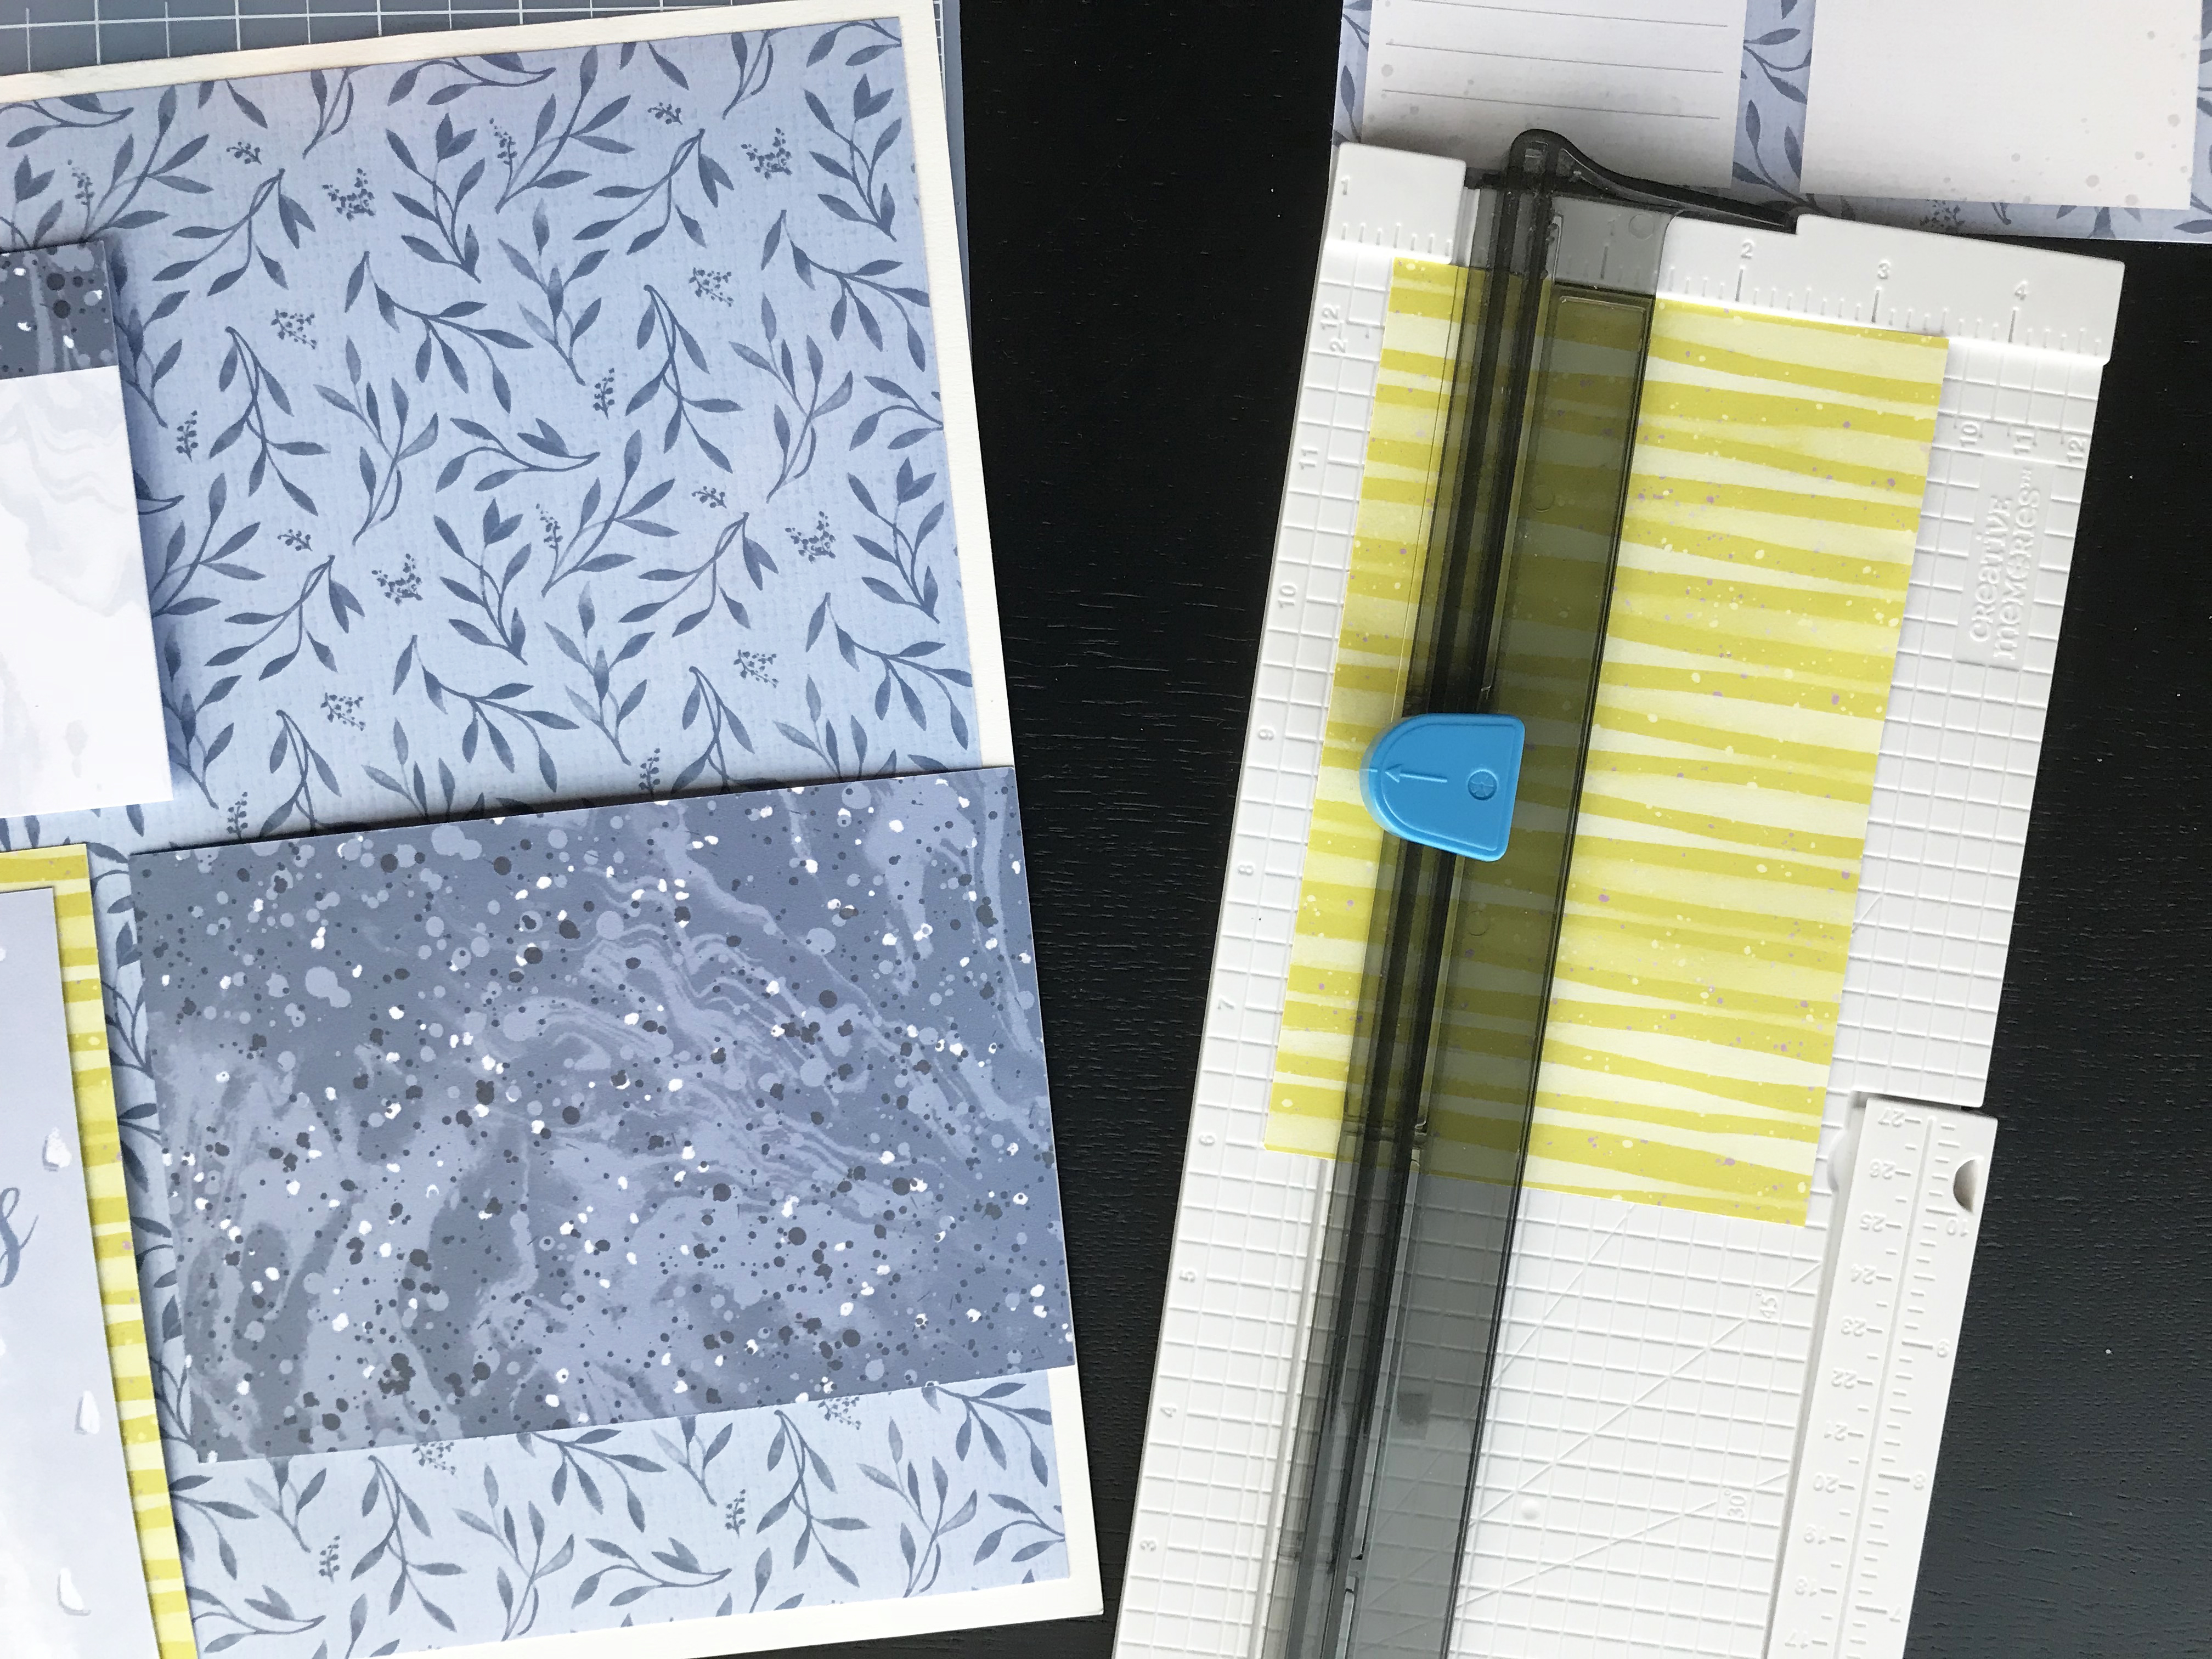
Step 5: Cut your Journal Mat in half.
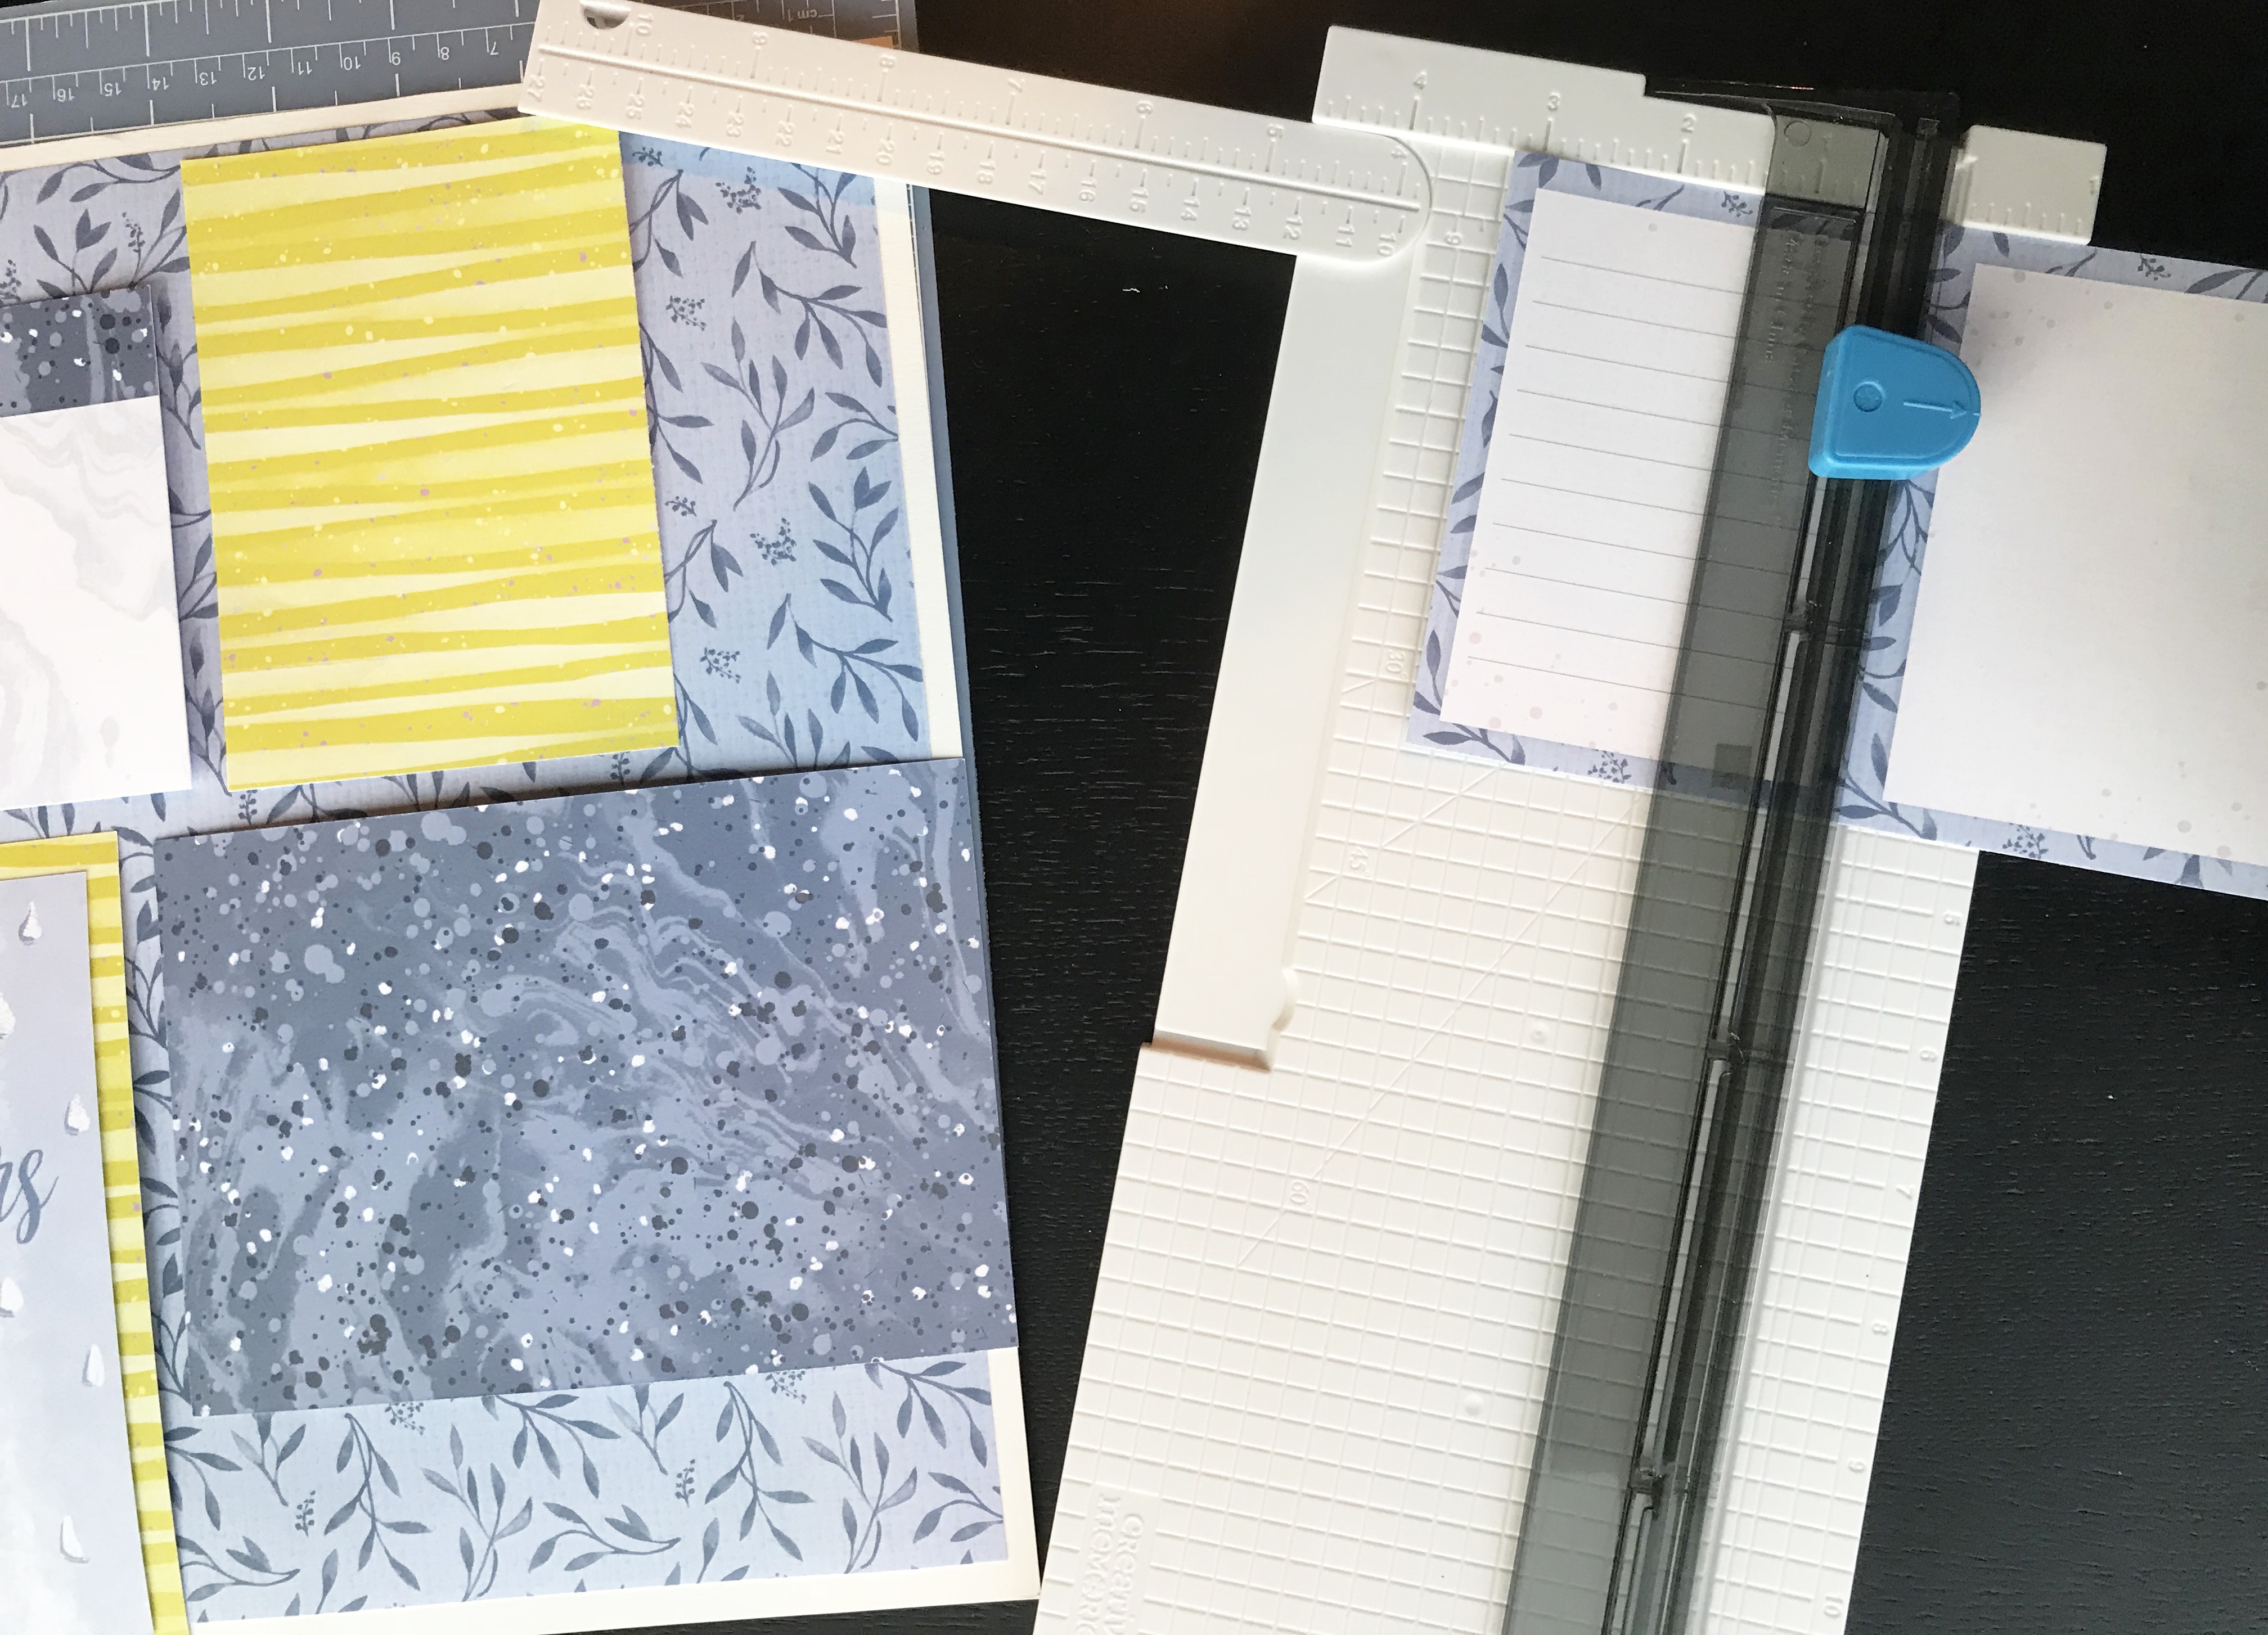
Step 6: Adhere all of your Mats to the page and ensure you have it evenly spaced.

Step 7: After you have everything laid out, embellish as you see fit, utilizing Foam Squares for added dimension.

Step 8: Adhere your photo and journal as desired.
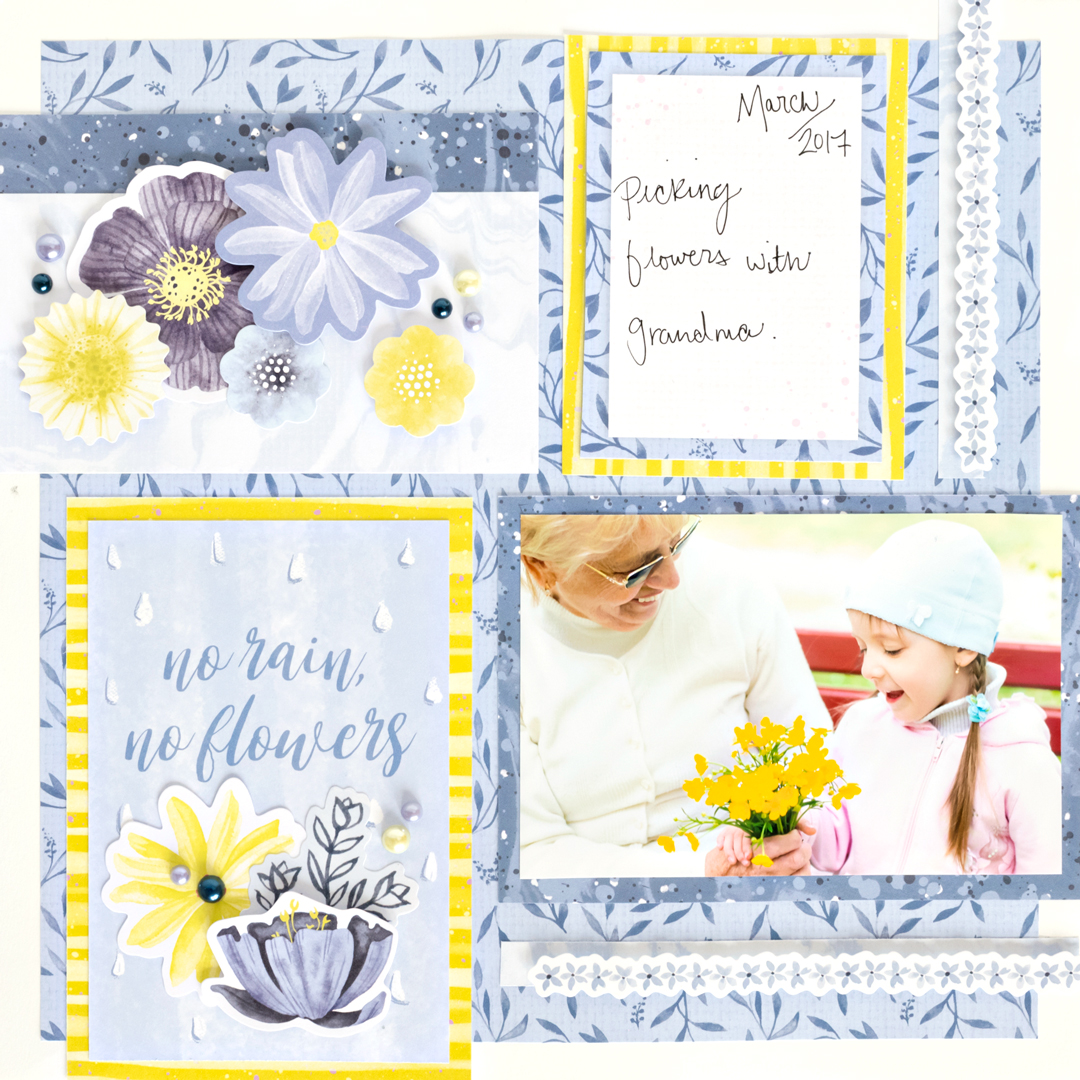
Congrats! You made an awesome spring scrapbook layout in practically no time at all! So, what do you think?

This was great, but I usually do the smaller albums, not the 12x 12. Any ideas for the 8×8 or 8×10?
Lovely!
beautiful page
Do any of these new albums come in 8×8