March 17, 2018
Happy Birthday Scrapbook Layout Idea in 7 Easy Steps ?

It’s party time – let your photos shine with this birthday celebration scrapbook layout! This stunning layout includes shades of black, white and gold to give you that classy, yet sassy feel you’ve been looking for. Perfect for those birthday photos you have been meaning to scrapbook. Let’s get the scrapping party started!
Gather your Black & White supplies and just follow these 7 easy steps to create a fun birthday layout.
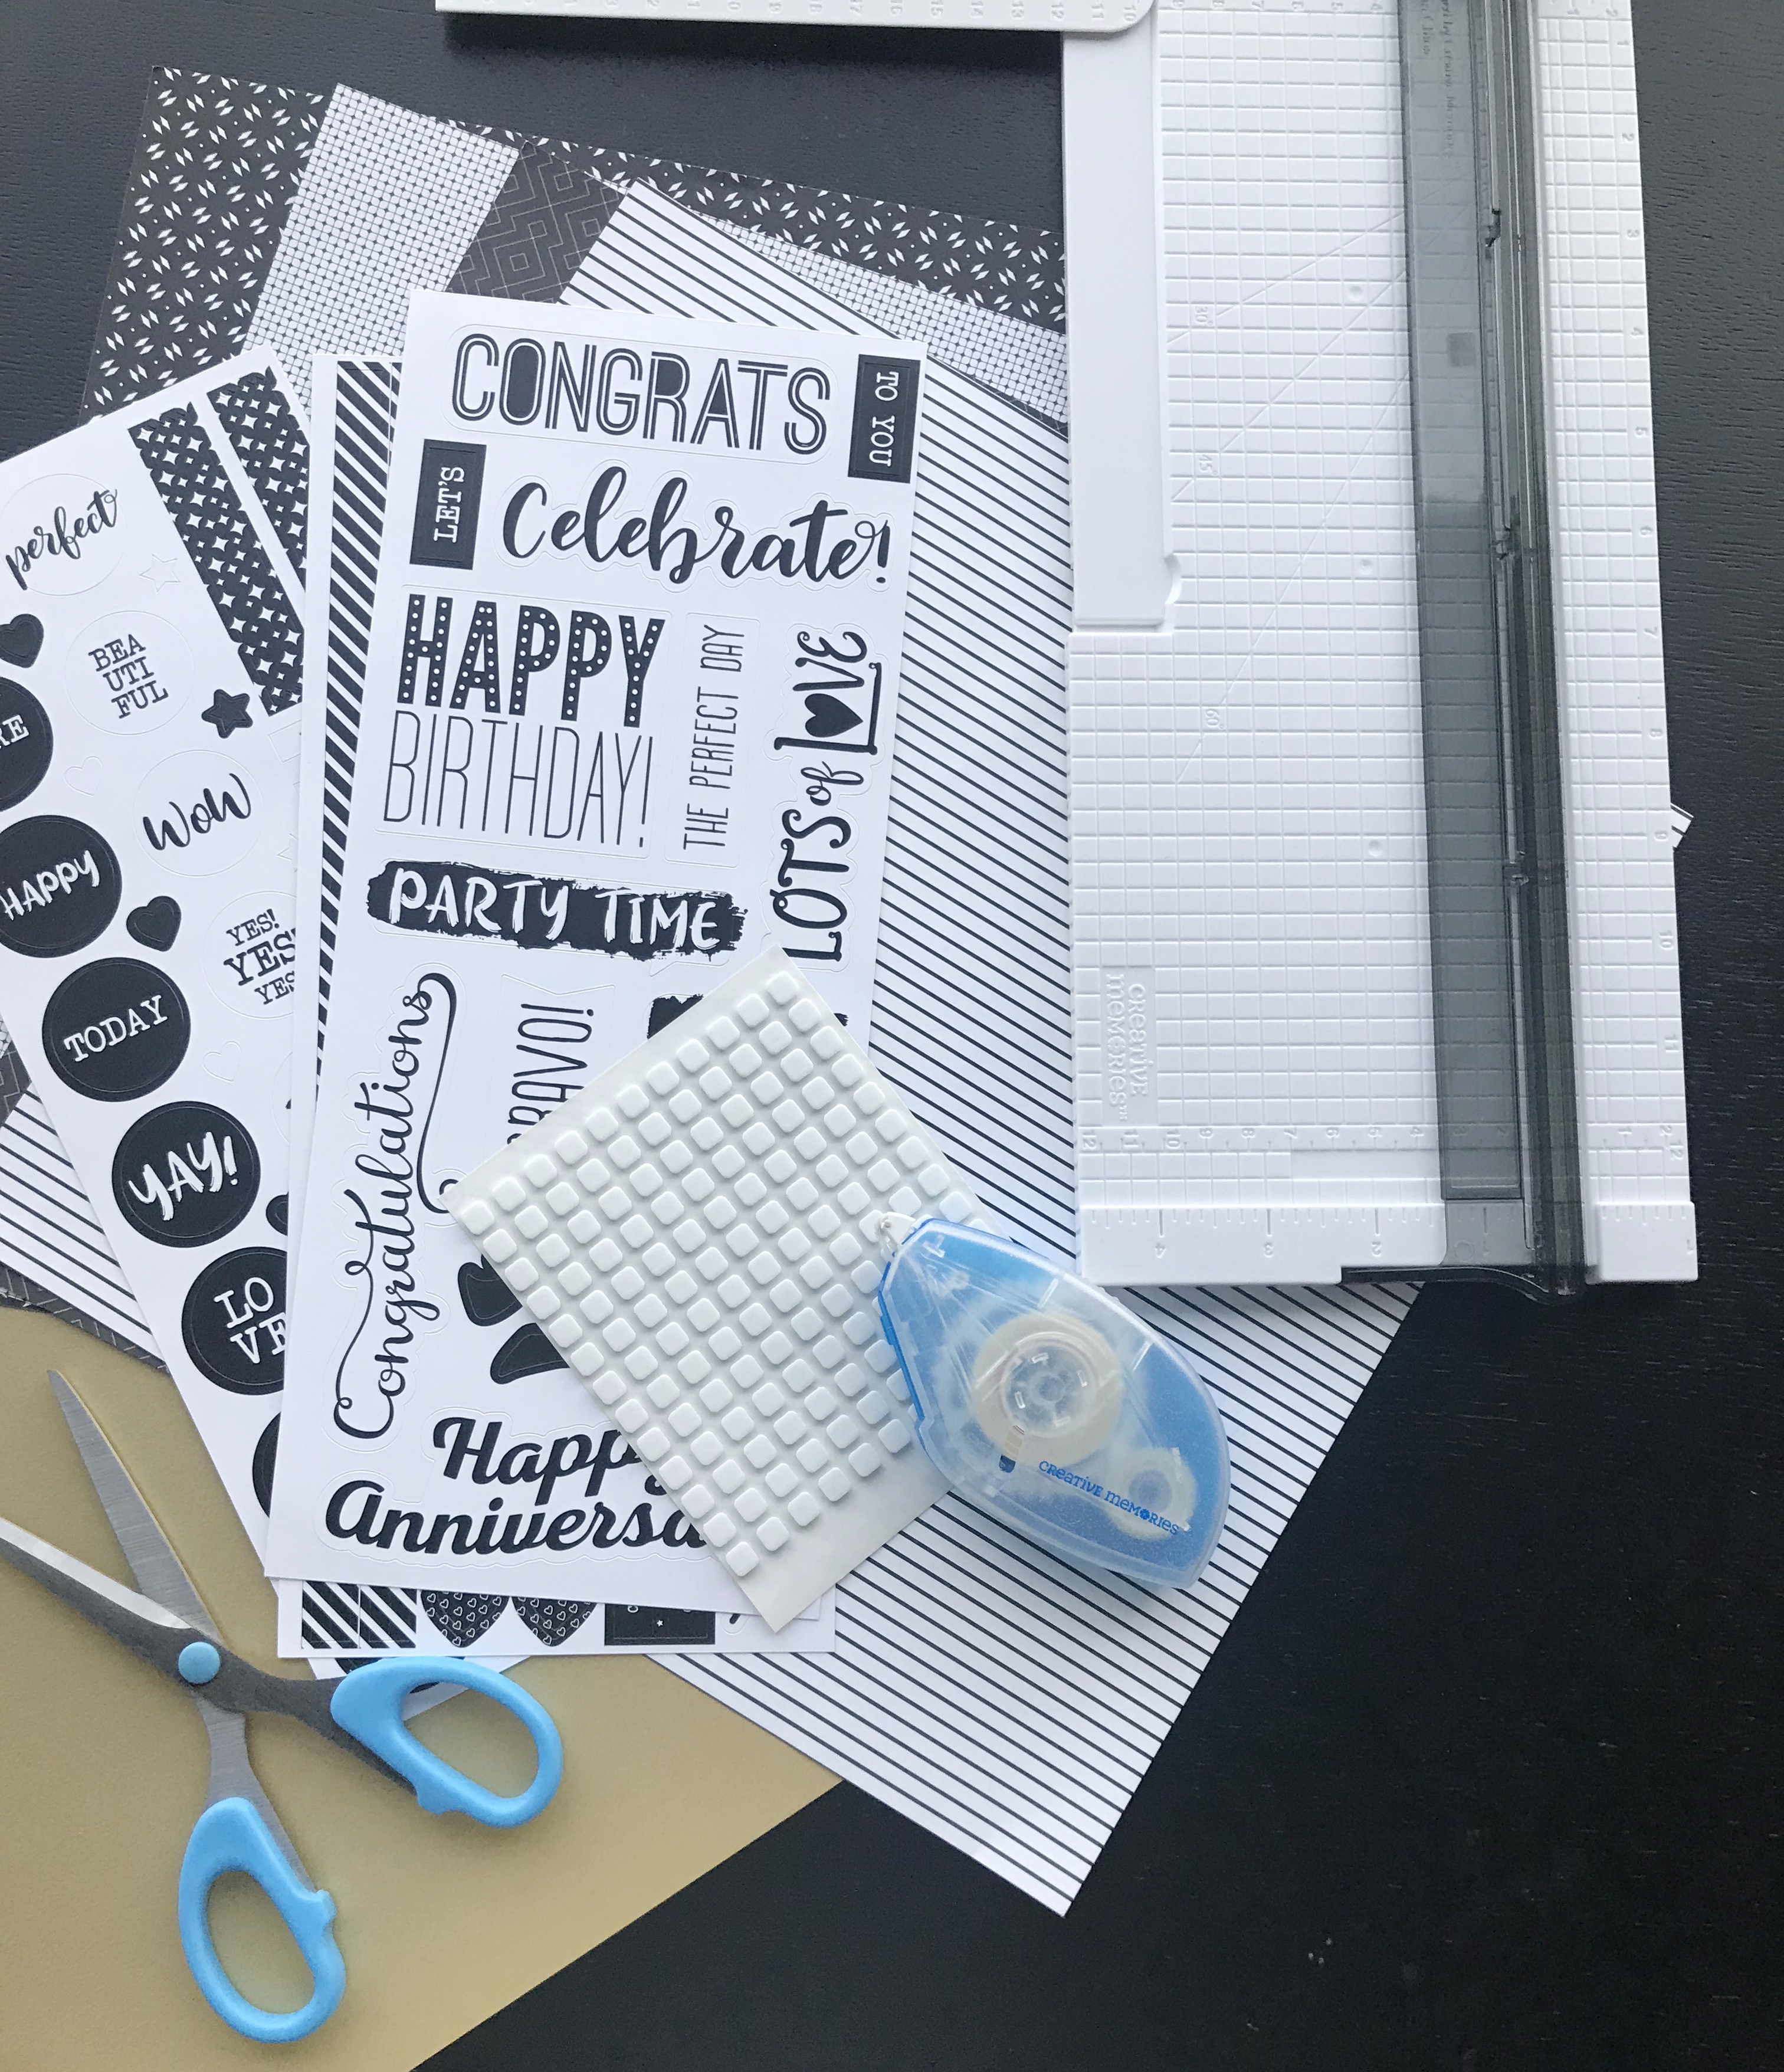
To create this scrapbook layout, you will need:
- Black & White Paper Pack – 4 Sheets
- Black & White Stickers
- Gold Shimmer 12×12 Cardstock
- 12-inch Straight Trimmer
- Tape Runner
- Foam Squares
Step 1: Use the Gold Shimmer 12×12 Cardstock for your base.
Step 2: Trim one sheet of white patterned paper to measure 11″ x 11″. Adhere to the Gold Cardstock.

Step 3: Take the remaining sheets of paper and trim four 1″ x 12″ strips out of each paper. Adhere as shown on the right side of the page.
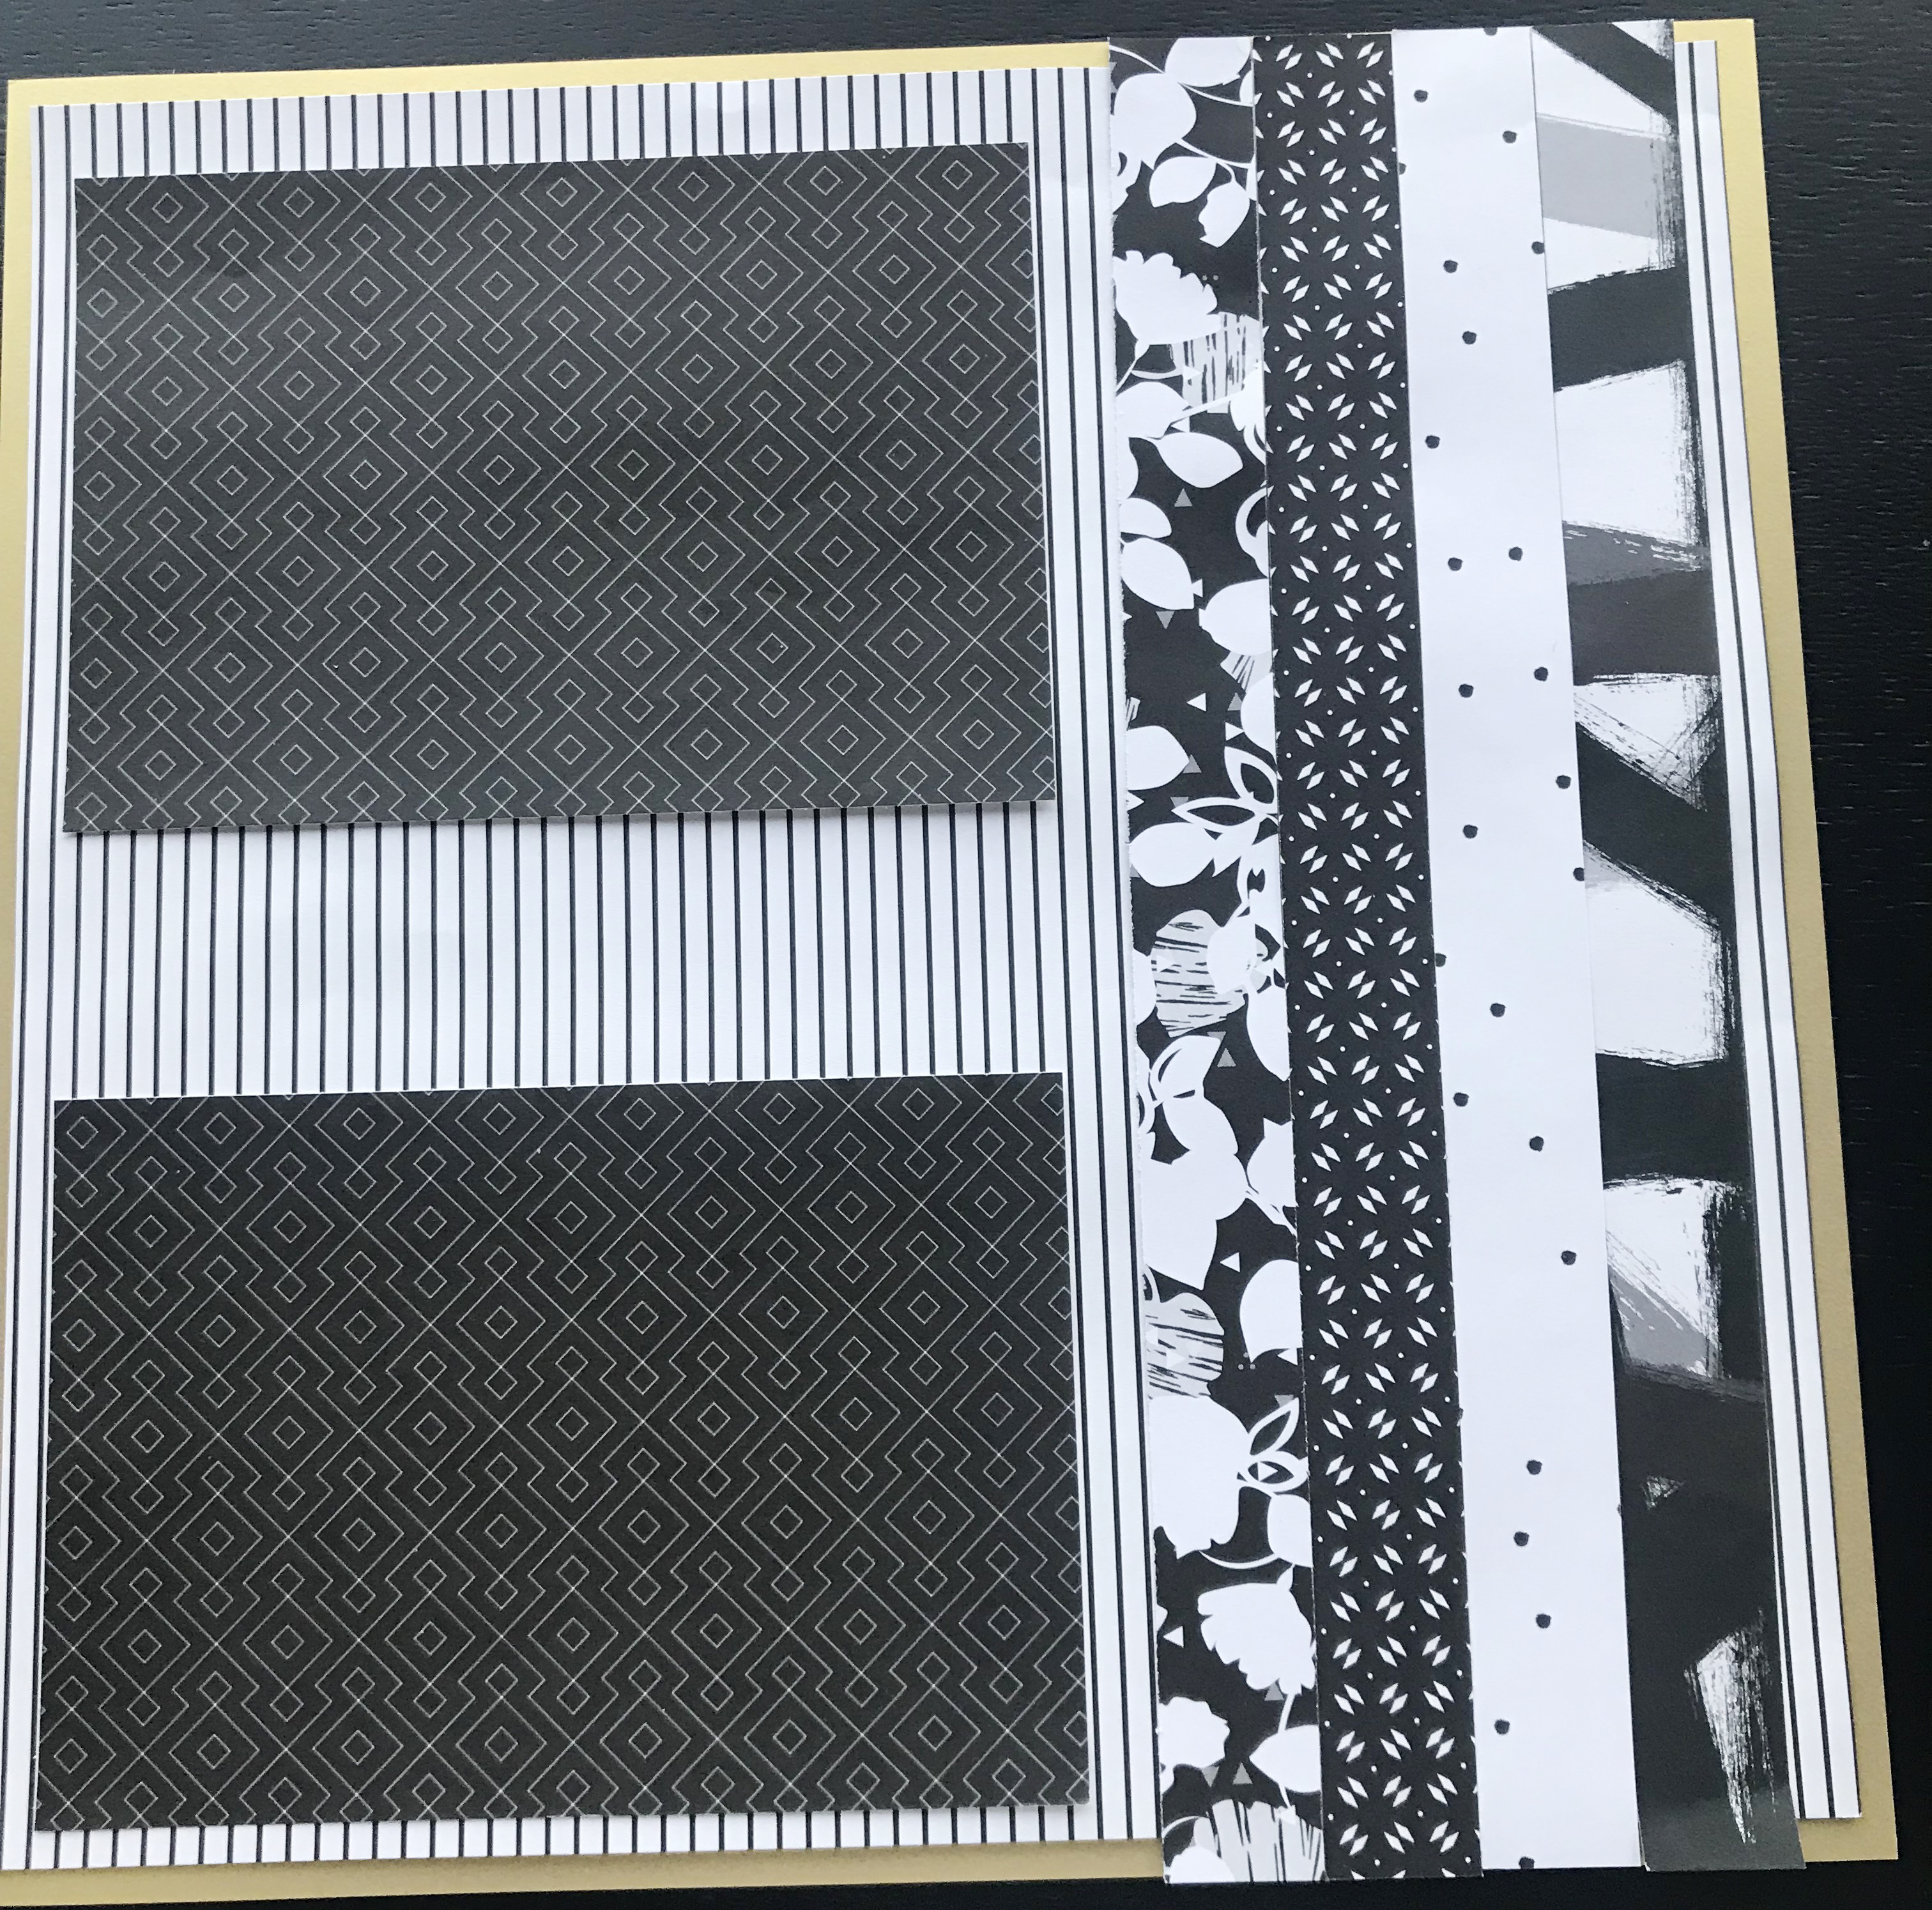
Step 4: Take a piece of black patterned paper and trim two 6-1/2″ x 4-1/2″ rectangles for matting your photos. Adhere to the page as shown.


Step 5: Next, take a piece of white patterned paper and trim two 1/2″ x 12″ strips. Adhere the first piece horizontally to your spread. The second will need to be trimmed down to the following measurements: (2) 1/2″ x 3″, (2) 1/2″ x 2-1/2″ and (1) 1/2″ x 1/2″.


Step 6: The 3″ long strips will be bowed over for each side of the bow and adhered together with the 1/2″ x 1/2″ piece. The 2-1/2″ strips will be trimmed with scissors for your bow. Adhere these pieces to the layout as shown.


Step 7: Using your Foam Squares and Stickers, dazzle up your design. Adhere your photos (2 – 4″ x 6″) and you have a complete layout!
This scrapbook layout would be perfect to showcase a special birthday or celebration. We want to know what layouts or projects you are using the Black & White Collection for!

Great page! Graduation is getting nearer. I can see pages with this great collection!
Yes! Perfect collection for graduation!