October 18, 2018
#ThrowbackThursday: Show Photos of Christmas Past with this Classic Holiday Scrapbook Layout
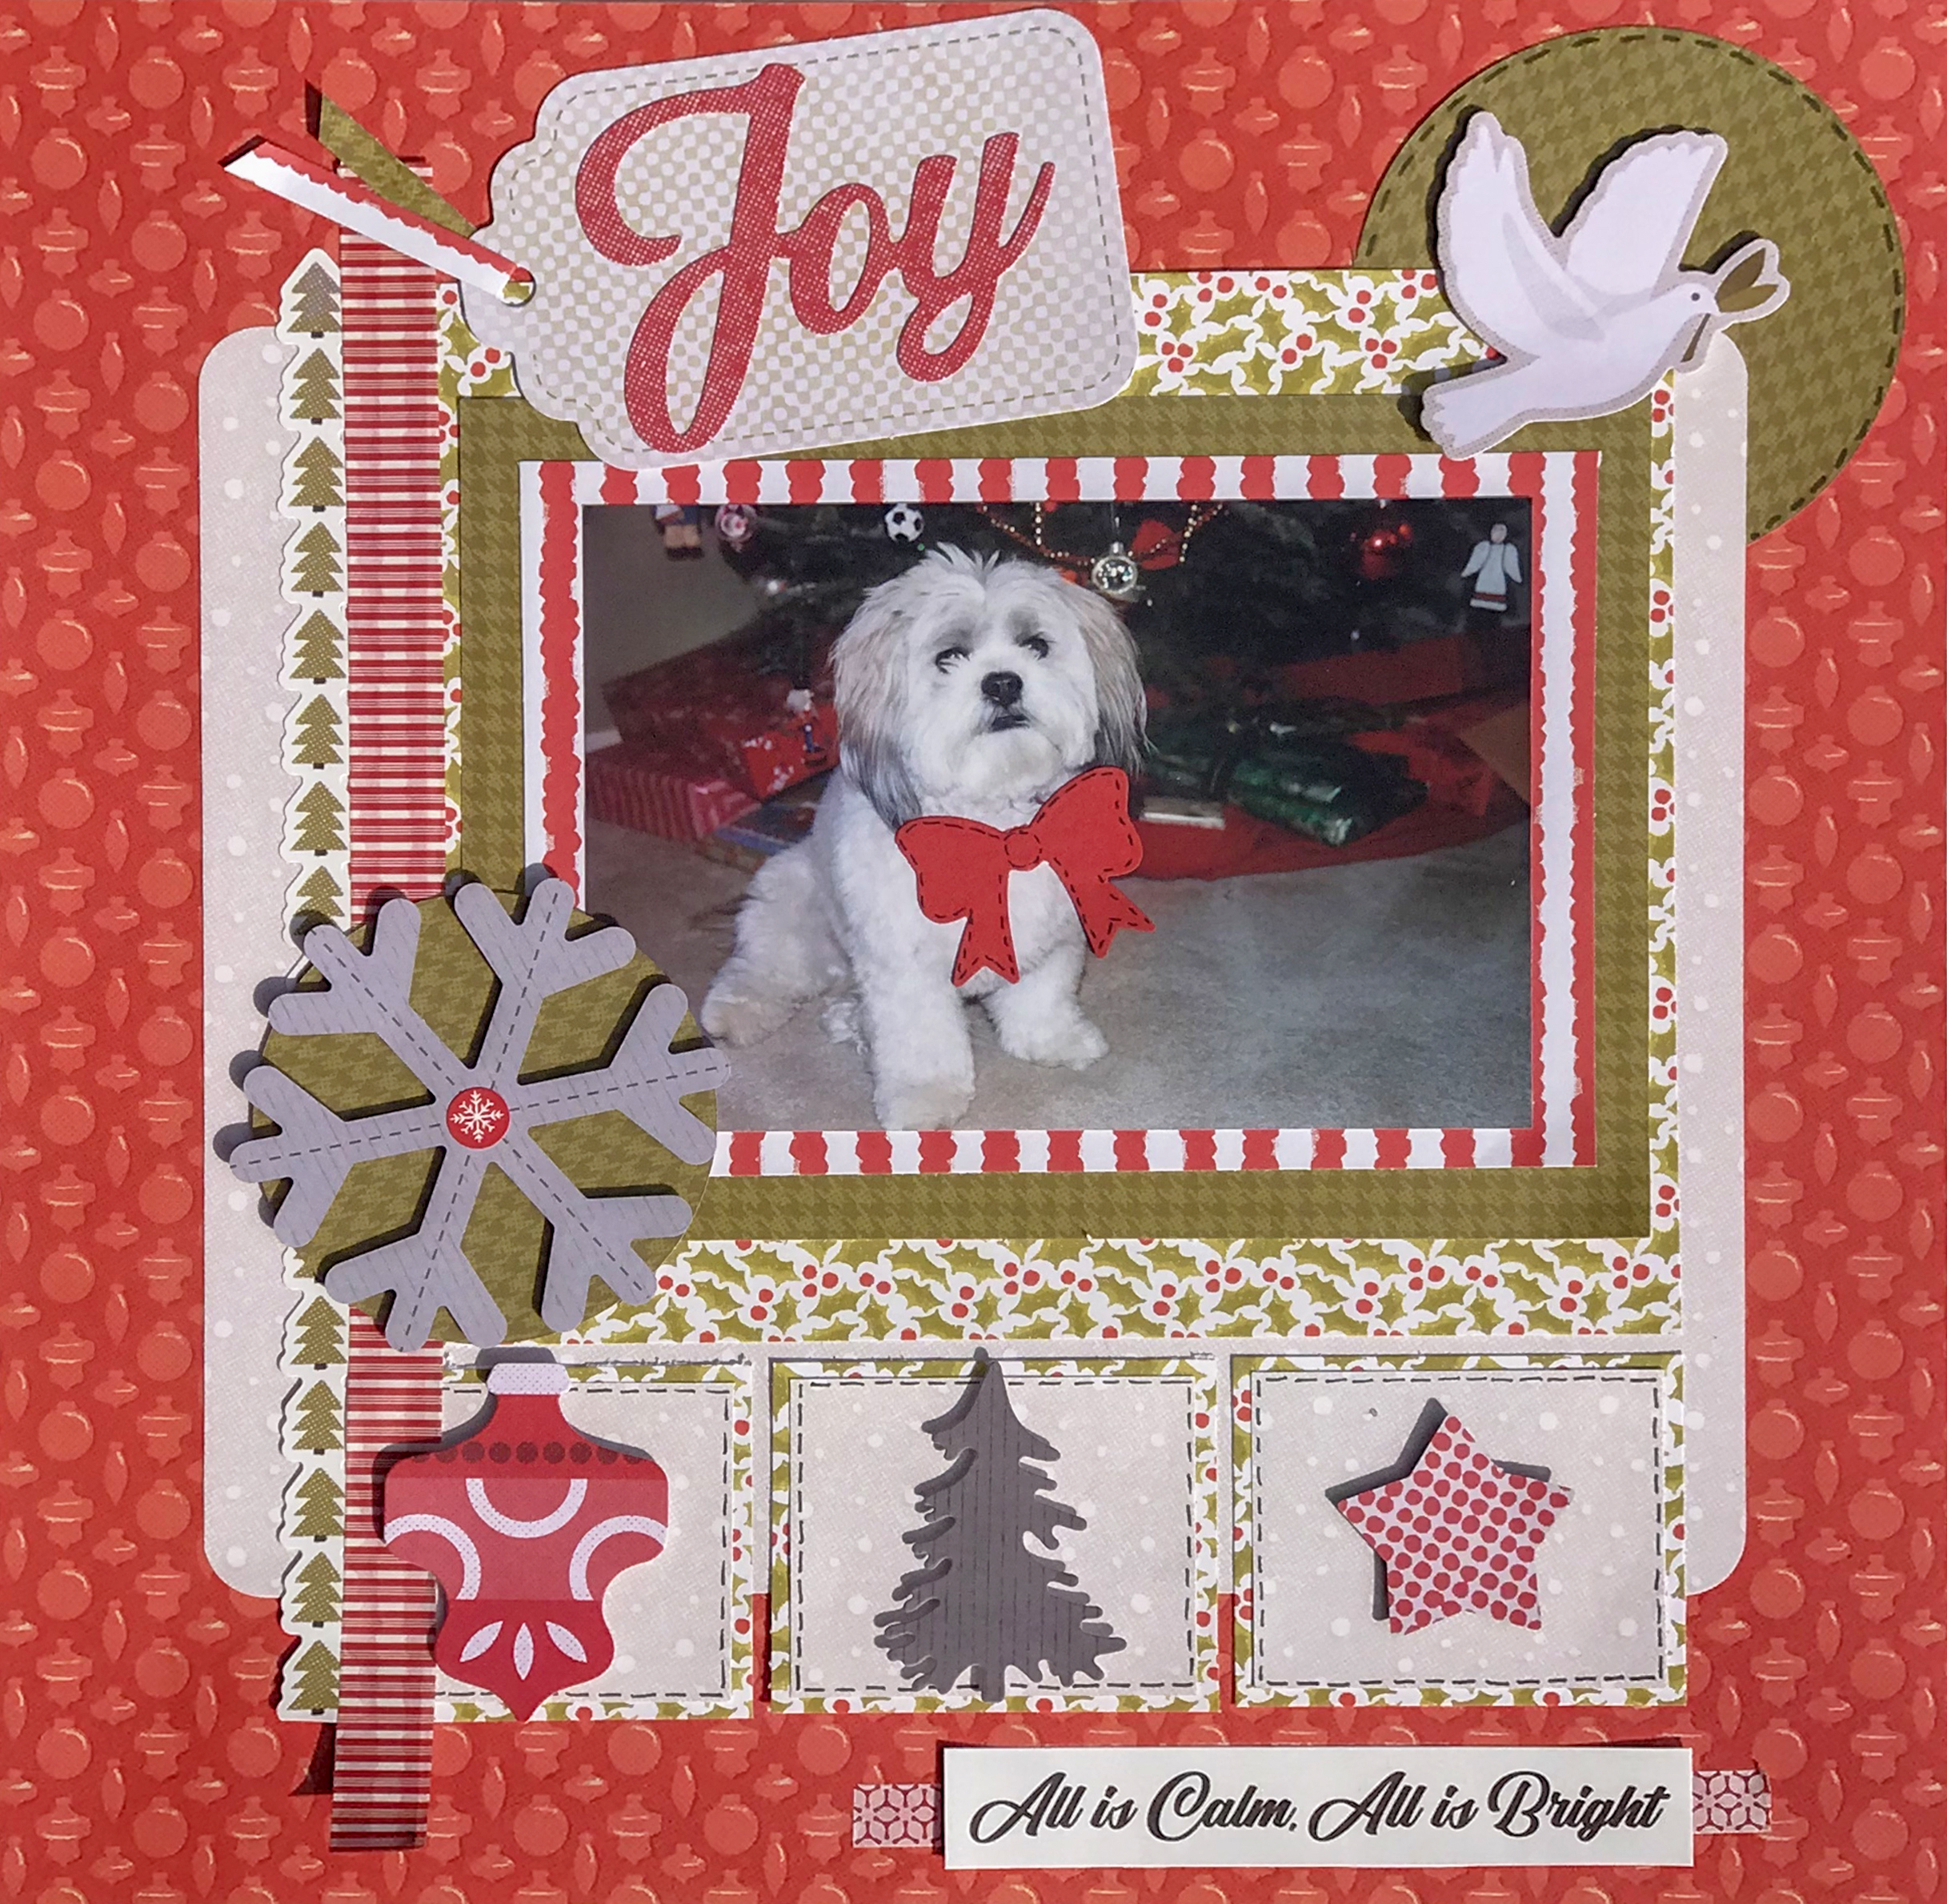
In terms of holidays, none evokes as much nostalgia as Christmas. Everyone remembers how they spent the holiday growing up — they’re usually some of our fondest childhood memories. How you feel about Christmas may change a bit as you grow up (especially when you start buying the presents rather than receiving them), but the “true meaning” of Christmas is still there inside you. Today, let’s create a throwback holiday scrapbook layout that brings back the classic look that makes you reminiscent of Christmas past with this layout created by blog contributor Wendy!

Pictured above is the scrapbook sketch that Wendy used to create her layout. See the original sketch from Virtual Crop here!
To create this Christmas layout, you will need:
- Season’s Greetings Paper Pack
- Season’s Greetings Stickers
- Season’s Greetings Embellishments
- Red Cardstock
- Red & White Washi Tape
- Embossed Bow Punch
- 2-Way Corner Rounder
- 12-inch Straight Trimmer
- All-Purpose Scissors
- Tape Runner with Repositionable Tape Runner Refill
- Foam Squares
- Black Dual-Tip Pen
Wendy’s Inspiration:
I love getting ready for the Christmas season! Finding the perfect tree, shopping for gifts, making Christmas cookies and having family gather is such a special time of the year! For this layout, I captured my dog, Maggie, who was a faithful friend for 13 years! We have so many memories of her finding her presents under the tree and shredding the wrappings into tiny pieces! This Season’s Greetings Collection was so much fun to use to keep her memory alive! I look forward to our 2018 Christmas memories using this beautiful collection!

Step 1: Choose four sheets of designer paper. One will be used for the base.
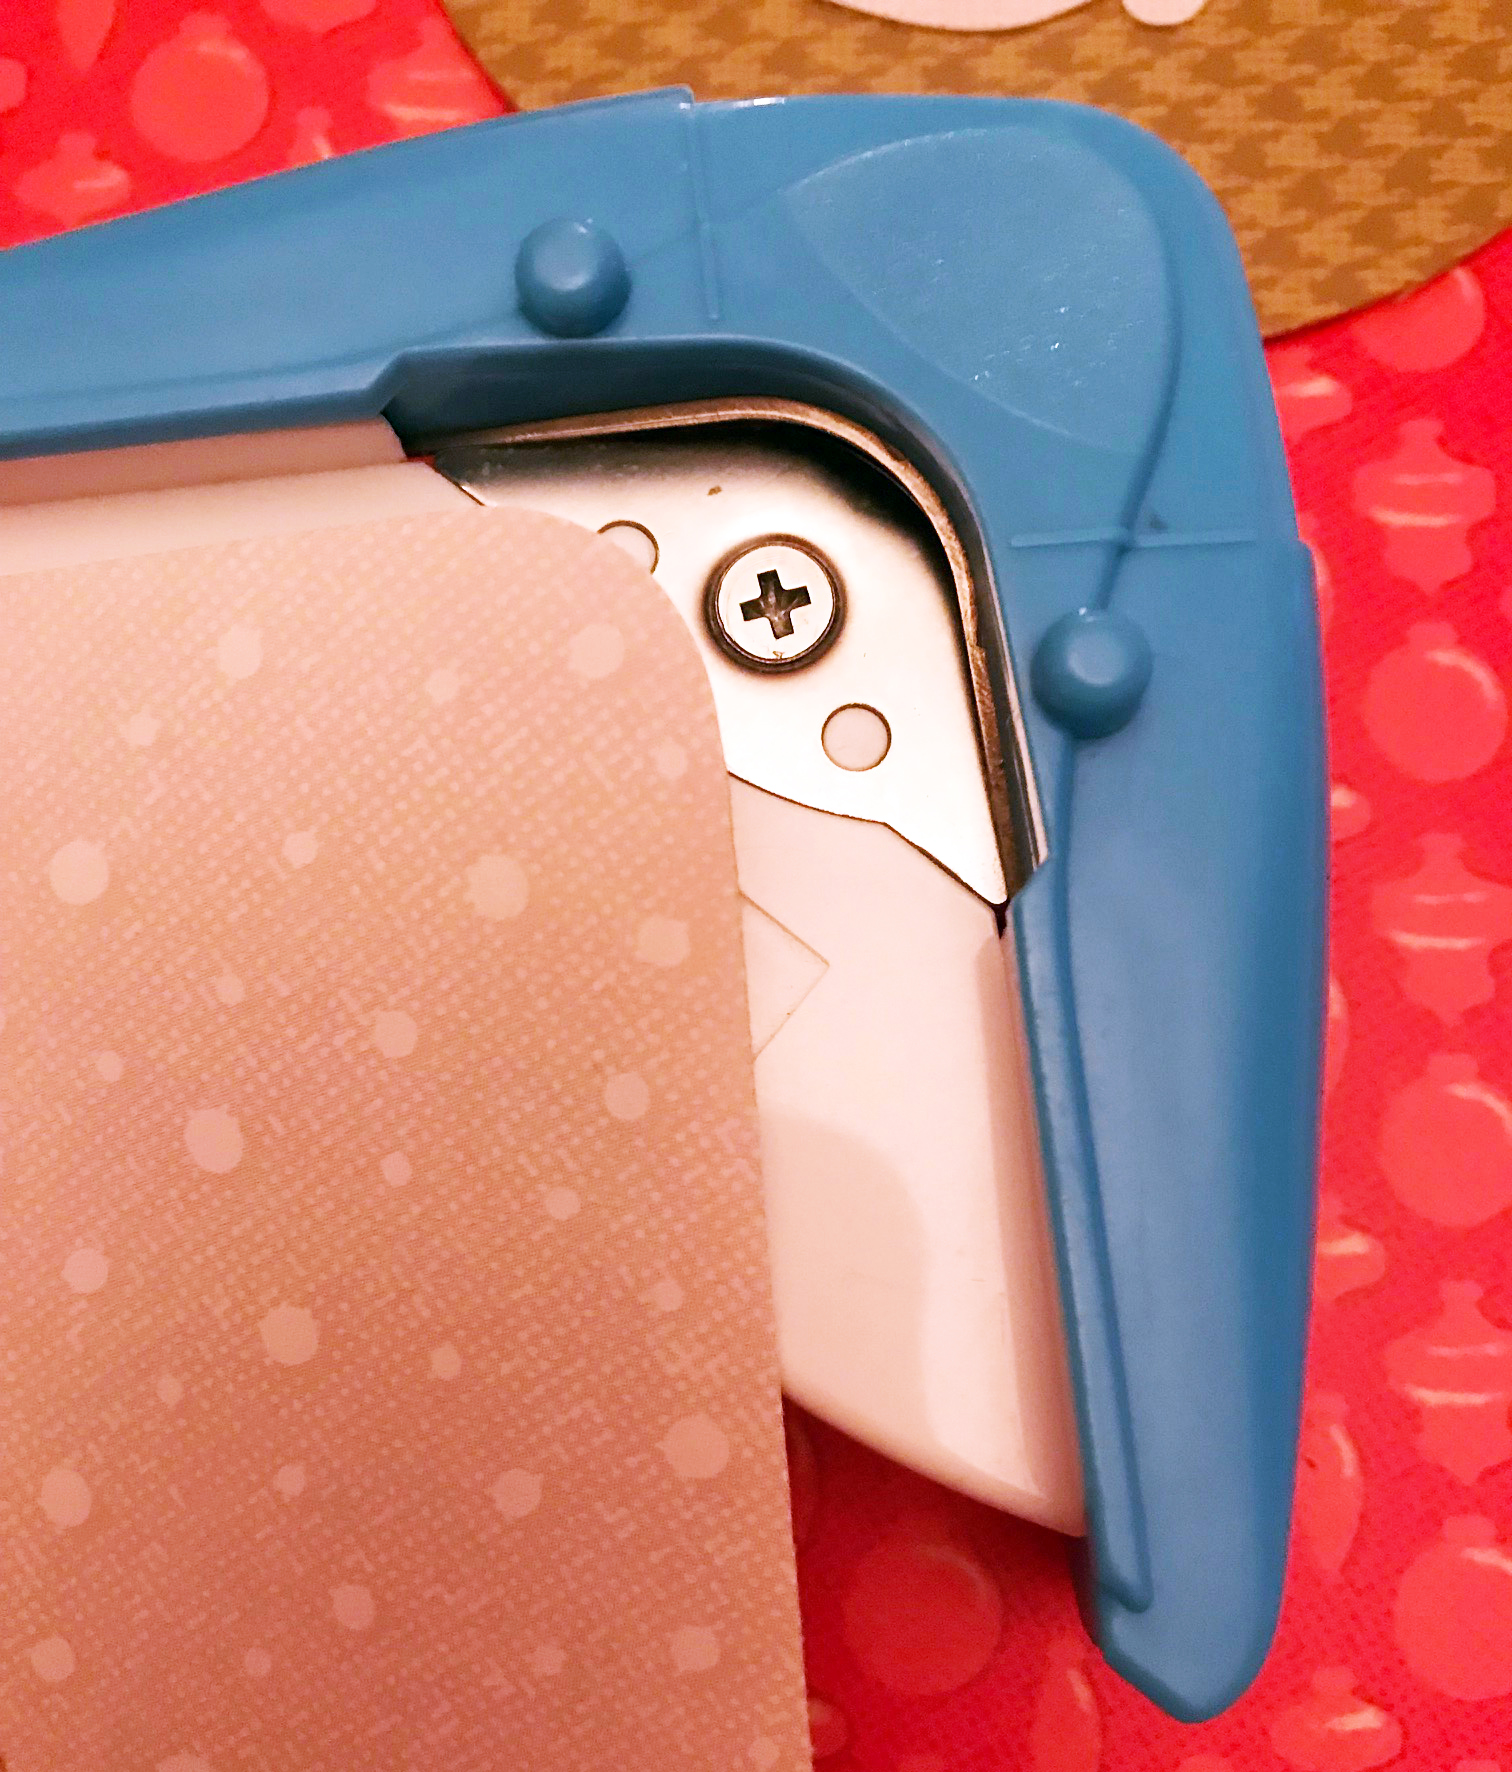
Step 2: Cut a piece of neutral patterned paper to measure 9-1/2″ x 8″. Then, round the corners with the 2-Way Corner Rounder. Adhere to the base as shown. Adhere to red Note: You will need to slide the circle under the top right later.
Step 3: Cut a piece of holly patterned paper to measure 9″ x 8″. Use the leftover scraps to cut two pieces to measure 2-3/4″ x 2-3/4″ and one piece to measure 2-1/2″ x 2-1/4″. Adhere to the layout as shown.
Step 4: Cut three pieces of the neutral piece of paper to measure 2-1/2″ x 2″. Attach to holly rectangles as shown.

Step 5: Use the green patterned paper to cut two circles with the largest Custom Cutting System Circle Pattern. Cut one with the Red Blade and the other with the Blue Blade. The larger one will go on the top right and you can lift the snowy paper up to place green circle.
Step 6: Cut a piece of green patterned paper to measure 7-1/4″ x 5-1/4″ to be the bottom part of the double mat. Then, cut the reverse side (red and white stripes) to measure 6-1/2″ x 4-1/2″ for the second part of the mat. Adhere to the layout as shown.


Step 7: Cut out one or more bows with the Embossed Bow Punch with Red Cardstock. Add stitching with a Black Dual-Tip Pen to the bows, rectangles and large circle.

Step 8: Finish the layout by adding embellishments with Foam Squares as desired. For extra fun, add some Washi Tape!
This classic Christmas scrapbook layout is a great way to show your holiday photos from the past and the present in a fun way. It mixes traditional with modern techniques to make something truly unique. What is your favorite part about this throwback Christmas scrapbook layout? Let us know in the comments below!

[…] […]
[…] Curious how to make the Season’s Greetings layout above? Get the details here! […]
I love this idea. I will sometimes add photos from the past to current layouts. This would make a great gift! Thanks for the ideas.