March 25, 2019
Get Out and See the World with this Fun Outdoor Scrapbook Layout
There is so much to do in the outdoors. Sometimes, we all get so caught up in our day-to-day lives and the things that happen on a screen that we forget about the outside world that we have available to us. However, the introduction of the Explorer collection serves as a great reminder as to all the things you can do and all the adventures you can have outside! Once you have the photos from these adventures, check out this outdoor scrapbook layout and create it for yourself using your own memories!
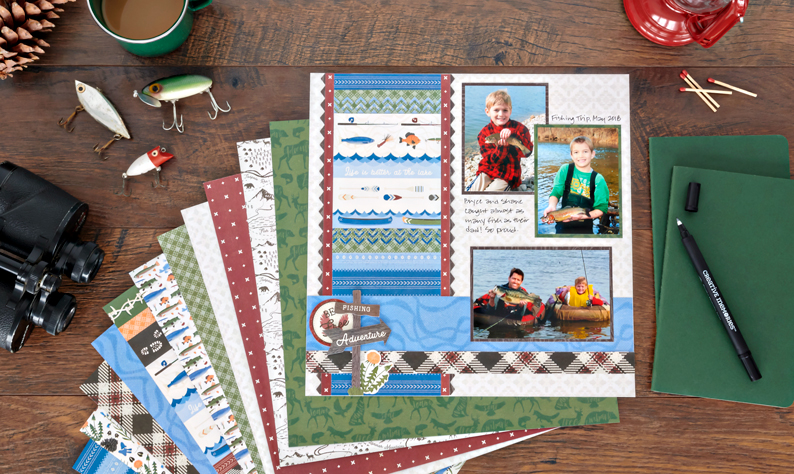
To create this layout, you will need:
- Explorer Paper Pack
- Explorer Stickers
- Original Border Maker System with Picket Fence and Double Chevron Border Maker Cartridges
- 12-inch Trimmer
- Tape Runner
- Repositionable Tape Runner Refill
- Foam Squares
- Black Dual-Tip Pen
Shop products by clicking your country’s icon below:


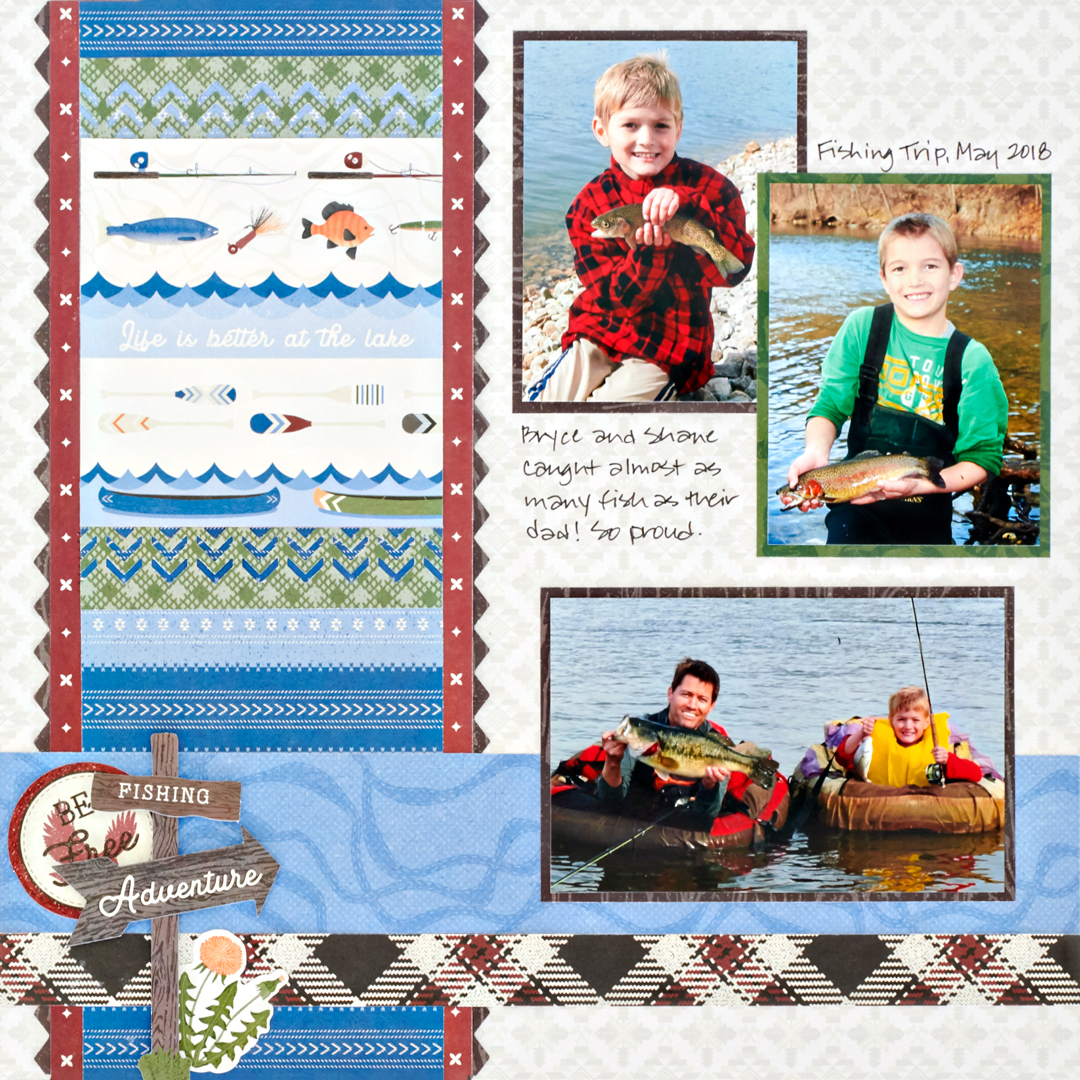
Step 1: Use the cream patterned paper as the base for this layout.
Step 2: Cut a 5-1/4″ x 12″ strip of brown wood patterned paper. Using the Picket Fence Border Maker Cartridge, punch both of the long sides. Adhere it to the base about 1/2″ in from the left edge.
 Step 3: Cut a 4-3/4″ x 12″ strip of red patterned paper and adhere on top of the brown piece so just the points peek from behind. Then, cut a 4″ x 12″ strip of blue striped patterned paper and adhere on top of the red piece.
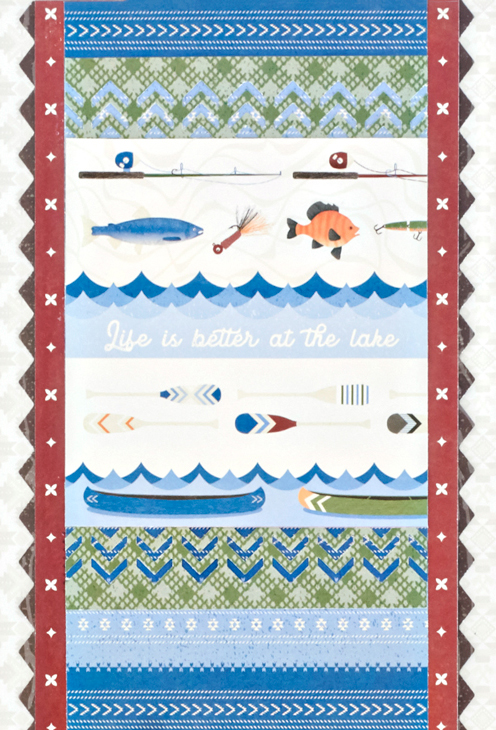
Step 4: Trim out a 4″ x 4-1/4″ piece of varied border patterned paper that includes the fishing poles, lures, water, paddles and canoes. Adhere to the blue striped piece, about 1-1/2″ down from the top edge. Then, using the Double Chevron Border Maker Cartridge, punch a border with green plaid patterned paper. Trim out two 4″ x 1″ pieces and add to the top and bottom of the varied border piece, as shown.
Step 5: Cut a 3/4″ x 12″ strip of brown plaid patterned paper and adhere it to the bottom of the layout, about 1″ up from the edge. Add a 2″ x 12″ strip of blue patterned paper above it.
Step 6: Crop two photos to measure 3″ x 4″ and one photo to measure 5″ x 3-1/2″. Mat the photos with brown and green patterned papers.


Step 7: Adhere the rustic sign and “Fishing” and “Adventure” stickers with Foam Squares to the layout as shown, tucking the “Be Free” and dandelion stickers in behind. Journal as desired.
No matter how many different outdoor adventures you go on, you know that the Explorer collection has everything you need to bring your outdoor scrapbook layouts to life. What types of outdoor adventures do you like to make layouts for? Let us know in the comments below!

Wonderful layout. I really like the signpost. I’m not an outdoor girl. But I’m hoping to go to Garden of the Gods this summer. Maybe this would be a good collection to use.
I love your layouts- they make me feel that I could actually do layouts like this. So nice of you to share and I am happy to copy your ideas.
Thank you so much.
Thanks
Spending so much time at the lake with my family and friends, THIS is just the collection for us! Very excited to create an album of all our outdoor adventures! The color pallet and textures are trendy and versatile, opening the door for so many options. JUST LOVE IT!!
[…] Want to learn how to make this layout? Get instructions here! […]