November 13, 2019
Spread Christmas Cheer with this Christmas Scrapbook Spread

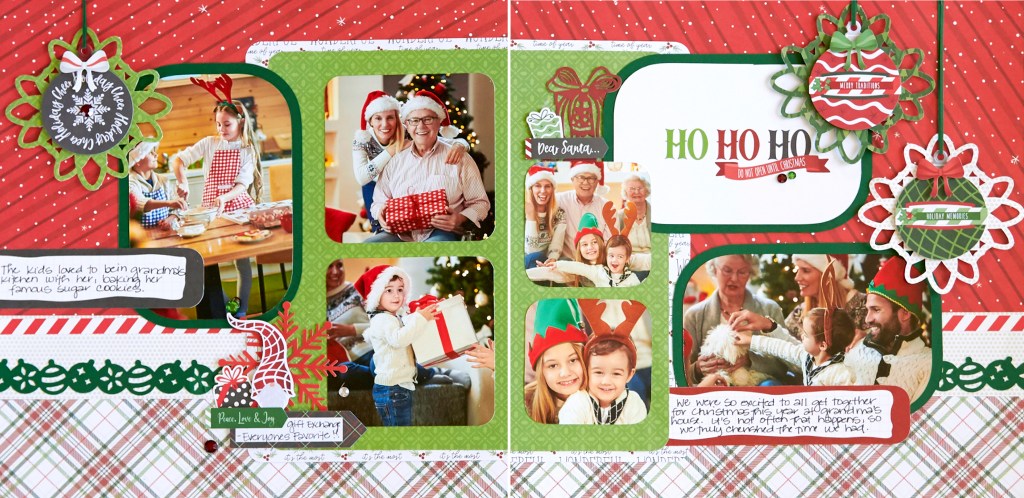
It’s beginning to look a lot like Christmas! As the season draws nearer, now’s the time to start preparing your Christmas scrapbook layouts so you can fill them with festive photos once the hustle and bustle subsides. Check out this Christmas spread for some ideas and inspiration on how you can bring the spirit of the season to your pages this year!
To create this layout, you will need:
- Merry Little Christmas Paper Pack or (Shop Canada | Shop Australia)
- Festive Plaid Paper Pack or (Shop Canada | Shop Australia)
- Merry Little Christmas Stickers or (Shop Canada | Shop Australia)
- Merry Little Christmas Embellishments or (Shop Canada | Shop Australia)
- Merry Little Christmas Laser Cut Embellishments or (Shop Canada | Shop Australia)
- Dark Green Cardstock or (Shop Canada | Shop Australia)
- Petal Frame Punch or (Shop Canada | Shop Australia)
- 2-Way Corner Rounder or (Shop Canada | Shop Australia)
- Original Border Maker System with Ornament Chain Border Maker Cartridge or (Shop Canada | Shop Australia)
- Custom Cutting System with Rectangle Patterns or (Shop Canada | Shop Australia)
- 12-inch Trimmer or (Shop Canada | Shop Australia)
- Tape Runner or (Shop Canada | Shop Australia)
- Repositionable Tape Runner Refill or (Shop Canada | Shop Australia)
- Foam Squares or (Shop Canada | Shop Australia)
- Black Dual-Tip Pen or (Shop Canada | Shop Australia)
Step 1: Use the red patterned paper for the base of the spread.
Step 2: Cut two pieces of plaid patterned paper to measure 12″ x 2-1/2″ and adhere them to the bottom edge of both sides of the spread.
Step 3: Cut two pieces from the beige dot patterned paper to measure 12″ x 2″ and adhere them just above the plaid patterned pieces on both sides of the spread.
Step 4: Using the Ornament Chain Border Maker Cartridge, punch two borders from the Dark Green Cardstock. Adhere them to the bottom edge of the beige dot patterned pieces using Repositionable adhesive. (Note: Save the tiny strips that remain for hanging the ornaments in Step 11.)
Step 5: Cut a piece of white patterned paper to measure 4-1/4″ x 9-3/4″. Round the corners of the paper on the right side with the 2-Way Corner Rounder and adhere it to the far left edge of the layout.
Step 6: Cut a piece of white patterned paper to measure 6-1/4″ x 9-3/4″. Round the corners of the left side of the paper with the 2-Way Corner Rounder and adhere it to the far right side of the layout.
Step 7: Cut a piece of green patterned paper to measure 3-3/4″ x 9-1/2″ and adhere it on top of the white patterned paper on the right side of the spread.
Step 8: Cut a piece from the green patterned paper to measure 5-3/4″ x 9-1/2″ and adhere it on top of the white patterned paper on the left side of the spread.
Step 9: Using the outside of the small Custom Cutting System Rectangle Pattern and the Blue Blade, cut three mats from Dark Green Cardstock.
Step 10: Cut a mat and two photos (one vertical and one horizontal) using the outside of the small Custom Cutting System Rectangle Pattern and the Red Blade. Adhere them to the Dark Green Cardstock mats.
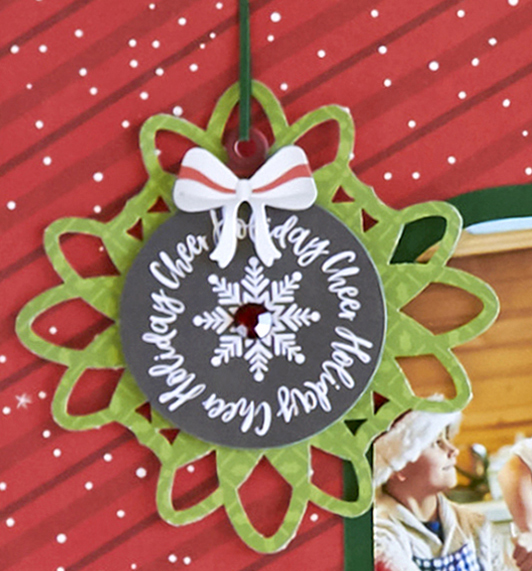

Step 11: Cut three pieces from varied patterned papers to measure 4″ x 4″. Using the Petal Frame Punch, punch along the edges. Mat the ornament embellishments on the Petal Frame Punch pieces and adhere them to the spread using Foam Squares.
Step 12: Cut photos to measure: (2) 3″ x 3″, (2) 4″ x 4″. Adhere photos to the spread, as shown.
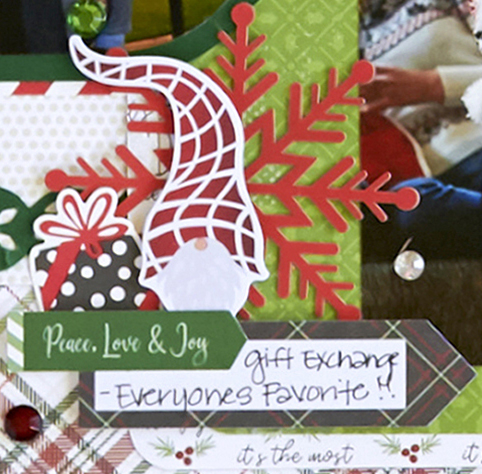
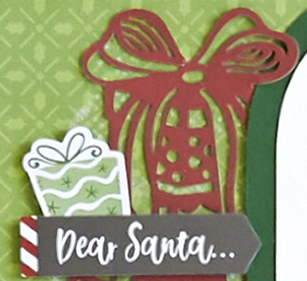
Step 13: Adhere stickers and embellishments to the spread. Adhere some with Foam Squares for added dimension. Journal as desired.
One of the best ways to spread Christmas cheer is with this Christmas scrapbook spread — funny how the wordplay works out like that! What types of photos will you fill this layout with? Let us know in the comments below!

Too bad we can’t get the tools and embellishments
Hey Leslie! We understand your frustration. If it helps, the Merry Little Christmas Embellishments will be back in stock in late December! We’ve also placed a re-order for the Ornament Chain BMC, and we are hoping that will arrive soon! If you’d like a substitution for that BMC, we’ve seen people create this layout with the Crystal Chain BMC!
Another gorgeous Melissa layout!! I enjoyed learning from you at the MD Mega Crop.
What size to you cut the ornament paper? What size blade to use to cut the circles?
Hi Susan – The ornaments in this layout are actually embellishments, but that is a great idea to use the Custom Cutting System to make your own!
Definitely going in the “to make” pile. I have Christmas 2014 photos arriving shortly so this will be perfect timing! Thanks!
Just finished this layout – love it! There’s a quick video on how to cut the petal ornament frames on the You Tube channel for CM.