February 6, 2020
Spread the Love with these DIY Valentine’s Day Photo Projects
What are your Valentine’s Day traditions? Do you love spending the day doing special things with your significant other? Maybe you use it as an opportunity to pamper yourself at the spa or with a massage. Or do you take the time to give all your affection to your kids or grandkids, doing something fun for the holiday? No matter what you do that day, blog contributor Krislyn Mattei has some fun DIY Valentine’s Day photo projects for you to try. Take a look!
Krislyn’s Inspiration
My family has always tried to make time to do something special on Valentine’s Day. Back when our daughter was growing up, the day usually involved a fun Valentine’s craft project, a special “romantic” dinner with candles and something decadent for dessert (chocolate, chocolate, chocolate).
Even though my little girl is all grown up, I still get the itch to be crafty for Valentine’s Day to show my sweeties how much I love them. Here are some ideas I came up with this year with the adorable Sweetheart Theme Pack.
To create these projects you’ll need:
- Sweetheart Theme Pack or (Shop Canada | Shop Australia)
- Double Heart Punch or (Shop Canada | Shop Australia)
- 3-in-1 Scallop Tag Punch or (Shop Canada | Shop Australia)
- Original Border Maker System with Heart Duet Border Maker Cartridge or (Shop Canada | Shop Australia)
- 12-inch Trimmer with Straight, Deckle, Scoring and Perforating Blades or (Shop Canada | Shop Australia)
- All-Purpose Scissors or (Shop Canada | Shop Australia)
- 2-Way Corner Rounder or (Shop Canada | Shop Australia)
- Repositionable Tape Runner or (Shop Canada | Shop Australia)
- Precision Point Adhesive Pen or (Shop Canada | Shop Australia)
- 8×8 wooden frame, wooden placecard holder hearts, Mod Podge, foam brush, twine, pencil, sandpaper
- Black and white photos
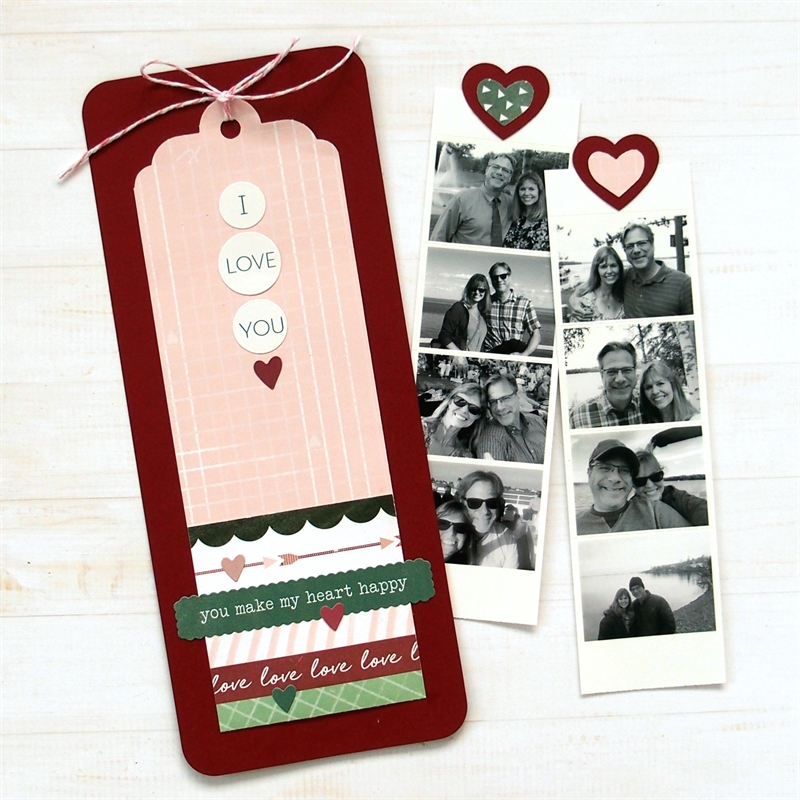
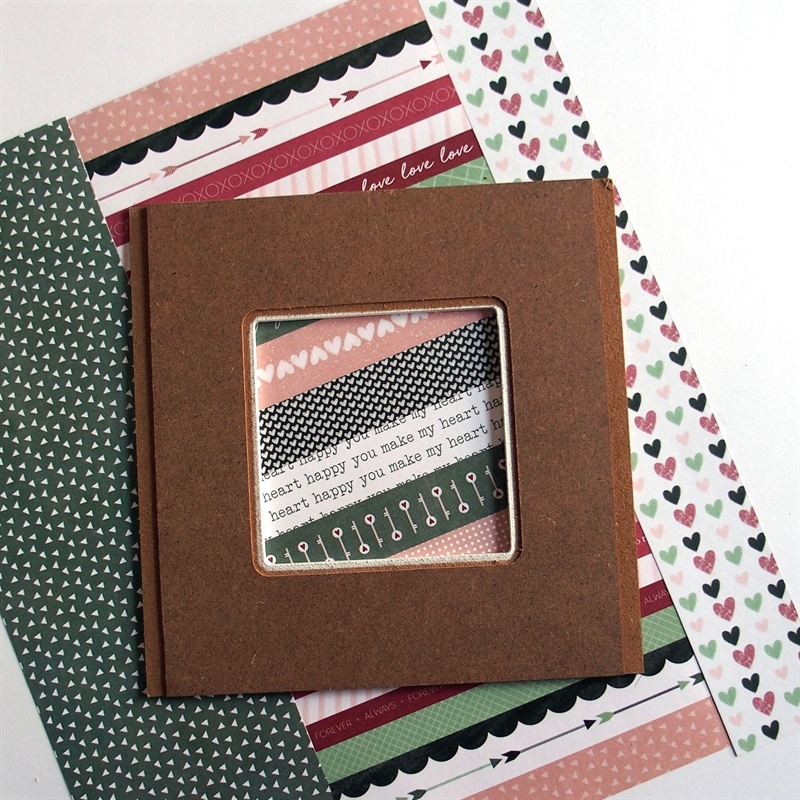
Photo Strip Sweetheart Card

Step 1: Cut a 3-1/2″ x 8-1/2″ piece of Crimson Cardstock for the base. Round the corners with the 2-Way Corner Rounder.
Step 2: Cut a 2-1/2″ x 10-1/8″ strip of pink designer paper. Punch the top with the 3-in-1 Scallop Tag Punch. Loop a piece of twine through the hole on the top and score the paper 2-1/2″ from the bottom. Apply a line of Precision Point Adhesive along the sides, fold up and adhere, creating a pocket. Mount it on the base piece.
Step 3: Add stickers as desired. Journal on the tag, above the pocket.
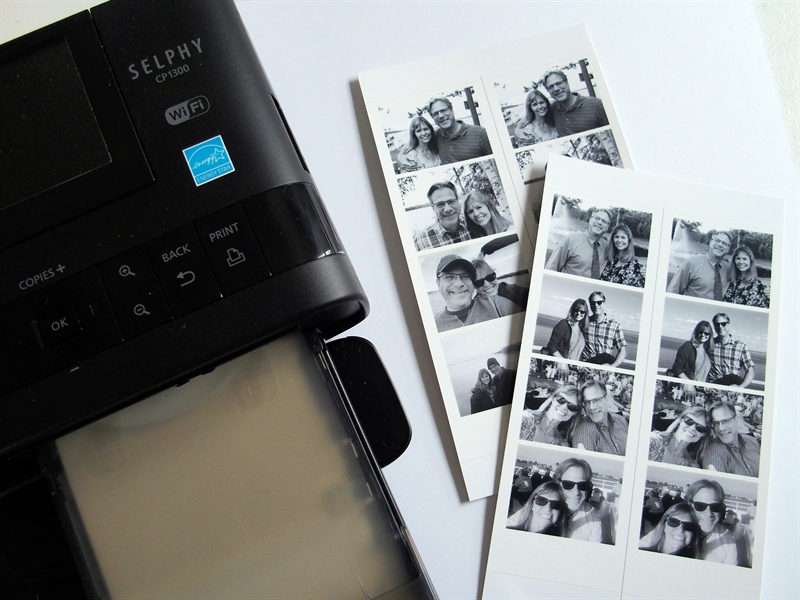
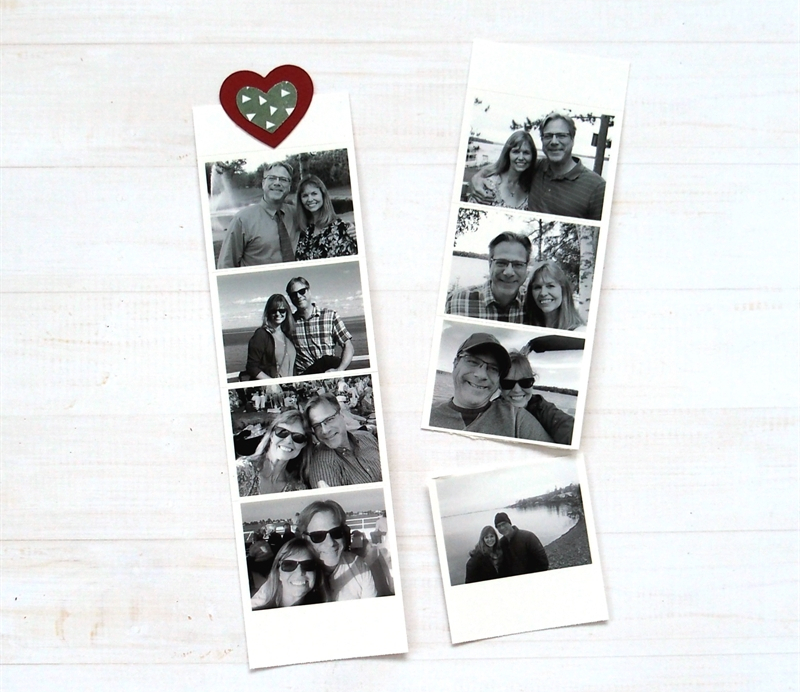
Step 4: Print photos in a “photo booth” style and crop the strips to 1-3/4″ x 6-1/2″. I used my Selphy printer to print these and left the top and bottom perforated “tabs” on them. Using the 12-inch Trimmer Perforating Blade, perforate between each photo. Adhere punched hearts on top and tuck the photos into the pocket.
Sweetheart Photo Holder
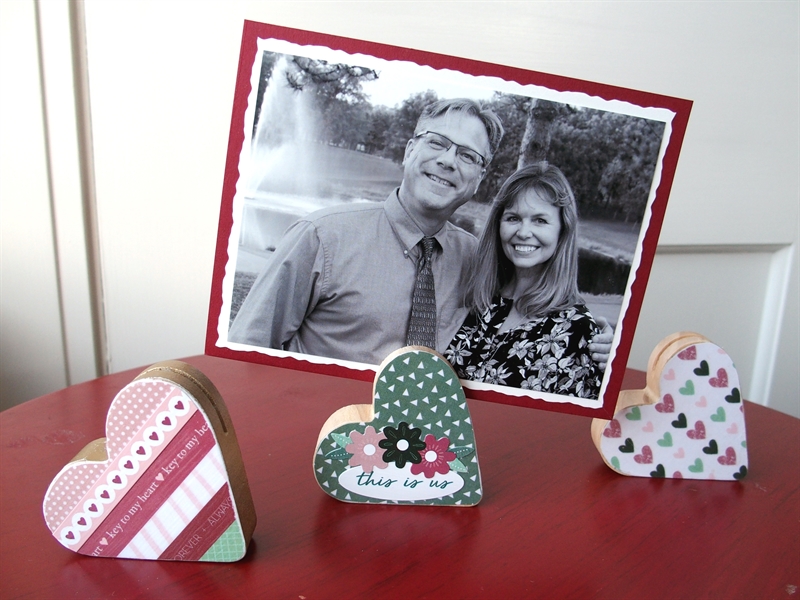
Step 1: Trace a wooden heart shape on designer paper and cut it out. The ones I used are 2-1/2″. Sand the edges as necessary.

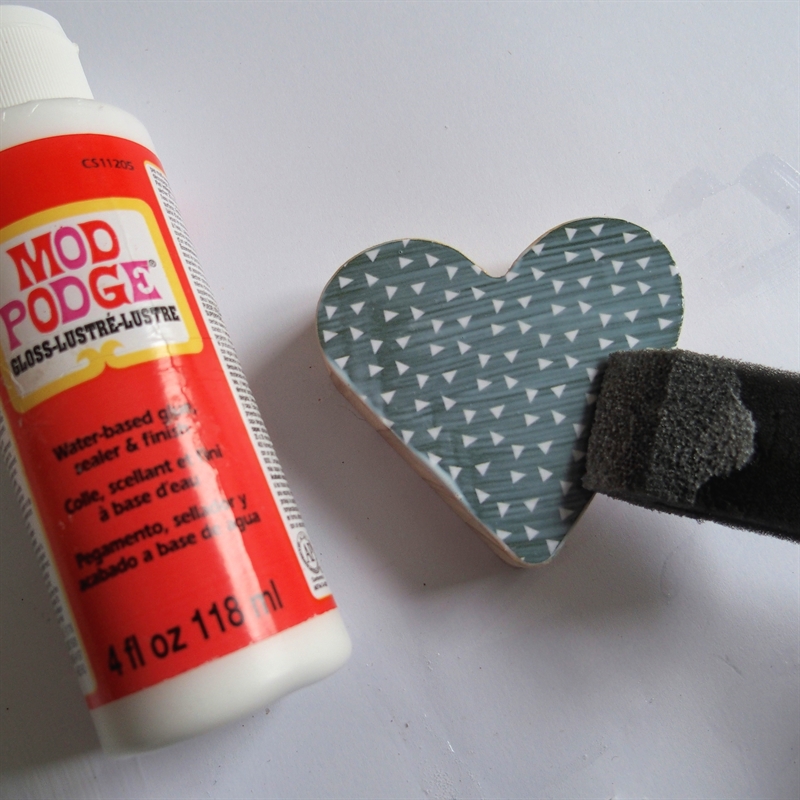
Step 2: Apply a thin layer of Mod Podge to both the wooden heart and paper heart and adhere them together. Allow this to dry. Add stickers as desired. Apply a coat of Mod Podge over the top and allow it to dry.
Step 3: Mat photo as desired and place it in the holder.
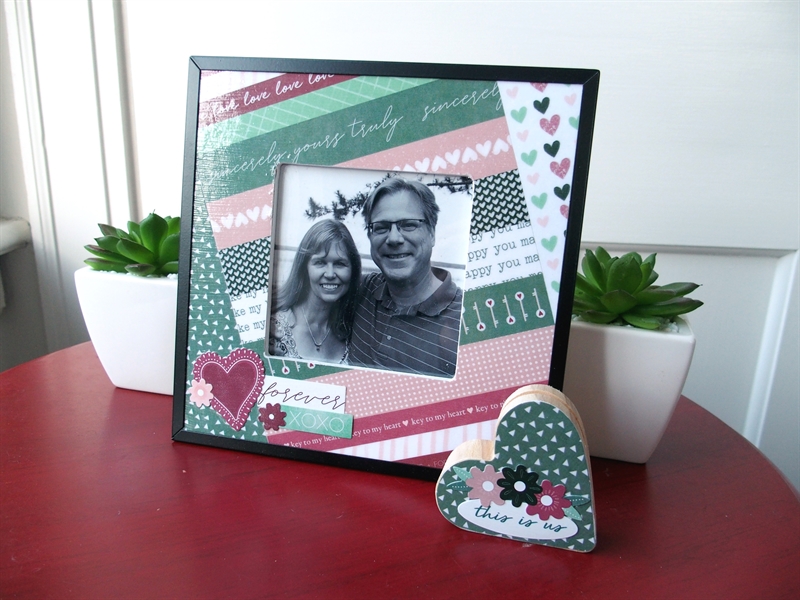
Sweetheart Photo Frame

Step 1: Arrange pieces of designer paper on the table. Place a wooden frame on top and trace it. The one I used is 7″ x 7″ with a 3-1/2″ opening. Trim it to fit and use sandpaper to smooth the edges as needed.

Step 2: Apply a thin layer of Mod Podge to both the frame and the paper pieces. Adhere the pieces to top of the frame and allow them to dry. Apply stickers as desired and a coat of Mod Podge to top. Allow to dry.
Step 3: Crop a photo to fit the opening and slide it into place.
No matter how you spend Valentine’s Day or who you spend it with, anyone would appreciate receiving one of these DIY Valentine’s Day photo projects. What’s a Valentine’s Day memory that sticks out in your mind? Let me know in the comments below!


The photo strip card is a great idea. Thanks
Love these ideas! Thank you so much for sharing!
Absolutely gorgeous!! ? your so talented. Love your ideas n videos! ?