May 26, 2020
Dream of Darling Designs With This Baby Scrapbook Layout

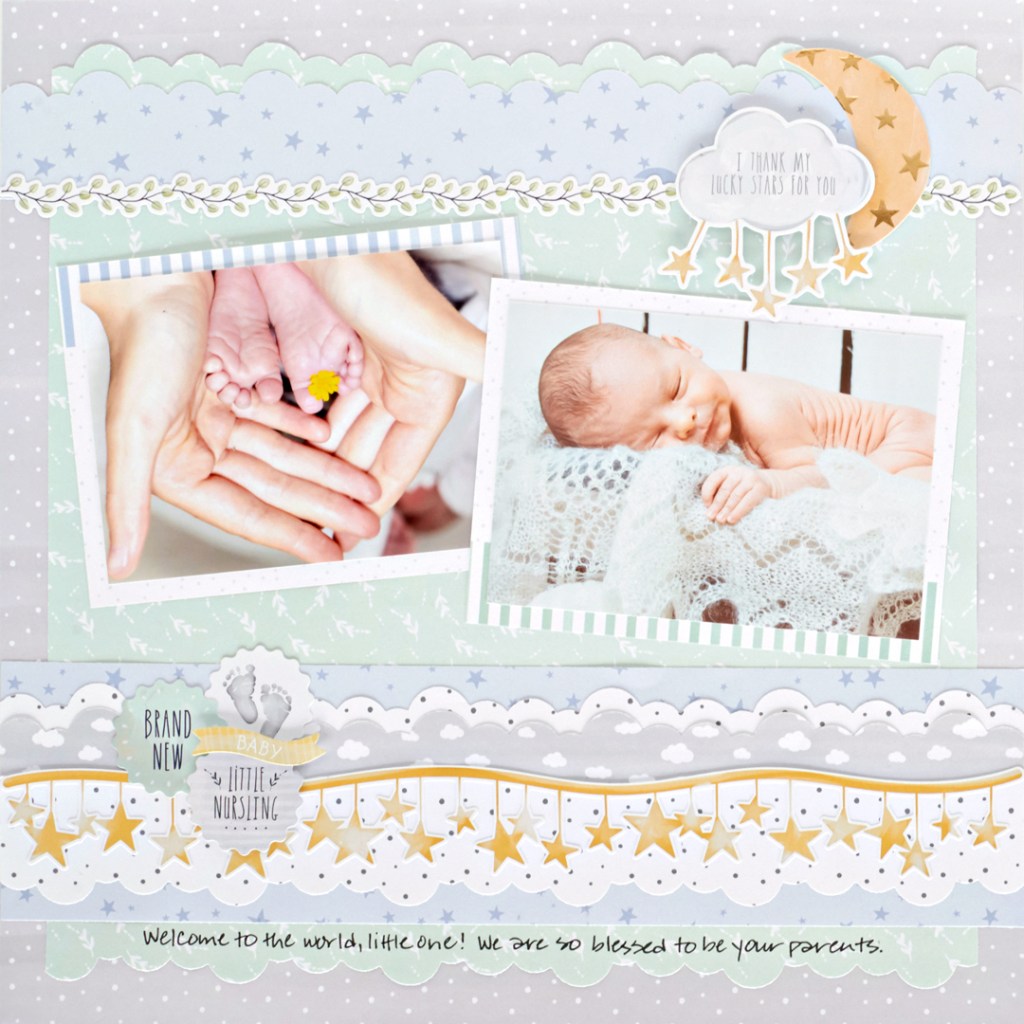
Just as the name implies, the Little Dreamer collection is positively dreamy. No matter what baby pictures you have, this collection will give them a beautiful backdrop — as if they’re straight out of a fairy tale. Check out this baby scrapbook layout and start thinking about the precious projects you’ll beget with the Little Dreamer collection!
To create this layout, you will need:
- Little Dreamer Paper Pack or (Shop Canada | Shop Australia)
- Little Dreamer Tone-on-Tone Paper Pack or (Shop Canada | Shop Australia)
- Little Dreamer Variety Mat Pack or (Shop Canada | Shop Australia)
- Little Dreamer Foiled Embellishments or (Shop Canada | Shop Australia)
- Little Dreamer Stickers or (Shop Canada | Shop Australia)
- Little Dreamer Border Stickers or (Shop Canada | Shop Australia)
- Original Border Maker System with the Clouds Border Maker Cartridge or (Shop Canada | Shop Australia)
- 12-inch Trimmer or (Shop Canada | Shop Australia)
- Tape Runner or (Shop Canada | Shop Australia)
- Repositionable Tape Runner or (Shop Canada | Shop Australia)
- Foam Squares or (Shop Canada | Shop Australia)
- Black Dual-Tip Pen or (Shop Canada | Shop Australia)
Step 1: Use a piece of gray dot tone-on-tone paper for the base.
Step 2: Trim 1/2″ from one side of a sheet of mint green designer paper. Using the Clouds Border Maker Cartridge, punch a border from the side just cut. Flip around and punch the opposite side. Trim the remaining 12″ sides to 11″ and mount on the base paper.

Step 3: Punch a piece of light blue moon and stars tone-on-tone paper using the Clouds Border Maker Cartridge. Trim to measure 12″ x 1-1/2″ and mount on the layout, 1/4″ below the top mint green cloud edge.
Step 4: Cut a 12″ x 3″ strip of light blue moon and stars tone-on-tone paper. Punch a cloud border with white dot tone-on-tone paper. Trim to measure 12″ x 2-3/4″ and punch the other side. Mount this piece on the light blue strip. Punch a cloud border with gray cloud designer paper. Trim to measure 12″ x 1″ and adhere to the white dot piece. Mount the border to the layout, 1/2″ above the lower mint green cloud edge.
Step 5: Cut two mats that measure 5-1/2″ x 4″ and mount two 5″ x 3-1/2″ photos on them. Mount on the layout as shown.
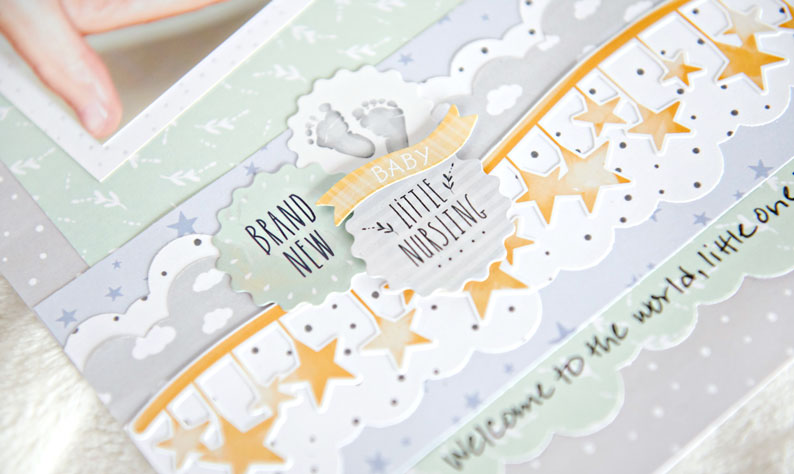
Step 6: Add border stickers. Top with foiled embellishments and stickers, popping some up with Foam Squares for added dimension. Journal as desired with a Black Dual-Tip Pen.
What adorable memories and photos will you fill with this baby scrapbook layout? Let us know in the comments below!

What a very sweet layout beautifully put together. <3
Love this layout!
[…] What an oh-so dreamy layout! Learn how to create it by reading this blog post! […]