October 29, 2020
Jingle All the Way With These Santa Scrapbook Borders
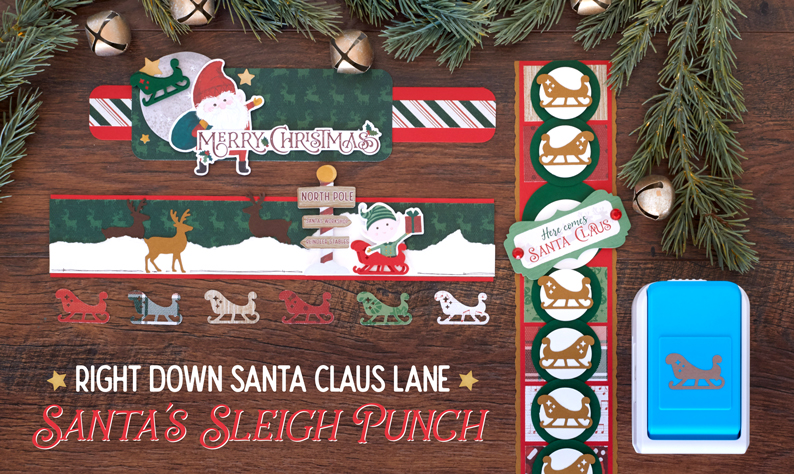
There are less than 60 days until Christmas (wow, where has the year gone?!), which means Santa is probably starting to make his final preparations and for the upcoming yuletide season. Zooming around the world in one night is no easy task, so the least we can do is make some crafts to show our appreciation. Take a pause for Mr. Claus and let’s unwrap some creative magic with these Santa scrapbook borders!
To create these borders, you will need:
- Christmas Spirit Paper Pack or (Shop Canada | Shop Australia)
- Christmas Spirit Embellishments — Returning December
- Christmas Spirit Stickers or (Shop Canada | Shop Australia)
- Bronze Shimmer, Dark Green, Rich Brown, Scarlet & White Solid Cardstocks or (Shop Canada | Shop Australia)
- Reindeer Punch or (Shop Canada | Shop Australia)
- Santa’s Sleigh Punch or (Shop Canada | Shop Australia)
- Custom Cutting System with the Circle Patterns or (Shop Canada | Shop Australia)
- 12-inch Trimmer with Straight & Deckle Blades or (Shop Canada | Shop Australia)
- 2-Way Corner Rounder or (Shop Canada | Shop Australia)
- Micro-Tip Scissors or (Shop Canada | Shop Australia)
- Tape Runner or (Shop Canada | Shop Australia)
- Repositionable Tape Runner or (Shop Canada | Shop Australia)
- Foam Squares or (Shop Canada | Shop Australia)
- Brown Dual-Tip Pen or (Shop Canada | Shop Australia)
Take a peek at how to use the Santa’s Sleigh Punch in the video below!
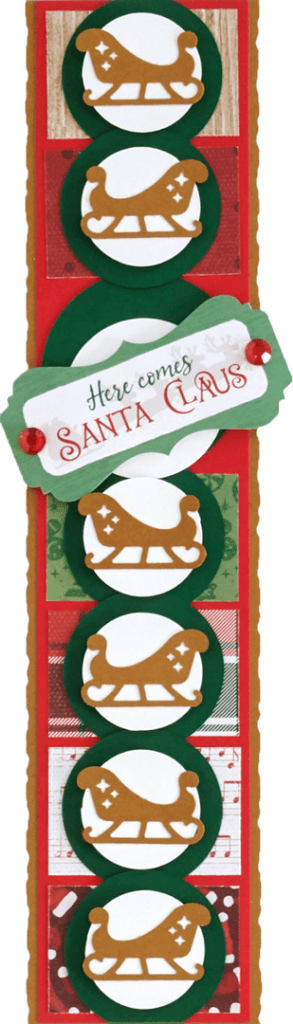
Here Comes Santa Claus Border
Step 1: Using the 12-inch Trimmer and the Deckle Blade, cut a piece from the Bronze Shimmer Solid Cardstock to measure 2-3/4″ x 12″.
Step 2: Cut a piece of Scarlet Solid Cardstock to measure 2-1/2″ x 12″. Adhere on top the bronze shimmer piece.
Step 3: Cut six various pieces of designer paper to measure 2-1/4″ x 1-1/2″. Adhere to the Scarlet Solid Cardstock.
Step 4: Using the Custom Cutting System with the medium Circle Pattern, cut six circle from inside the pattern with the Blue Blade from Dark Green Solid Cardstock.
Step 5: Using the Custom Cutting System with the medium Circle Pattern, cut one circle from inside the pattern with the Red Blade from Dark Green Solid Cardstock.
Step 6: Using the Custom Cutting System with the medium Circle Pattern, cut one circle from inside the pattern with the Blue Blade from White Solid Cardstock.
Step 7: Using the Custom Cutting System with the small Circle Pattern, cut six circles from inside the pattern with the Red Blade from White Solid Cardstock.
Step 8: Layer and adhere all circles to the border as shown.
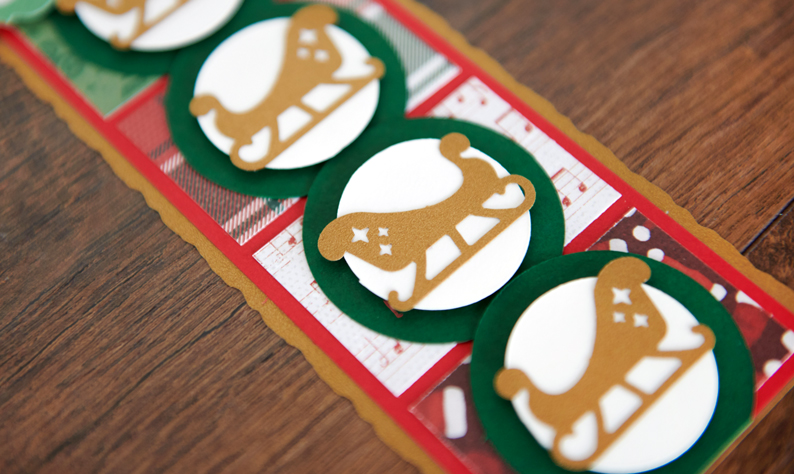
Step 9: Using Santa’s Sleigh Punch, punch six pieces from the Bronze Shimmer Solid Cardstock. Adhere to the middle of each circle.
Step 10: Adhere the sticker and gems to the larger circle as shown.
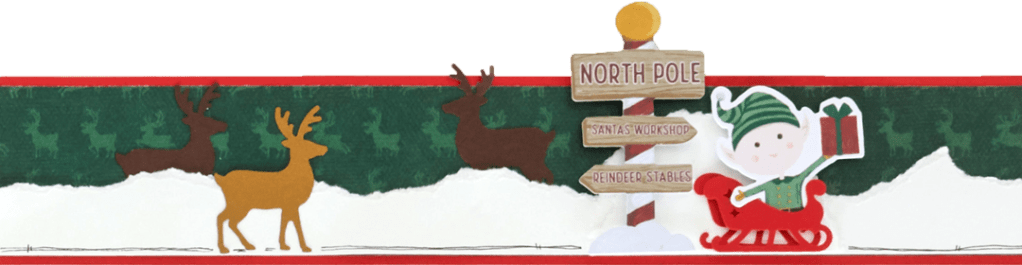
North Pole Border
Step 1: Cut a piece of Scarlet Solid Cardstock to measure 12″ x 2-1/4″.
Step 2: Cut a piece of the dark green patterned paper to measure 12″ x 2″. Adhere to the cardstock.
Step 3: Tear a piece of White Solid Cardstock to measure 12″ x approximately 1″. Adhere to the border.
Step 4: Punch two pieces using Santa’s Sleigh Punch from Scarlet Solid Cardstock. Cut the legs off the elf die cut and adhere behind one of the sleighs. Adhere one sleigh to the border, then adhere the one with the elf slightly off-set using Foam Squares so it appears the elf is in the sleigh.
Step 5: Punch three pieces from Rich Brown and Bronze Shimmer Solid Cardstocks using the Reindeer Punch. Adhere in and atop the “snow.”
Step 6: Adhere sticker title.
Step 7: Use Brown Dual-Tip Pen to doodle along the bottom edge of the “snow.”
Merry Christmas Border
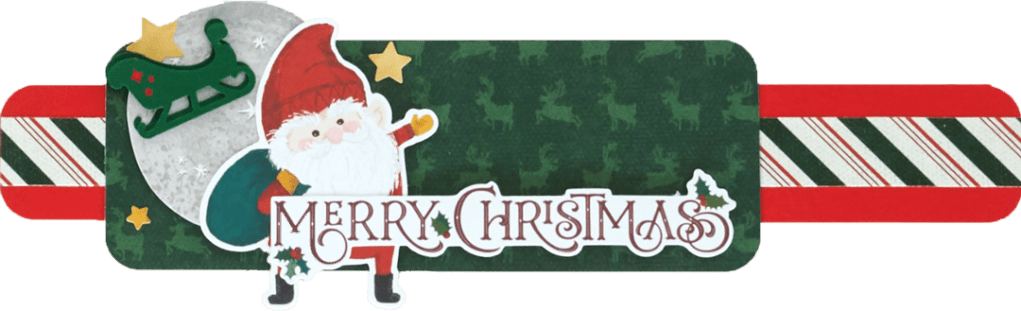
Step 1: Cut a piece of Scarlet Solid Cardstock to measure 11″ x 1-1/2″. Round the corners using the 2-Way Corner Rounder.
Step 2: Cut a piece of the candy stripe patterned paper to measure 11″ x 3/4″. Adhere to the cardstock.
Step 3: Cut a piece of dark green patterned paper to measure 7″ x 2-1/2″. Round all four corners using the 2-Way Corner Rounder. Adhere to the border.
Step 4: Punch two pieces with the Santa’s Sleigh Punch and layer the two.
Step 5: Adhere stickers and embellishments, using Foam Squares on some for added dimension.
Will you be asking Santa for the Christmas Spirit collection this year so you can create these fun Santa scrapbook borders? Tell us what’s on your wish list in the comments below!

So cute! I will have to put the sleigh punch on my Christmas list!
Chuckling at the PUN intended? with Santa ZOOMING in 2020?
[…] You can create these cutesy Christmas creations by checking out this blog post! […]
Awesome