May 27, 2021
Say Con-GRAD-ulations With These DIY Graduation Cards

Hats off to this year’s graduates! No matter if it’s preschool, high school, college or university, grad school or anything in between, this time marks as a huge accomplishment for these successful scholars and their academic achievement! And to show your grad just how proud you are, why not make them a homemade card (and maybe tuck a little token in as well)? Check out how you can ace your creativity with these DIY graduation cards!
Karyn’s Inspiration:
Sometimes cold, hard cash makes the best gift, and for graduations I believe that is typically the case. I have a nephew graduating from high school this month and will use one of these pocket cards to send him a cash gift that he can use toward his college expenses next year.
ConGRADulations! Gift Pocket Graduation Card
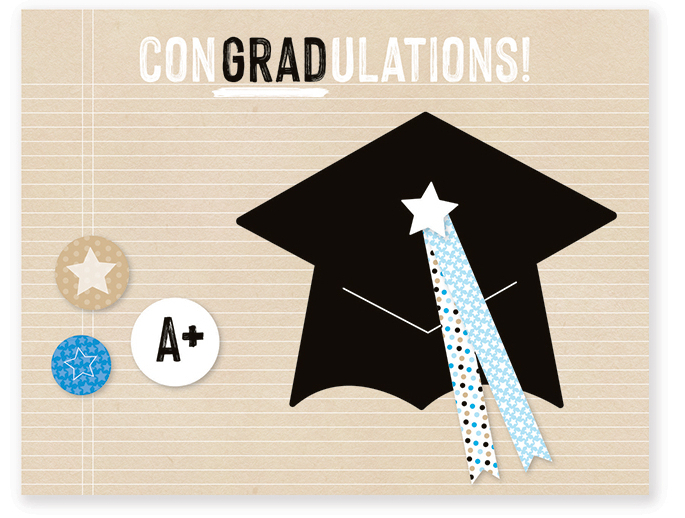

Make it easy on yourself and order the Gift Pocket Card Kit! The kit has everything you need (including instructions) to create the card above and other cards for several other occasions — weddings, anniversaries, birthdays, graduations or any other occasion worth celebrating! Plus, nine of the card bases have an inner folded pocket that holds cash or a gift card!
To create this card you will need:
- Gift Pocket Card Kit or (Shop Canada | Shop Australia)
- Tape Runner or (Shop Canada | Shop Australia)
- Foam Squares or (Shop Canada | Shop Australia)
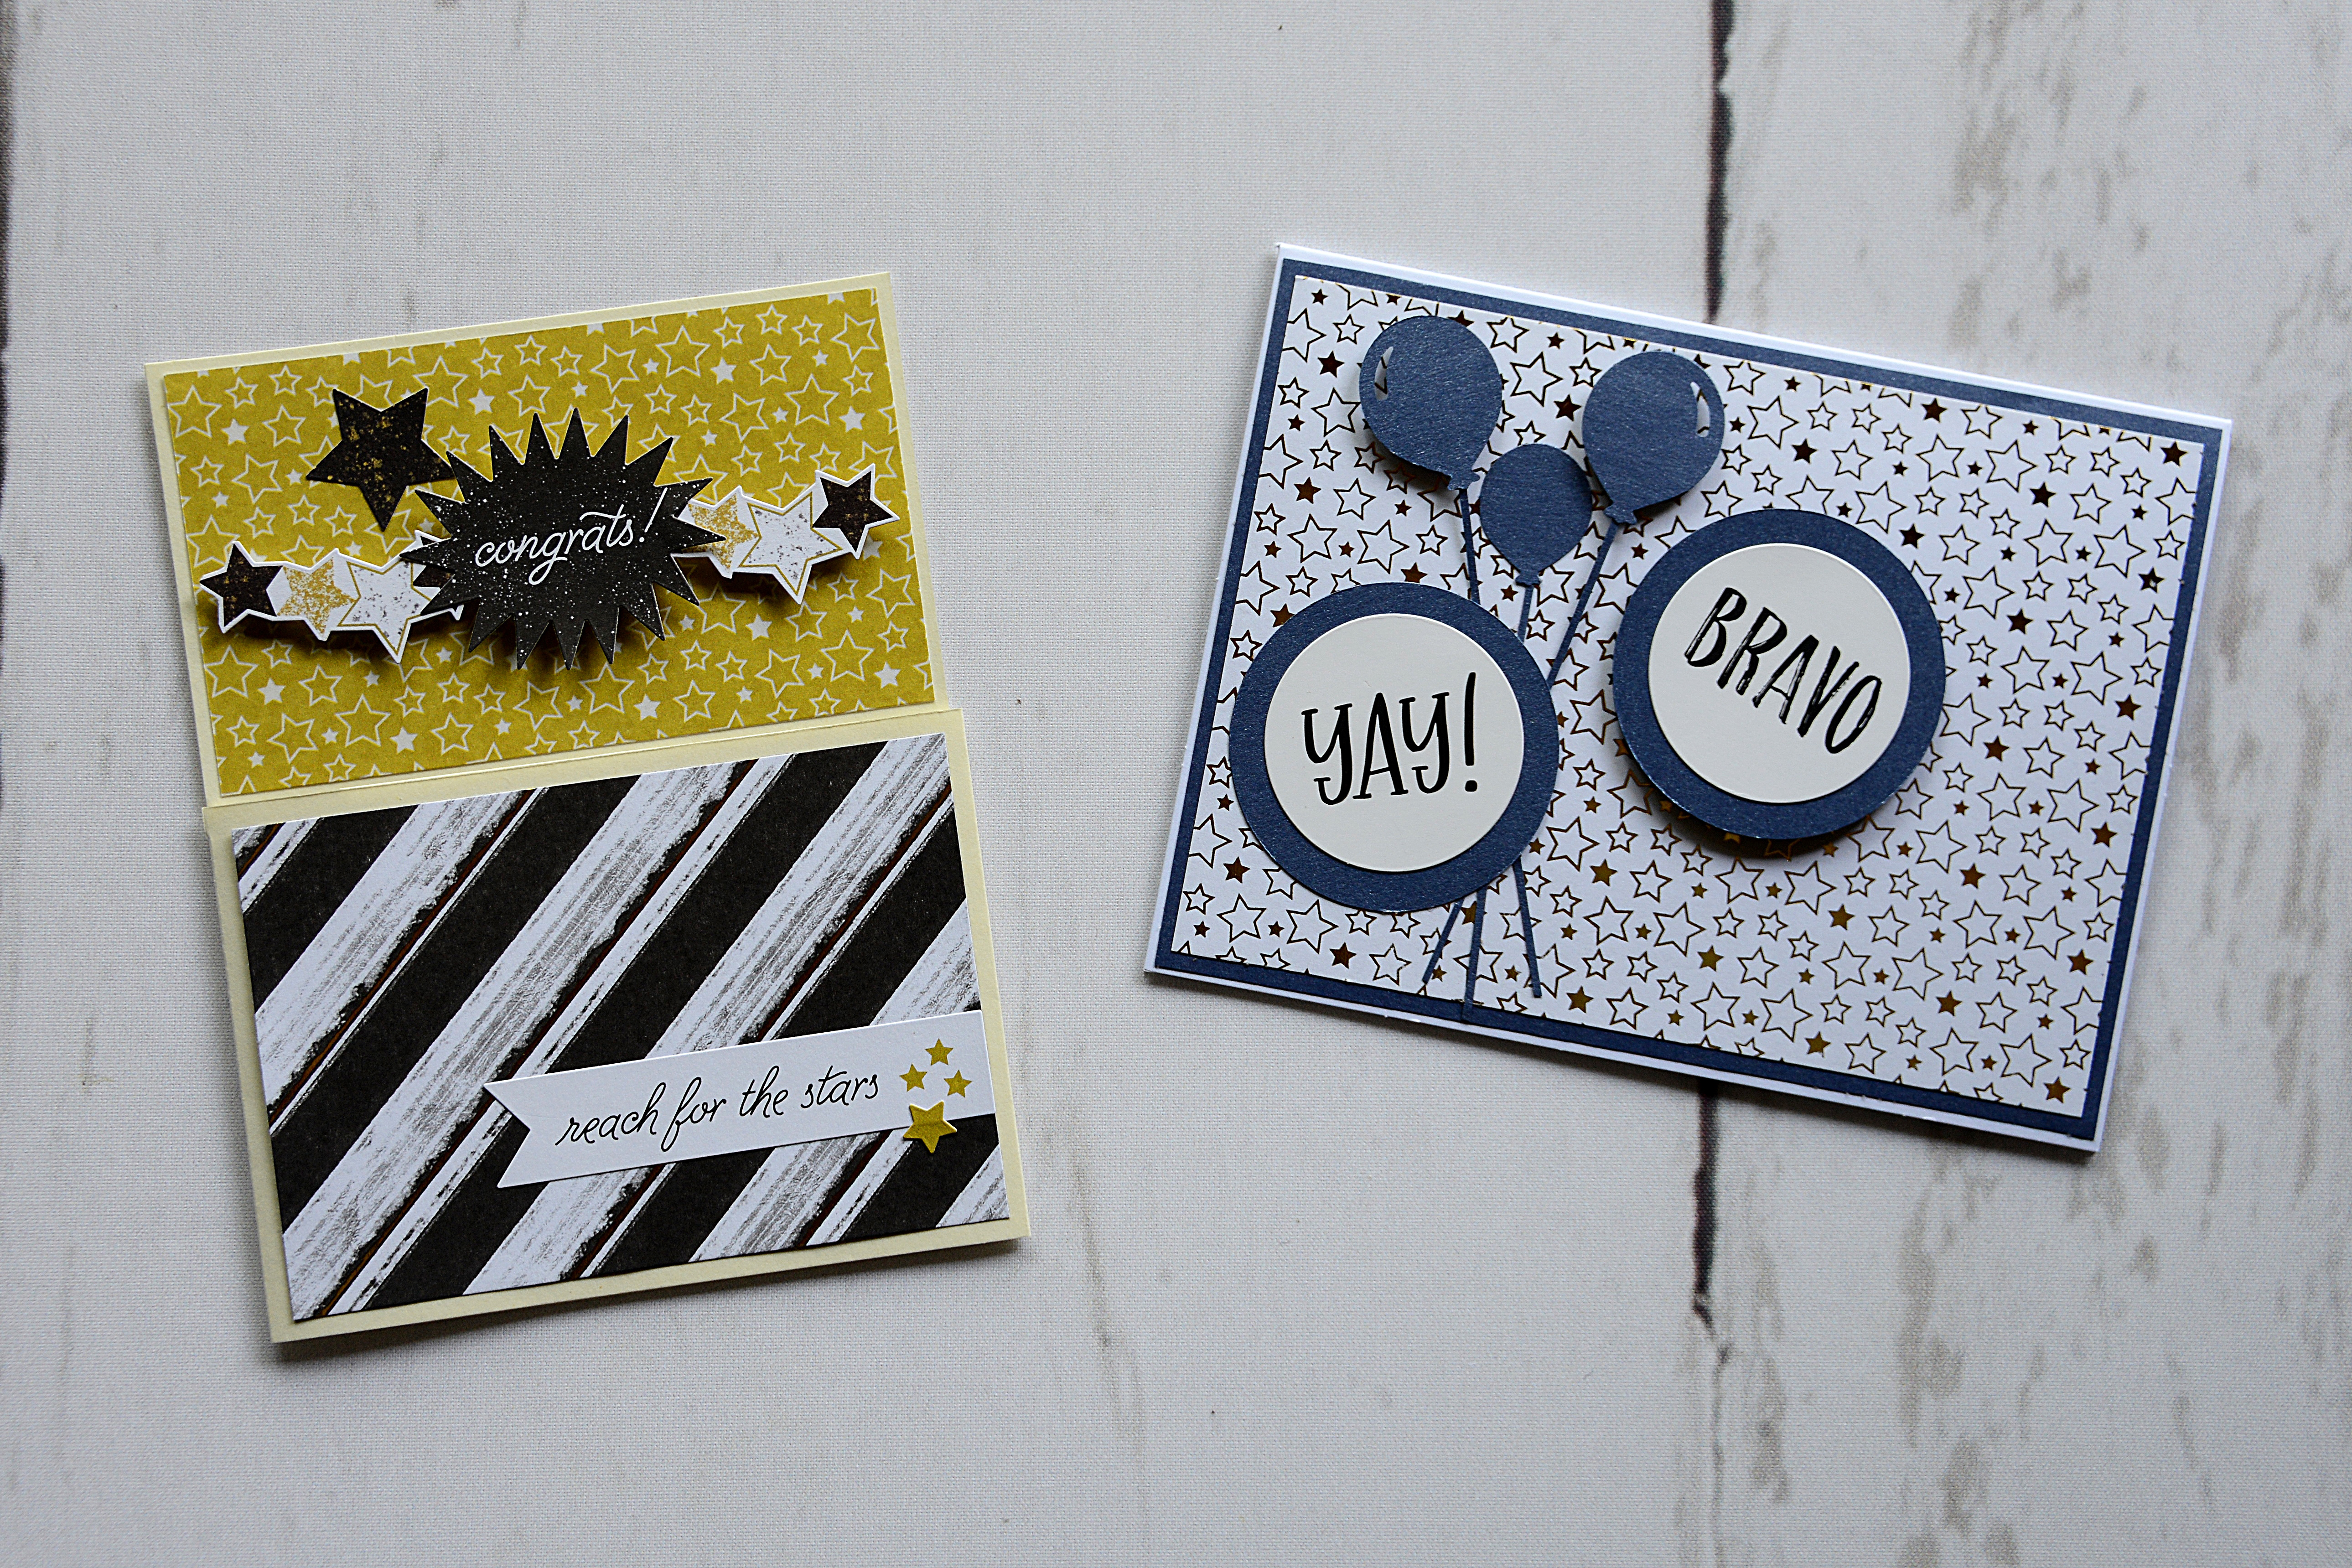
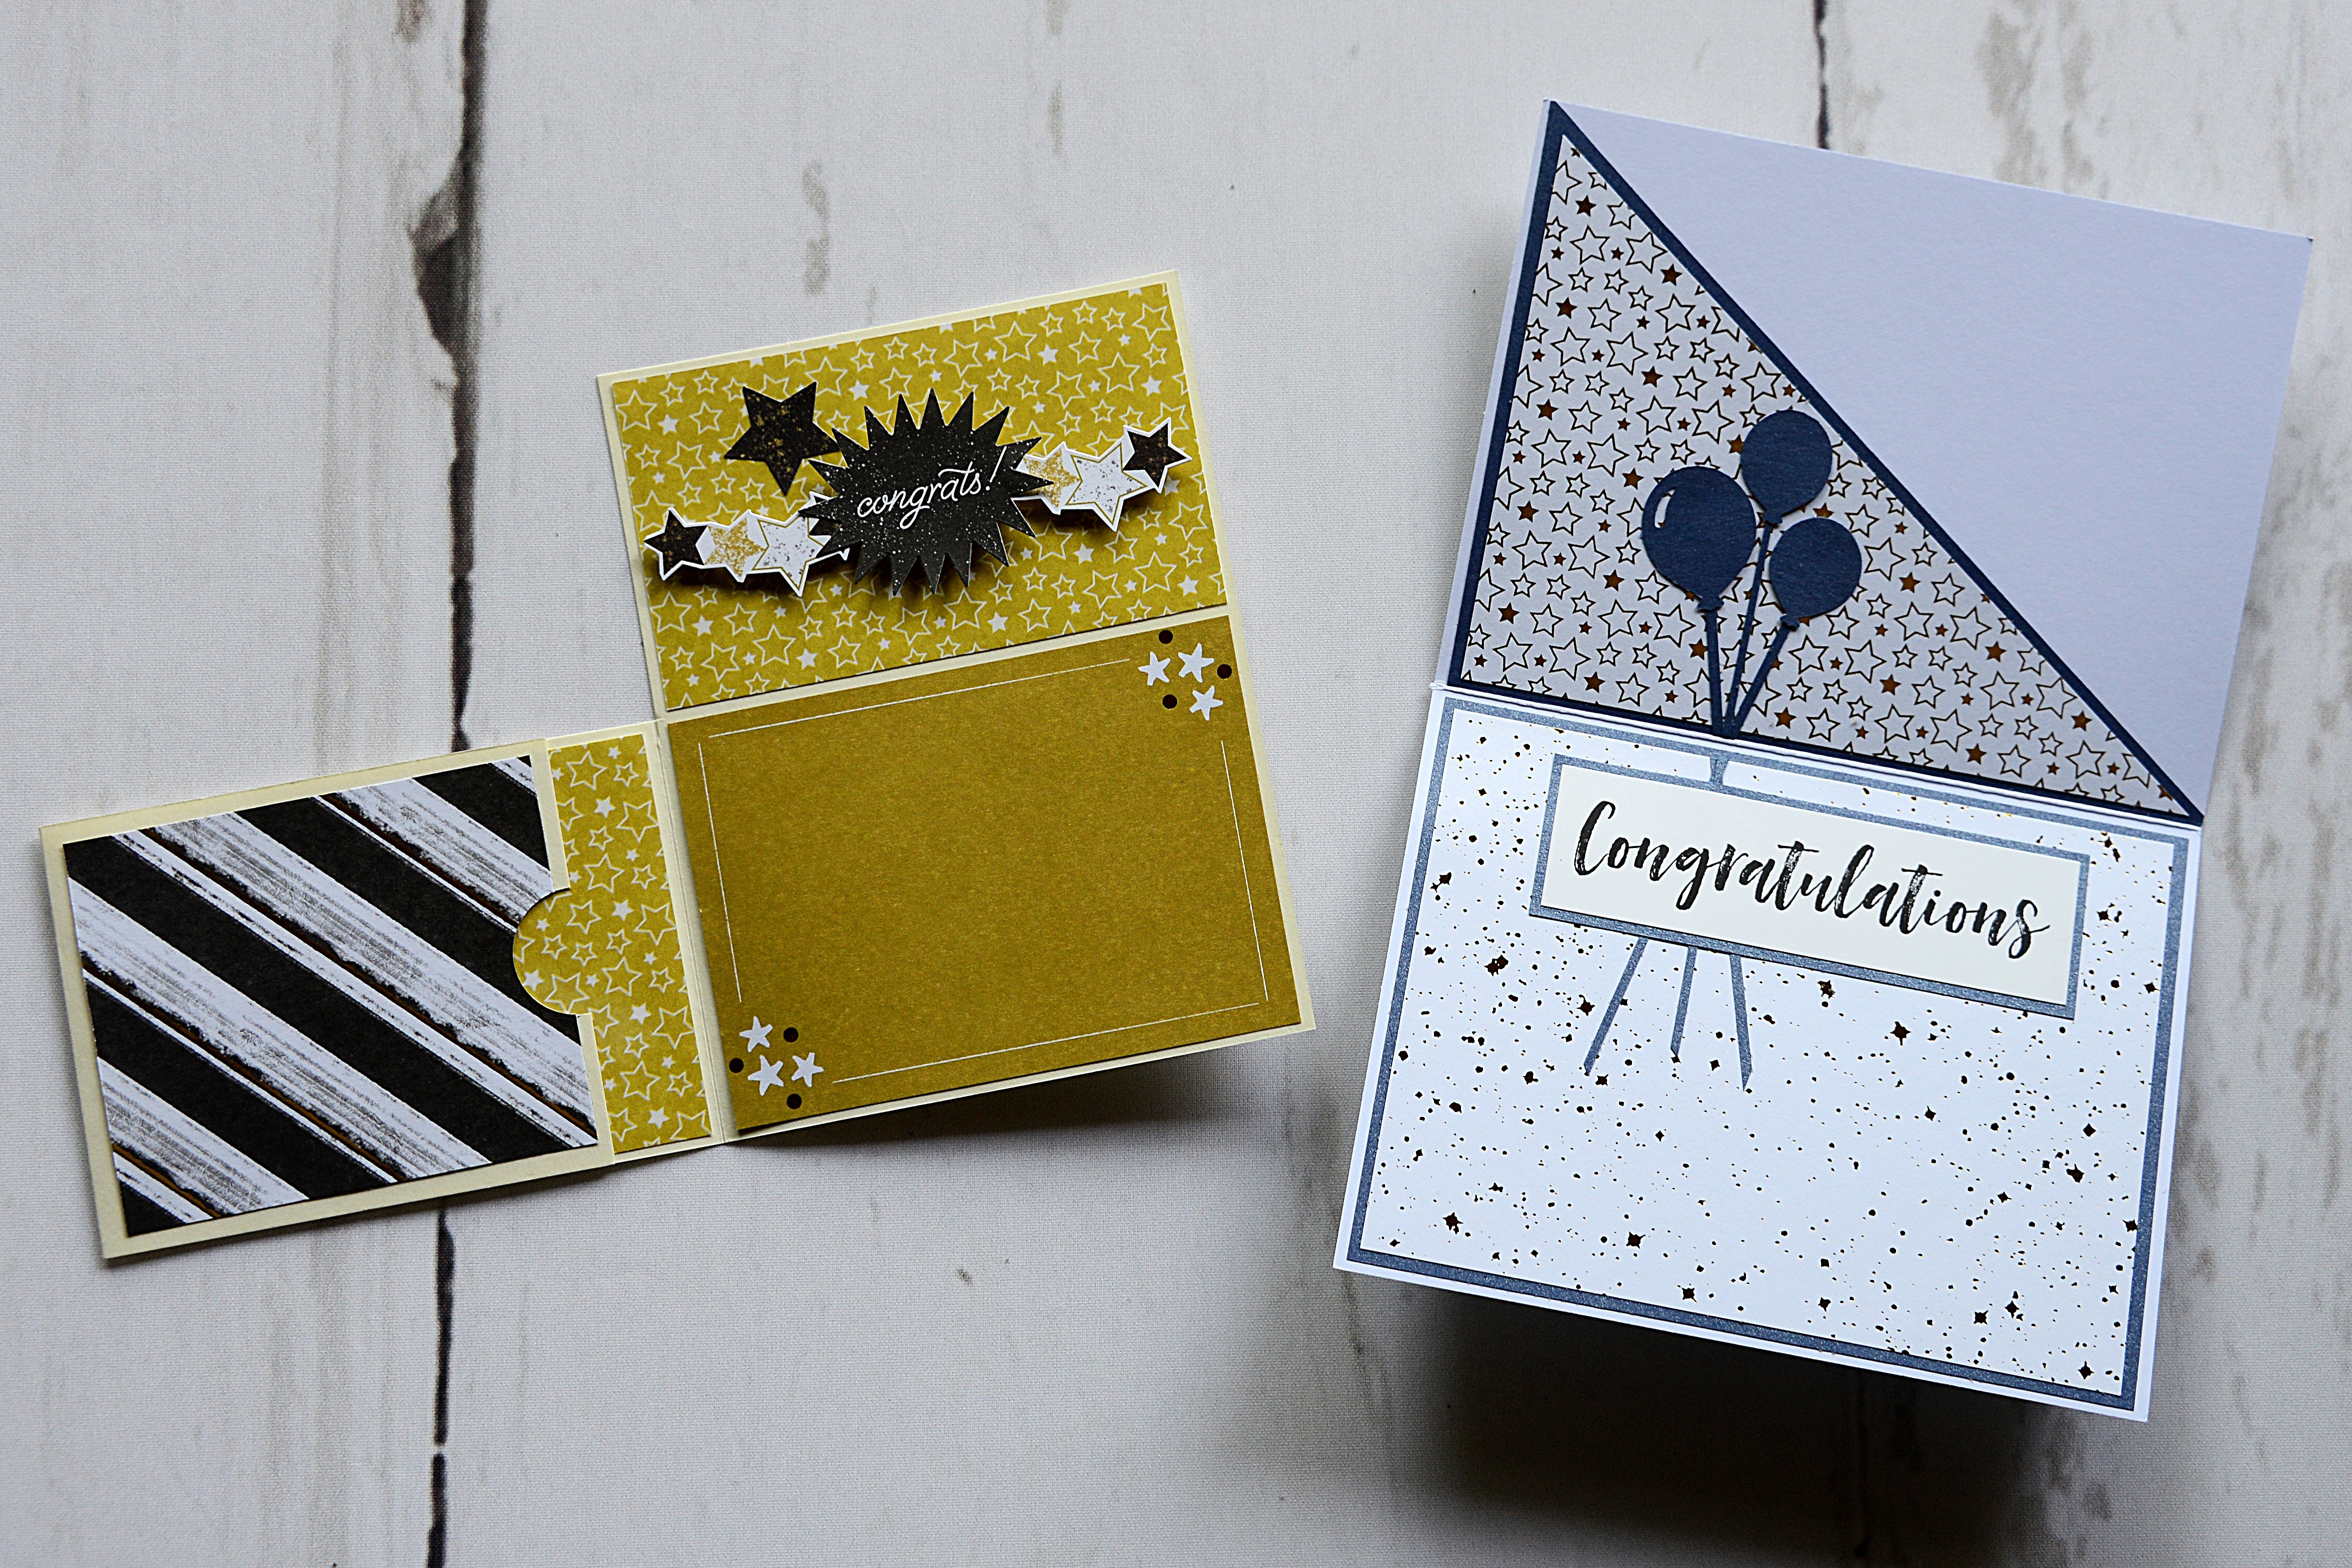
Reach for the Stars Card
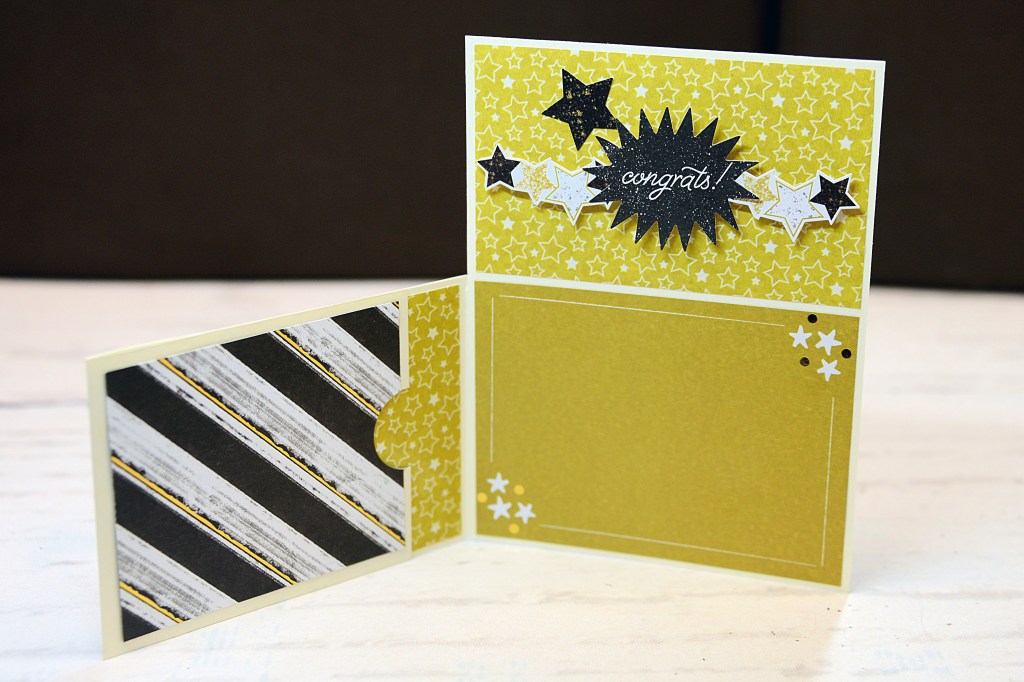
I created this card using only materials from the Graduation Day Theme Pack. With a little scoring, trimming and folding, I created a card with a cute inside pocket for inserting cash or a gift card and a space for writing a personal message.
To create this card you will need:
- Graduation Day Theme Pack or (Shop Canada | Shop Australia)
- Custom Cutting System with Circle Patterns or (Shop Canada | Shop Australia)
- 12-inch Trimmer with Straight & Scoring Blades or (Shop Canada | Shop Australia)
- Tape Runner or (Shop Canada | Shop Australia)
- Foam Squares or (Shop Canada | Shop Australia)
Step 1: Cut the Cream Solid Cardstock to measure 12″ x 5-1/2″.

Step 2: Put the end of the cardstock at 7-3/4″ on the top ruler of the 12-Trimmer and score with the Scoring Blade. Put the end of the paper at 3-1/2″ on the top ruler of the 12-inch Trimmer and score again. Turn the cardstock vertically and put end of cardstock at the 3″ mark on the top ruler of the 12-inch Trimmer. Cut to the second score line. Turn paper horizontally and cut on the second score line.
Step 3: Cut designer papers: (1) 4″ x 2-3/8″ and (3) and 4″ x 2-7/8″. Adhere paper pieces to the cardstock base.

Step 4: Cut a piece of designer paper to measure 3-1/4″ x 2-7/8″. Lay the piece on top of the pocket flap of the base, and use the inside edge of the small Custom Cutting System Circle Pattern and Blue Blade to cut a semi-circle from both the cardstock flap and the designer paper piece. Adhere the designer paper piece. Adhere the top and bottom edges of the flap to the card base to create a pocket.
Step 5: Decorate the card with stickers, adhering some with Foam Squares.
Yay-Bravo Card
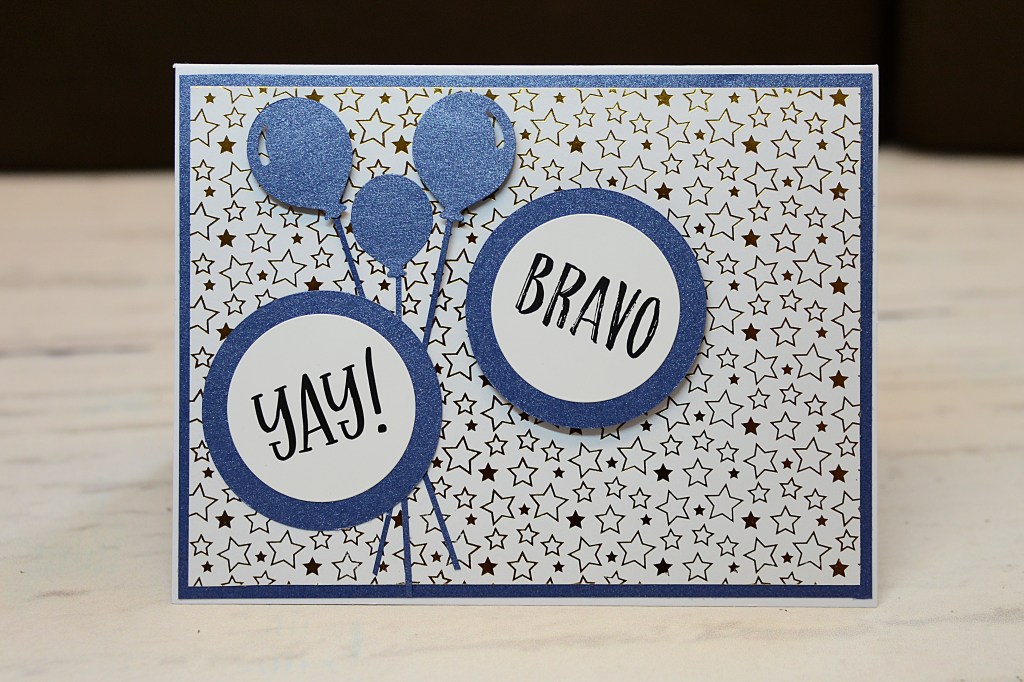
For this card, I used the Blank Card Kit as my base and added my nephew’s school hue with the Starry Night Shimmer Solid Cardstock and some additional sparkle with the gold foil accents on paper from the Graduation Day Theme Pack. This card has a lot of shimmer and sparkle for celebration!
To create this card you will need:
- Graduation Day Theme Pack or (Shop Canada | Shop Australia)
- How-Do-You-Do Stickers or (Shop Canada | Shop Australia)
- Starry Night Shimmer Solid Cardstock or (Shop Canada | Shop Australia)
- Blank Card Kit or (Shop Canada | Shop Australia)
- Double Balloon Punch or (Shop Canada | Shop Australia)
- Custom Cutting System with Circle Patterns or (Shop Canada | Shop Australia)
- 12-inch Trimmer or (Shop Canada | Shop Australia)
- Tape Runner or (Shop Canada | Shop Australia)
- Foam Squares or (Shop Canada | Shop Australia)
Step 1: Use a card from the Blank Card Kit as the base.
Step 2: From Starry Night Shimmer Solid Paper, cut three pieces that measure 5-3/8″ x 4-1/8″. Adhere one piece to the front of the card and one piece to the bottom panel on the inside of the card. Cut the third piece in half on a diagonal, and adhere the left and bottom edges to the top panel on the inside of the card to create a pocket.

Step 3: From Graduation Day paper, cut three pieces that measure 5-1/4″ x 3-7/8″. Adhere one piece to the front of the card and one piece to the bottom panel on the inside of the card. Cut the third piece in half on a diagonal, and adhere to the shimmer piece on the top panel of the inside of the card.
Step 4: Use the Double Balloon Punch to punch six balloons from Starry Night Shimmer Solid Cardstock. Cut very thin strips from the Starry Night Shimmer Solid Cardstock to create strings for the balloons. Adhere three balloons to the front of the card, propping up two with Foam Squares. Adhere three balloons and strings to the inside of the card as shown.
Step 5: Use the inside edge of the medium Custom Cutting System Circle Pattern and Blue Blade to cut two circles from Starry Night Shimmer Solid Cardstock. Adhere How-Do-You-Do Stickers to the circles. Adhere to the front of the card, propping up one with Foam Squares.
Step 6: Cut a 3-7/8″ x 1-1/4″ piece of Starry Night Shimmer Solid Cardstock and adhere a How-Do-You-Do Sticker to it. Adhere to the inside of the card as shown.
Do you have a graduate to celebrate in your life? Which of these DIY graduation cards are you planning on making and giving? Tell us in the comments below! And congrats 2021 graduates!

These are awesome, Karyn!!
They are lovely cards but I don’t care for “ConGRADulations”. Sadly there are graduates who believe that is how you spell the word and don’t realize it is a play on words. I even received a wedding card that was spelled that way instead of Congratulations.
I totally agree!! Nowadays kids don’t learn correct spelling and grammar, especially with auto-correct that doesn’t correct correctly! I prefer to say ‘Congratulations Grad’ or ‘Congratulations High School Grad’ or ‘Congratulations College Grad’.
Love these – I want to use up those yay, bravo etc stickers and these are perfect!
Love these Lauouts
[…] Get instructions to create the “Say Con-GRAD-ulations With These DIY Graduation Cards” […]
The ideas of cards posted by you are really amazing. I was thinking of giving my niece money as a gift for completing his graduation but now I am planning to make a card to convey my best wishes to him.