March 30, 2022
Ring in Details With These Wedding Scrapbook Ideas Featuring a Bell Punch
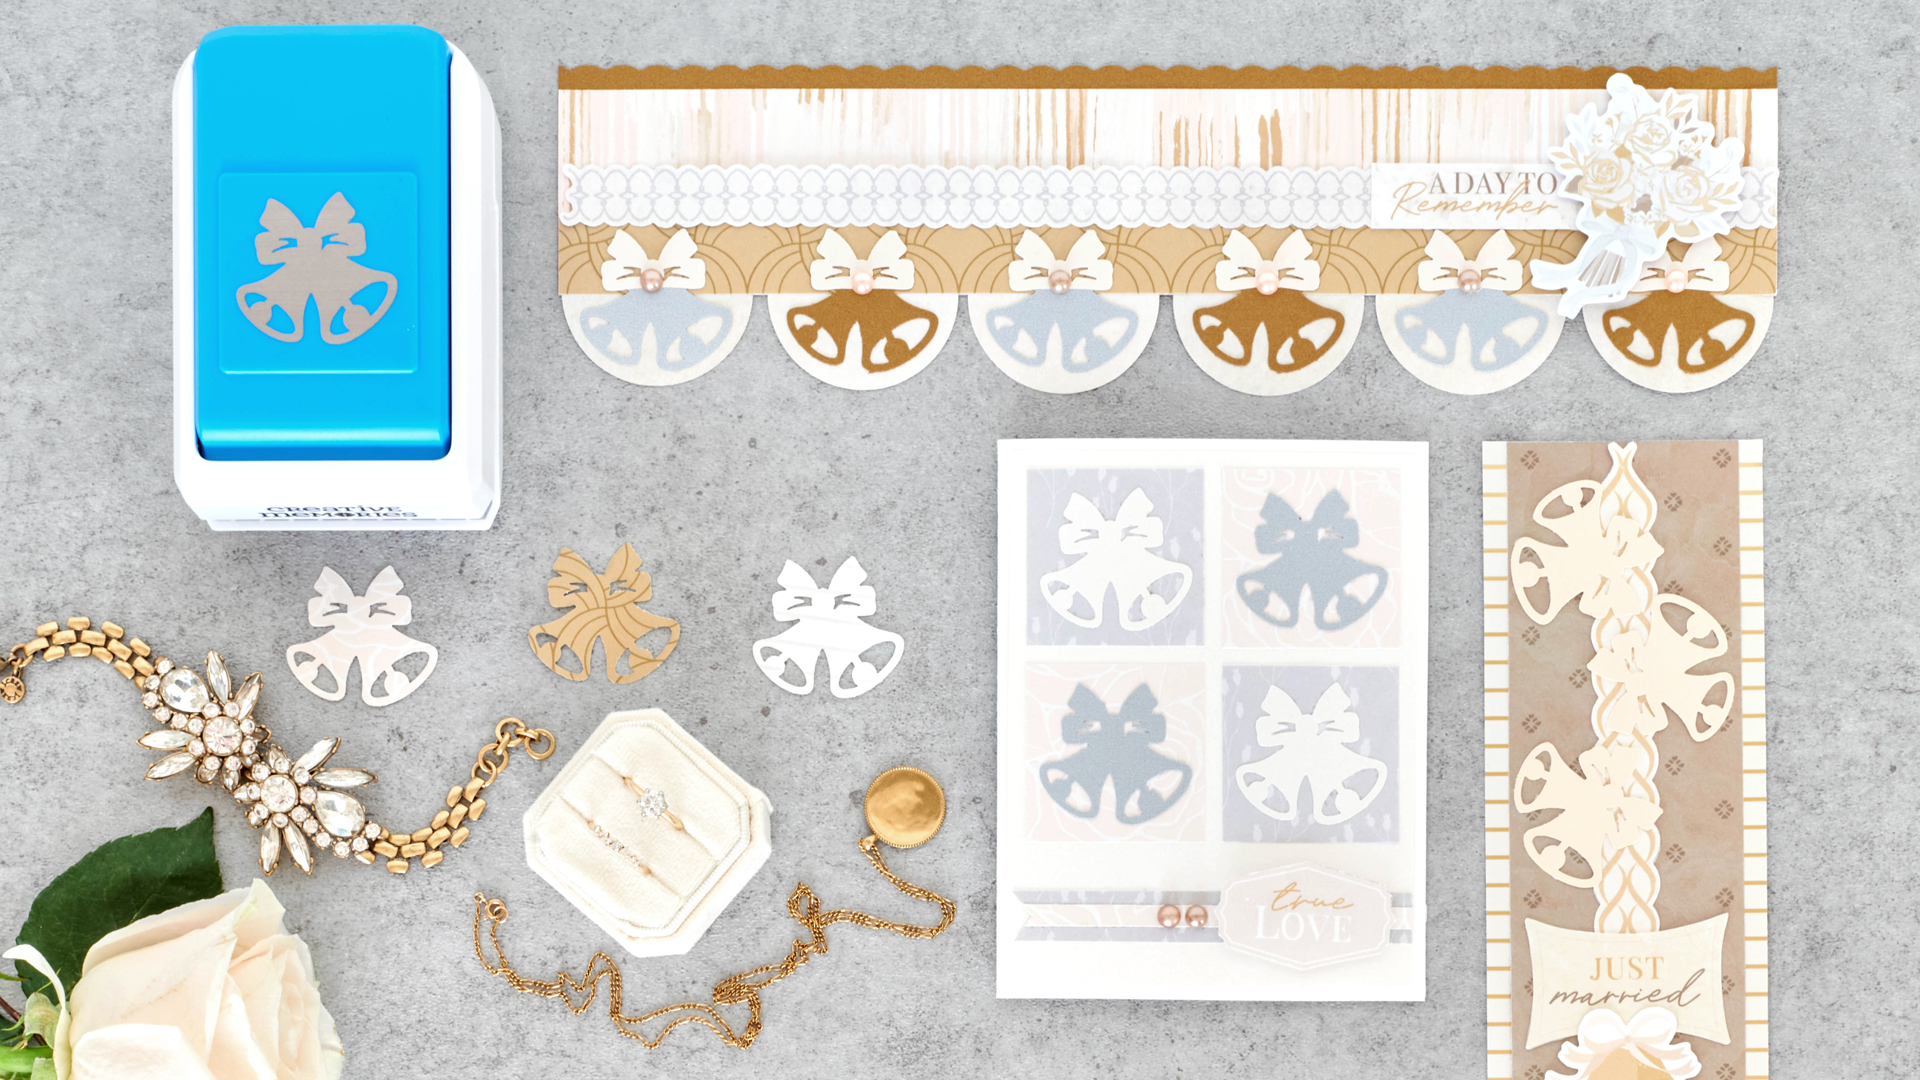
Did you know the ringing of bells at weddings can be traced back many moons ago to Celtic traditions? It was believed that ringing of church bells would ward off evil spirits and bless the newlyweds, in addition to spreading the news across the land that a couple had been married. While the superstition of yesteryear may not be so common today, the joyful sounds of bells at weddings has remained chiming through the air to mark the couple’s new journey. If you want to try adding some blissful detail to your next wedding scrapbook project, then give this featured bell punch ago — it’s sure to ring, ping and ding with delight!
To create these borders and card, you will need:
- Devotion Paper Pack or (Shop Canada | Shop Australia)
- Devotion Foiled Accent Paper Pack or (Shop Canada | Shop Australia)
- White Rose Foiled Embellishments or (Shop Canada | Shop Australia)
- Devotion Stickers or (Shop Canada | Shop Australia)
- Autumn Hay Shimmer, Bronze Shimmer, Platinum Shimmer, White Shimmer & White Solid Cardstocks or (Shop Canada | Shop Australia)
- Bells & Bows Punch or (Shop Canada | Shop Australia)
- Custom Cutting System with Circle Patterns or (Shop Canada | Shop Australia)
- 12-inch Trimmer with Straight, Scoring & Scallop Blades or (Shop Canada | Shop Australia)
- Micro-Tip Scissors (Shop Canada | Shop Australia)
- Tape Runner or (Shop Canada | Shop Australia)
- Repositionable Tape Runner Refill or (Shop Canada | Shop Australia)
- Foam Squares or (Shop Canada | Shop Australia)
Check out the Bells & Bows in action in the video below!

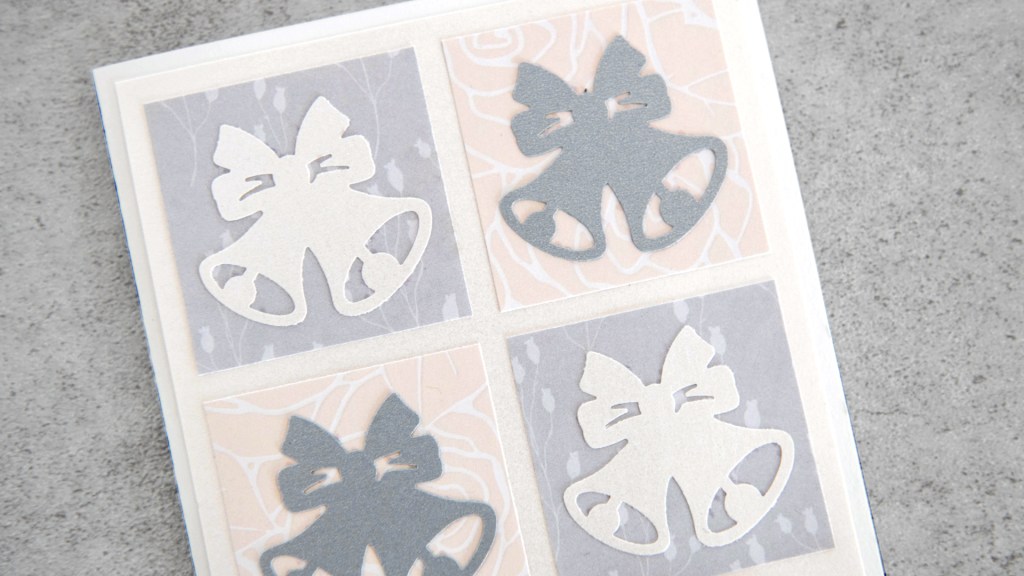
True Love Card
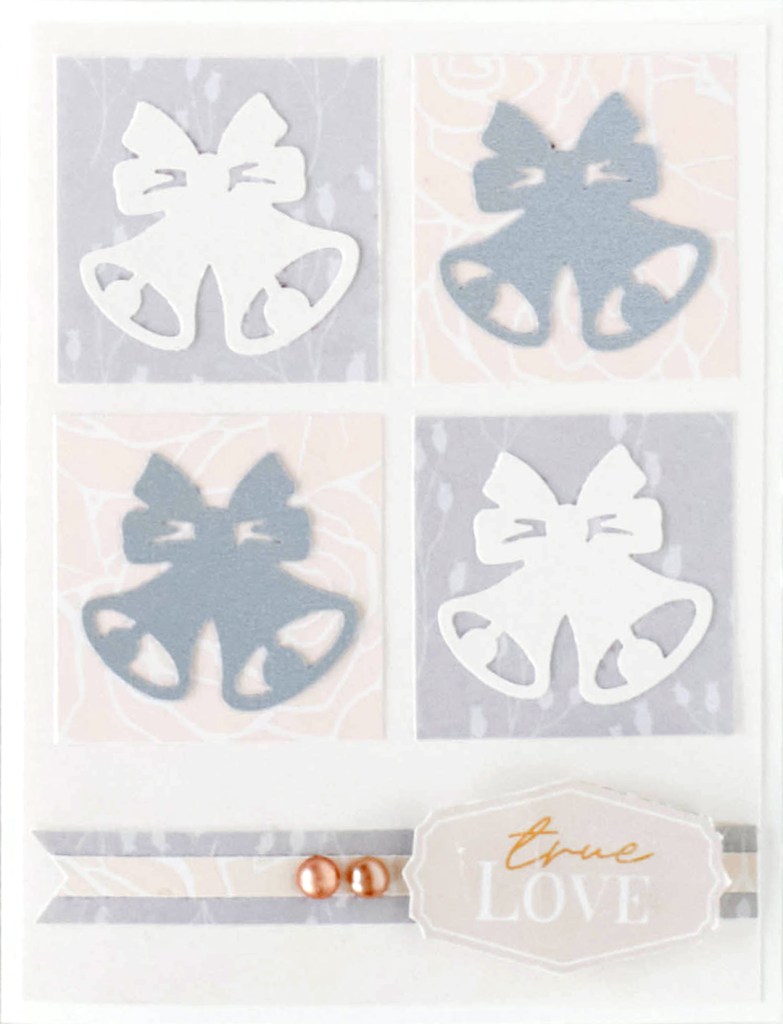
Step 1: Create the card base. Cut an 8-1/2″ x 5-1/2″ piece of White Solid Cardstock. Using the 12-inch Trimmer and the Scoring Blade, score along the long edge at 4-1/4″ and fold in half.
Step 2: Cut a 4″ x 5-1/4″ piece of White Shimmer Solid Cardstock and adhere to the front of the card.
Step 3: Cut two 1-3/4” x 1-3/4” squares with minimalistic flower buds designer paper and two more with pale dusty pink roses accent paper. Adhere to the card. Using the Bells & Bows Punch, punch two cutouts with White Shimmer Solid Cardstock and two more with Platinum Shimmer Solid Cardstock. Adhere shapes to the squares.
Step 4: Cut a 4” x 1/2″ strip of minimalistic flower buds designer paper. Cut a 4” x 1/4″ strip of pale dusty pink roses and adhere on top. Cut a notch from one end and adhere to the card. Top with a sticker and gems.
A Day to Remember Border
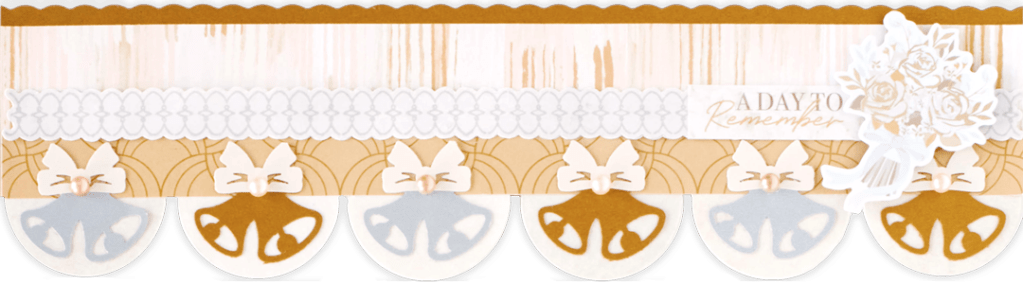
Step 1: Using the 12-inch Trimmer and the Scallop Blade, but a piece of Bronze Shimmer Solid Cardstock to 12″ x 2-1/4″ for the base.
Step 2: Using the inside edge of the medium Custom Cutting System Circle Pattern and the Blue Blade, cut six circles with beige wash designer paper. Apply adhesive to the top half of each and adhere to the bottom edge of the base.
Step 3: Cut a 12″ x 1-1/4″ strip of painterly brushstrokes designer paper and adhere to the base, about 1/4″ from the top. Cut a 12″ x 3/4″ strip of gold scallops accent paper and adhere to the bottom of the base. Adhere a border sticker over the seam.
Step 4: Using the Bells & Bows Punch, punch three cutouts from Platinum Shimmer Solid Cardstock and three more from Bronze Shimmer Solid Cardstock. Adhere to the circles as shown. Using the Bells & Bows Punch, punch cutouts with Shell Shimmer Solid Cardstock. Trim out the bows using Micro-Tip Scissors. Adhere over the platinum and bronze bows. Top with gems.
Step 5: Add stickers and embellishments.
Just Married Border
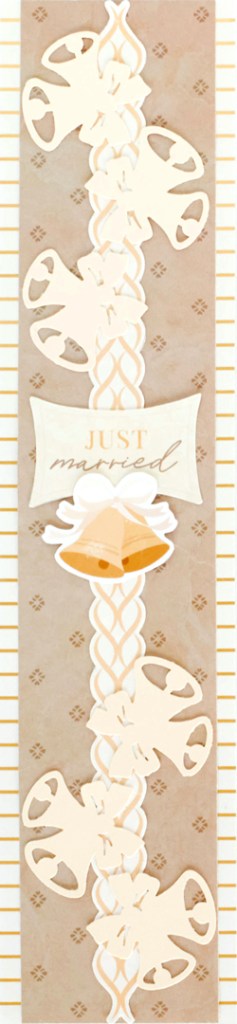
Step 1: Cut a 2-3/4″ x 12″ strip of gold stripe foiled accent paper for the base.
Step 2: Cut a 2-1/4″ x 12″ strip of beige mini diamonds designer paper and adhere on top of the base. Adhere a border sticker down the middle.
Step 3: Using the Bells & Bows Punch, punch six cutouts with Autumn Hay Shimmer Solid Cardstock. Adhere to the border.
Step 4: Add stickers, popping them up with Foam Squares for added dimension.
What are your thoughts on these wedding scrapbook borders and card? What sorts of projects have you dreamt up with latest bell punch, the Bells & Bows Punch? (It can be used for more than just weddings!) Share your savvy skills and thoughts in the comments below!

This are wonderful. I am going to make them and use them in my Daughter’s book that I am working on now.
I love these. I’m making a surprise album for my daughter’s tenthy anniversary, and I am sooooo going to use these ideas.