May 18, 2022
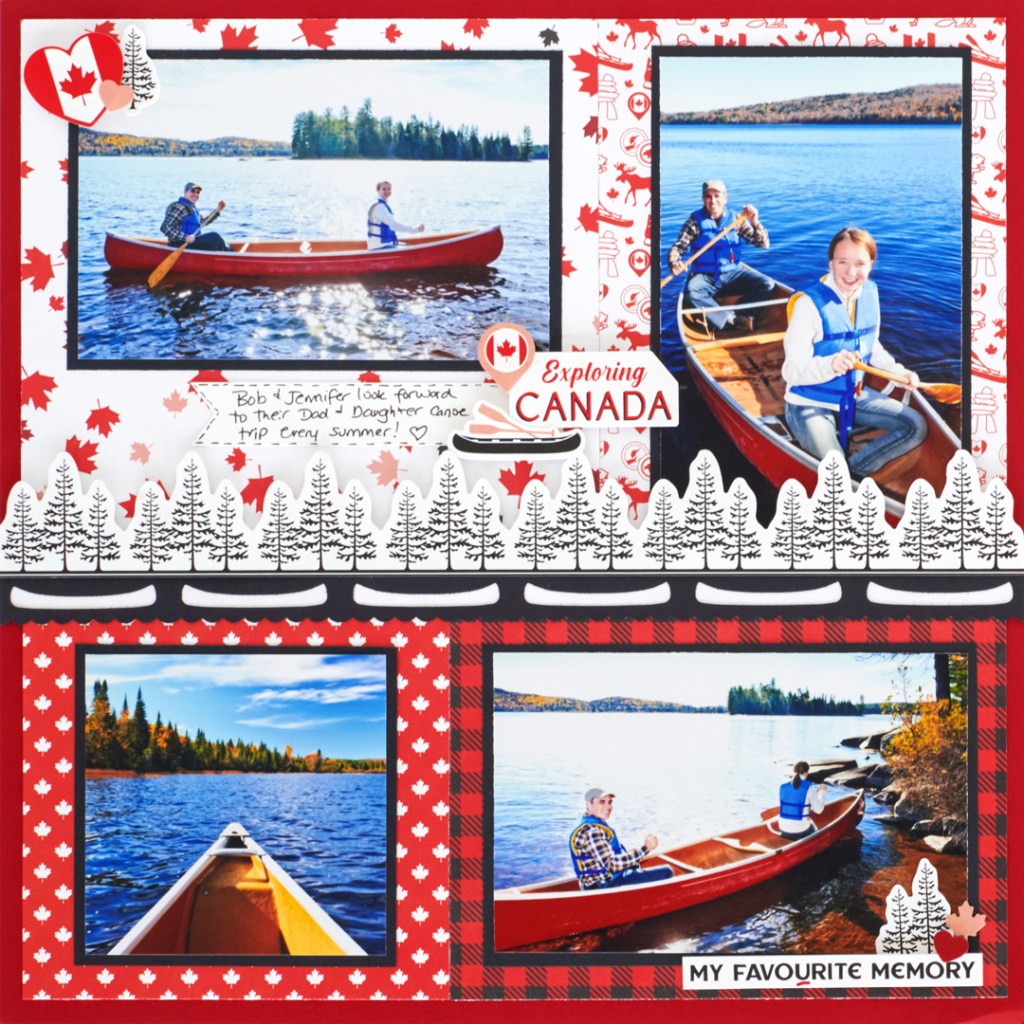
A Country of Charisma: Canada Scrapbook Layout

From the snowcapped British Columbia mountains that skiers and snowboarders zoom down to the Instagram-worthy turquoise depths of Lake Louise, the vast landscapes of sturdy elk grazing the plains and the urban charm of Toronto and Montreal with their piercing skyscrapers and a cosmopolitan atmosphere, there’s so much variety to Canadian culture and character. There’s a sense of wonderment no matter where you go in The Great White North! And if you want to pay homage to this more than eh-OK country, then you need the Canadian Pride collection. And as you can see in this Canada scrapbook layout, it’s definitely full of Canadian charisma and national nuances!
To create this layout you will need:
- Canadian Pride Paper Pack or (Shop Canada | Shop Australia)
- Canadian Pride Stickers or (Shop Canada | Shop Australia)
- Black, Cranberry & White Solid Cardstocks or (Shop Canada | Shop Australia)
- Border Maker System with Canoe Wave Chain Border Maker Cartridge or (Shop Canada | Shop Australia)
- 12-inch Trimmer or (Shop Canada | Shop Australia)
- Personal Trimmer or (Shop Canada | Shop Australia)
- All-Purpose Scissors or (Shop Canada | Shop Australia)
- Tape Runner or (Shop Canada | Shop Australia)
- Repositionable Tape Runner or (Shop Canada | Shop Australia)
- Foam Squares or (Shop Canada | Shop Australia)
- Black Dual-Tip Pen or (Shop Canada | Shop Australia)
Check out the whole Canadian Pride collection in the video below!

Step 1: Use Cranberry Solid Cardstock for layout base.
Step 2: Using the 12-inch Trimmer, cut a 5″ x 5″ square from the block-print maple leaves paper, a 5″ x 6-1/2″ rectangle from the classic Canadian icons paper, a 6-1/2″ x 5″ rectangle from the buffalo checkers paper and a 6-1/2″ x 6-1/2″ square from the falling maple leaves paper.
Step 3: Arrange paper pieces as shown on the cardstock base page, leaving 1/4″ margin all around. Adhere with the Tape Runner.
Step 4: Using the Personal Trimmer, crop two photos to 5-1/2″ x 3-1/2″, one photo to 3-1/2″ x 5-1/2″ and one to a 3-1/2″ x 3-1/2″ square.
Step 5: Cut three 5-3/4″ x 3-3/4″ and one 3-3/4″ x 3-3/4″ photo mats from Black Solid Cardstock with the 12-inch Trimmer. Adhere photos onto mats with a Tape Runner, then mount on layout as shown.
Step 6: With the Original Border Maker System and Canoe Wave Chain Border Maker Cartridge, punch one strip from Black Solid Cardstock. Cut a 1/4″ x 12″ piece of White Solid Cardstock with the 12-inch Trimmer and mount behind the canoe border with Repositionable Tape Runner adhesive so the white cardstock shows through the negative canoe shapes. Adhere the border to layout below the seam where paper pieces meet.
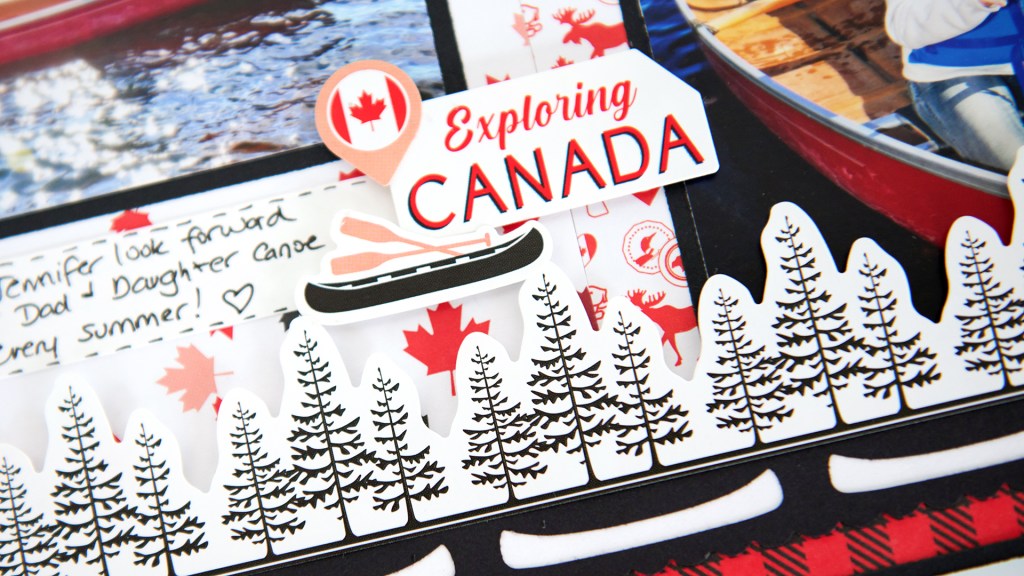
Step 7: Add Foam Square to the back of the trees border sticker and mount above the canoe border strip across the seam where paper pieces meet.
Step 8: Cut a 3/4″ x 5″ piece of White Solid Cardstock and notch one end of it with All-Purpose Scissors. Adhere in the space under the top-left photo and journal on it with a Black Dual-Tip Pen. Add a title sticker cluster, overlapping journal strip as shown.
Step 9: Add other sticker embellishment clusters to top-left and bottom-right of layout as shown or as desired.
Do you find this Canada scrapbook layout a-moose-ing? What travels or at-home adventures would you highlight? Give us your insight and ideas with us down below!

Very well done.