September 12, 2022
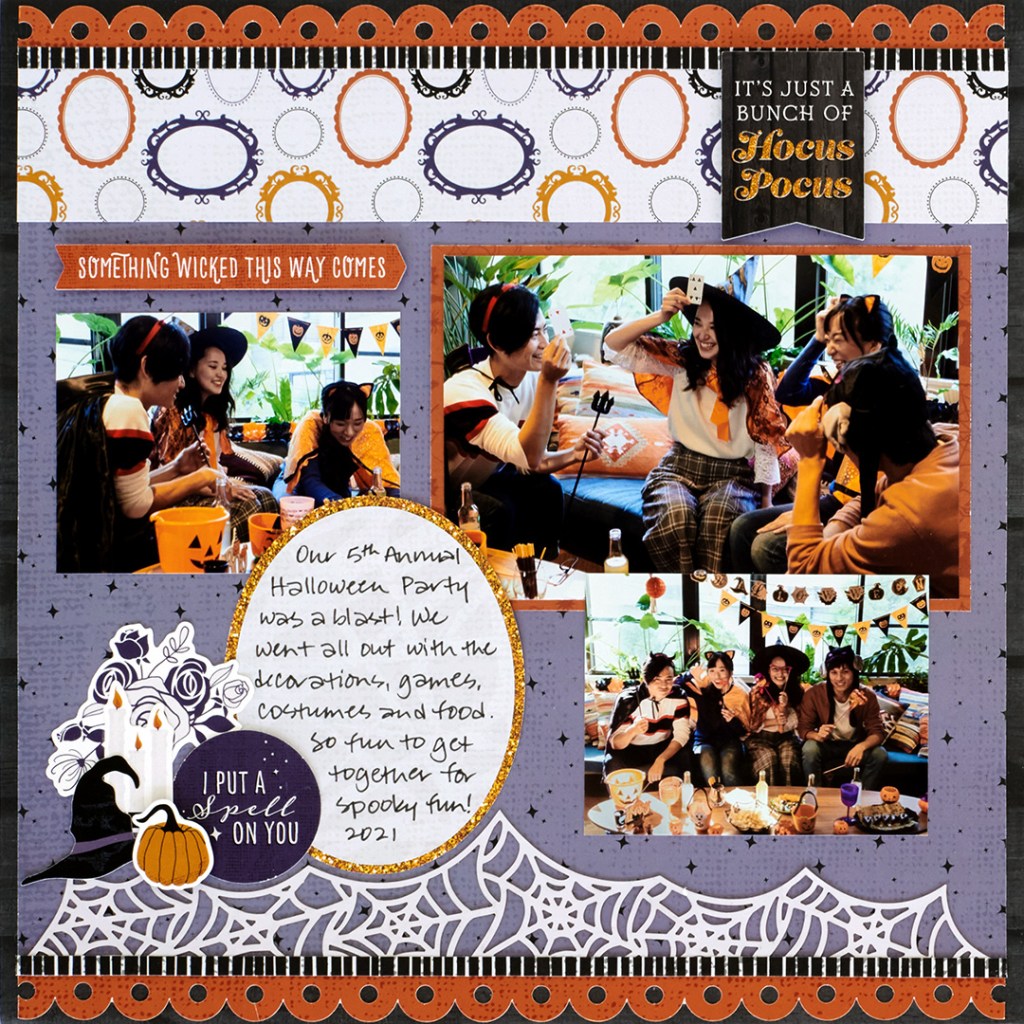
Cast A Spell On Your Memories With This Halloween Scrapbook Layout

Bring on the costumes, indulge in buckets of candy and feel the creepy, crawly and spooky sensations. We’re all about and inspired by All Hallows’ Eve, for the latest Happy Hauntings collection is treating (no tricks here!) scrappers with its eerie-sistable Halloween-themed designs! The classic Halloween designs mixed with rich, dark hues (a potion of umber, dark orange, dark purple and black) will sure have you under a magic spell, just like this Halloween scrapbook layout!
To create this layout you will need:
- Happy Hauntings Paper Pack or (Shop Canada | Shop Australia)
- Happy Hauntings Laser Cut Embellishments or (Shop Canada | Shop Australia)
- Happy Hauntings Stickers or (Shop Canada | Shop Australia)
- Custom Cutting System with Oval Patterns or (Shop Canada | Shop Australia)
- 12-inch Trimmer or (Shop Canada | Shop Australia)
- Micro-Tip Scissors or (Shop Canada | Shop Australia)
- Tape Runner or (Shop Canada | Shop Australia)
- Repositionable Tape Runner or (Shop Canada | Shop Australia)
- Foam Squares or (Shop Canada | Shop Australia)
- Precision Point Adhesive Pen or (Shop Canada | Shop Australia)
- Black Dual-Tip Pen or (Shop Canada | Shop Australia)
Take a look at the whole Happy Hauntings collection in the video below.

Step 1: Use a piece of dark wood paper as the base for this layout. Cut 1/4″ off the ends of two dark orange scallops border stickers and adhere on the top and bottom of the layout.
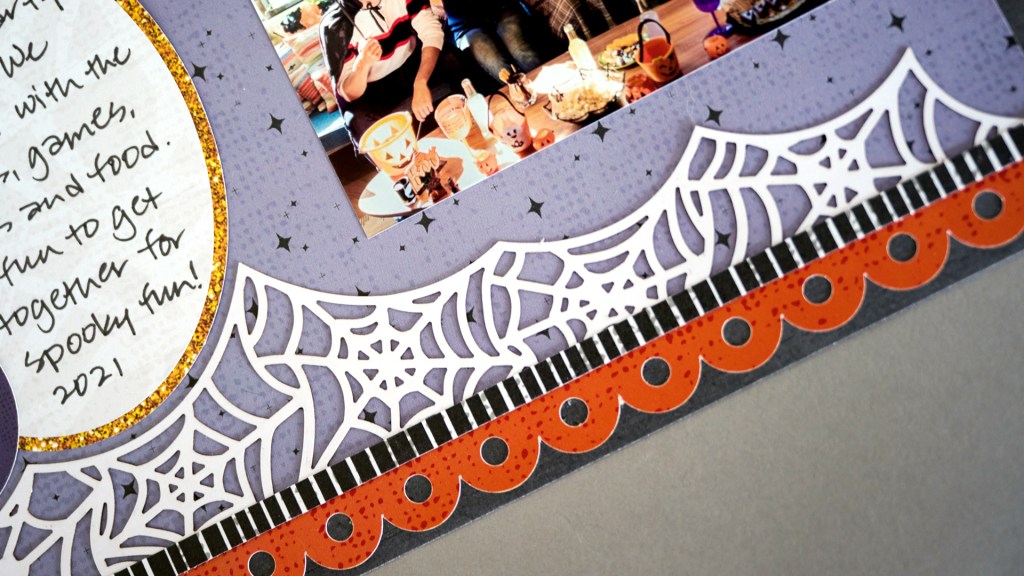
Step 2: Cut an 11-1/2″ x 2″ strip of frames paper and adhere just below the border sticker on the top of the layout. Cut an 11-1/2″ x 8-3/4″ piece of purple stardust paper and adhere just above the border sticker on the bottom of the layout. Adhere the spider web laser-cut border embellishment just above this piece using the Precision Point Adhesive Pen. Cut two 11-1/2″ x 1/4″ strips of black-and-white stripes paper and adhere above and below the border stickers as shown.
Step 3: Mat a 6″ x 4″ photo with a 6-1/4″ x 4-1/4″ piece of dark orange Halloween icons paper and adhere on the layout. Crop two photos to 4″ x 3″ and adhere as shown.
Step 4: Using the outside edge of the smallest Custom Cutting System Oval Pattern and the Blue Blade, cut an oval with gold glitter paper. Using the Green Blade, cut an oval with light distressed paper. Layer and adhere on the layout as shown.
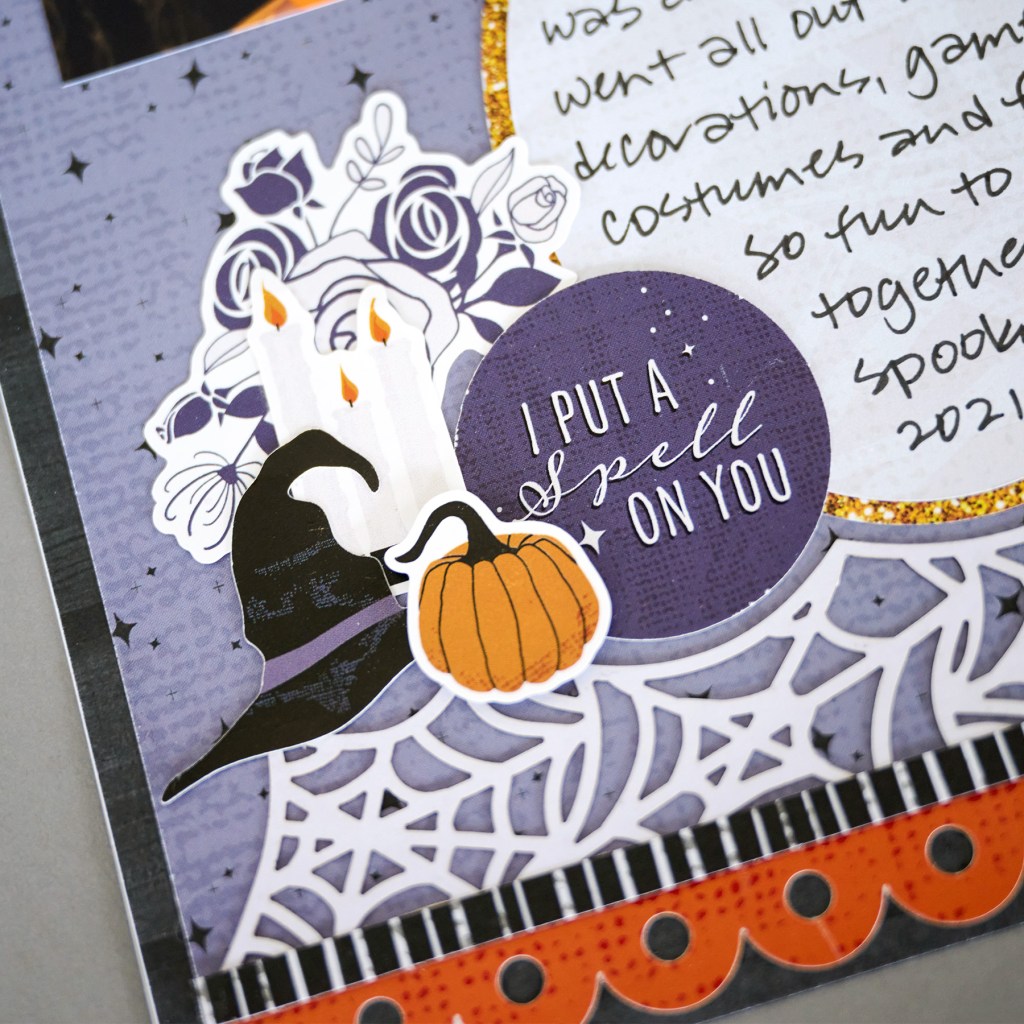
Step 5: Add stickers, popping some up with Foam Squares for added dimension.
Step 6: Journal as desired.
What do you think of the Happy Hauntings collection that has crept onto the CM scene? What activities do you like to do around and on Halloween? Would you highlight them on this Halloween scrapbook layout? Answer these questions down below!

I feel that this is the best Halloween paper that you have come out with in a long time, I really like the punch – the Spider Web, and the Border Maker Cartridge – The Bats and Stars! Along with the Ghosts and the Pumpkins that will make a great layout! Now for the flying witches or a cresent moon and we will be all set – oh yes — perhaps the haunted house? But then there is the Home Sweet Home Border Maker Cartridge that will make a great home for a Halloween page!