November 3, 2023
Be Trimming With Tradition: Christmas Scrapbook Borders And DIY Card With An Ornament Punch

Decorating the Christmas tree is a long-established family tradition, passed down from generation to generation, ornament to ornament, for many households. Families gather together each year, pull out dusty boxes of beloved decorations — glass baubles, “baby’s first Christmas” porcelain ornament, figurines and an angel, tinsel, ribbon, lights and other items that evoke the holly-jolly spirit — and make merry memories together. So why not further your festiveness by bringing the ornamental decor from your living room to your scrapping room by making these Christmas scrapbook borders and DIY card with an ornament punch.
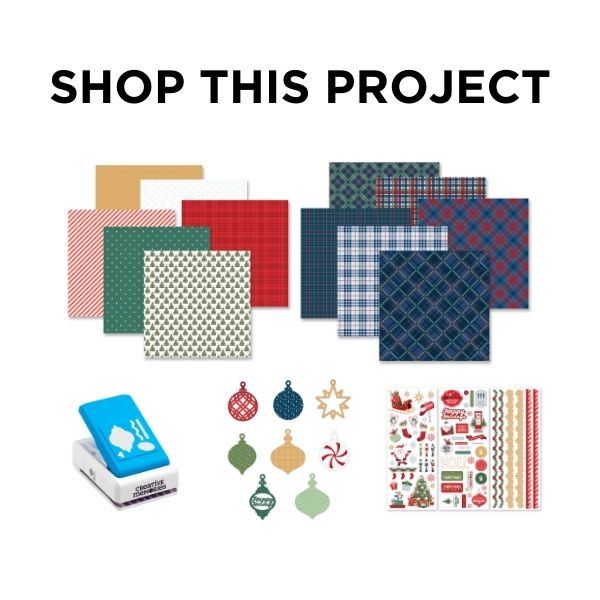
To create these borders and card you will need:
- Christmas Cheer Paper Pack or (Shop Canada | Shop Australia)
- Christmas Cheer Accessory Paper Pack or (Shop Canada | Shop Australia)
- Christmas Cheer Embellishments or (Shop Canada | Shop Australia)
- Christmas Cheer Stickers or (Shop Canada | Shop Australia)
- Festive Ornament Build-A-Punch or (Shop Canada | Shop Australia)
- Circle Punch or (Shop Canada | Shop Australia)
- White, Cranberry, Blue, Dark Green, Canary, Avocado & Red Solid Cardstocks or (Shop Canada | Shop Australia)
- Custom Cutting System with Circle Patterns or (Shop Canada | Shop Australia)
- 12-inch Trimmer with Straight, Scoring & Wave Blades or (Shop Canada | Shop Australia)
- Micro-Tip Scissors or (Shop Canada | Shop Australia)
- Tape Runner or (Shop Canada | Shop Australia)
- Repositionable Tape Runner or (Shop Canada | Shop Australia)
- Foam Squares Variety Pack or (Shop Canada | Shop Australia)

Noel Border
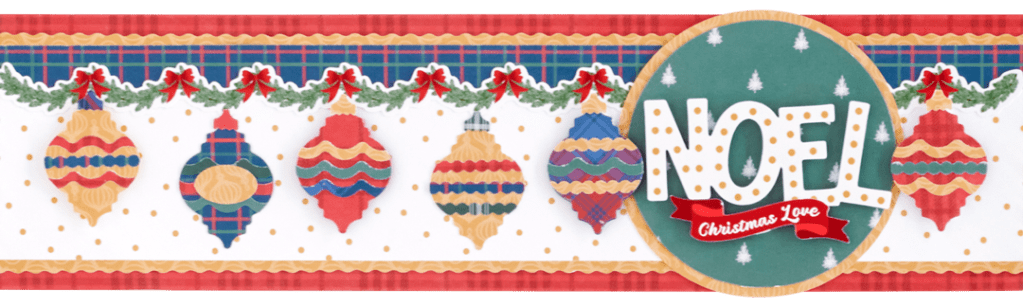
Step 1: Cut a 12” x 3-1/4” strip with red plaid tonal designer paper for the base. Using the 12-inch Trimmer and the Wave Blade, cut a 12” x 2-3/4” strip with gold ornaments paper and adhere on the base.
Step 2: Cut a 12” x 1/2″ strip with blue, green and red thin plaid accessory paper and adhere on the border as shown. Cut a 12” x 2” strip with gold dots designer paper and adhere just below it. Adhere a garland and bows border sticker along the seam.
Step 3: Using the inside edge of the largest Circle Custom Cutting System Pattern and the Red Blade, cut a circle with gold ornaments paper. Using the Green Blade, cut a circle with mini trees paper and mount it on the gold circle. Adhere on the border. Add the “Noel” sticker, then adhere the “Christmas love” title using Foam Squares.
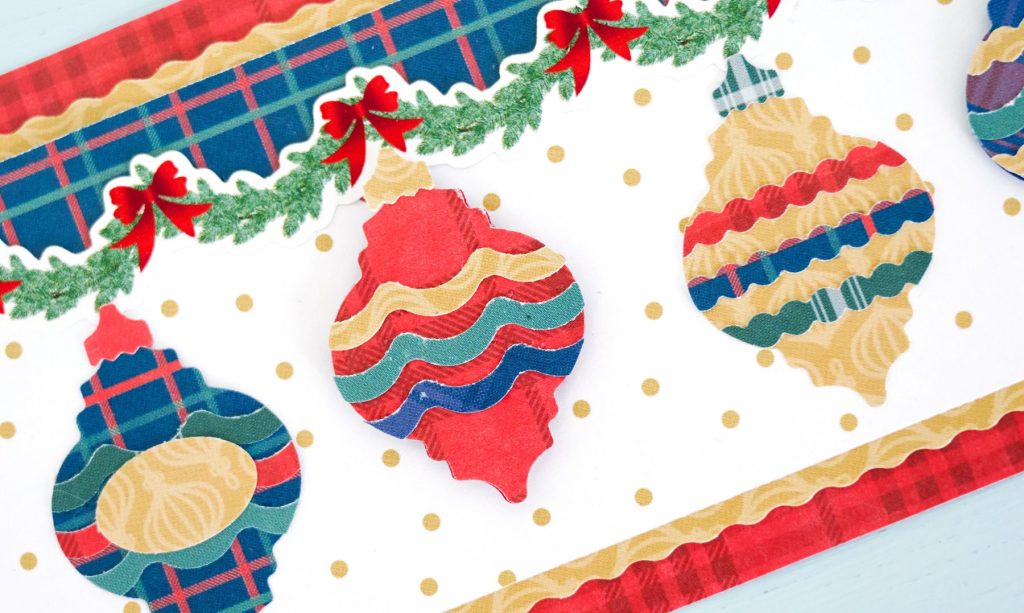
Step 4: Using the Festive Ornaments Build-A-Punch, punch shapes from a variety of paper scraps. Build ornaments, mixing and matching the various pieces and adhering using the Repositionable Tape Runner. Adhere on the border as shown, popping some up with Foam Squares for added dimension.
Deck The Halls Border
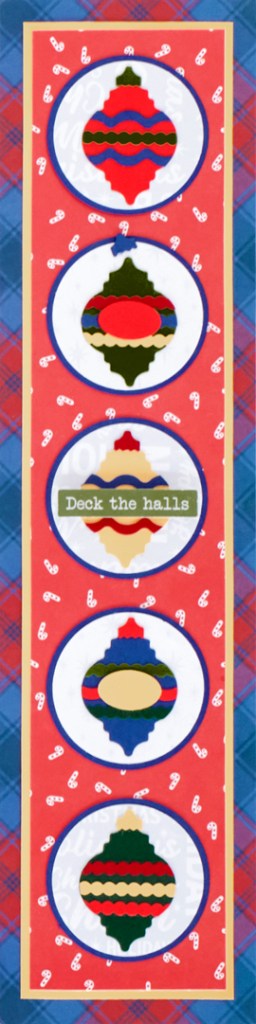
Step 1: Cut a 3” x 12” strip with red and blue plaid accessory paper for the base. Cut a 2-1/2” x 11-1/2” strip with Canary Solid Cardstock and adhere on the base. Cut a 2-1/4” x 11-1/4” strip with candy canes designer paper and mount on top.
Step 2: Using the inside edge of the medium Circle Custom Cutting System Pattern and the Blue Blade, cut five circles with Blue Solid Cardstock. Using the 1-3/4” Circle Punch, punch three circles with Christmas words designer paper and two circles with stars designer paper. Adhere on the blue cardstock circles and mount on the border.
Step 3: Using the Festive Ornament Build-A-Punch, punch shapes from a variety of cardstock scraps. Build ornaments, mixing and matching the various pieces and adhering using the Repositionable Tape Runner. Adhere on the circles as shown.
Step 4: Adhere the “Deck the halls” sticker using Foam Squares for added dimension.
Ornaments Card
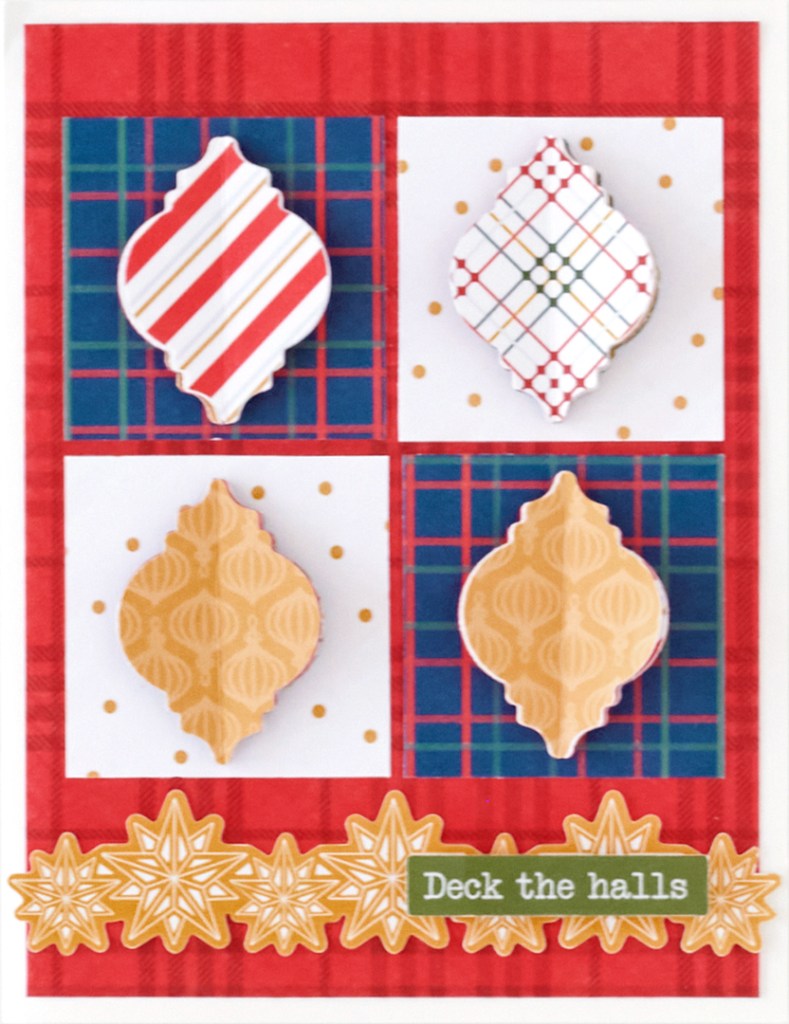
Step 1: Create the card base. Cut an 8-1/2” x 5-1/2” piece with White Solid Cardstock. Using the 12-inch Trimmer with the Scoring Blade, score along the long edge at 4-1/4” and fold in half.
Step 2: Cut a 4” x 5-1/4” piece with red plaid tonal designer paper and adhere on the card front. Cut two 1-3/4” squares with blue, green and red thin plaid paper and two with gold dots paper. Adhere on the card as shown.
Step 3: Cut several 1-1/4” strips with a variety of papers. Flip the Festive Ornament Build-A-Punch upside down (so you can see what you’re doing) and punch just the ornament shapes from the strips.
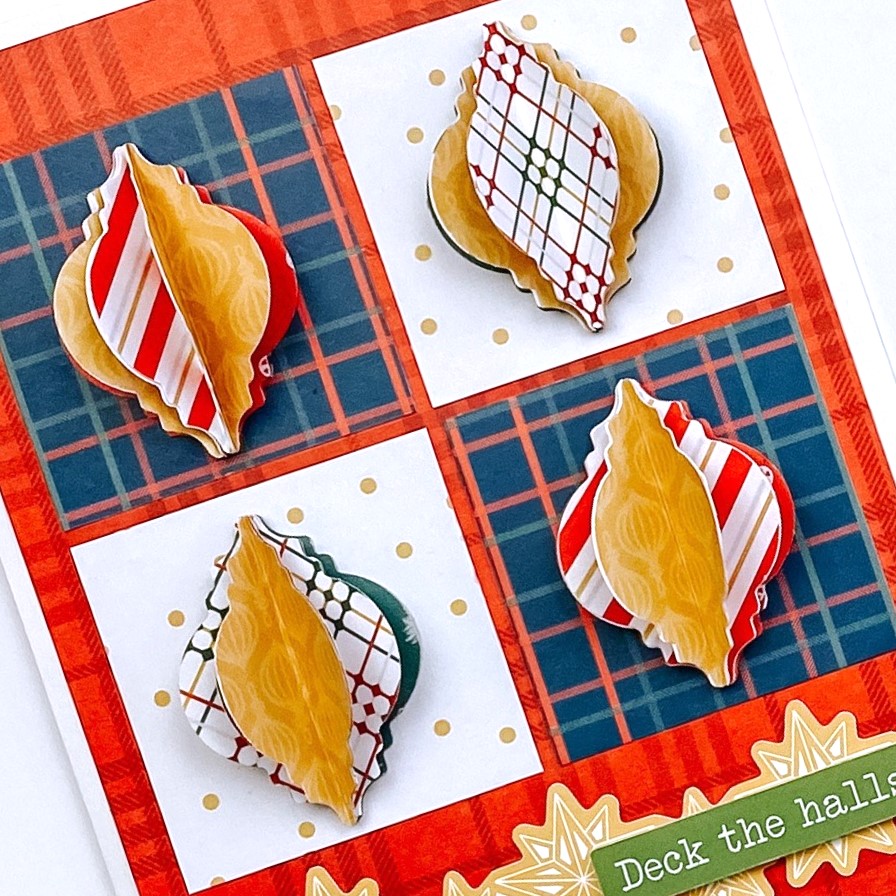
Step 4: Adhere an ornament shape on one of the squares. Score five ornament shapes from top to bottom and fold. Apply the Repositionable Tape Runner on the back of each. Adhere folded shapes together to create a 3D fan shape. Repeat for the other three ornaments.
Step 5: Cut a 4” section of a stars border sticker and adhere on the card. Add a title sticker with Foam Squares for added dimension.
Do you decorate your Christmas tree year after year? Will you add these Christmas scrapbook borders and DIY card to your seasonal to-do list? Show us what you make this Christmas with this ornament punch, too!
P.S. Are YOU a member of the Virtual Crop Facebook Group? It’s your go-to place for MONTHLY Virtual Crops, MONTHLY Completed Album Challenges, WEEKLY LIVE STREAMING of Fast & Fun Projects with Noreen, LIVE QUARTERLY Secret Box Openings with project tutorials and so much more! We hope you’ll join our community of more than 36,000 fellow memory-keeping enthusiasts — you’ll feel right at home!

Thank you for this entry! I will try to do something like that for my grandmother :)