June 11, 2024
From CTMH to CM: A Maker’s Honest Review of Creative Memories Tools

If you’re a current or former Close To My Heart Maker looking for scrapbooking products, you may have some questions about the similarities and differences between CTMH and the new Creative Memories (“CM”). We’re here to help answer them in this three-article series with a former CTMH Maker, Brenda Rose, who is now a CM Advisor.
This is the second article in the series, picking up the conversation between Alison Dutton (CEO) and Brenda as they begin to talk about Creative Memories tools.
You’ll want to catch up with the first article in the series: From CTMH to CM: A Maker’s Honest Review of Creative Memories Collections
This recap reflects the conversation; it has been condensed for readability.
Alison: So now let’s talk about what’s newer to you, including the fact that I can tell you used the new Tire Tracks Border Maker Cartridge (“BMC”) on your Revved Up! layouts. What do you and your customers think about the Border Maker System now that you’ve tried it out?
Brenda: I’m glad that we’re talking about tools because they are new to me! At first, it might seem intimidating to learn a new tool system, but I recently introduced the Border Maker System at my National Scrapbook Day event here in Minnesota. I had many customers learning how to use the Border Maker System for the first time.
My croppers could not believe how easy it was to use! With the ease of changing punches and the built-in notches and guides, it is foolproof! What really impressed them was the Border Maker Organizer. It holds the system and so many punches in such a small space. Good organization is huge for most people.


Alison: That is great! We have a lot of Advisors who create Border Maker System clubs because we offer new cartridges every month. You can also see designs with each launch on our blog.
Tell me more about your Border Punches ”Aha!” moments.
Brenda: We used the Forest Mushrooms Border Punch on our pages at the crop. This is a tool that can seem intimidating if you don’t know how to use it. I wanted them all to cut their own borders, and once they learned where to place your paper when you start and how to line up the images on the side, it was super easy for them! I am glad I brought other border punches so they could keep playing!
Creative Memories Border Punches allow you to create a continuous 12? border. To use a border punch, insert your paper so the far edge lines up with the small black marking on the front of the punch. Press down on the top lever to cut the first section of your border. Then, move the section you just punched to line up with the pattern on the punch tray and punch again. Continue until you’re left with a complete 12? border!
Alison: I agree that you do have to learn how to use a Border Punch, but once you do, it’s a lot of fun to create borders. We also have similar punches — the Circle Frame and Frame Punches that can do borders that go beyond a straight line too. These are released less frequently but work in a similar way to the Border Punch, creating repeatable, intricate designs for your pages. The team is currently working on updating our instructions for punches in video form, but they can also be found in PDF form (for readers here).
Typically, people use our Border Punches for 12-inch borders, but tell me more about how you are styling them in new ways!
Brenda: I like to use them as bits and pieces on a page. It’s fun to tuck a portion under a photo corner, use them as accent pieces in the corner of the page or even as a stencil on a page!
Tool featured: Friendly Fish Border Punch
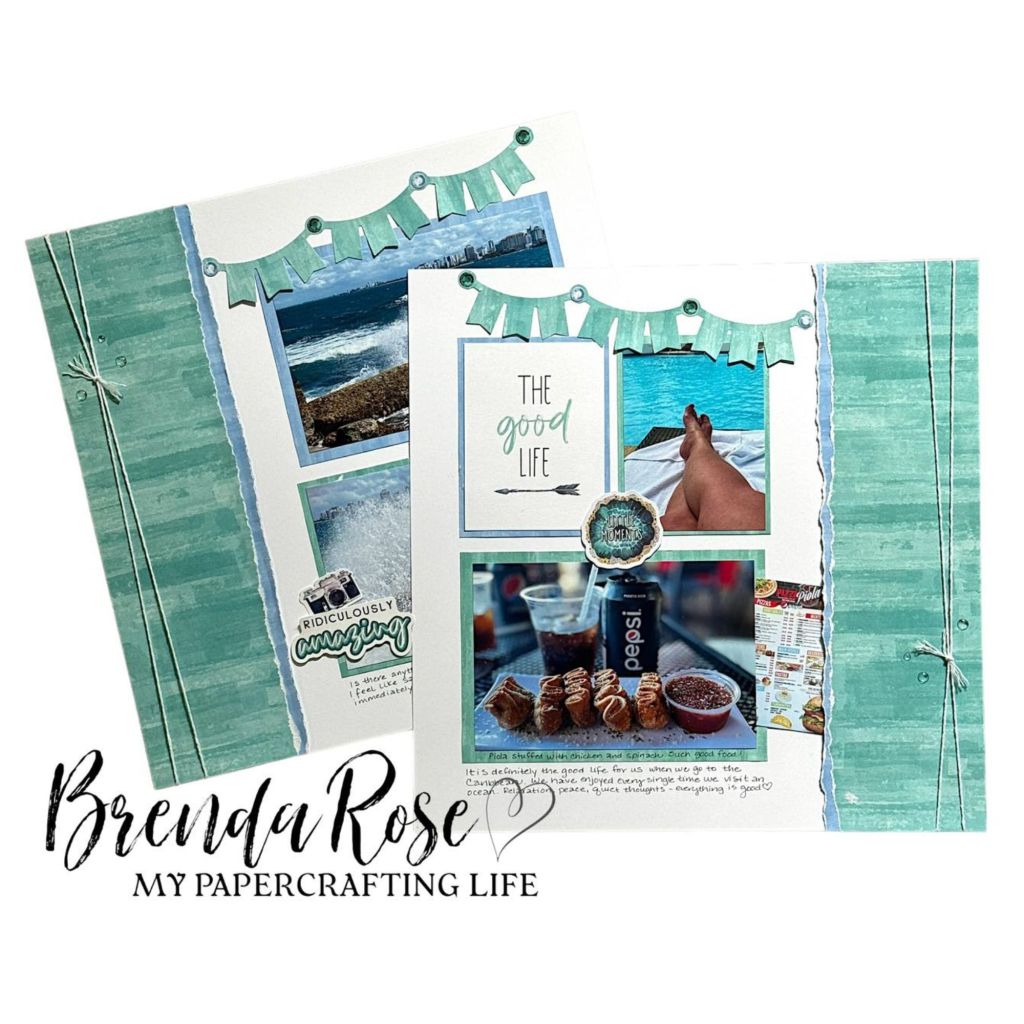
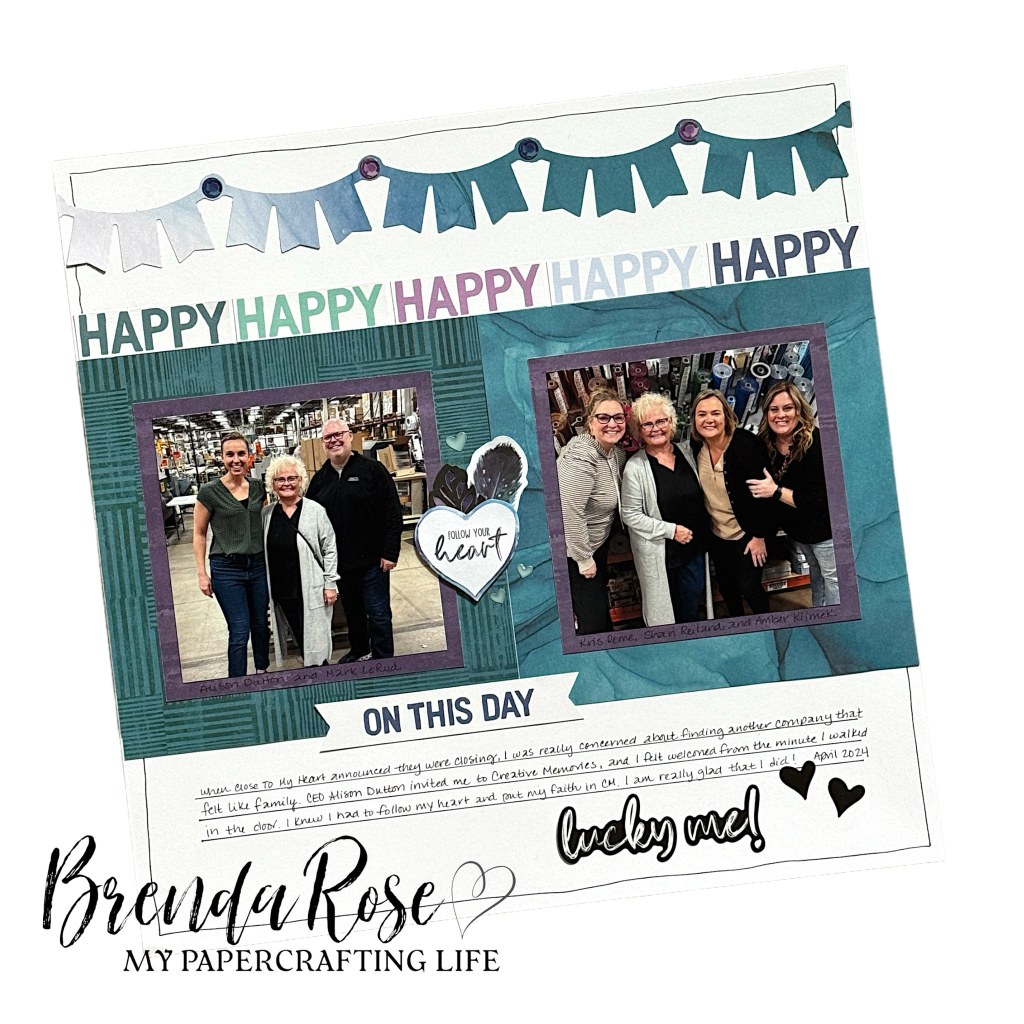
Tool featured: Garland Banner Border Punch

Tool featured: Notebook Edge Border Maker Cartridge

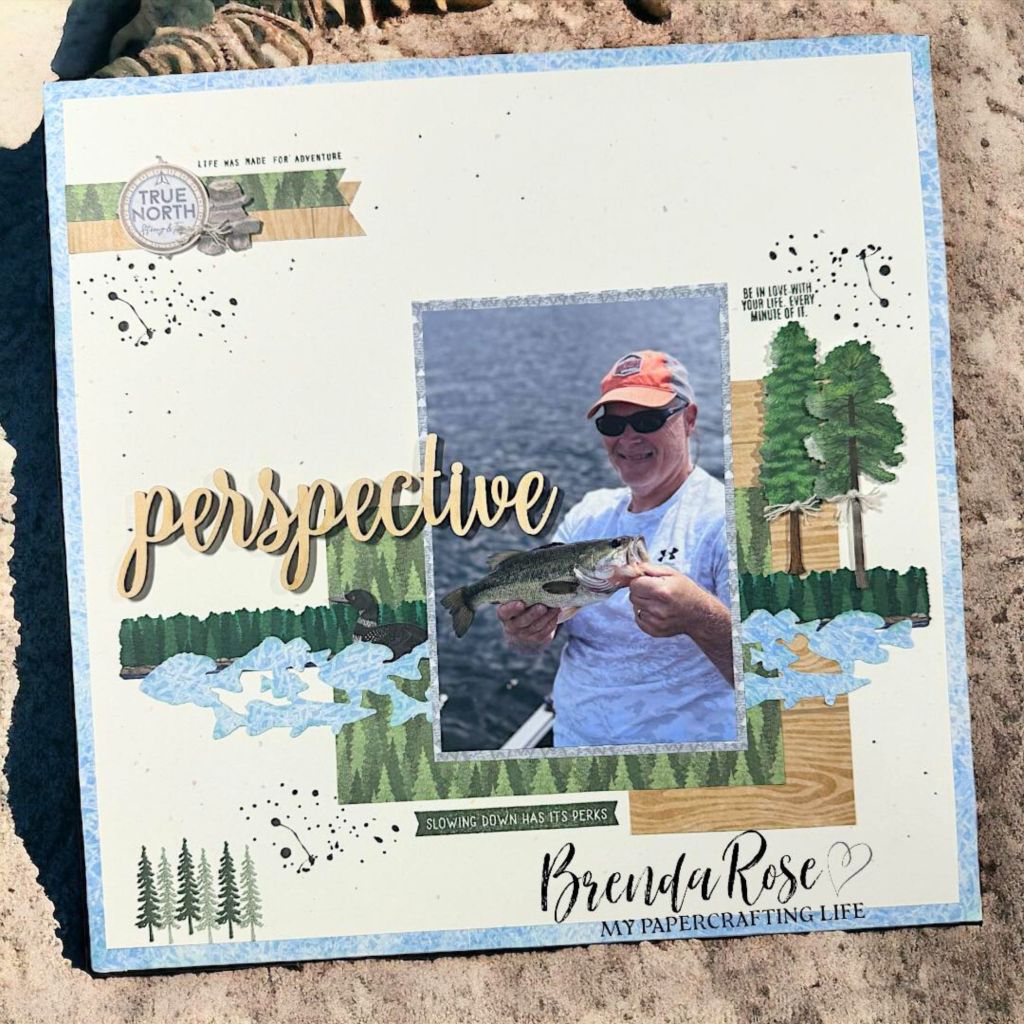
Tool featured: Gear Wheel Border Punch
Alison: The last time we chatted we talked about the Repositionable Tape Runner and how it’s particularly useful to adhere intricate cuts from the Border Maker System and Border Punches. Now that you’ve had a chance to play with it, how did it go?
Brenda: I think this is my favorite because it is dotted when it comes out of the runner. This type of adhesive allows you to use it on small pieces or reposition easily.
Alison: What are your thoughts on other adhesives that you’ve played with like Foam Squares and the regular Tape Runner?
Brenda: The Foam Squares are solid. Once you adhere them to something, they stay in place. This is important in knowing that your pages will stay together over time. Many people love the Tape Runner so I am glad that it is an alternative for those who may not like the dots in the Repositionable Tape Runner.
Add dimension to your scrapbook layouts with Foam Squares! These photo-safe adhesive squares are perfect for popping up embellishments and stickers to give a layered effect and can even be stacked for double the dimension! This pack includes two sheets of Foam Squares and each sheet has a combination of 1/4″, 3/8″, 1/2″ and 5/8″ squares. Once you’ve tried them, you’ll see why they have a five-star rating!
Alison: I have to admit my favorite, most-used tool is our 12-inch Trimmer. Have you experimented with it and the different blades’ styles? What surprised you as you started to use a new trimming system?
Brenda: Oh yes! It has quickly become my favorite trimmer! I was worried about this tool because I have used another brand of trimmers for all my crafting years. I started using it every day and WOW, I can’t believe the difference in my finished cuts! Because it has a cutting mat, there are no ridges or tears. It cuts everything so smoothly and even trims the tiniest of slivers off the side of a page. I really love that the cutting mat is marked with 4 areas to cut so that you get a lot of use from one mat. Not to mention that you can store an extra cutting mat on the back of the trimmer.
The trimmer blades are so much fun and I have played with all that Creative Memories carries. They are super easy to swap out with the straight blade. They make unique borders on paper and I think my favorite two are the Scoring and Perforating Blades. The Scoring Blade makes those nice lines on your paper to add just that little bit more to a page. I do not sew, so I like using the Perforating blade to mimic stitches. And just like the cutting mat, there is storage on the back, so you never have to wonder where they are! Did I tell you it’s easily my favorite trimmer now?
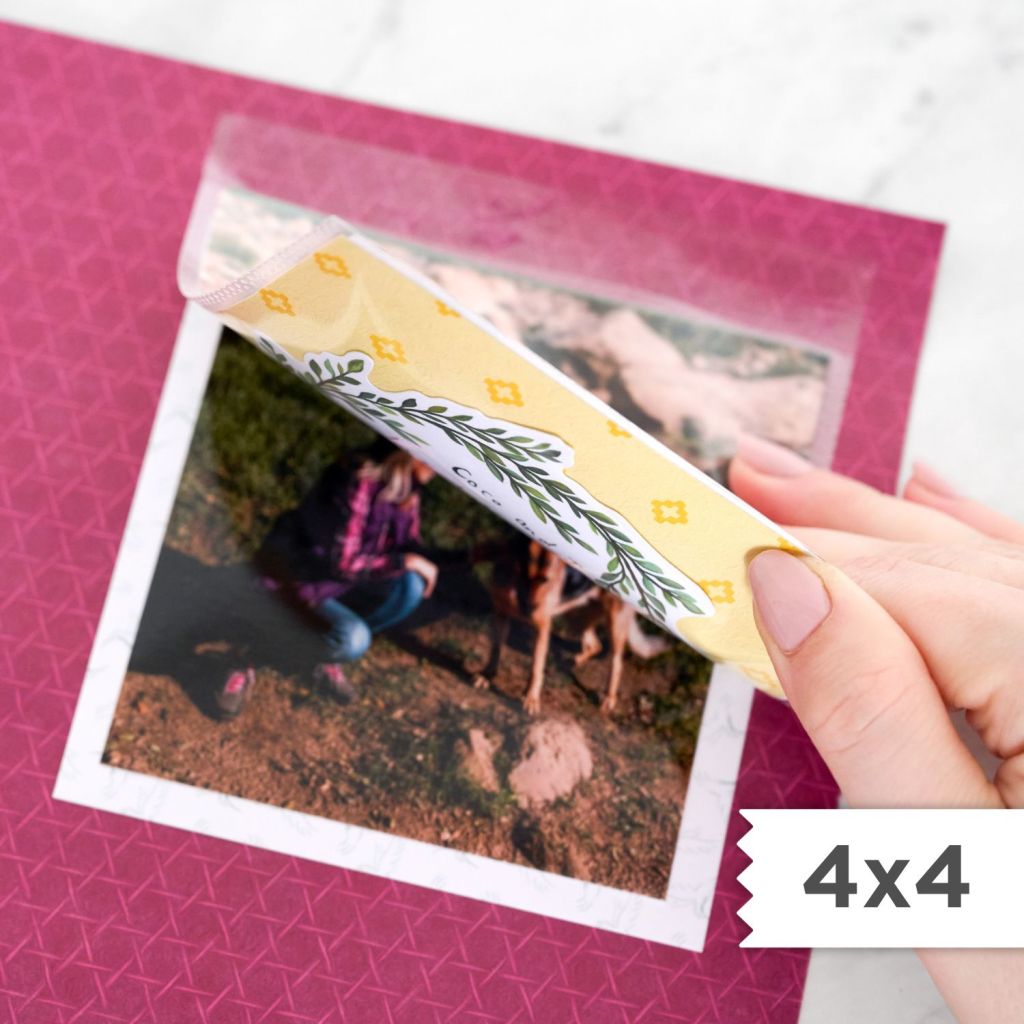
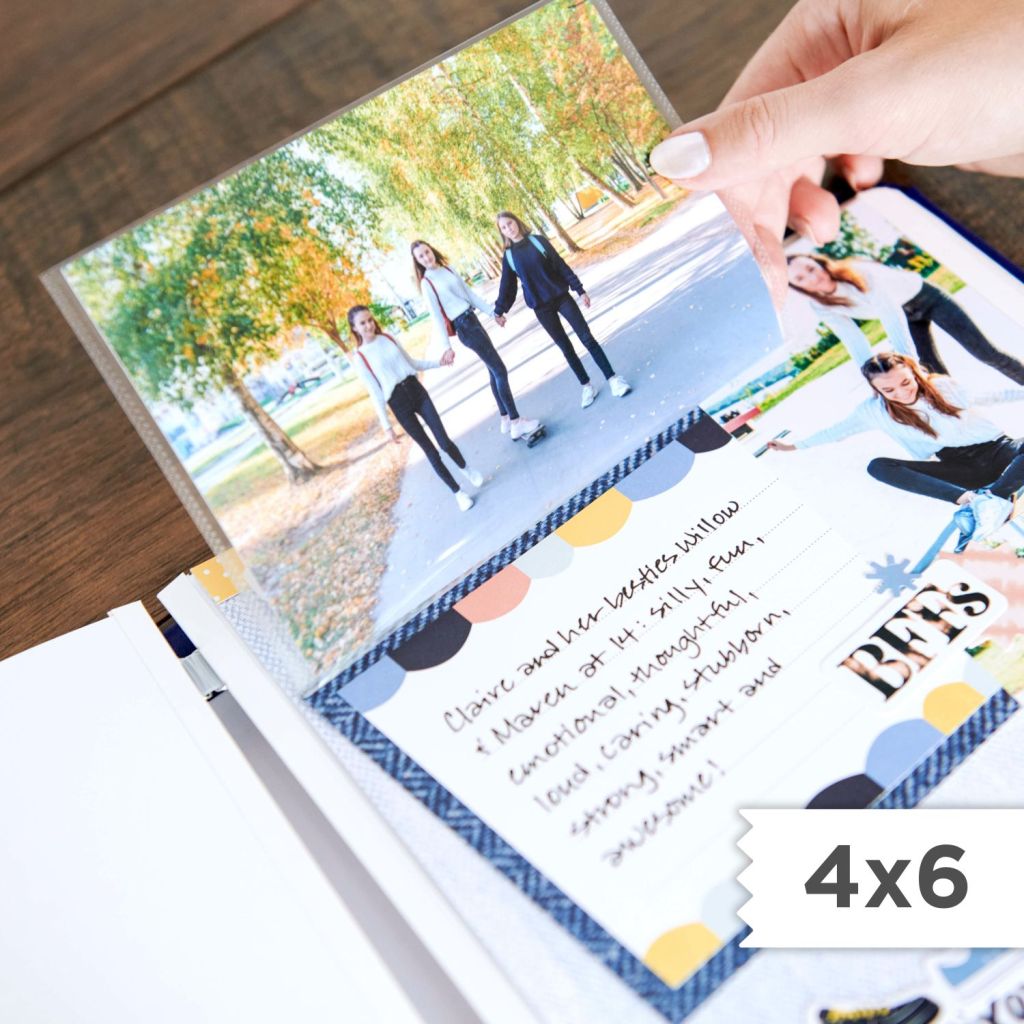
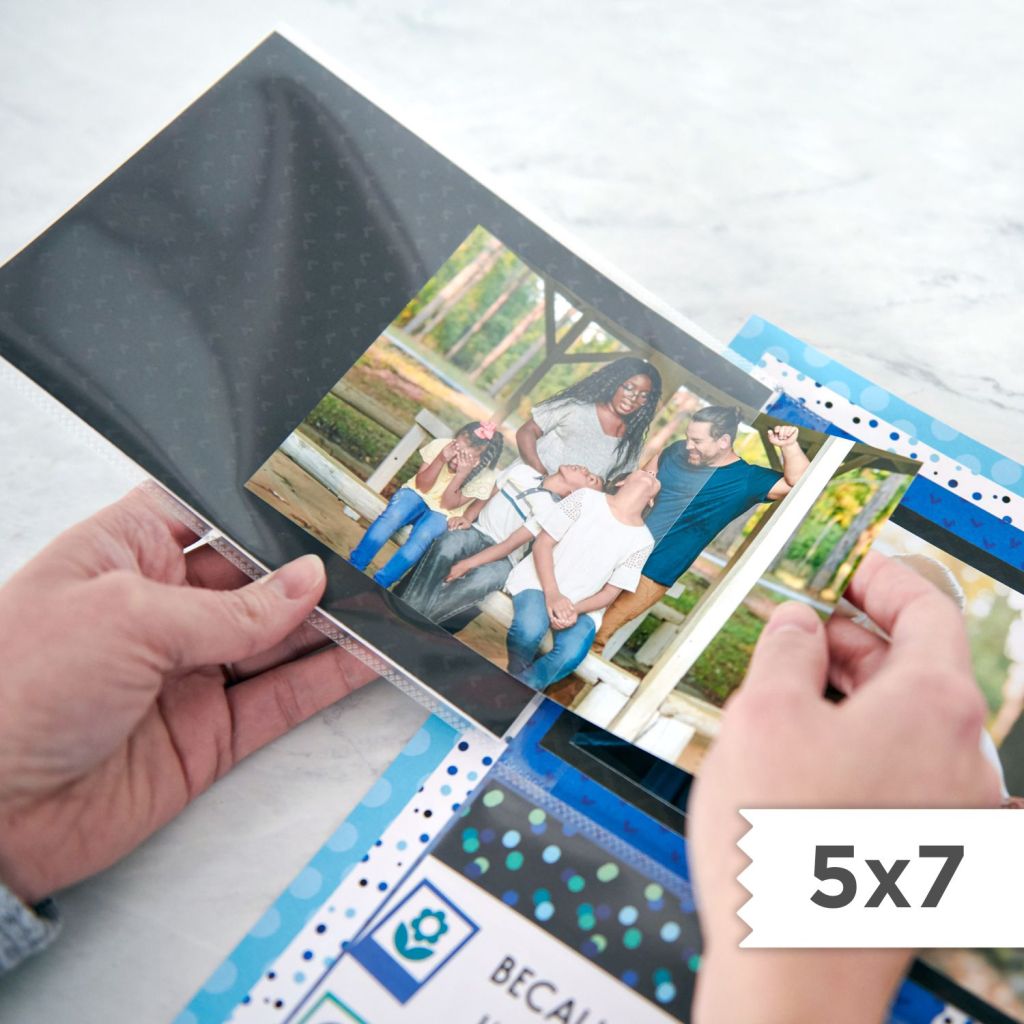
Alison: And I know we’re running out of time, but we have to touch on Peekaboo Pockets™. Currently, we have 4×4, 4×6, 5×7 and 6×12. And 3×3 and 3×4 sizes are releasing soon. I recently used the 6×12 to create gate-fold pages at a National Scrapbook Day event and I love those pages — I used them in both of my girls’ albums. How do Peekaboo Pockets compare to Flip Flaps?
Brenda: I love the idea of using the 6×12 to make a gate-fold page. So smart, Alison! The first thing I do with any type of protectors is try to pull apart or tear them. I need to know that they will stand the test of time. The Peekaboo Pockets stood up to my informal testing and that makes me very happy! When I tested them next to a Flip Flap, the Peekaboo had more clarity. That surprised me and made me very happy. I used Flip Flaps a lot, so I am glad I have found a very good quality alternative in Peekaboos!

Alison: I’m loving your stories about sharing CM products with customers for the first time. And with your immense creativity, I know you’re a memory-keeper first and focus on sharing ideas that enable your customers to create pages they love.
I’m curious to hear what growing at Creative Memories has looked like for you with your customers and team members…
…Stay tuned for the next post released on June 18 as Brenda completes our series by sharing more about her Creative Memories events and team. Subscribe to the blog to get each post via email.
Get to Know the New Creative Memories
The most important thing to know about Creative Memories is that we make scrapbooking fun and we prioritize scrapbooking together — whether that is in-person or in a virtual community. Our Advisor community of 20,000+ Advisors across the United States, Canada, Australia and Japan host over 15,000+ in-person events each year. You can search your zip code on this page (CA | AU) to find an event and an Advisor near you.
As a Creative Memories Advisor, we allow you to sell for multiple brands — the freedom to be an entrepreneur — and we do not have order minimums. Our plan is simple: the more you sell, the more you earn. You can learn more about the details and join as an Advisor on this page (CA | AU). Currently, we have a special transition offer for former Close To My Heart Makers. Contact Coach@CreativeMemories.com to learn all the details from our team or view it here (CA | AU).
In addition to scrapbooking with friends, at the end of the day we value… scrapbooking. Whether you use one photo or multiple photos on a page, whether you use punches and/or stamps, everyone is welcome in our Creative Memories community. What brings us together is a passion for getting our family memories into albums. If you share this passion, we invite you to join our Virtual Crop Group where we refresh the group each month with sketches and inspiration. This group is open to all scrapbookers — CM customers, Advisors and anyone looking for scrapbooking inspiration. Join the fun with 40,000 other scrapbookers here. (The only reason you need to apply to join is so that we can leave scammers out!)

And even though I’ve been with CM forEVER I never thought about the perforating blade to mimic stitching! I will be using that trick for sure! Thank you!
I am glad that tip was helpful!!
I had no idea there was a place to store an extra cutting mat on the back of the 12″ Trimmer! I looked, and there it is! Thanks for the tip!
I am glad that tip helped!!