March 2, 2026
Cue the Confetti with a Bold Birthday Layout
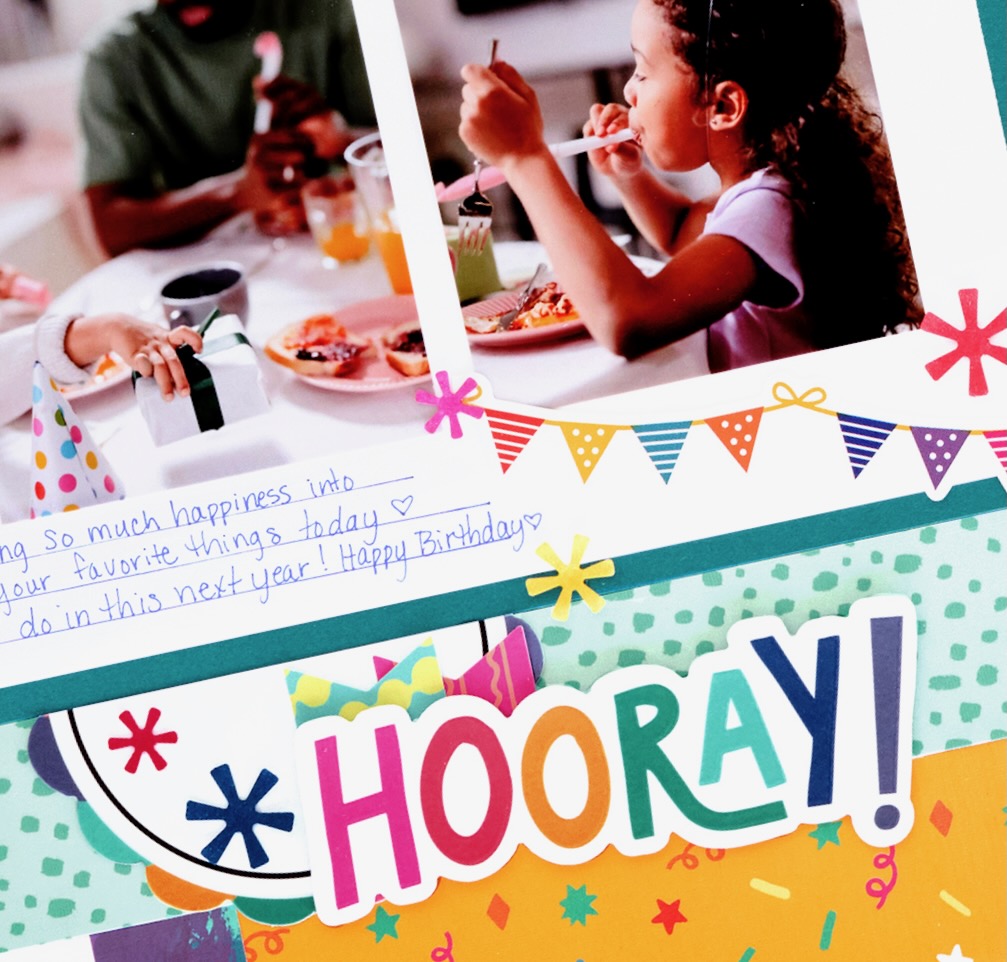
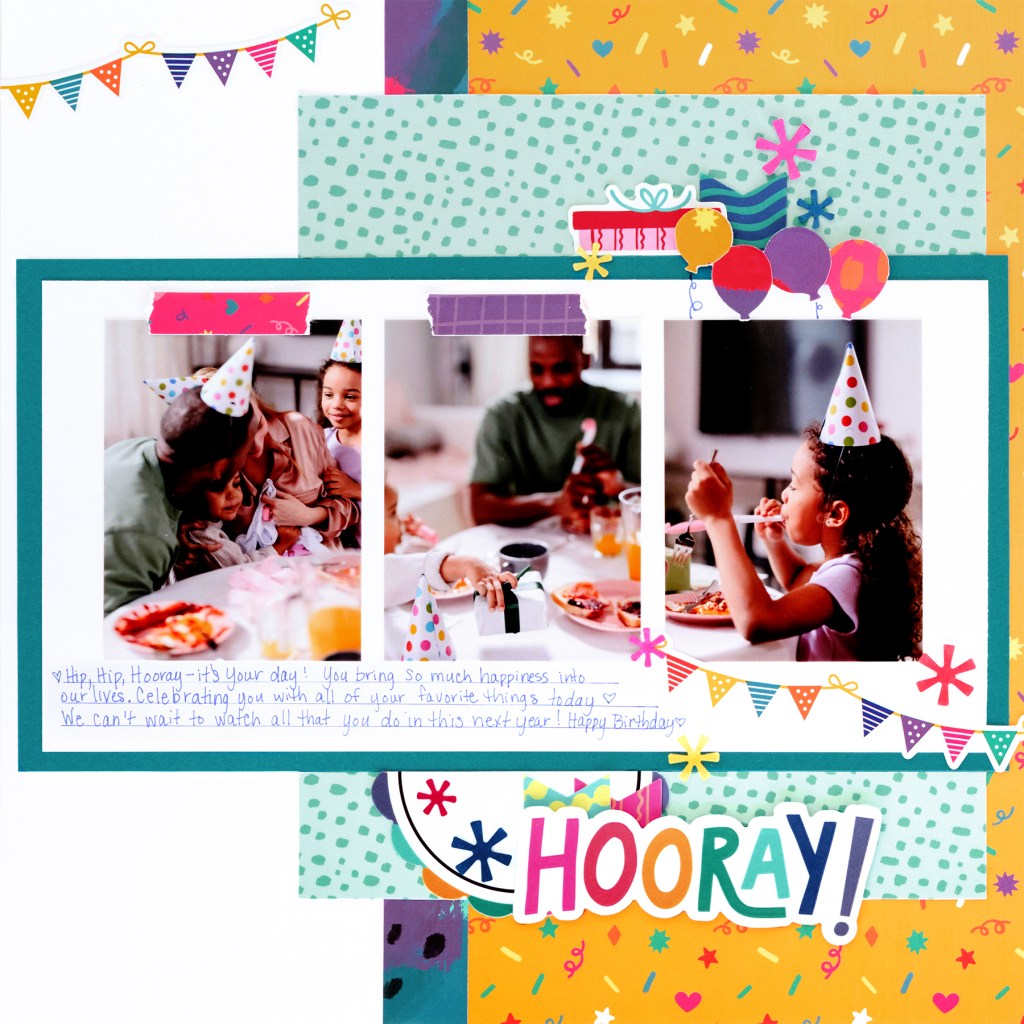
Celebrate you or your loved one’s special day with a layout that’s bursting with bold colors and patterns! This Birthday Bash collection layout layers playful patterns and festive embellishments to perfectly frame those candle-blowing and cake-sharing moments. The “Hooray!” title ties it all together, capturing the joy and excitement of a day filled with smiles and sprinkles.
To create this layout, you will need:
- Birthday Bash Paper Pack
- Birthday Bash Embellishments
- Birthday Bash Stickers
- Birthday Bash Mat Cards
- Dark Sea Green Cardstock
- Bright White Cardstock
- Party Balloons Border Punch
- Festive Bursts BMC
- Original Border Maker System
- Navy Solid Cardstock
- 12-inch Trimmer
- Photo Trimmer
- The Tape Runner
- Repositionable Tape Runner
- Foam Squares
- Precision Glue Pen
- Dual-Tip Pen

Step 1:
Use Bright White Solid Cardstock as the base. Trim the yellow confetti designer paper paper to 7″ x 12″ and adhere flush along the right side of the base. Add a 1″ x 12″ strip of the dark multi-colored designer paper vertically, overlapping the yellow confetti paper by about 1/2″.
Step 2:
Cut two strips from island waters dots designer paper: one 8″ x 2-1/2″ and one 8″ x 2″. Adhere the 2-1/2″ thick strip about 1″ from the top and 1/2″ from the right edge, and the other 2″ strip about 1-1/2″ from the bottom and 1/2″ from the right edge.
Step 3:
Cut a piece of Dark Sea Green Solid Cardstock to 11-1/2″ x 6″ and adhere 3″ from the top and 1/4″ from the left edge, overlapping the two strips from Step 2. Trim a second Bright White Solid Cardstock to 11″ x 5-1/2″ and center it on the dark sea green, leaving a 1/4″ border.
Step 4:
Adhere your center photo about 1/2″ from the top edge of your white cardstock. Place the remaining photos 1/4″ apart on each side.
Step 5:
Trim a 1/2″ x 2-1/4″ strip from the top of both the “Yay for You” mat card and the Purple journal card. Tear the ends to resemble washi tape and adhere above the first two photos as shown.
Step 6:
Using the Party Balloons Border Punch, punch one section from your Bright White Solid Cardstock, and a few more from various Birthday Bash designer paper scrap pieces. Fussy cut the balloons from each other for the designer papers, and adhere to the white punch-out using a Precision Glue Pen. Adhere to your layout and doodle balloon streamers with a Dual-Tip Pen.
Step 7: Using the Original Border Maker System and the Festive Bursts BMC, punch from coordinating scrap cardstock and adhere with a Precision Glue Pen as shown.
Step 8: Add the banner sticker in the upper right corner, trimming off the excess as needed. Cut the scalloped circle embellishment in half and adhere centered under the middle photo. Attach additional banner embellishments as shown.
Step 9: Adhere the “Hooray” title embellishment on top of the scalloped circle embellishment with Foam Squares for added dimension. Add stickers and other embellishments using additional Foam Squares as desired.
Step 10: Journal as desired in the white space below your photos.
Let us know how you will use this layout in the comments below! Because every birthday deserves to be remembered a whole lot of “hooray”! 🎉
P.S. Are YOU a member of the Virtual Crop Group? It’s your go-to place for MONTHLY Virtual Crops, MONTHLY Completed Album Challenges, QUARTERLY Secret Box Openings with project tutorials and so much more! We hope you’ll join our community of more than 51,000 fellow memory-keeping enthusiasts — you’ll feel right at home!

