May 7, 2026
By the Seashore: DIY Paper Sailboats
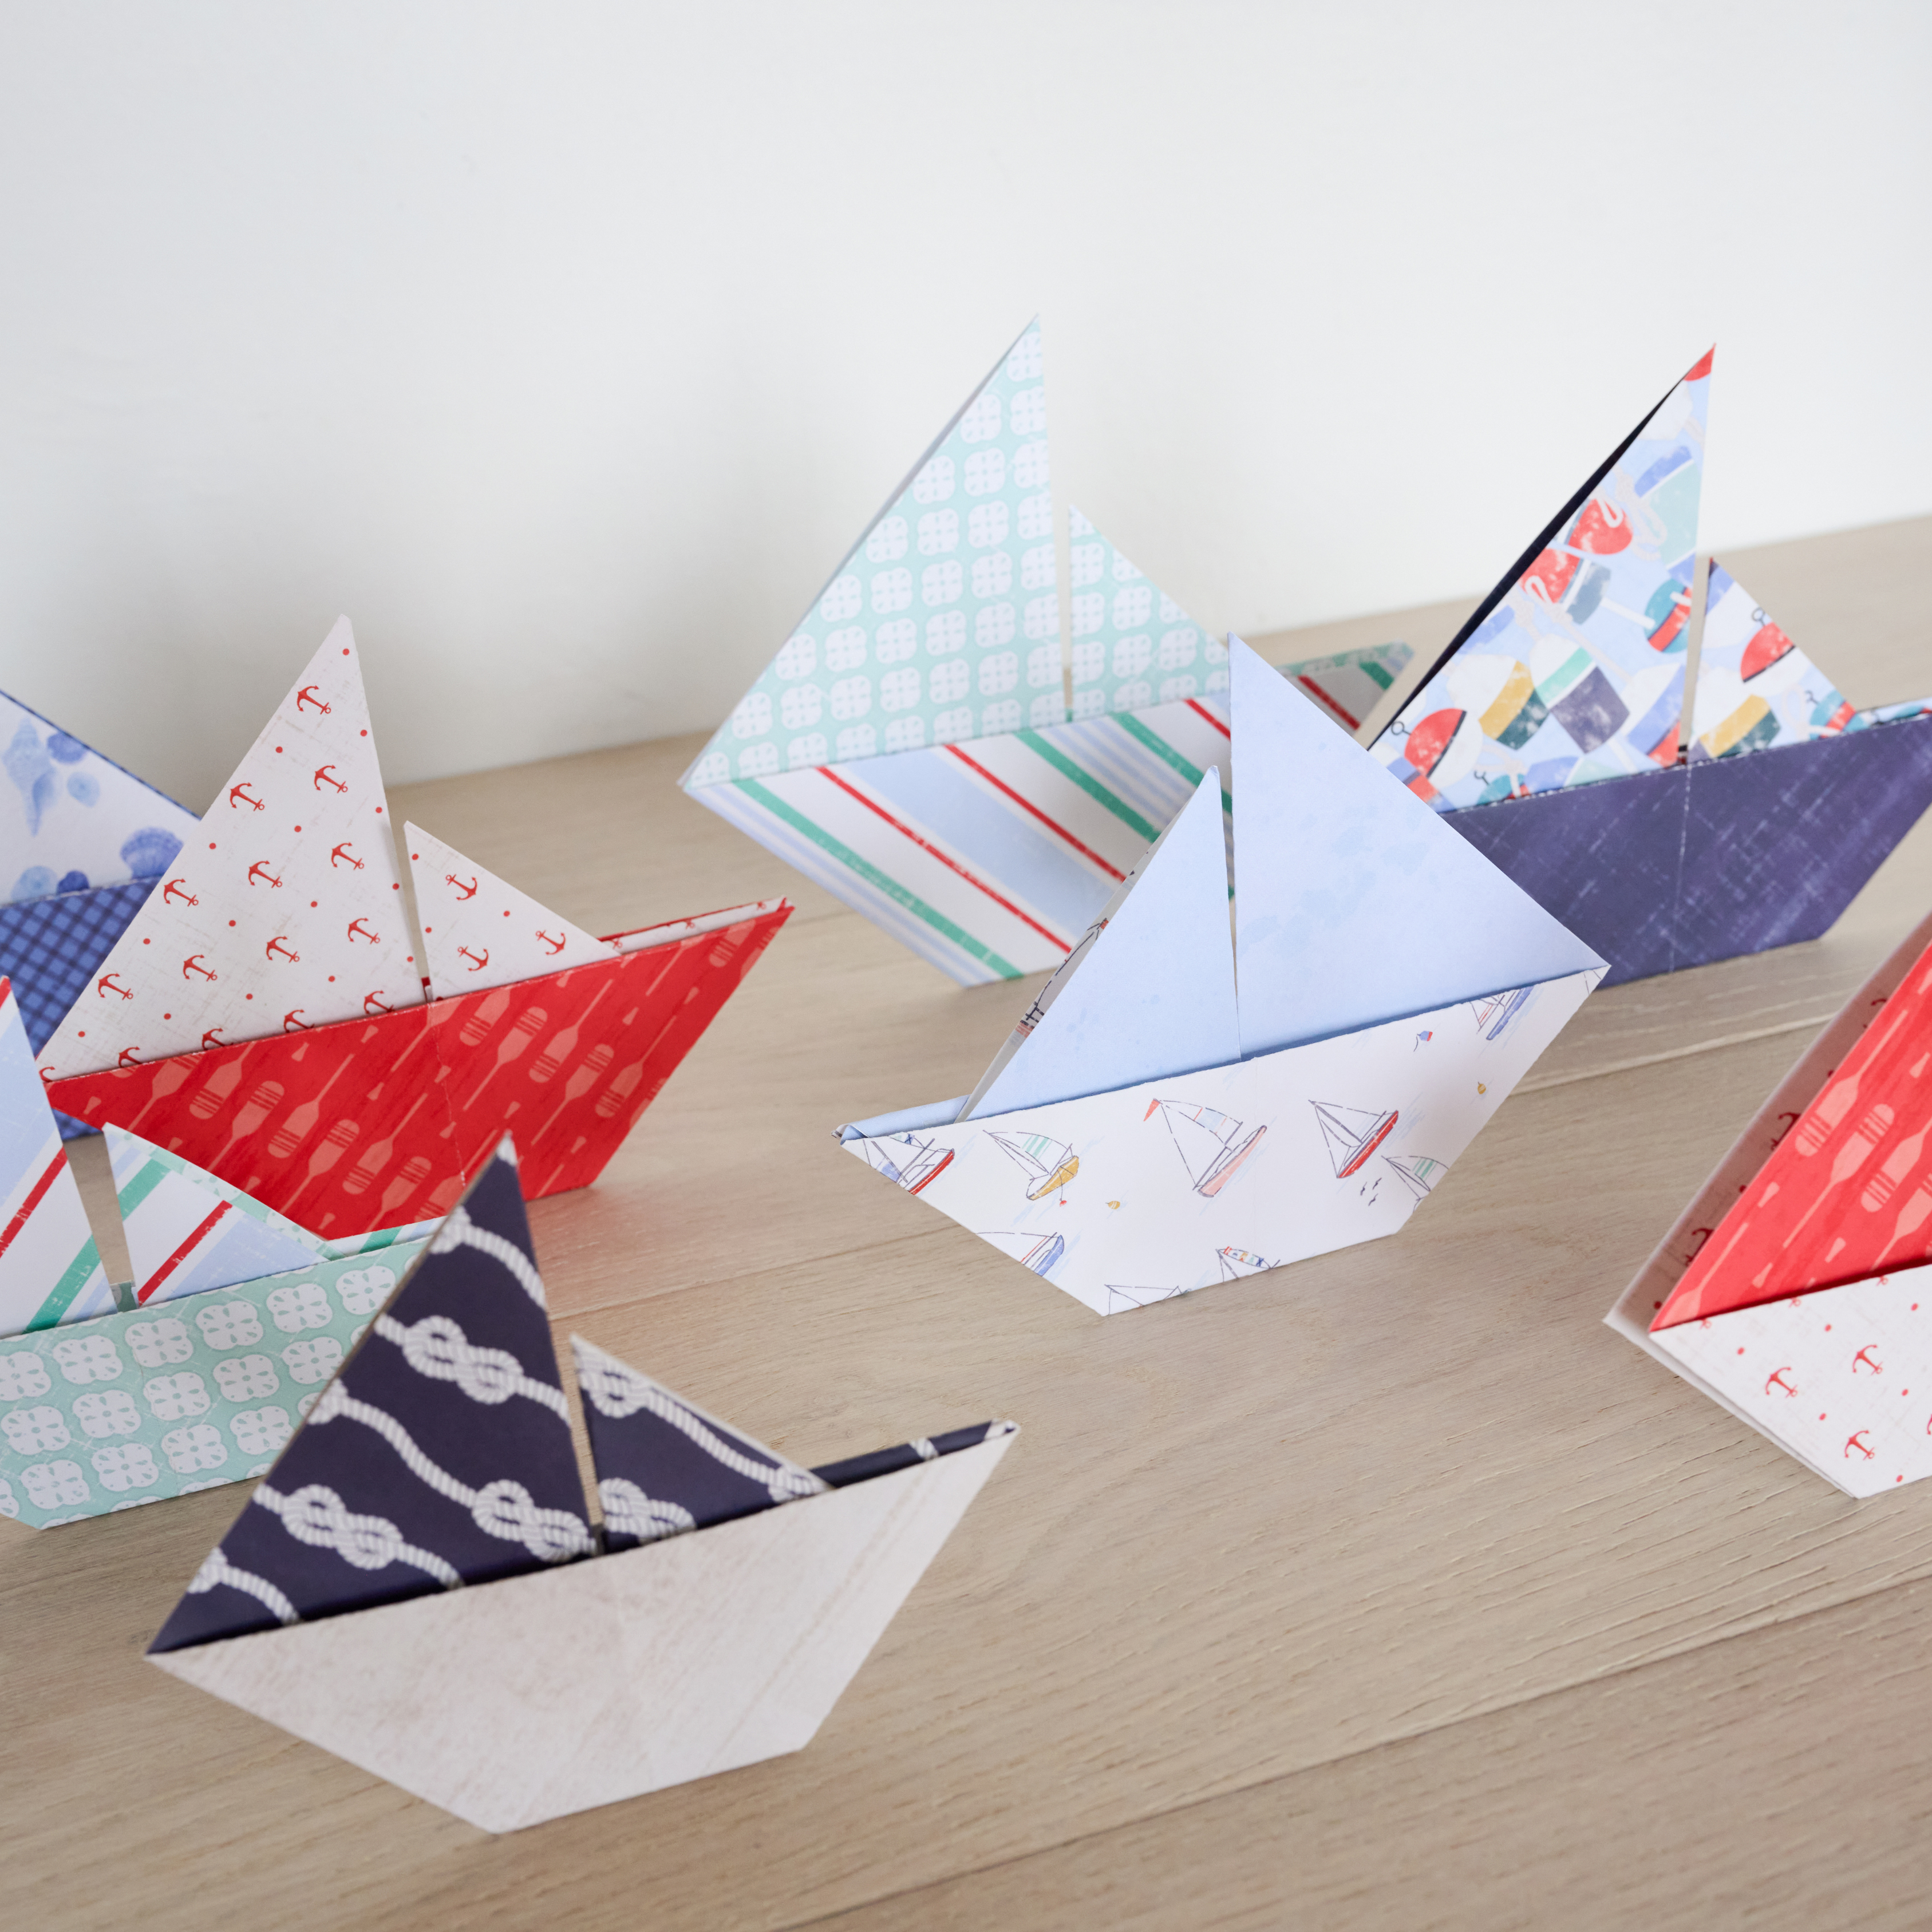
If you are looking for a unique way to style your next summer brunch or seaside celebration, look no further than your paper stash! We are always looking for fresh ways to use our gorgeous designer paper, and today we are trading the flat page for a bit of 3D fun. Using the breezy patterns and serene colors of the By the Seashore collection, we are crafting simple origami sailboats that bring a splash of coastal charm to any setting.


Watch: Follow along for a quick tutorial on these paper sailboats!

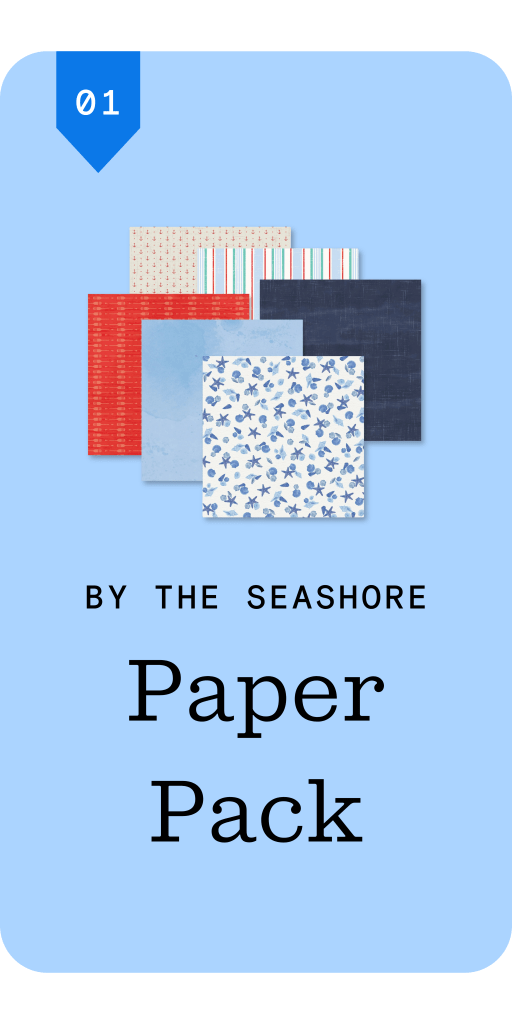
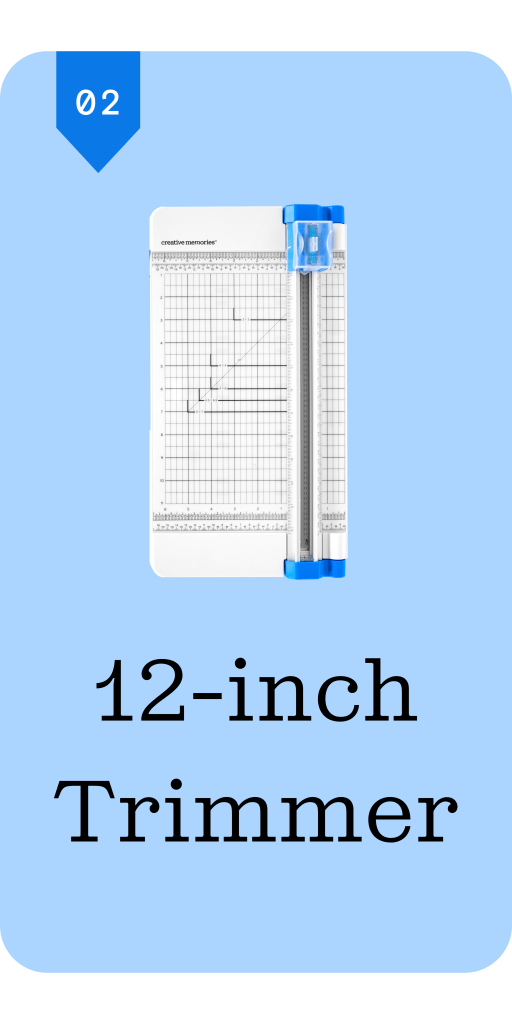
Step 1: Trim a piece of designer paper to measure 10″x10″. Any size works as long as it is a perfect square.
TIP: To ensure your desired patterns are in their correct spots, place your paper on your workspace with the sail pattern face up and the boat pattern face down.
Step 2: Fold the piece of paper in half diagonally to create a large triangle. Unfold it, then repeat on the opposite corners. When you open it back up, you should have a crisp “X” crease in the center.
Step 3: Position your paper like a diamond. Fold the right corner inward so the edge aligns with the center vertical crease. Repeat with the left corner.
Step 4: Fold the entire piece in half horizontally by bringing the top point down to the bottom point. You should now have a shape that looks like a house with a pointed roof. Turn your “house” so the point is facing down toward you and the flat edge is at the top.
Step 5: Fold the top right corner down to the center vertical crease. Do the same with the top left corner to form a small square. Unfold these two corners immediately. These creases will act as your guide for the next step.
Step 6: Pick up the right side of your “house.” You are going to split the layers of that right flap and open it up toward the right. As you spread the paper open, use your guide creases to flatten it down. This action reveals the sail pattern and forms a triangle that points off to the side.
Step 7: Flip the entire project over. Repeat the same process on the other side: open the flap, spread the paper to reveal the sail pattern, and press it flat using your creases. You should now have a boat base at the bottom with two sails pointing upward.
Step 8: With the sails facing you, take the right sail and fold it down toward you. Fold it back up, leaving a half inch to one inch overlap to shorten the sail.
Step 9: Open the boat base slightly and tuck that excess paper inside the boat so it is hidden from view.
TIP: To ensure your sailboat holds its shape, use a tape runner to discreetly seal the sails and base. This creates a more structured finish.
Step 10: Finally, fold the bottom corner of the boat base upward. This creates a “kickstand” so your sailboat can stand on its own!
And just like that, you are ready to set sail. These origami sailboats are a clean, simple way to bring the By the Seashore patterns to life at your next coastal gathering. They are the perfect intentional detail for a summer of hosting and handmade decor. We cannot wait to see how yours turn out!
P.S. Are YOU a member of the Virtual Crop Group? It’s your go-to place for MONTHLY Virtual Crops, MONTHLY Completed Album Challenges, QUARTERLY Secret Box Openings with project tutorials and so much more! We hope you’ll join our community of more than 52,000 fellow memory-keeping enthusiasts — you’ll feel right at home!

