October 21, 2026
Skip the Photo Dump: Start a Gratitude Scrap Journal with Inner Light
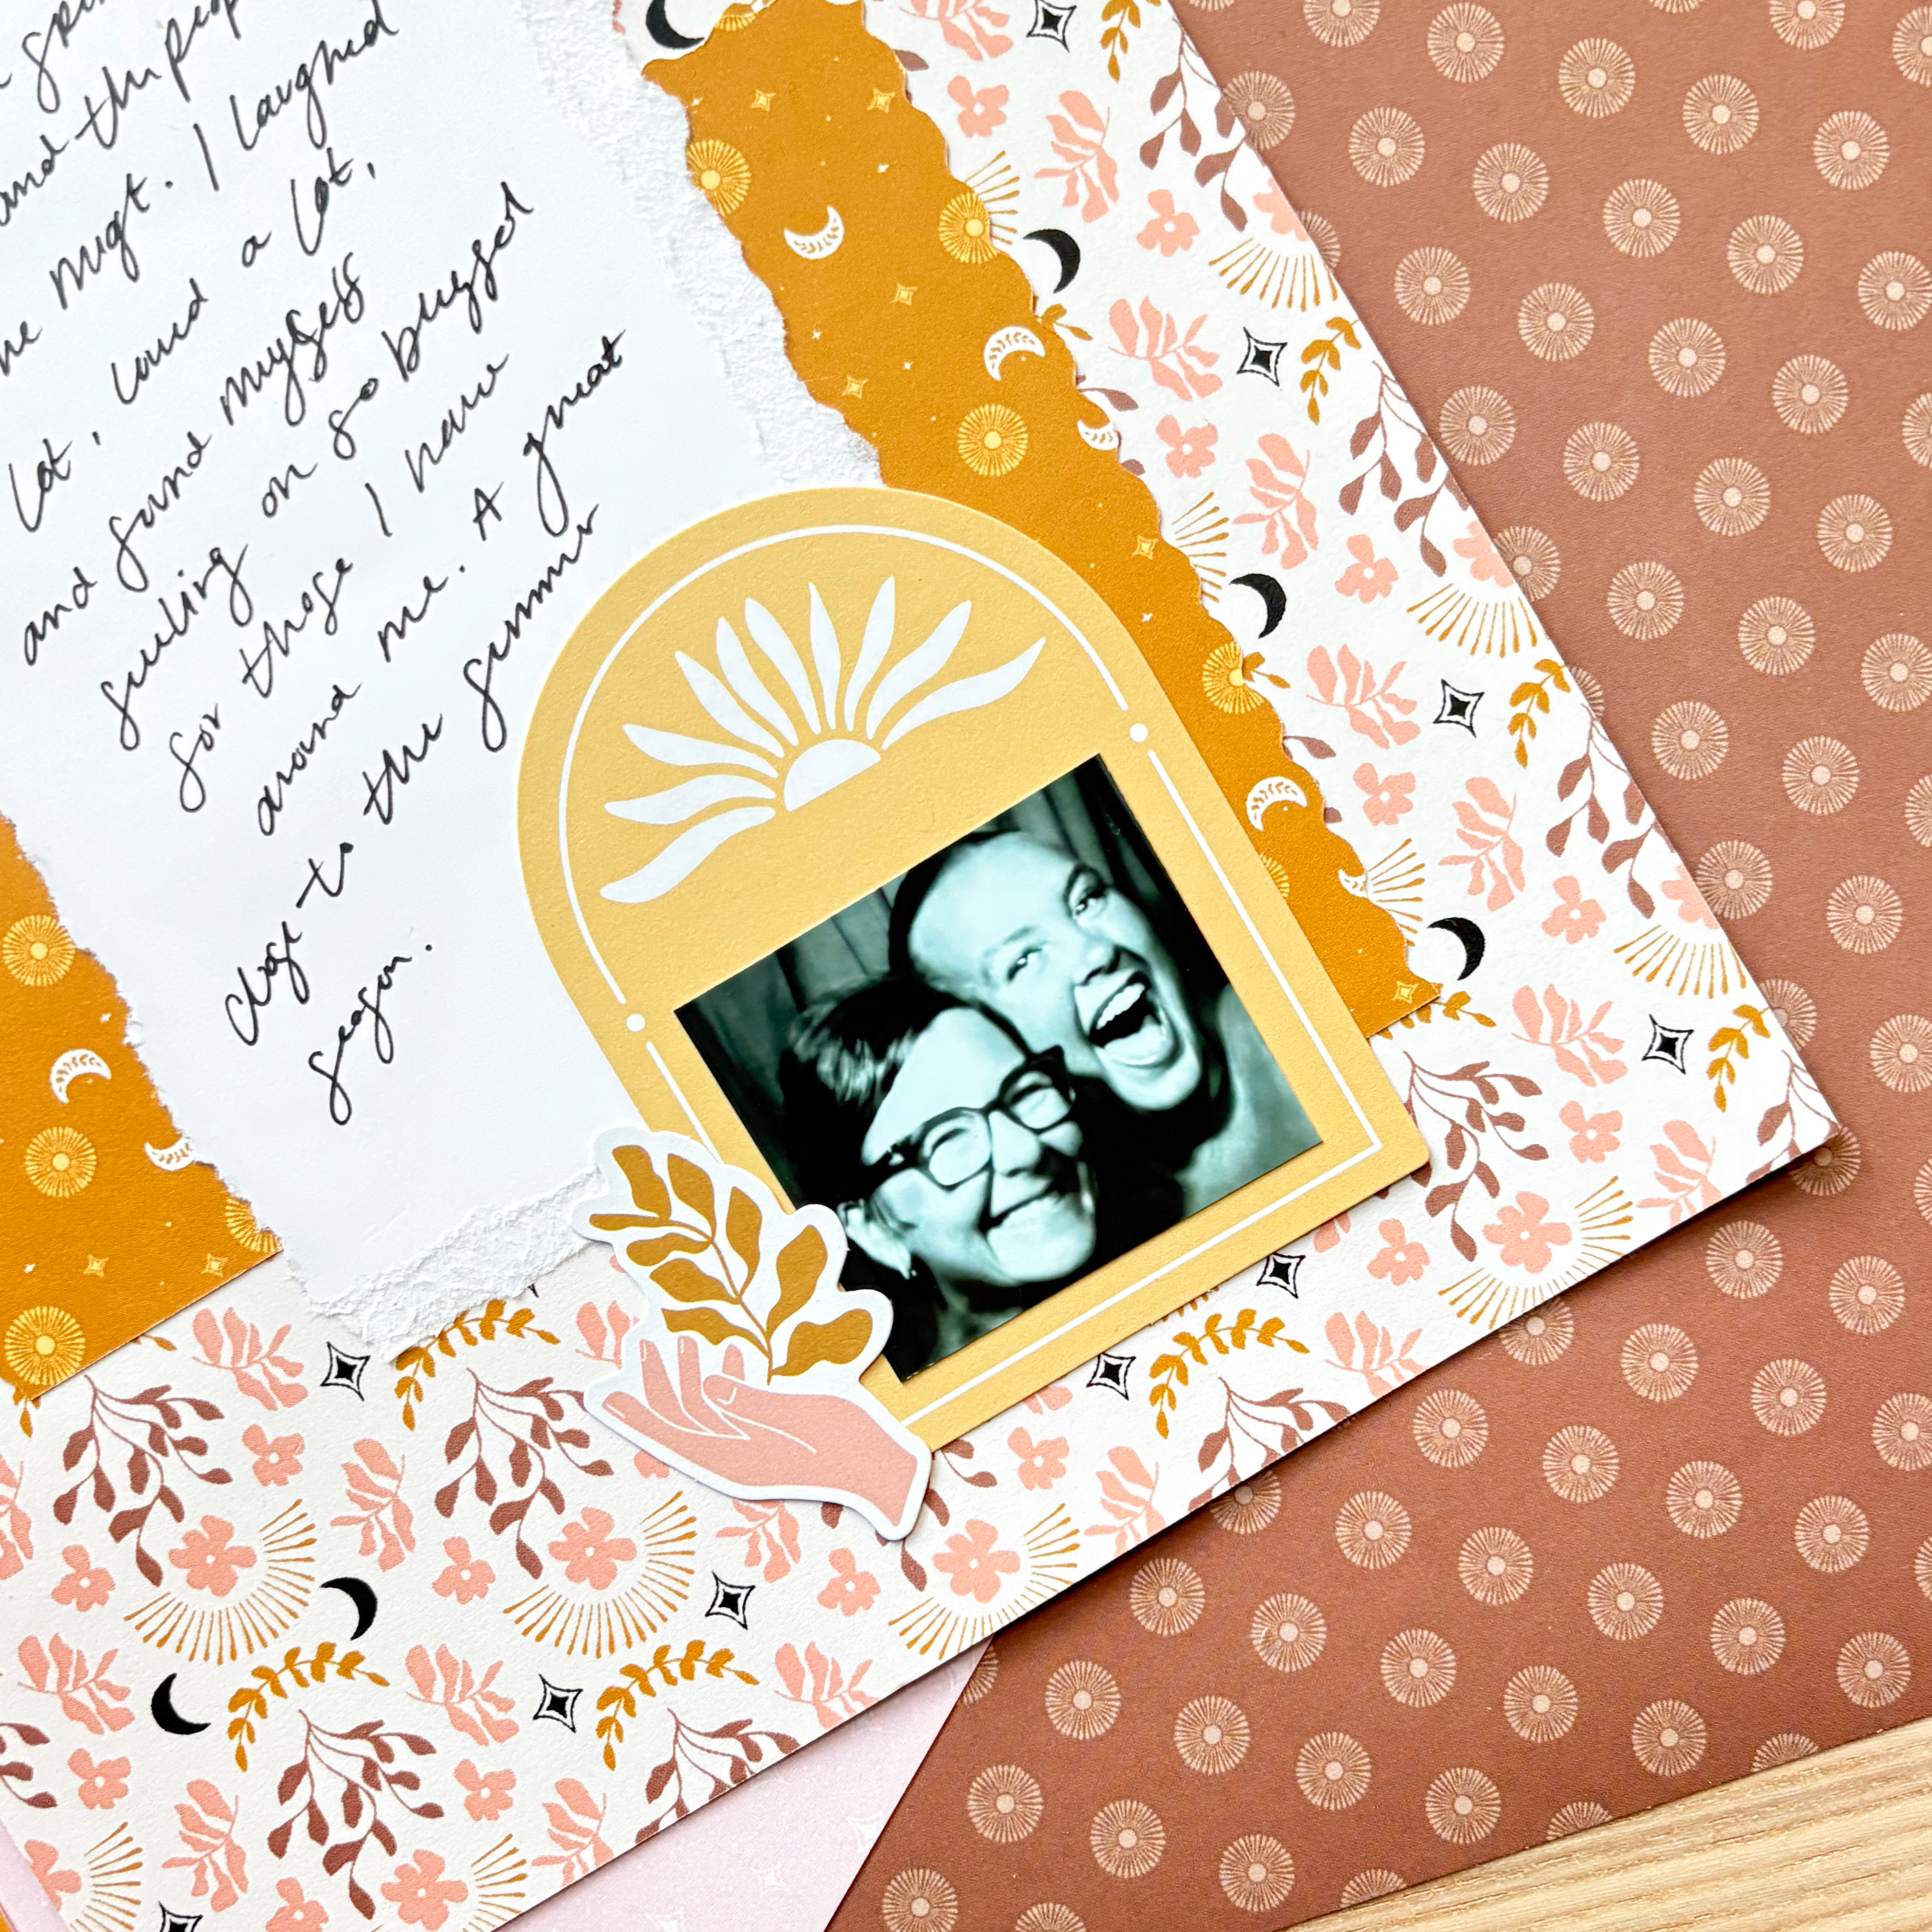
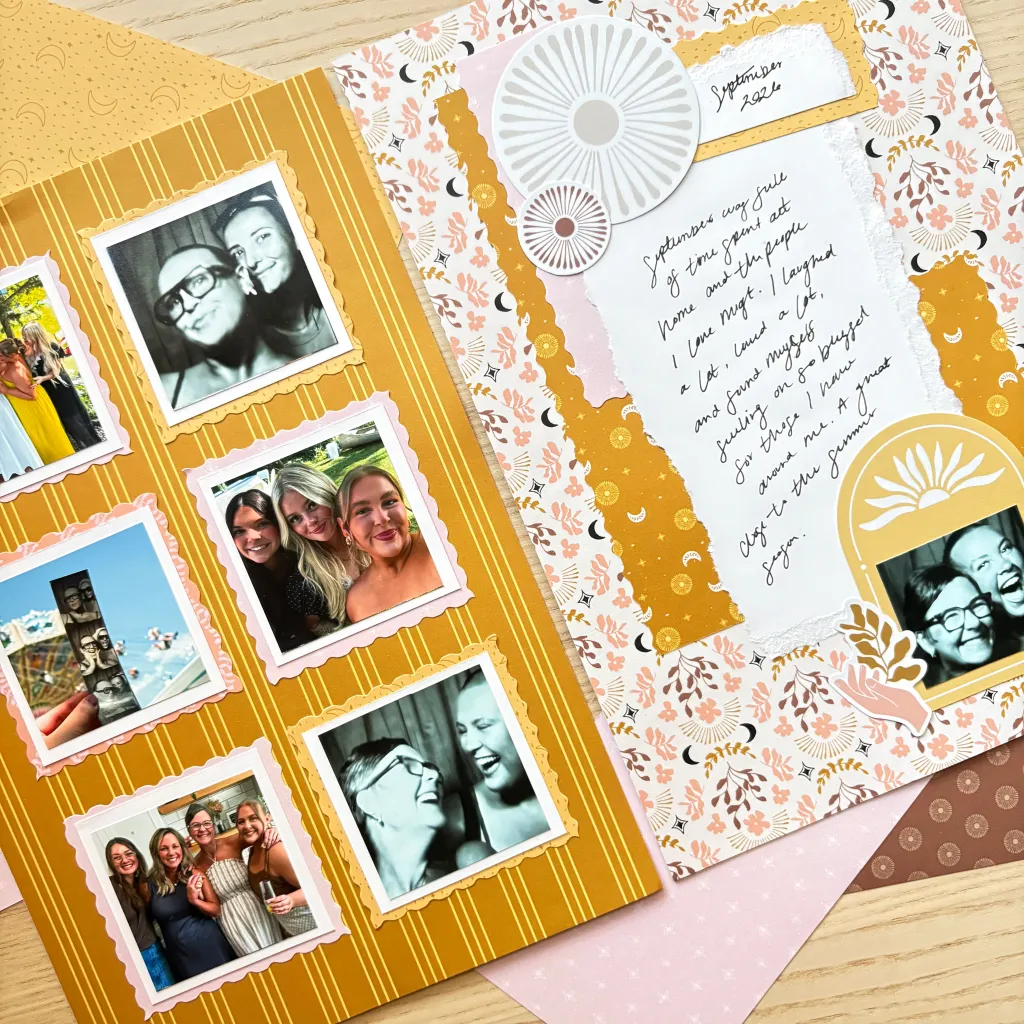
Your camera roll is full of little moments worth remembering, so why let them get lost in a photo dump? This two-page spread kicks off a brand-new gratitude Scrap Journal with the Inner Light Scrap Journal Bundle, full of warm golds, soft blush tones and botanical prints. Faux postage stamp photo mats made with the 12-inch Trimmer Stamping Blade, layered paper scraps and a hand-torn journaling spot come together for a page that’s easy to make and so satisfying to flip back through.
What’s a photo dump? It’s a big batch of everyday photos shared all at once on social media, like Instagram, instead of one carefully chosen picture. It’s a fun way to share the little moments, but those photos are easy to scroll past and forget. A Scrap Journal gives them a lasting home!
Gratitude journaling doesn’t have to be a big production. Taking a few minutes to print, trim and write about your favorite moments from the month is a simple way to slow down and reflect. It makes everyday memories feel a lot more meaningful than a quick scroll ever could.
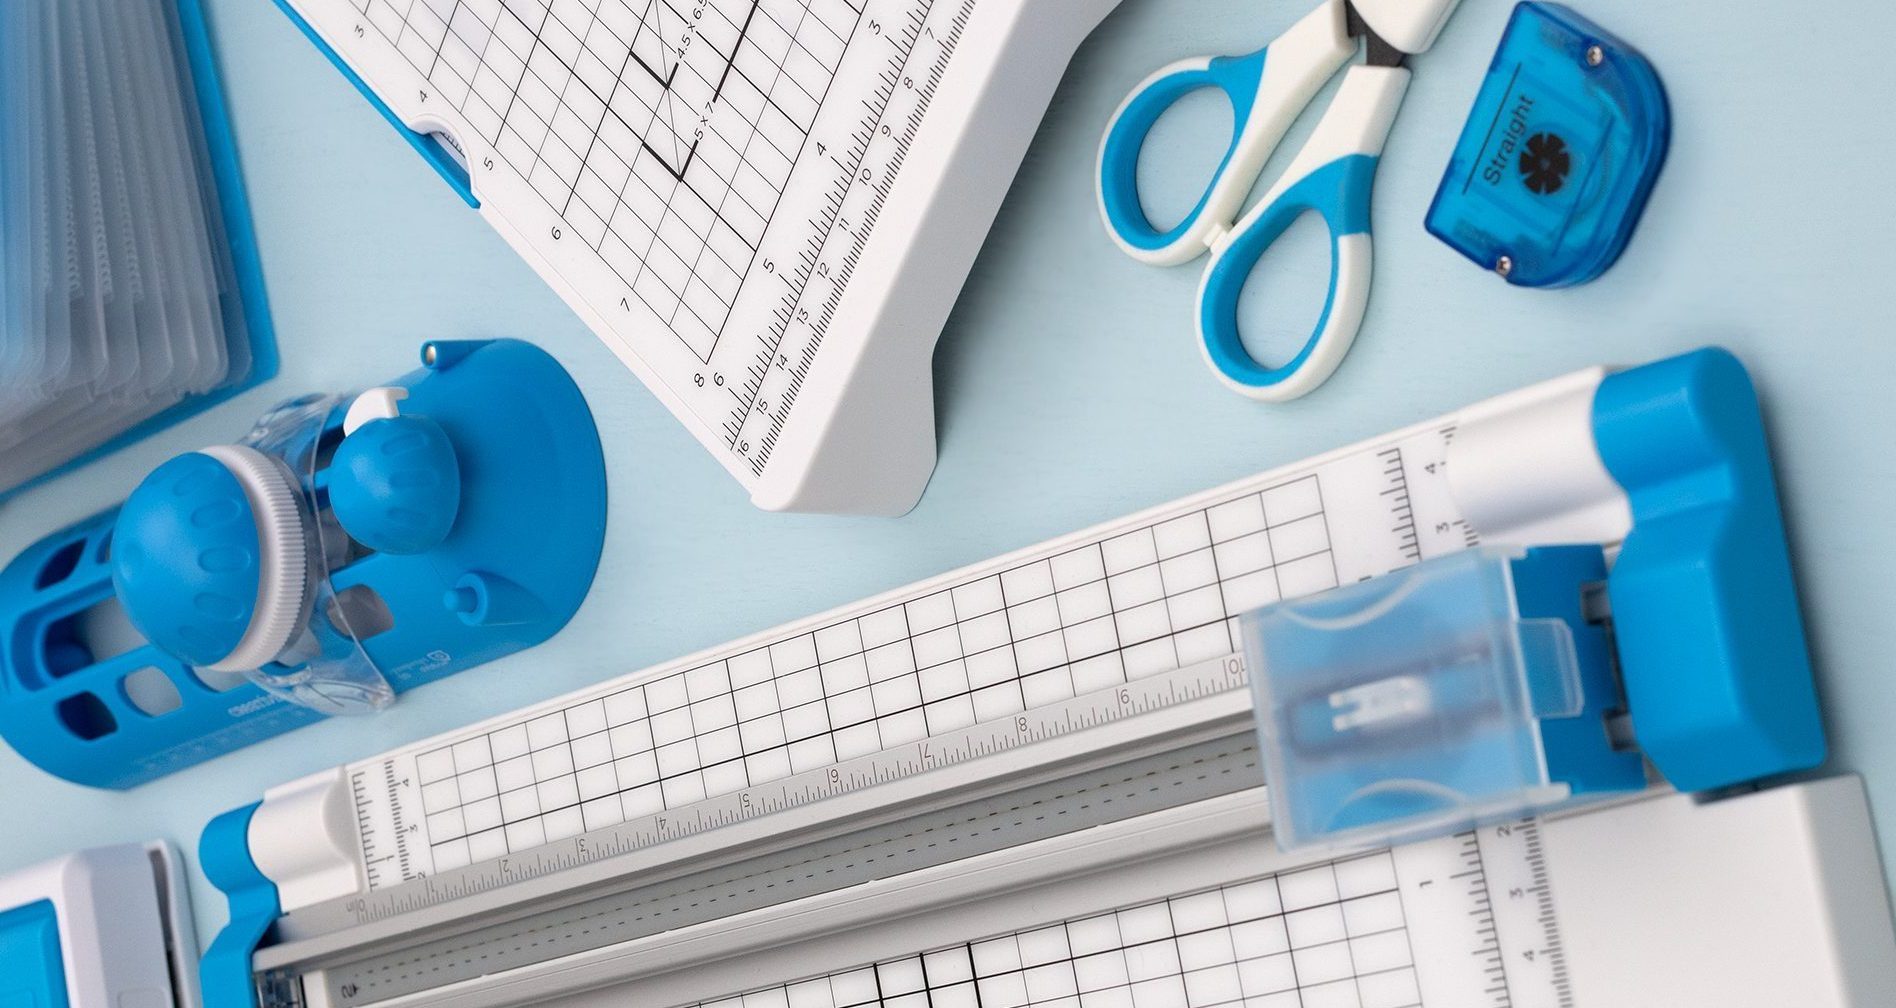
To create this layout, you will need:
Watch Madelyn create this spread:

Love this layout?

Love this layout?

Step 1: Use a sheet of yellow striped designer paper from the Inner Light Scrap Journal Paper Pack as the base of the left page.
Step 2: Swap the 12-inch Trimmer Straight Blade for the 12-inch Trimmer Stamping Blade. Cut six 2-1/2″ x 2-1/2″ squares from a mix of Inner Light designer papers to create faux postage stamp mats.
Step 3: Switch back to the Straight Blade and cut six 2-1/4″ x 2-1/4″ squares from White Solid Cardstock. Center and adhere one white square on each stamp mat to create a double mat.
Step 4: Use any photo editing app to arrange six 2″ x 2″ photos on a single 4″ x 6″ print. Trim them apart along the lines with the 12-inch Trimmer — no measuring needed!
Step 5: Center and adhere a photo on each white square. Arrange the six matted photos in two columns of three on the left page and adhere.
Step 6: Use a sheet of floral designer paper as the base of the right page.
Step 7: Trim a few strips from leftover yellow designer paper scraps and layer them vertically on the page, tearing the ends for a relaxed look. There are no exact measurements here — place them where they feel right.
Step 8: Cut a piece of White Solid Cardstock for the journaling spot and hand-tear the edges. Adhere it to the center of the page, overlapping the yellow strips.
Step 9: Frame the journaling spot with Inner Light Embellishments, adding a sunburst at the top left and an arch frame at the bottom right.
Step 10: Trim a photo to fit inside the arch frame and adhere it in place.
Step 11: Add journaling by using the fine tip of the Black Dual-Tip Pen
Want to recreate this layout?
We’ve gathered all the products featured in this project in one place, making it easy to find the papers, embellishments, tools and more.
P.S. Are YOU a member of the Virtual Crop Group? It’s your go-to place for MONTHLY Virtual Crops, MONTHLY Completed Album Challenges, QUARTERLY Secret Box Openings with project tutorials and so much more! We hope you’ll join our community of more than 53,000 fellow memory-keeping enthusiasts — you’ll feel right at home!

