November 20, 2026
Festive Fun in Script: A Timeless Tidings Layout
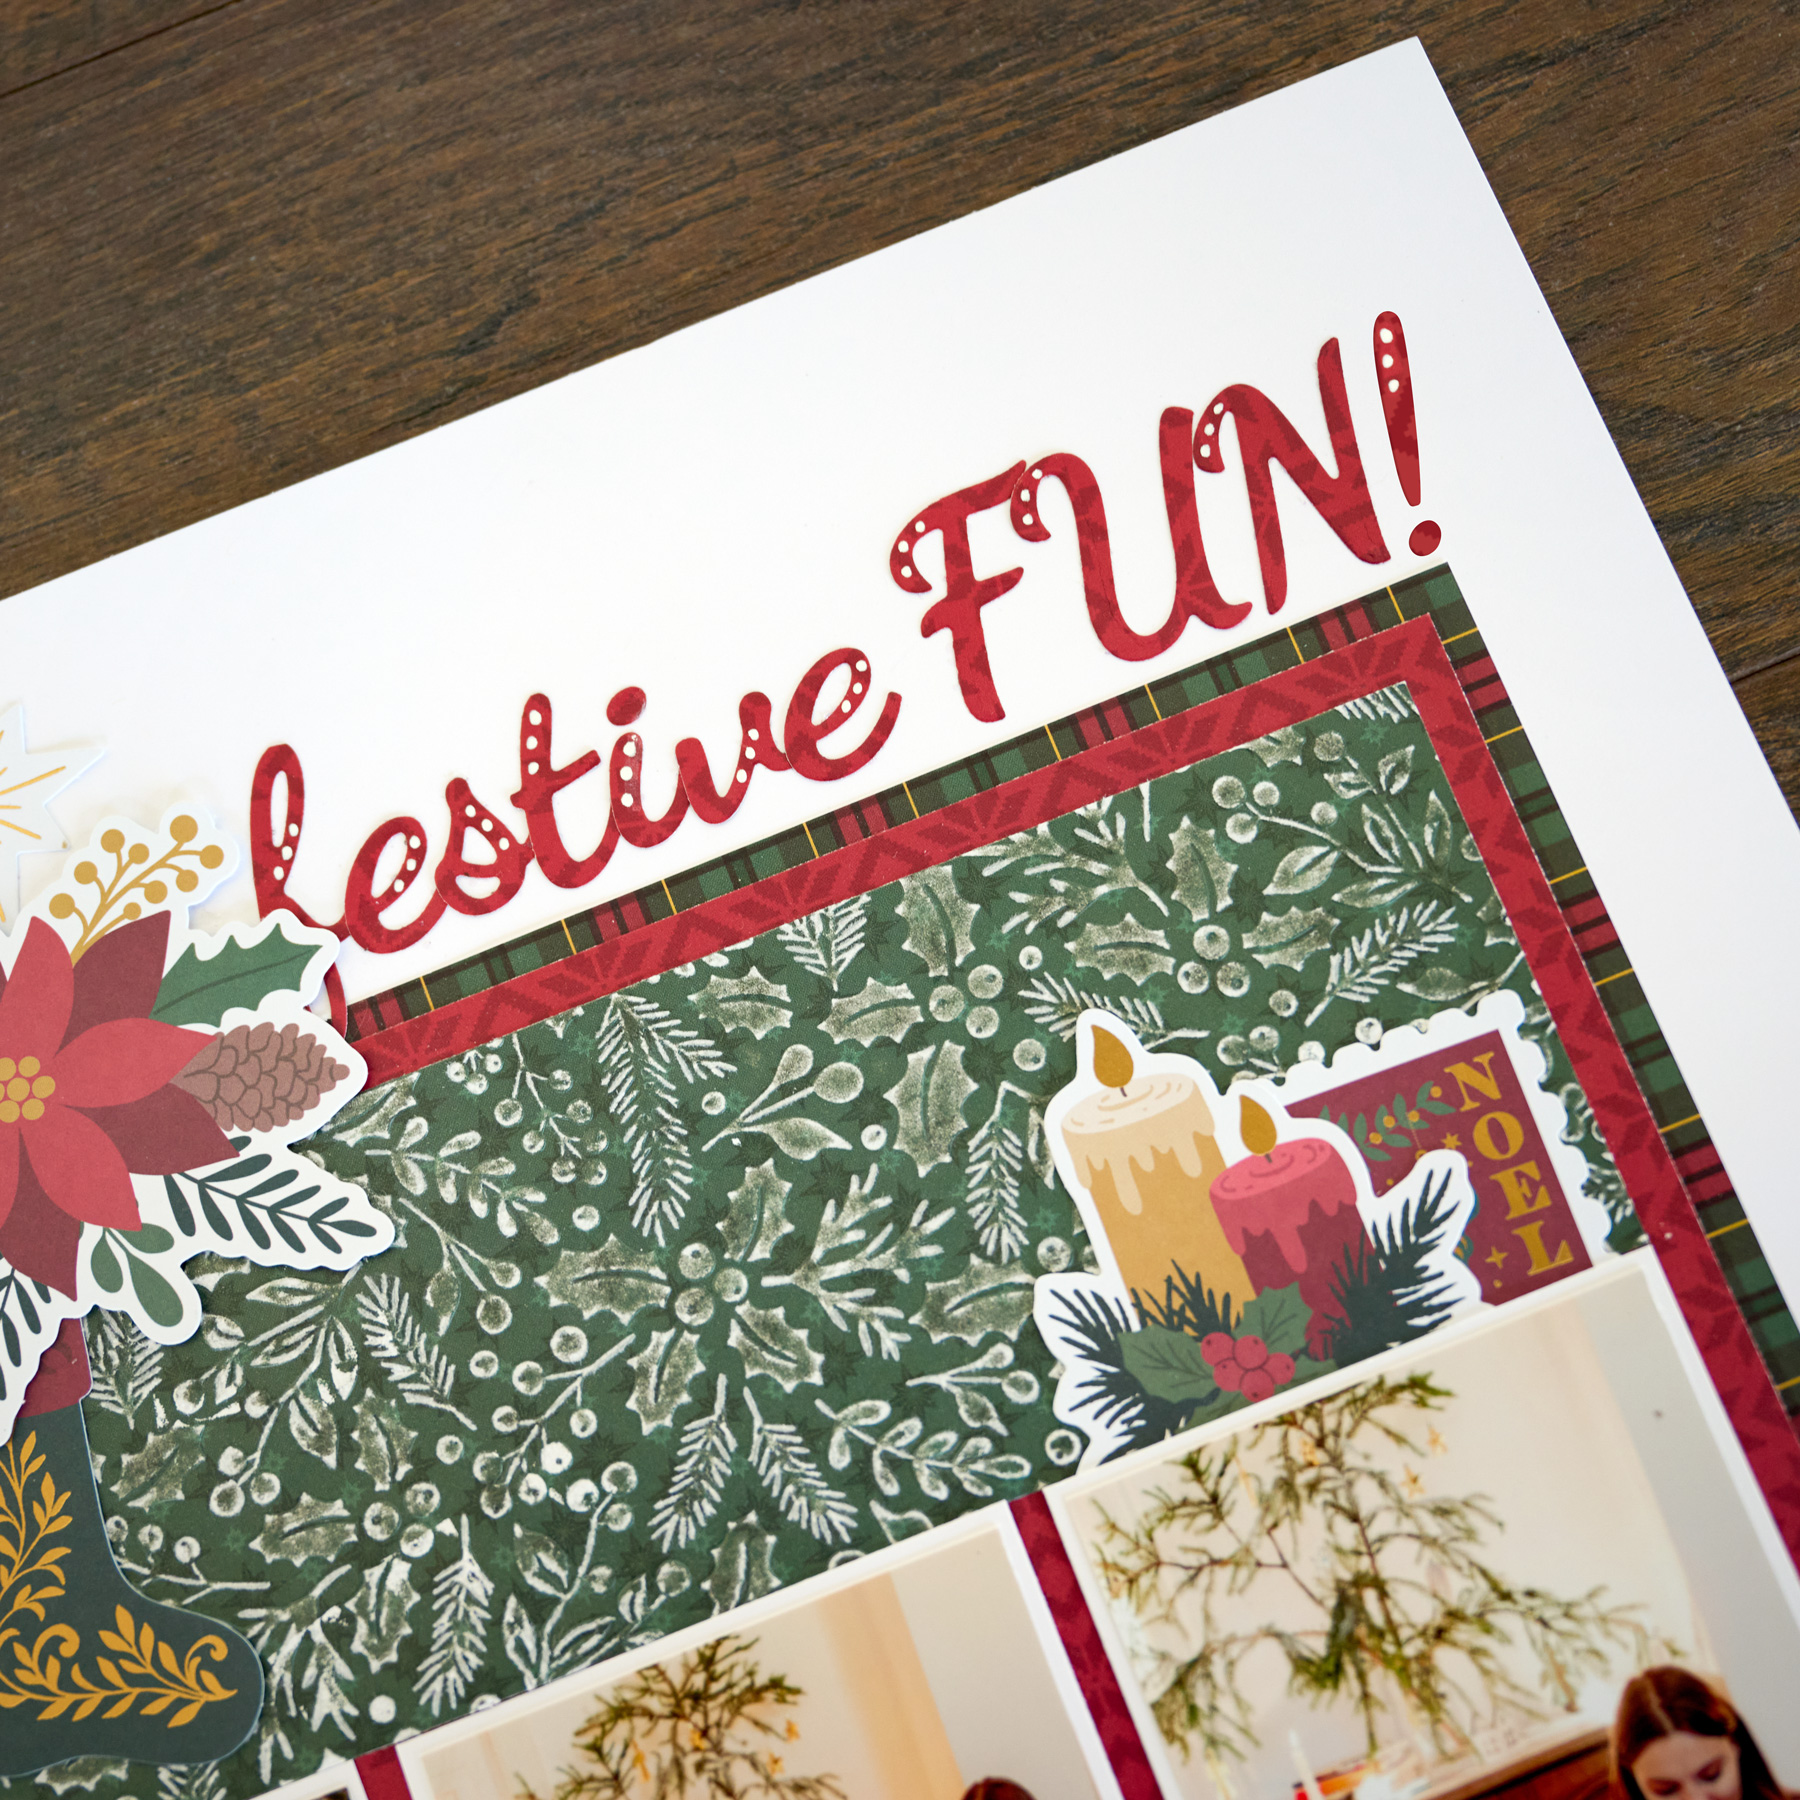
Give your holiday title a handwritten feel! The Signature Script dies cut flowing uppercase and lowercase letters that overlap beautifully, so words like “festive” look like they were written by hand.
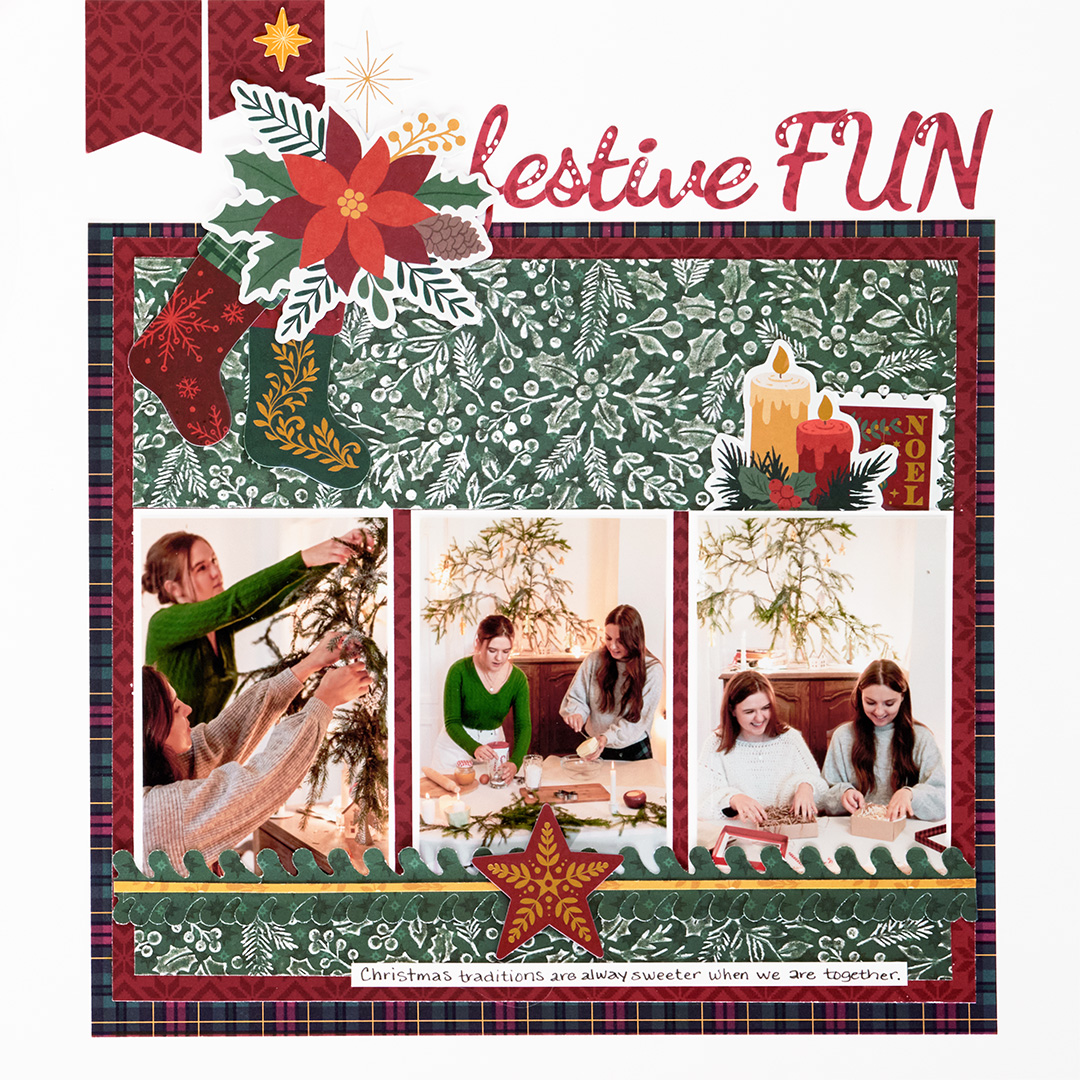
This Timeless Tidings layout combines the script title with embossed Festive Foliage strips and a full, layered Evergreen Edge Chain border for a page that’s merry, bright and full of texture.
To create this layout, you will need:
- Timeless Tidings Paper Pack
- Timeless Tidings Fast2Fab-Inspired Paper Pack
- Timeless Tidings Foiled Embellishments
- Timeless Tidings Stickers
- Bright White Solid Cardstock
- Embossing Folder – Festive Foliage
- Die-Cutting Alphabet Set Bundle – Signature Script
- Evergreen Edge Chain Border Maker Cartridge
- Original Border Maker System
- Die-Cutting & Embossing Machine
- Dual-Tip Die-Cutting Tool
- White Gelly Roll Pen
- 12-inch Trimmer
- Micro-Tip Scissors
- Repositionable Tape Runner
- Foam Squares – 1mm
- Foam Tape – 1mm

Love this layout?

Love this layout?

Step 1: Use a sheet of Bright White Solid Cardstock as the base for this layout.
Step 2: Find the dark green Fast2Fab-Inspired paper with the red bows at the top. Cut two pieces from the dark green area of this sheet: one 9″ x 1″ and one 9″ x 2-3/4″.
Step 3: Place each piece in the Festive Foliage Embossing Folder, sandwich it between the Embossing Base Plate and the Universal Top Plate and run it through the Die-Cutting & Embossing Machine.
Step 4: Using the dark green paper again, punch two 9-1/2″ lengths with the Evergreen Edge Chain Border Maker Cartridge in the Original Border Maker System. Cut one in half lengthwise so you have 1-1/2″ punched lengths for your page.
Step 5: In the Timeless Tidings Paper Pack, find the cranberry print with snowflakes and diamonds and place it on the Cutting Base Plate. Lay the Signature Script Lowercase dies for “festive,” the Signature Script Uppercase dies for “FUN” and two banner dies from the Signature Script Numbers & Punctuation set on top, ridge-side down, and top with the Universal Top Plate.
Step 6: Run the sandwich through the Die-Cutting & Embossing Machine and use the Dual-Tip Die-Cutting Tool to remove the letters and banners from the dies.
Step 7: Cut a 10″ x 9″ piece of plaid designer paper and adhere it to the base 1/2″ from the bottom and 1″ from the left edge. Cut a 9-1/2″ x 8-1/2″ piece of the cranberry print (the same one used for die-cutting) and center it over the plaid.
Step 8: Cut three 2-3/4″ x 4-1/4″ photo mats from Bright White Solid Cardstock and adhere them 2″ from the bottom and 1-1/2″ from the edges. Place the 9″ x 1″ embossed piece below the photo mats and the larger embossed piece above them.
Step 9: To build your punched layer, adhere the half-length to the bottom of the Evergreen Edge Chain border, alternating the branches to make the piece fuller. Cut a 1/8″ x 9-1/2″ strip from the gold paper in the paper pack and place it over the middle of the branches.
Step 10: Adhere the punched Evergreen Edge Chain pieces over and below the photo mats as shown.
Step 11: Adhere “FUN,” starting with the N lined up with the plaid paper. As you adhere “festive,” overlap the letters so it looks like script. Add three dots to each letter with the White Gelly Roll Pen for a little more fun!
Step 12: Finish with the banners, embellishments and stickers, using Foam Squares or Foam Tape on some for added dimension.

Want to recreate this layout?
We’ve gathered all the products featured in this project in one place, making it easy to find the papers, embellishments, tools and more.
P.S. Are YOU a member of the Virtual Crop Group? It’s your go-to place for MONTHLY Virtual Crops, MONTHLY Completed Album Challenges, QUARTERLY Secret Box Openings with project tutorials and so much more! We hope you’ll join our community of more than 53,000 fellow memory-keeping enthusiasts — you’ll feel right at home!

