November 19, 2026
Stripe Up the Season with Timeless Tidings
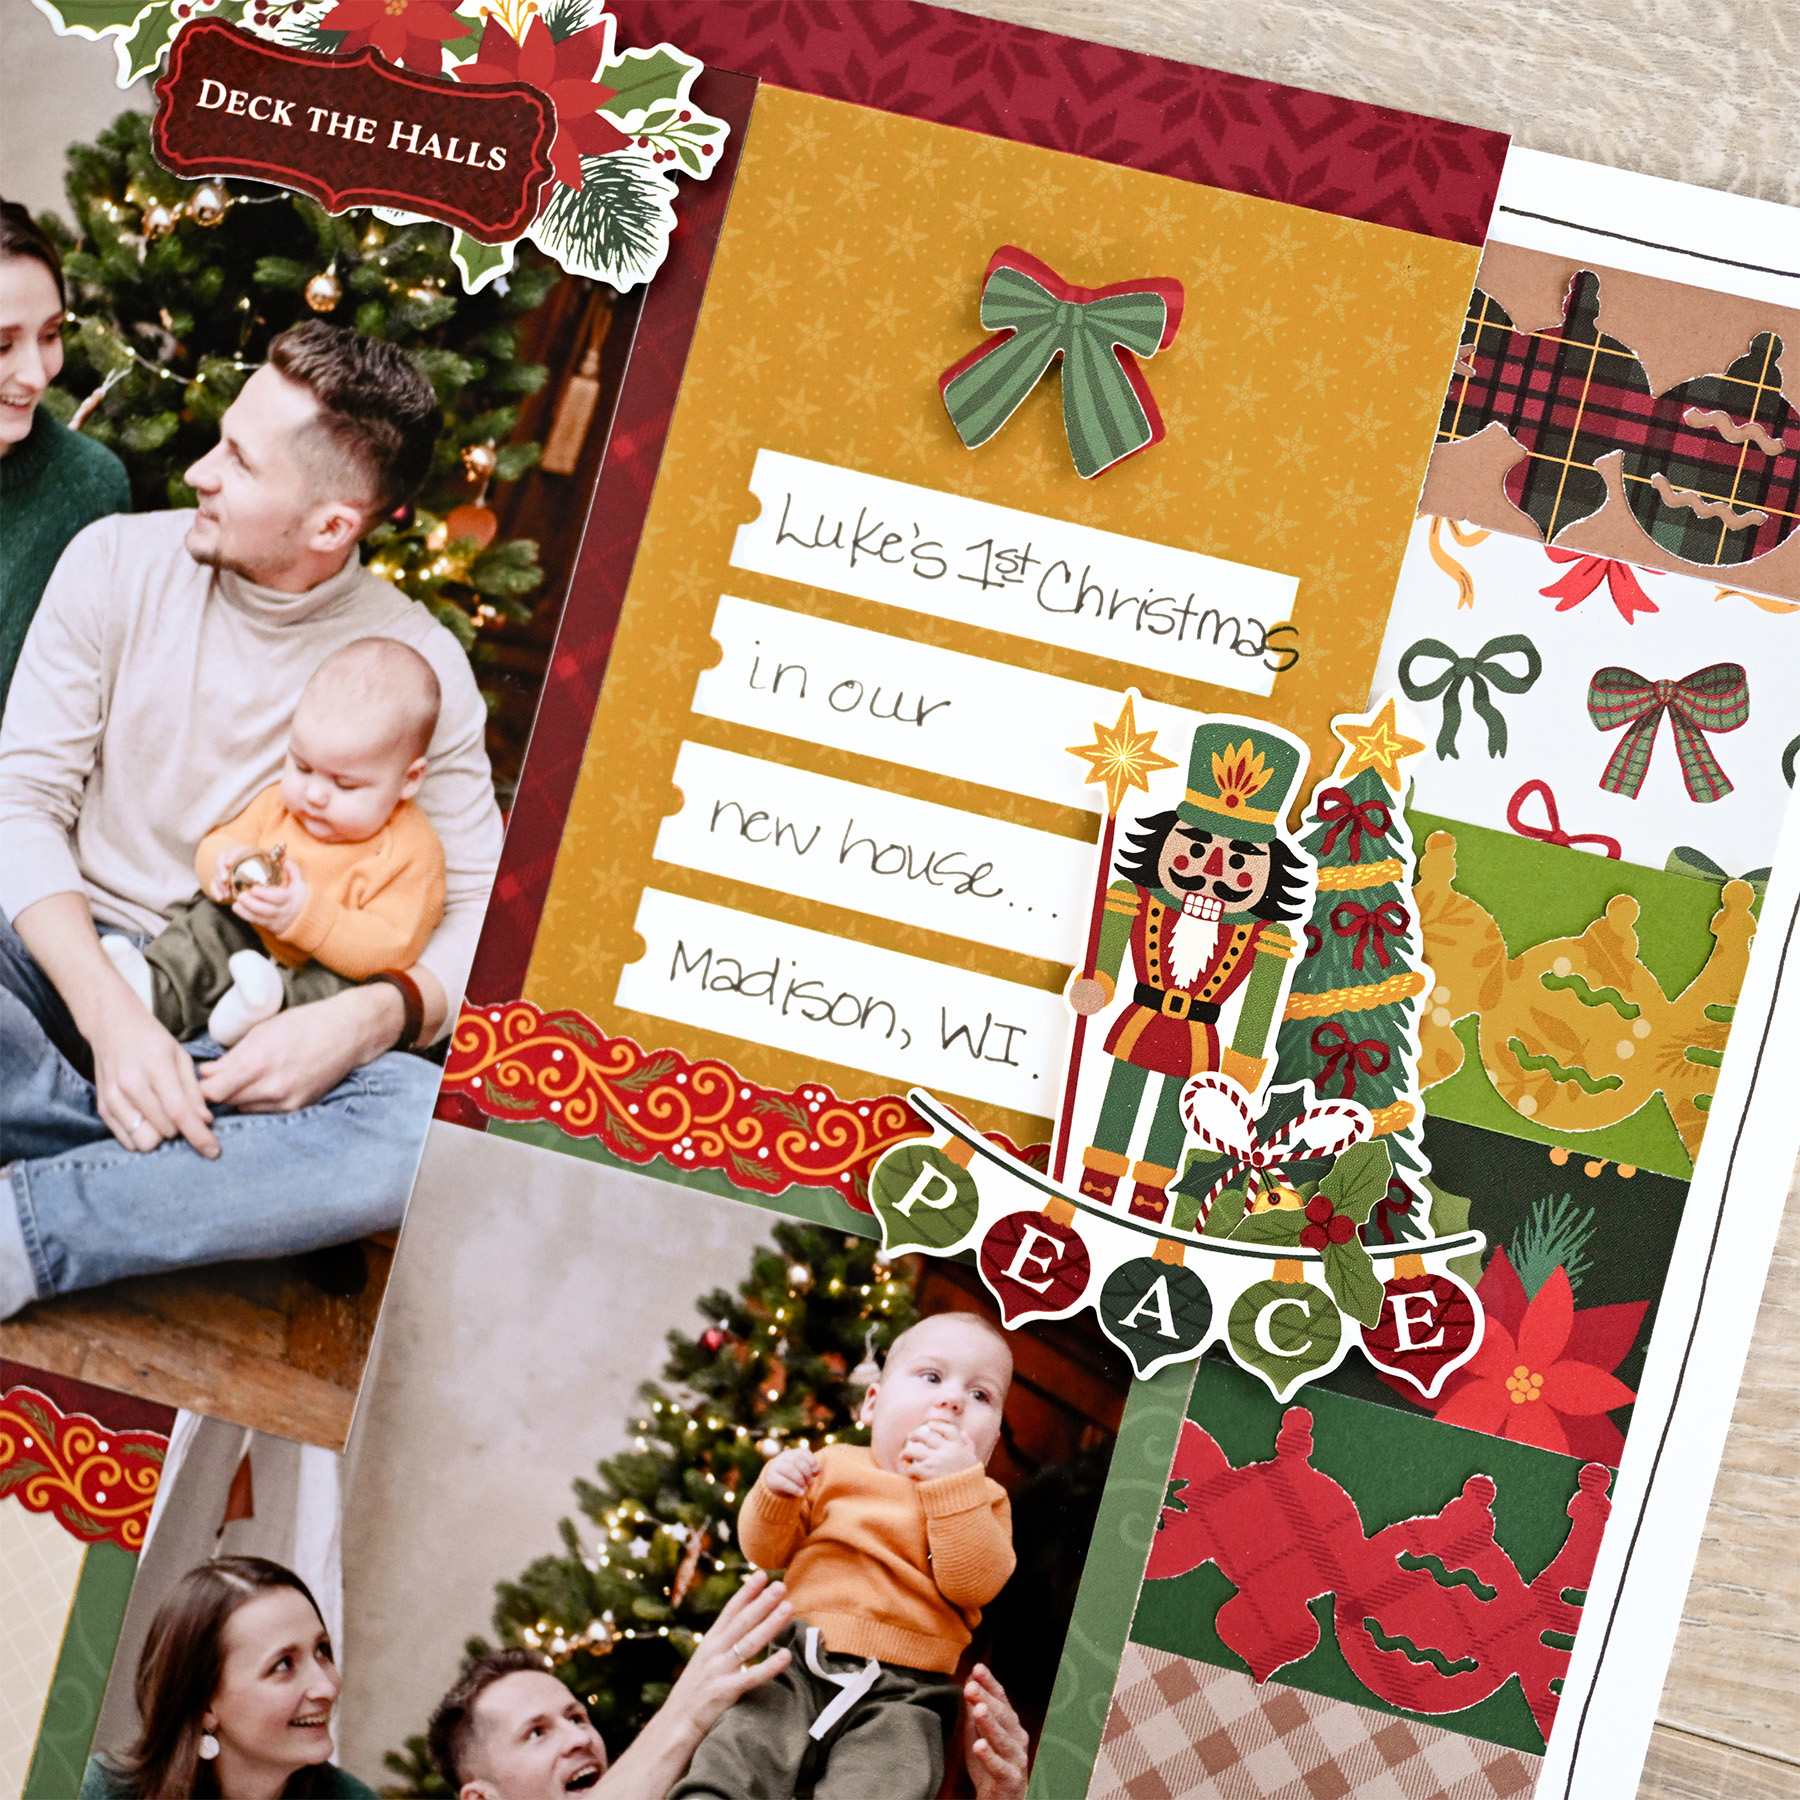
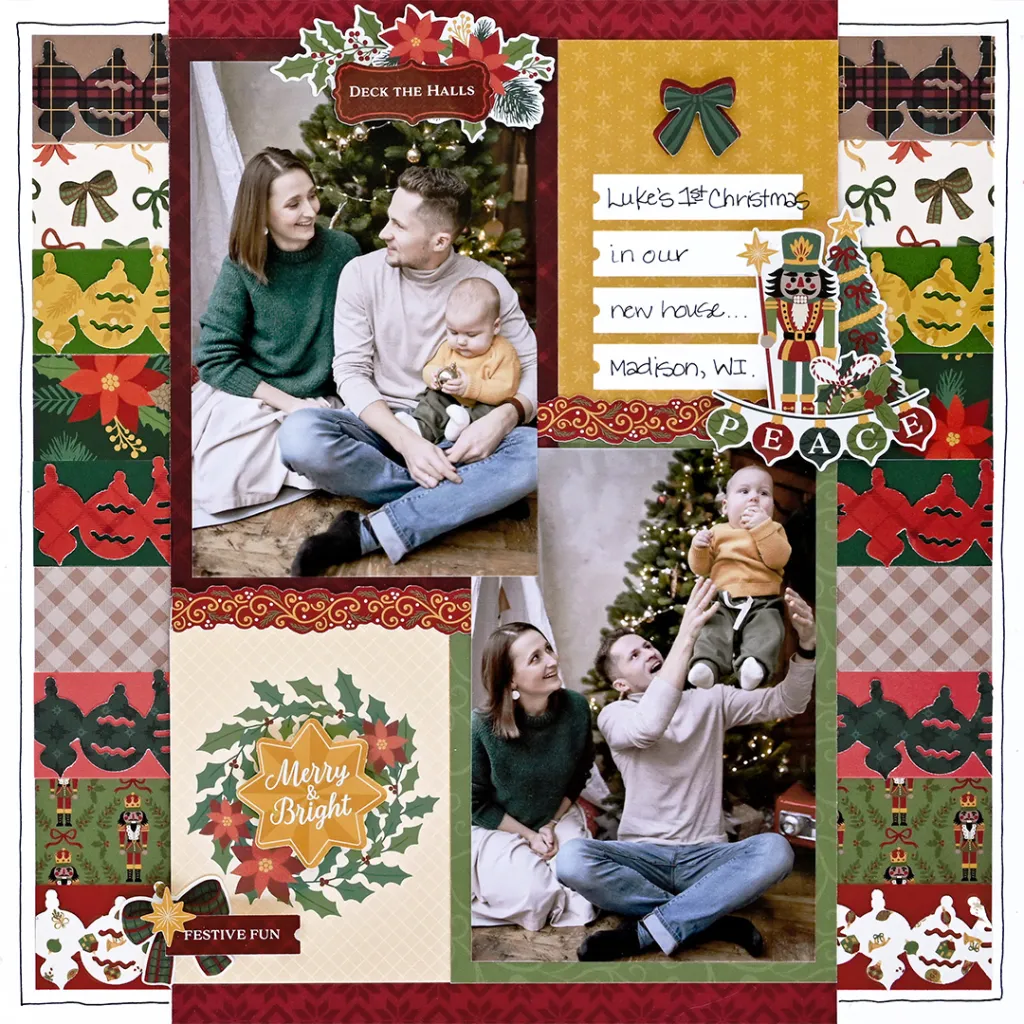
Some Christmases deserve a page all their own – like baby’s very first one in a brand-new home! This cheerful layout from Timeless Tidings pairs mats and stickers with rows of designer paper and cardstock strips, each one topped with a punched ornament border for a festive, quilt-like frame around your photos.
It’s an easy way to use lots of different patterns from the paper pack on one page, and the Ornaments Border Punch adds that extra bit of holiday whimsy.
To create this layout, you will need:
- Timeless Tidings Paper Pack
- Timeless Tidings Mat Pack
- Timeless Tidings Stickers
- Stardust White Solid Cardstock
- Red Solid Cardstock
- Avocado Solid Cardstock
- Dark Green Solid Cardstock
- Caramel Solid Cardstock
- Cranberry Solid Cardstock
- 12-inch Trimmer
- Ornaments Border Punch
- Tape Runner
- Repositionable Tape Runner
- Foam Squares
- Black Micro-Tip Pen
- All-Purpose Scissors

Love this layout?

Love this layout?

Step 1: Use Stardust White Solid Cardstock for the base of the layout.
Step 2: Cut strips to measure 12″ x 1-1/4″ from Caramel, Avocado, Dark Green, Red and Cranberry Solid Cardstock.
Step 3: Cut strips to measure 12″ x 1-1/4″ from the bow, poinsettia, gingham and nutcracker designer papers.
Step 4: Adhere the strips to the insert sheet from the Timeless Tidings Paper Pack, alternating designer paper and cardstock strips as shown.
Step 5: Using the Ornaments Border Punch, punch borders from the red/green plaid, gold, red, green and icon designer papers. Adhere the punched borders along the tops of the cardstock strips.
Step 6: Trim the insert sheet to measure 11-1/4″ x 11-1/4″. Adhere it to the center of the layout.
Step 7: Cut a piece of red designer paper to measure 7-3/4″ x 12″. Adhere it vertically, centered on the layout.
Step 8: Adhere two 4-1/2″ x 6-1/2″ mats and two 3-1/4″ x 4-1/2″ mats to the layout as shown. Adhere two photos that measure 4″ x 6″ to the large mats.
Step 9: Journal on one of the small mats using a Black Micro-Tip Pen.
Step 10: Finish the layout by adhering stickers, using Foam Squares on some for added dimension.
Want to recreate this layout?
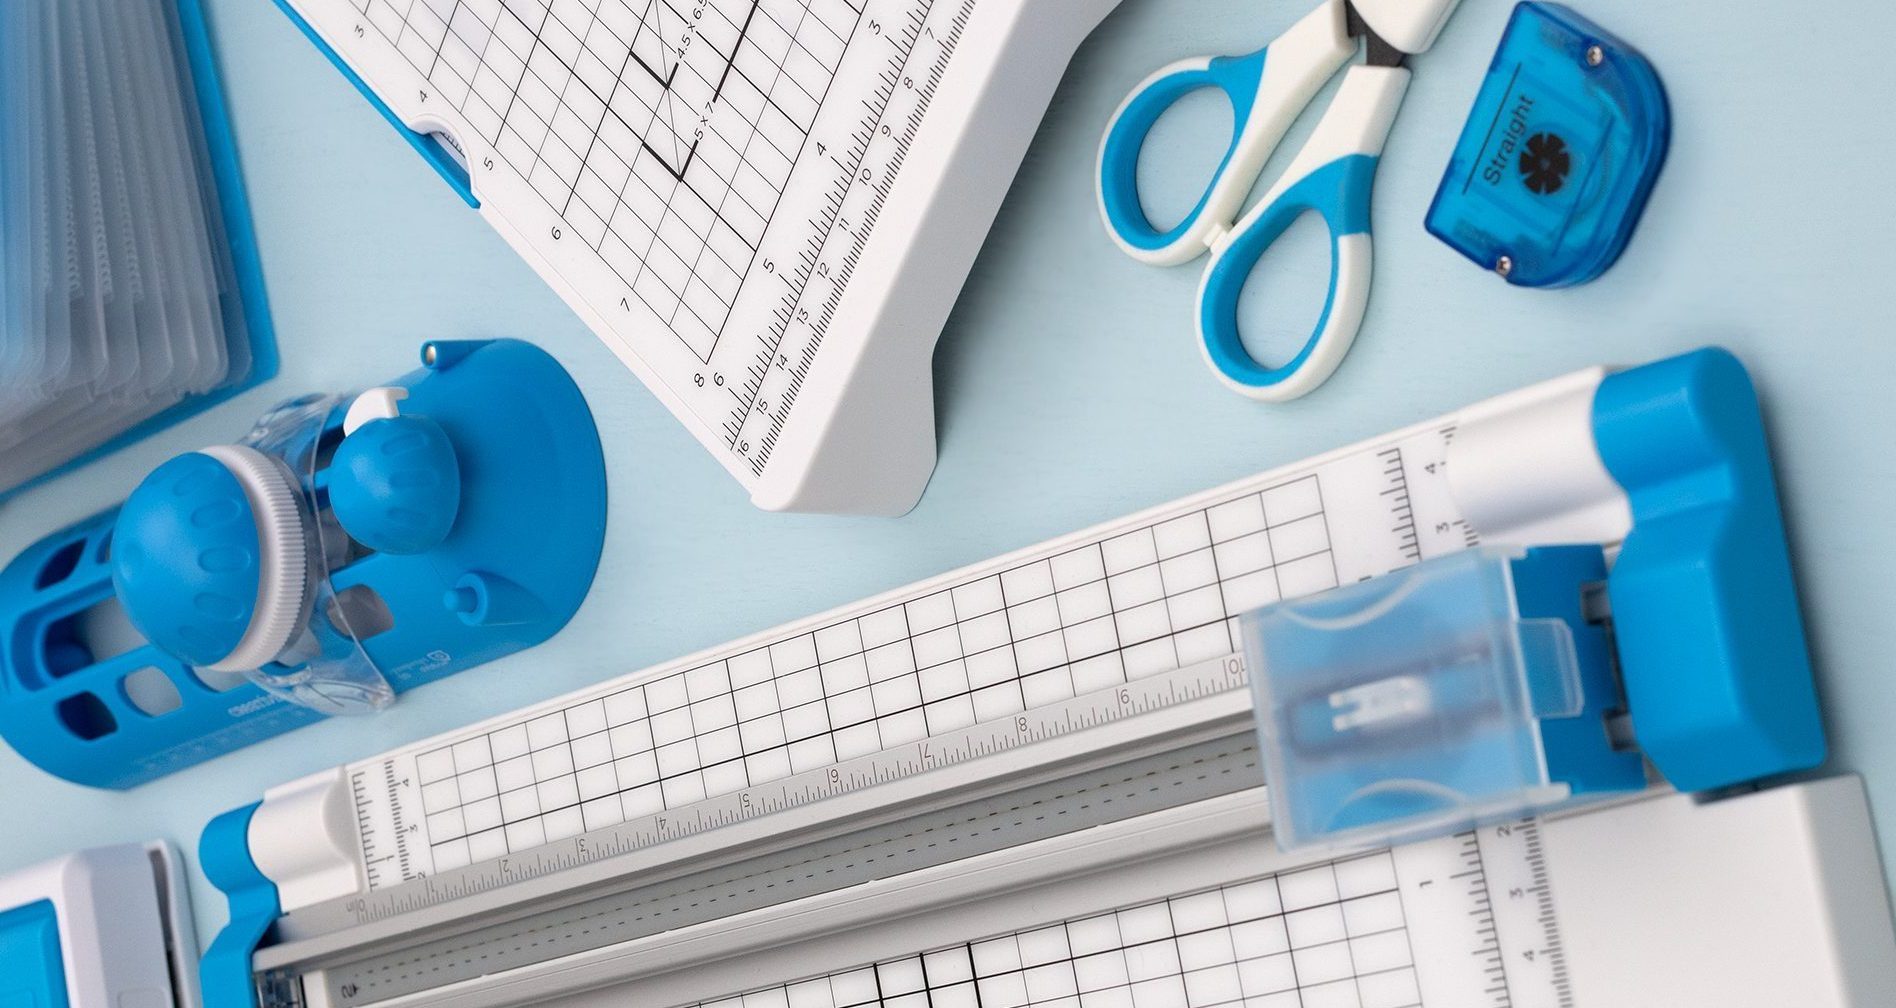
We’ve gathered all the products featured in this project in one place, making it easy to find the papers, embellishments, tools and more.
P.S. Are YOU a member of the Virtual Crop Group? It’s your go-to place for MONTHLY Virtual Crops, MONTHLY Completed Album Challenges, QUARTERLY Secret Box Openings with project tutorials and so much more! We hope you’ll join our community of more than 53,000 fellow memory-keeping enthusiasts — you’ll feel right at home!

