November 10, 2026
Dive Into Adventure with This Cool Serenity 2 Layout
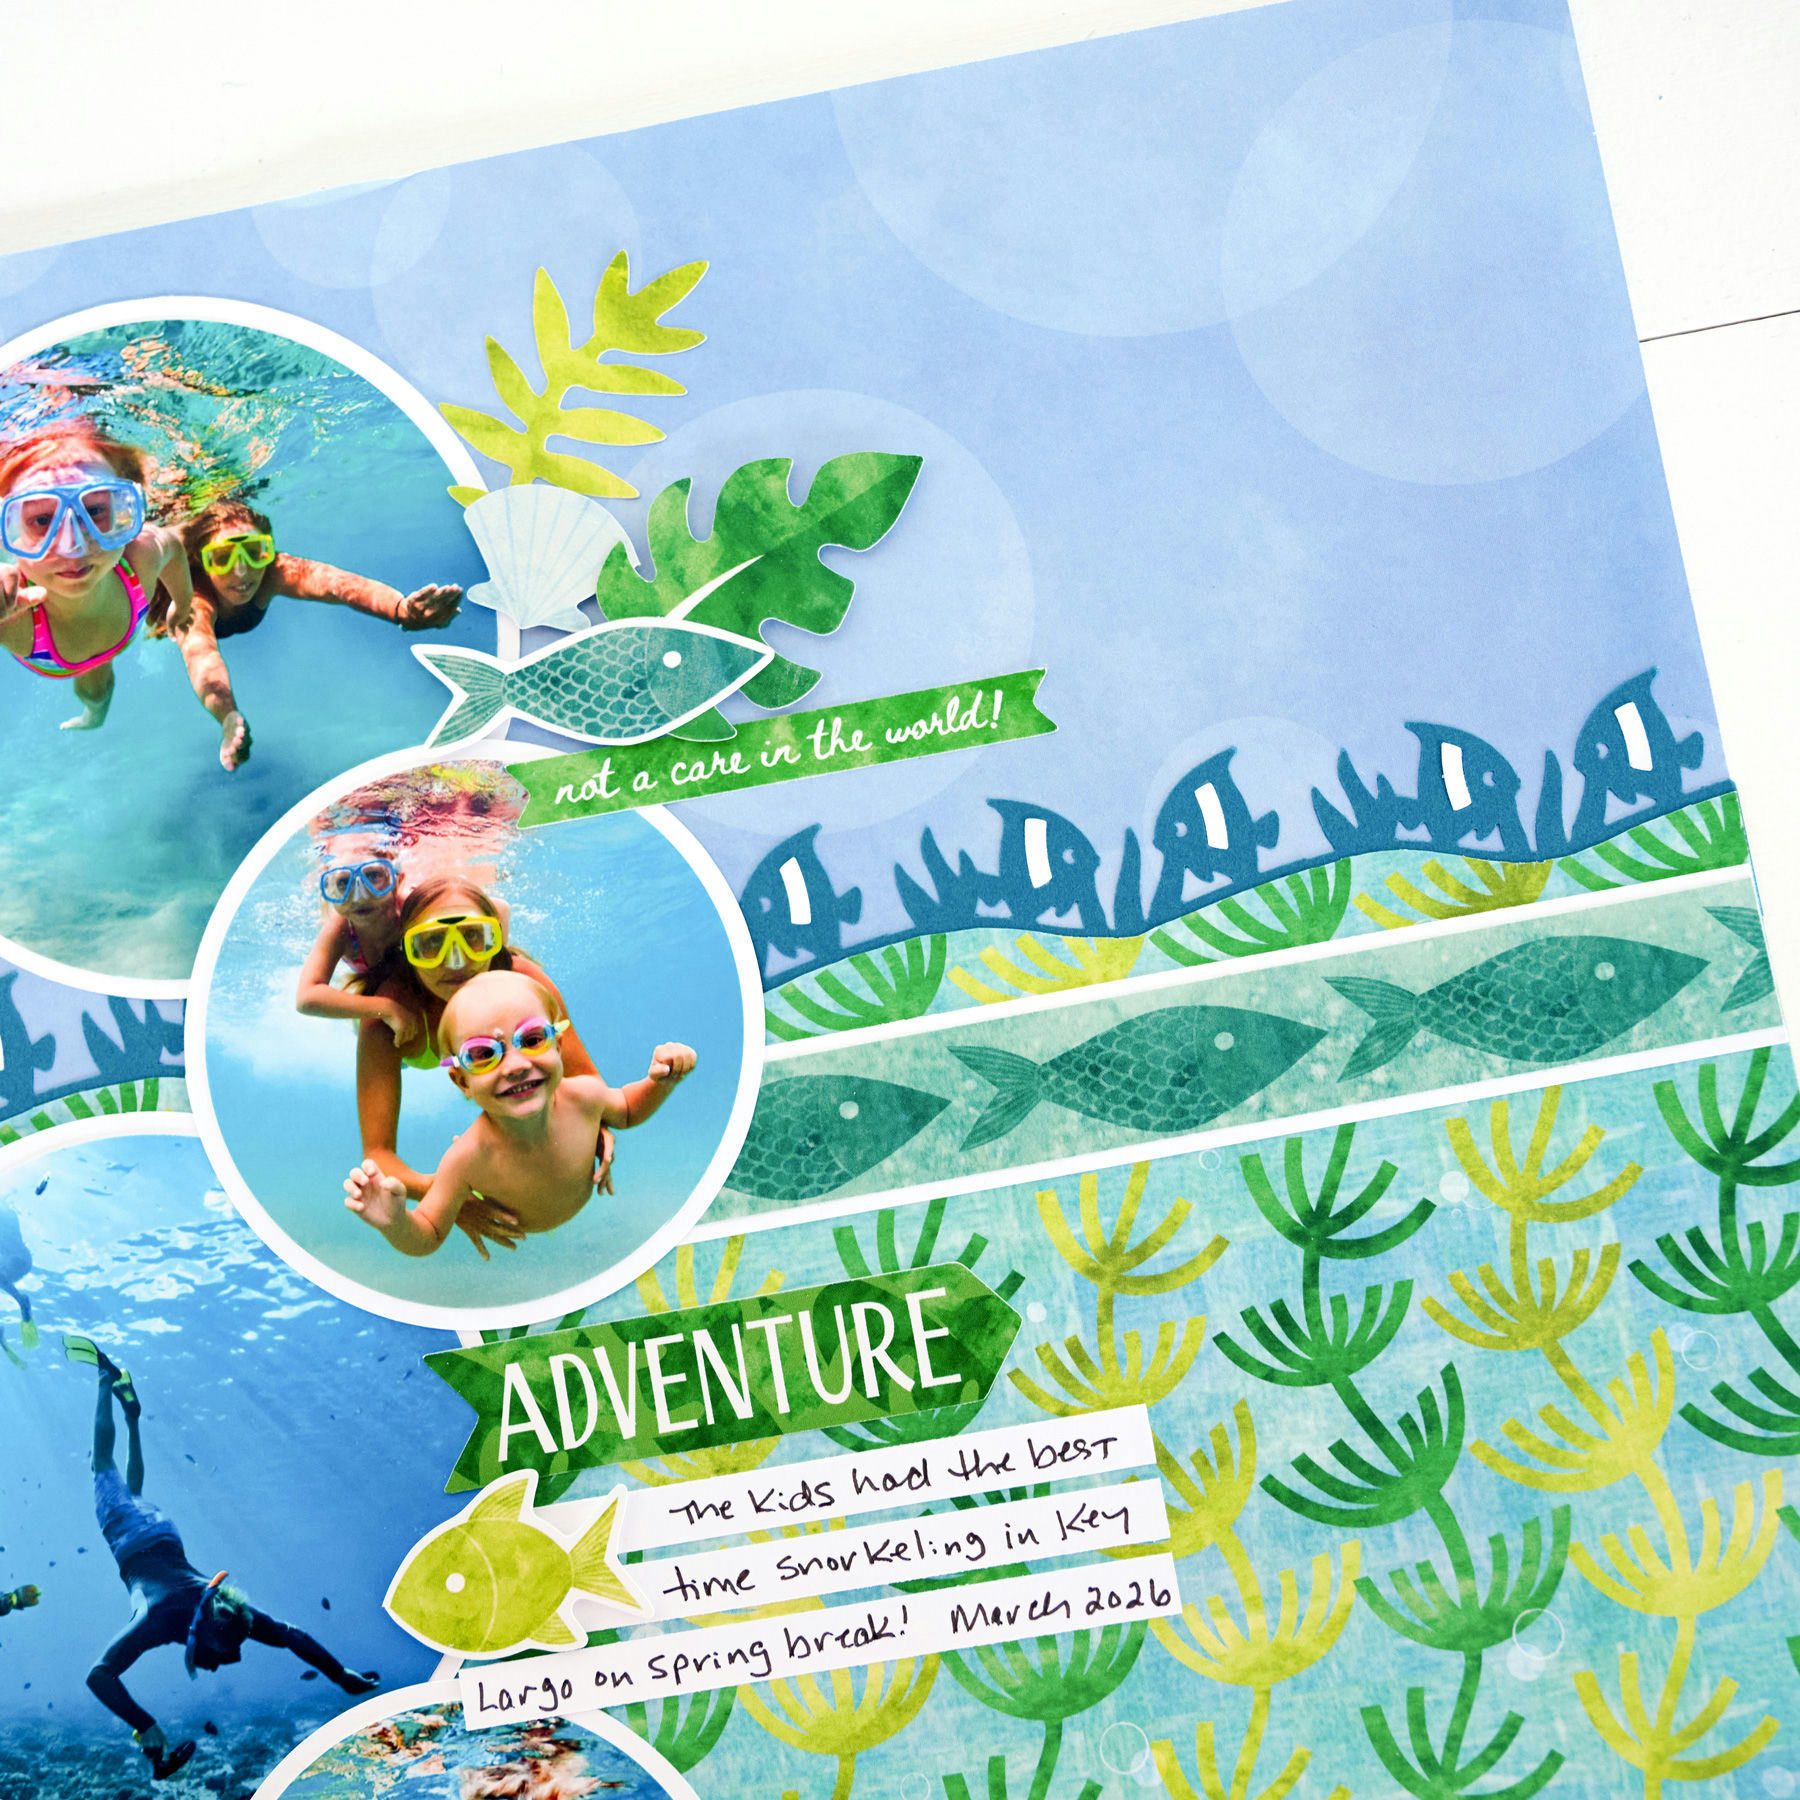
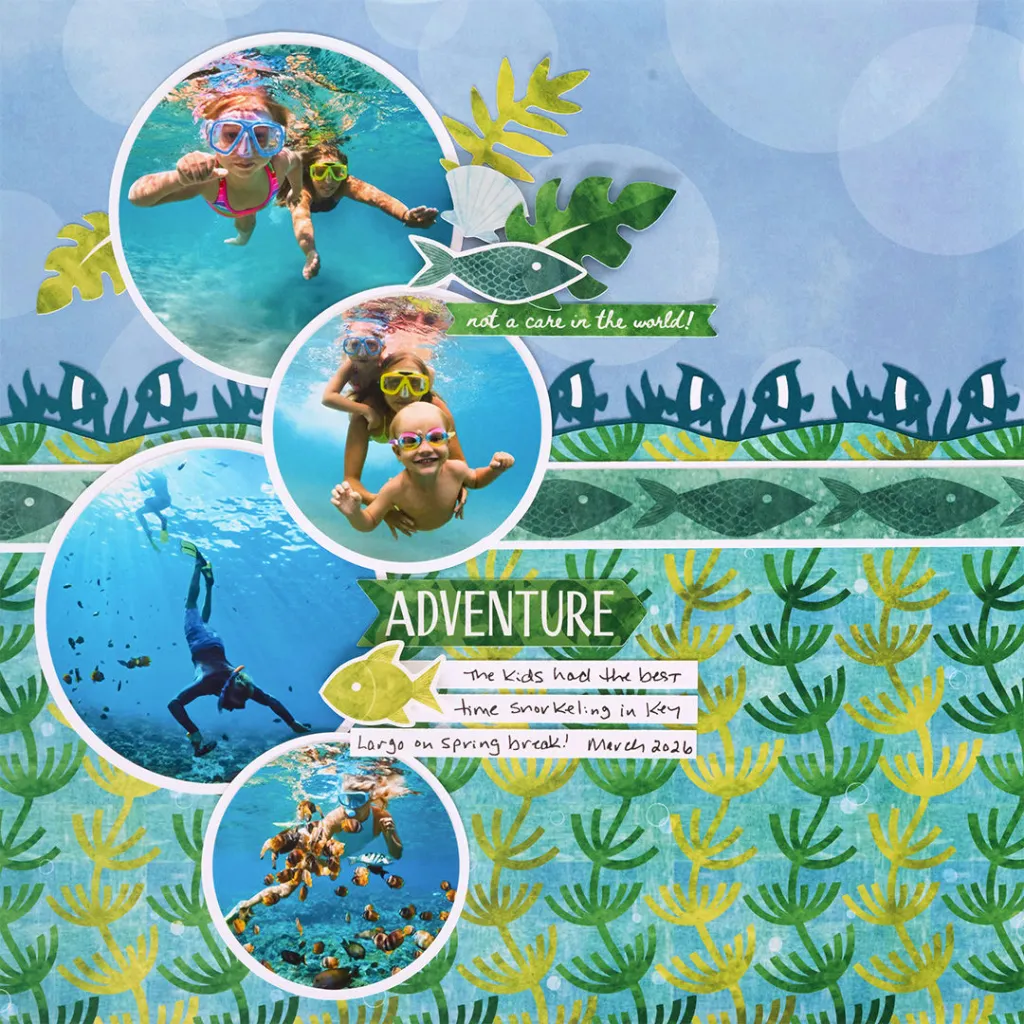
Dive right in! Snorkeling trips, splashy pool days and underwater discoveries deserve a page that feels like you’re right there in the water. This layout uses seaweed, bubble and fish designer papers from the Cool Serenity 2 collection to create a cool ocean scene for four favorite photos.
The Tropical Fish Border Punch does double duty here: punch it once for a scalloped wavy edge on the seaweed paper, then again for a school of dark sea green fish swimming across the page. Circle photo mats cut with the Custom Cutting System keep the bubbly, underwater look going.
To create this layout, you will need:
- Cool Serenity 2 Paper Pack
- Cool Serenity 2 Stickers
- Bright White Solid Cardstock
- Dark Sea Green Solid Cardstock
- 12-inch Trimmer
- Tropical Fish Border Punch
- Circle Custom Cutting System Patterns
- Red Custom Cutting System Blade Cartridge
- Green Custom Cutting System Blade Cartridge
- Blue Custom Cutting System Blade Cartridge
- 13×13 Cutting Mat
- Micro-Tip Scissors
- Black Dual-Tip Pen
- Repositionable Tape Runner
- Foam Squares

Love this layout?

Love this layout?

Step 1: Use the Tropical Fish Border Punch to punch a border from the seaweed designer paper. Use Micro-Tip Scissors to trim off the fish and seaweed, leaving a scalloped wavy edge. Cut the paper to 12″ x 7″.
Step 2: Use the Tropical Fish Border Punch to punch a border from Dark Sea Green Solid Cardstock. Cut the punched border off the cardstock at 1-1/2″.
Step 3: Adhere the scalloped wavy edge of the seaweed paper to the dark sea green border.
Step 4: Adhere the layered piece to the bottom of a sheet of blue bubble designer paper.
Step 5: Use the Tropical Fish Border Punch to punch a border from Bright White Solid Cardstock. Adhere the white punch debris in the center of the dark sea green fish.
Step 6: Cut a 12″ x 1″ strip from Bright White Solid Cardstock. Adhere the strip about 3/8″ from the scalloped wavy edge of the seaweed paper.
Step 7: Cut a 12″ x 7/8″ strip from the fish designer paper and adhere to the bright white strip.
Step 8: Use the smallest circle from the Circle Custom Cutting System Patterns with the Green Custom Cutting System Blade Cartridge on the outside edge to cut two photo mats from Bright White Solid Cardstock. Use the Red Custom Cutting System Blade Cartridge on the outside edge to cut two photos, and adhere the photos to the mats.
Step 9: Use the largest circle pattern with the Red Custom Cutting System Blade Cartridge on the inside edge to cut a photo mat from Bright White Solid Cardstock, and the Green Custom Cutting System Blade Cartridge on the inside edge to cut a photo. Repeat with the Green Custom Cutting System Blade Cartridge for the second mat and the Blue Custom Cutting System Blade Cartridge for the photo. Adhere the photos to the mats.
Step 10: Adhere the matted photos to the layout as shown.
Step 11: Cut three 4″ x 3/8″ strips from Bright White Solid Cardstock. Use the Black Dual-Tip Pen to add journaling, and adhere the strips to the layout as shown.
Step 12: Add stickers as shown, using Foam Squares to adhere some for dimension.
Pick Your FREE Black Friday Gift
From Nov. 2–13, choose a FREE Black Friday gift for every $150 USD / $165 CAD / $250 AUD you spend — with no limit! Pick from the Perfect Pairings Bundle, Tinsel & Cheer Bundle, or Cool Down Bundle, while supplies last.
Promo starts Nov. 2 at 9am CT and ends Nov. 13 at noon CT (AU: 3–13 Nov.).
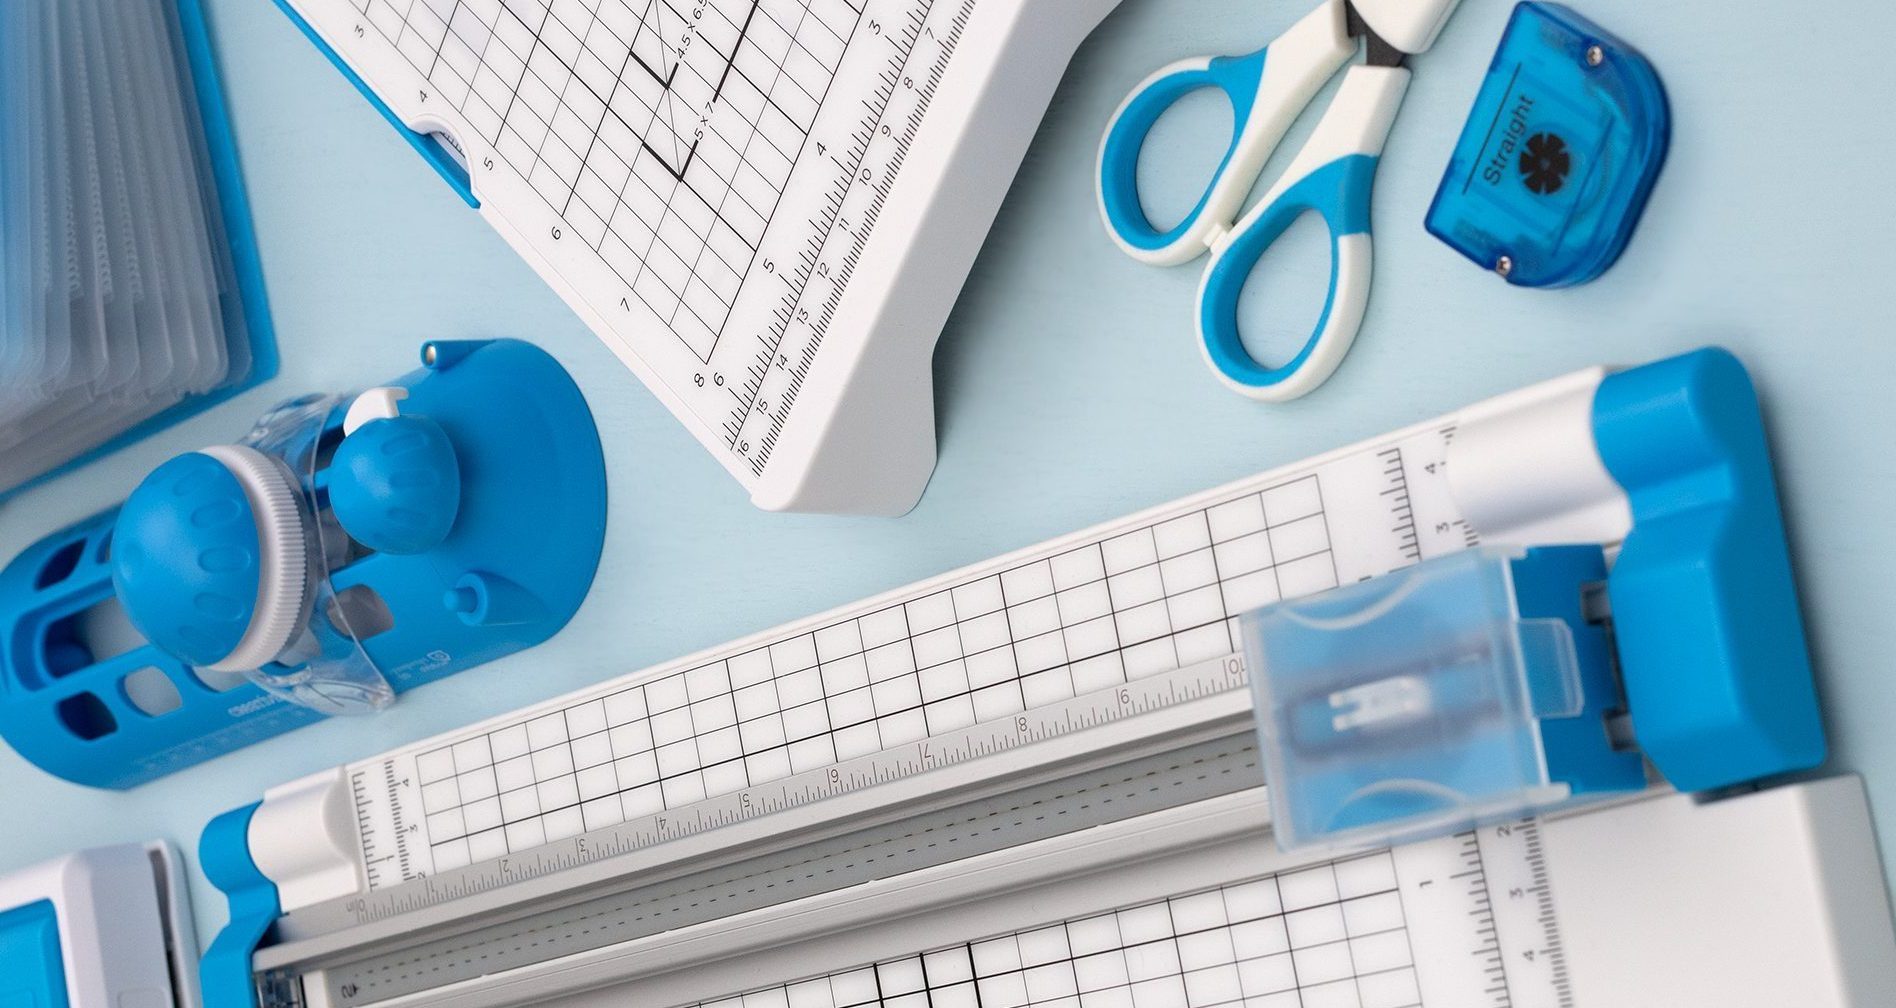
Want to recreate this layout?
We’ve gathered all the products featured in this project in one place, making it easy to find the papers, stickers, tools and more.
P.S. Are YOU a member of the Virtual Crop Group? It’s your go-to place for MONTHLY Virtual Crops, MONTHLY Completed Album Challenges, QUARTERLY Secret Box Openings with project tutorials and so much more! We hope you’ll join our community of more than 53,000 fellow memory-keeping enthusiasts — you’ll feel right at home!

