September 30, 2016
Using Study Buddies Collection on Non-School Related Scrapbooking Layouts

Our new Study Buddies Collection is bright and fun and perfect for school photos. But our designer paper is always double-sided with an alternate print. So I was able to use this collection to make some non-school scrapbook pages.
Our new Black 12×12 Plain Pages are the perfect background for this bright collection. The black really makes the colors pop. And when our Silver Metallic Pen is used on the black pages, it resembles the look of a chalkboard!

To make my “Scrapping Buddies” layout, you’ll need:
Black 12×12 Plain Pages
Study Buddies Paper Pack
Study Buddies Slide-In Pack
Study Buddies Stickers
Study Buddies Embellishments
Black ABC/123 Stickers
Black Solid 12×12 Cardstock Paper Pack
Foam Squares
12-Inch Straight Trimmer
The Tape Runner
Silver Metallic Pen
Black Dual-Tip Pen
1. Cut the lined paper to 10.5” x 10.5” and adhere to the center of the pages. Use silver pen to draw stitching around the lined paper.
2. Cut patterned paper to 4.25” x 12” and adhere as shown.
3. Crop your photos and mat with black cardstock. My photos on the first page measure 3”x3” and are matted on a piece of 9 3/8” x 6 ¼” black cardstock. The photos on my second page measure 3” x 3”, 6” x 3” and 4 3/8” x 3” and are matted on a piece of 9 ¼” x 9 ¼” black cardstock. The slide-in card was cut to fit. Adhere photo mats to pages as shown.
4. Add title and journal.
5. Cut three 1.5” x 1.5” squares from black cardstock and use silver pen to add stitching. Adhere to pages as shown.
6. Use foam squares to adhere the sticker and embellishments as shown.
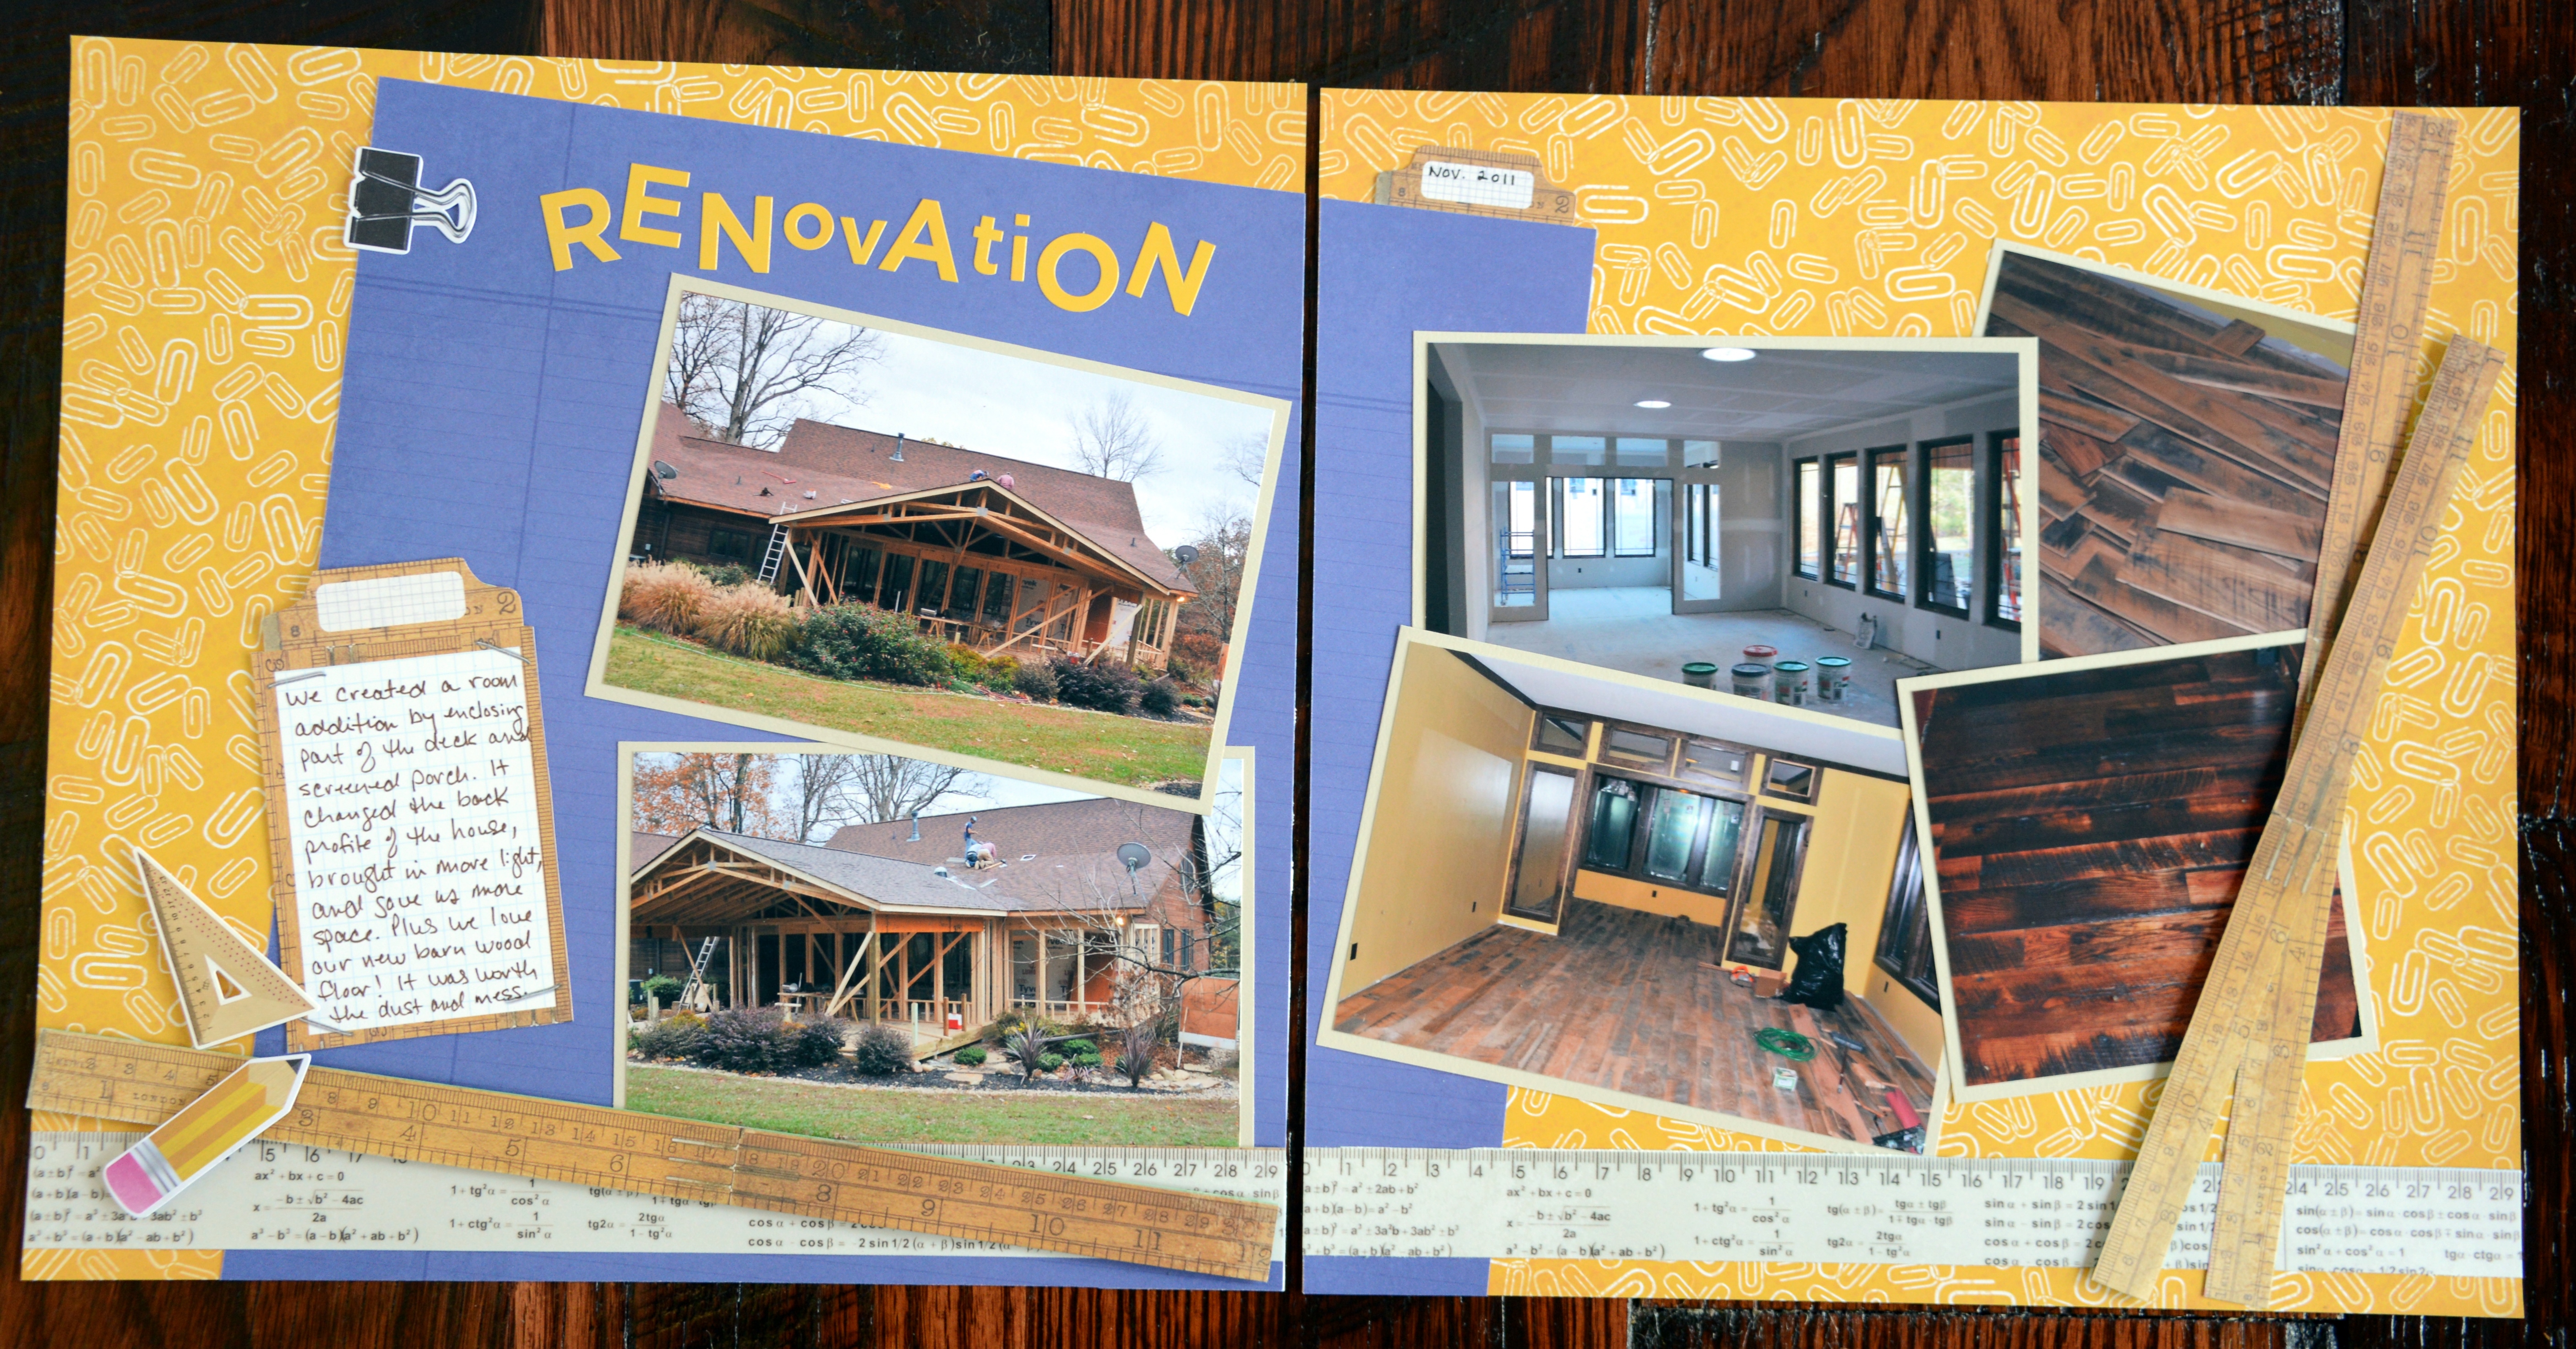
My layouts tend to have a linear and tailored aesthetic, so the next pages are a bit of a departure for me.
But I like how the layout evokes the image of my desk during our planning stages and also the feeling of chaos of living through the renovation process.
Although the layout has a random look, it took at bit of arranging and rearranging to position the pieces to my liking. Our new Repositionable Tape Runner Refill came in very handy!
To make these pages, you’ll need:
Study Buddies Paper Pack
Study Buddies Slide-In Pack
Study Buddies Embellishments
Gold ABC/123 Stickers
Beige Solid 12×12 Cardstock Paper Pack
Foam Squares
12-Inch Straight Trimmer
The Tape Runner
Brown Dual-Tip Pen
1. Lay the two background papers side-by-side and lay the purple paper on top of both at an angle. Adhere the purple paper to the page on the left while preserving your angle. Cut off the excess that over-hangs to the right making sure to preserve the vertical length of the purple paper. Again line up your background papers side-by-side and adhere to the right page the smaller cut piece of the purple paper at an angle that fits with the left page. Trim excess purple paper that over-hangs the bottom of the page.
2. Crop photos and mat with beige cardstock.
3. Cut apart the rulers from the “ruler-patterned” paper.
4. Arrange and adhere photos and ruler pieces. I used foam squares to adhere the two rulers than lay on top.
5. Add title.
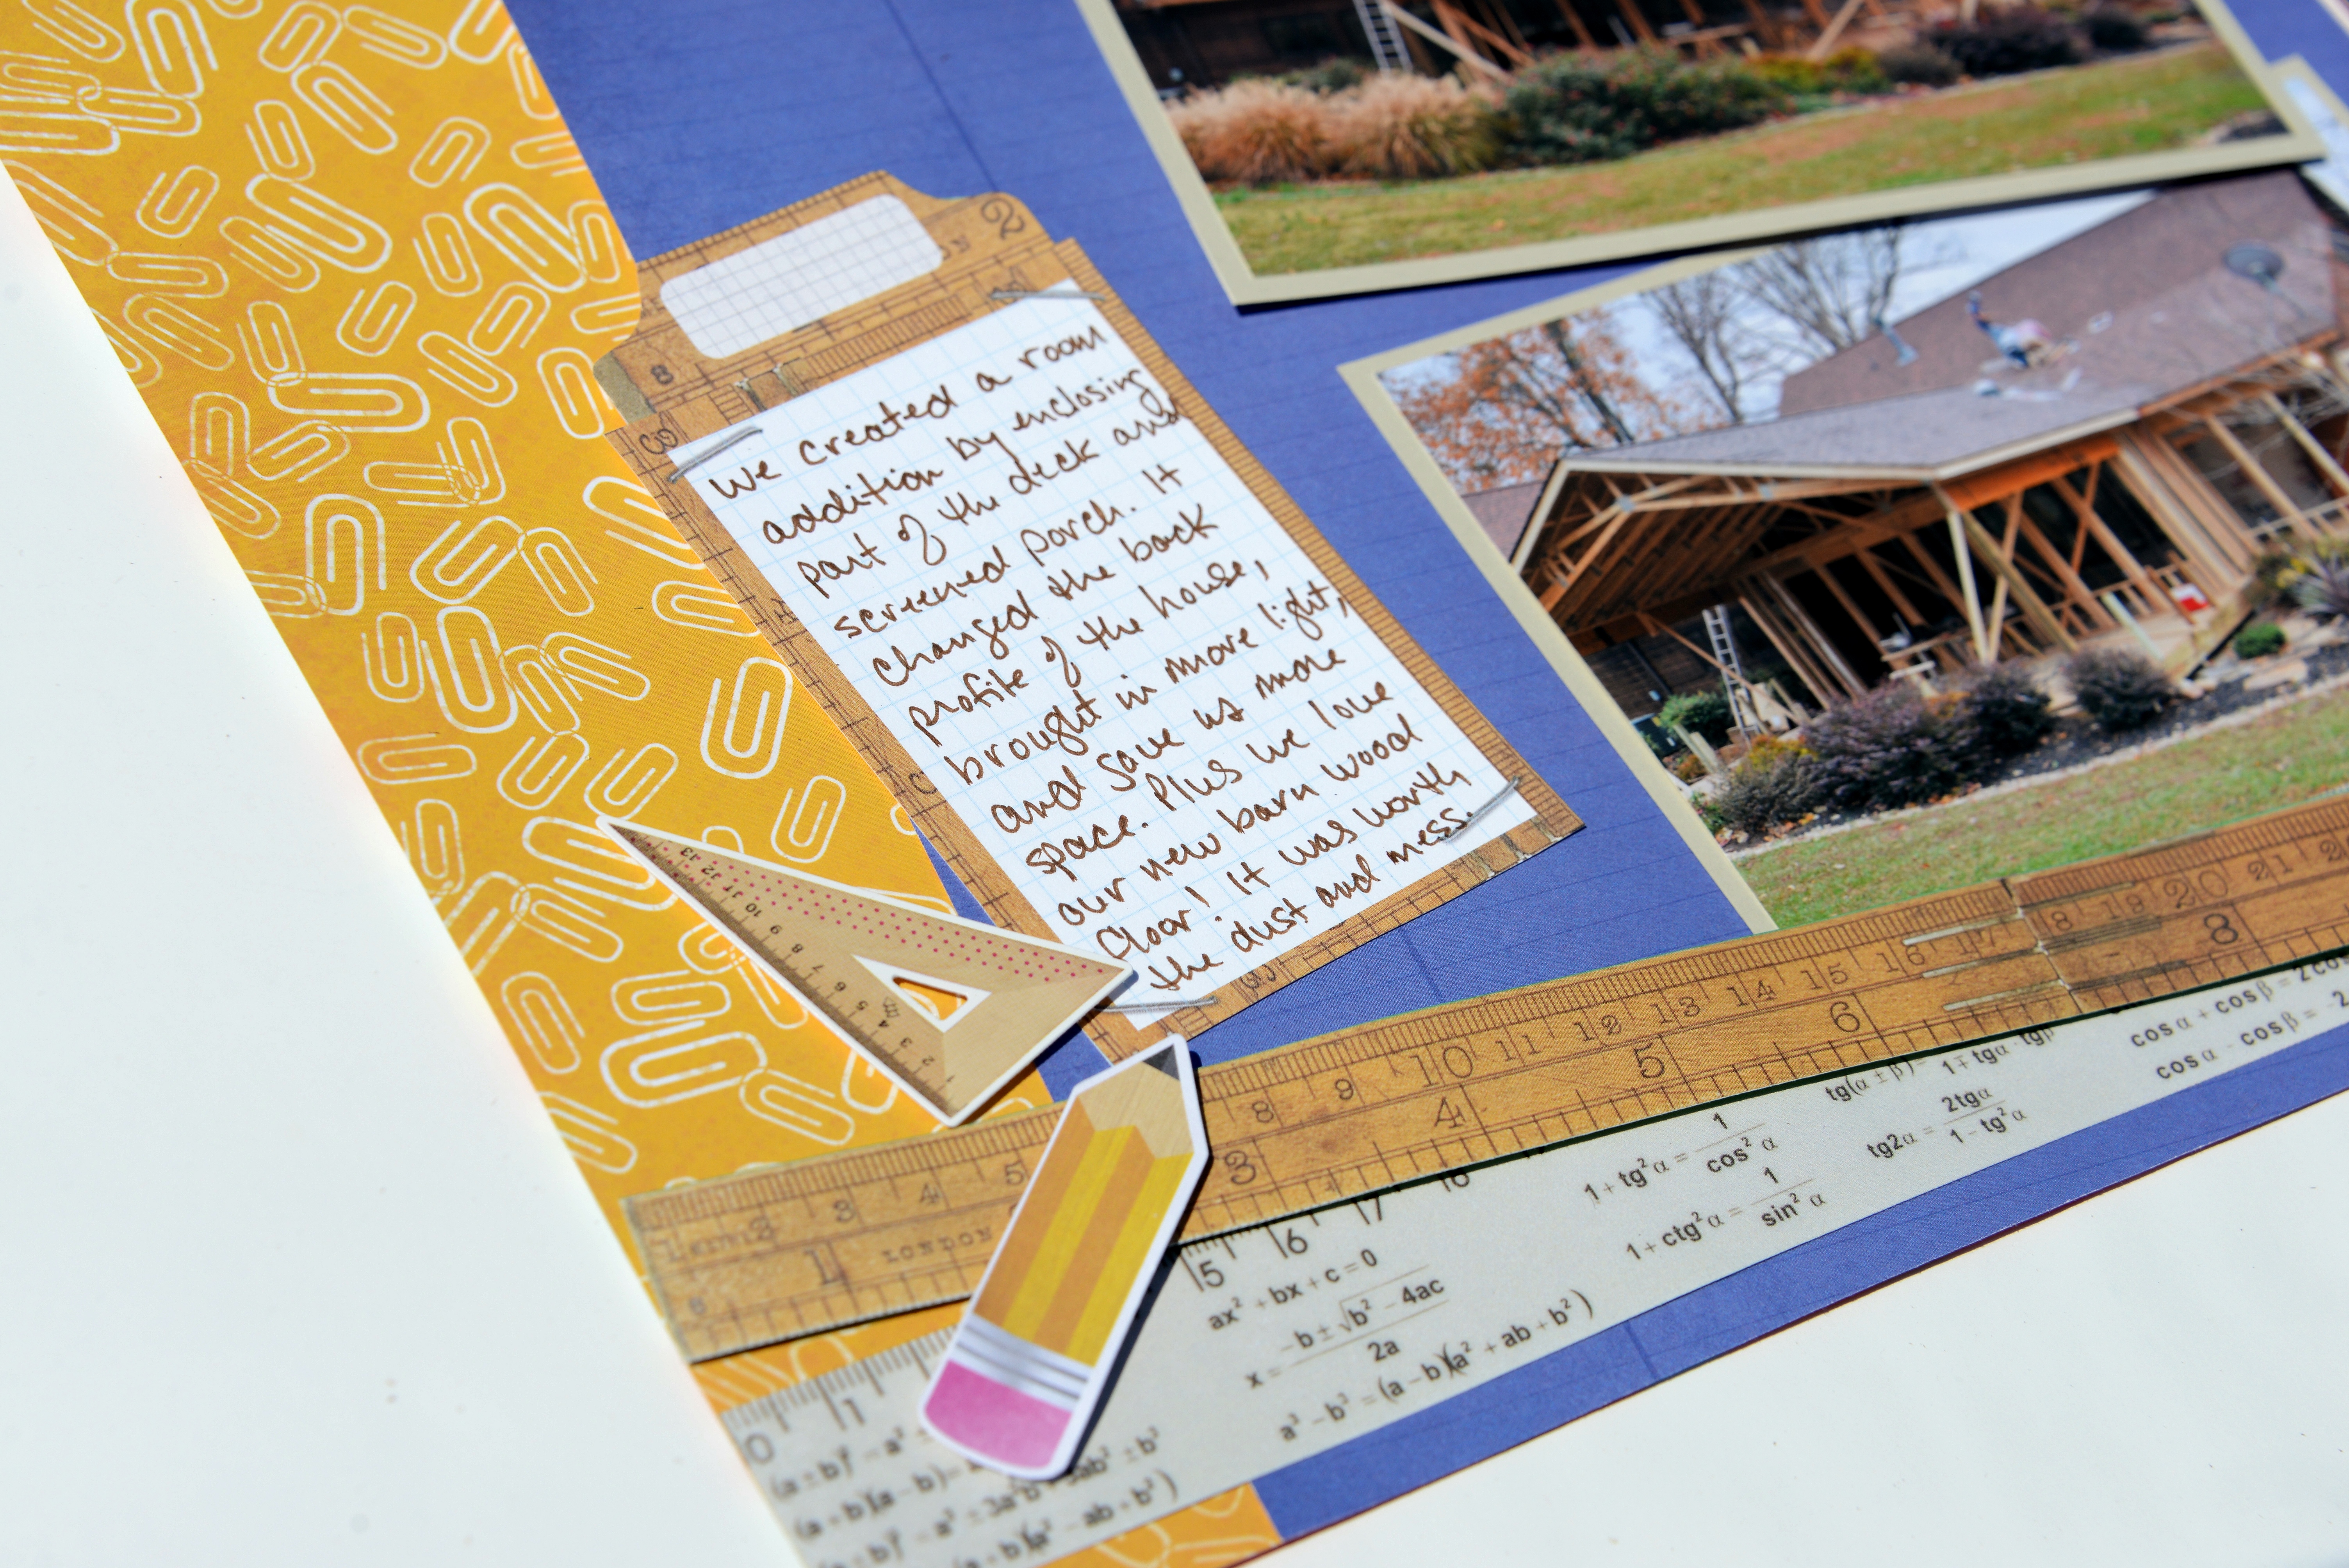
6. Cut out the “clip board” journaling mat from a slide-in card. Journal and adhere.
7. Add embellishments as shown. I used foam squares to adhere the triangle ruler and the pencil embellishments.
Happy Scrapping!


Love these, Karyn!! Really fun ideas.
Thanks, Krislyn!
Wow! Great way to use the paper for a non-school layout. I love Scrapping Buddies!
Thanks, Pam! I appreciate your comment!
There are great Karyn….I can see I have trouble thinking “out of the box”…SO glad you can show us! Have a super weekend!!! :D
On Fri, Sep 30, 2016 at 6:58 AM, CREATIVE MEMORIES BLOG wrote:
> Karyn McDermaid-Rolfe posted: ” Our new Study Buddies Collection is bright > and fun and perfect for school photos. But our designer paper is always > double-sided with an alternate print. So I was able to use this collection > to make some non-school scrapbook pages. Our new Black 12×1″ >
Thanks, Sue! I’m glad that I was able to inspire you! Hope you have a great weekend too!
These are brilliant! What perfect alternative uses for these materials. See, this is one of the things I love about my CM family — creative gals like you, Karyn, sharing your amazing talents.
Thank you, Ruth! I appreciate your comment :)