January 21, 2017
January Virtual Crop: Challenge 5

What a fabulous day this has been.
Together, we have created hundreds of projects to be added to our scrapbooks with memories that will last a lifetime.
We, here at Creative Memories Home Office thank you for being here with us today. Please make sure to mark the dates for the rest of the 2017 Virtual Crops on your calendars. We LOVE having a FULL house here.
Without any further delay……
The final challenge.
Challenge 5: Create a layout, card, border, or spread using the following three colors: RED, BLACK, and WHITE. When you are done, take a photo, and post it to the event page prior to 7:00 pm CST to qualify for the prize.
Use hashtag: #CMVirtualCrop
Use the following projects for inspiration:
To create these cards you will need:
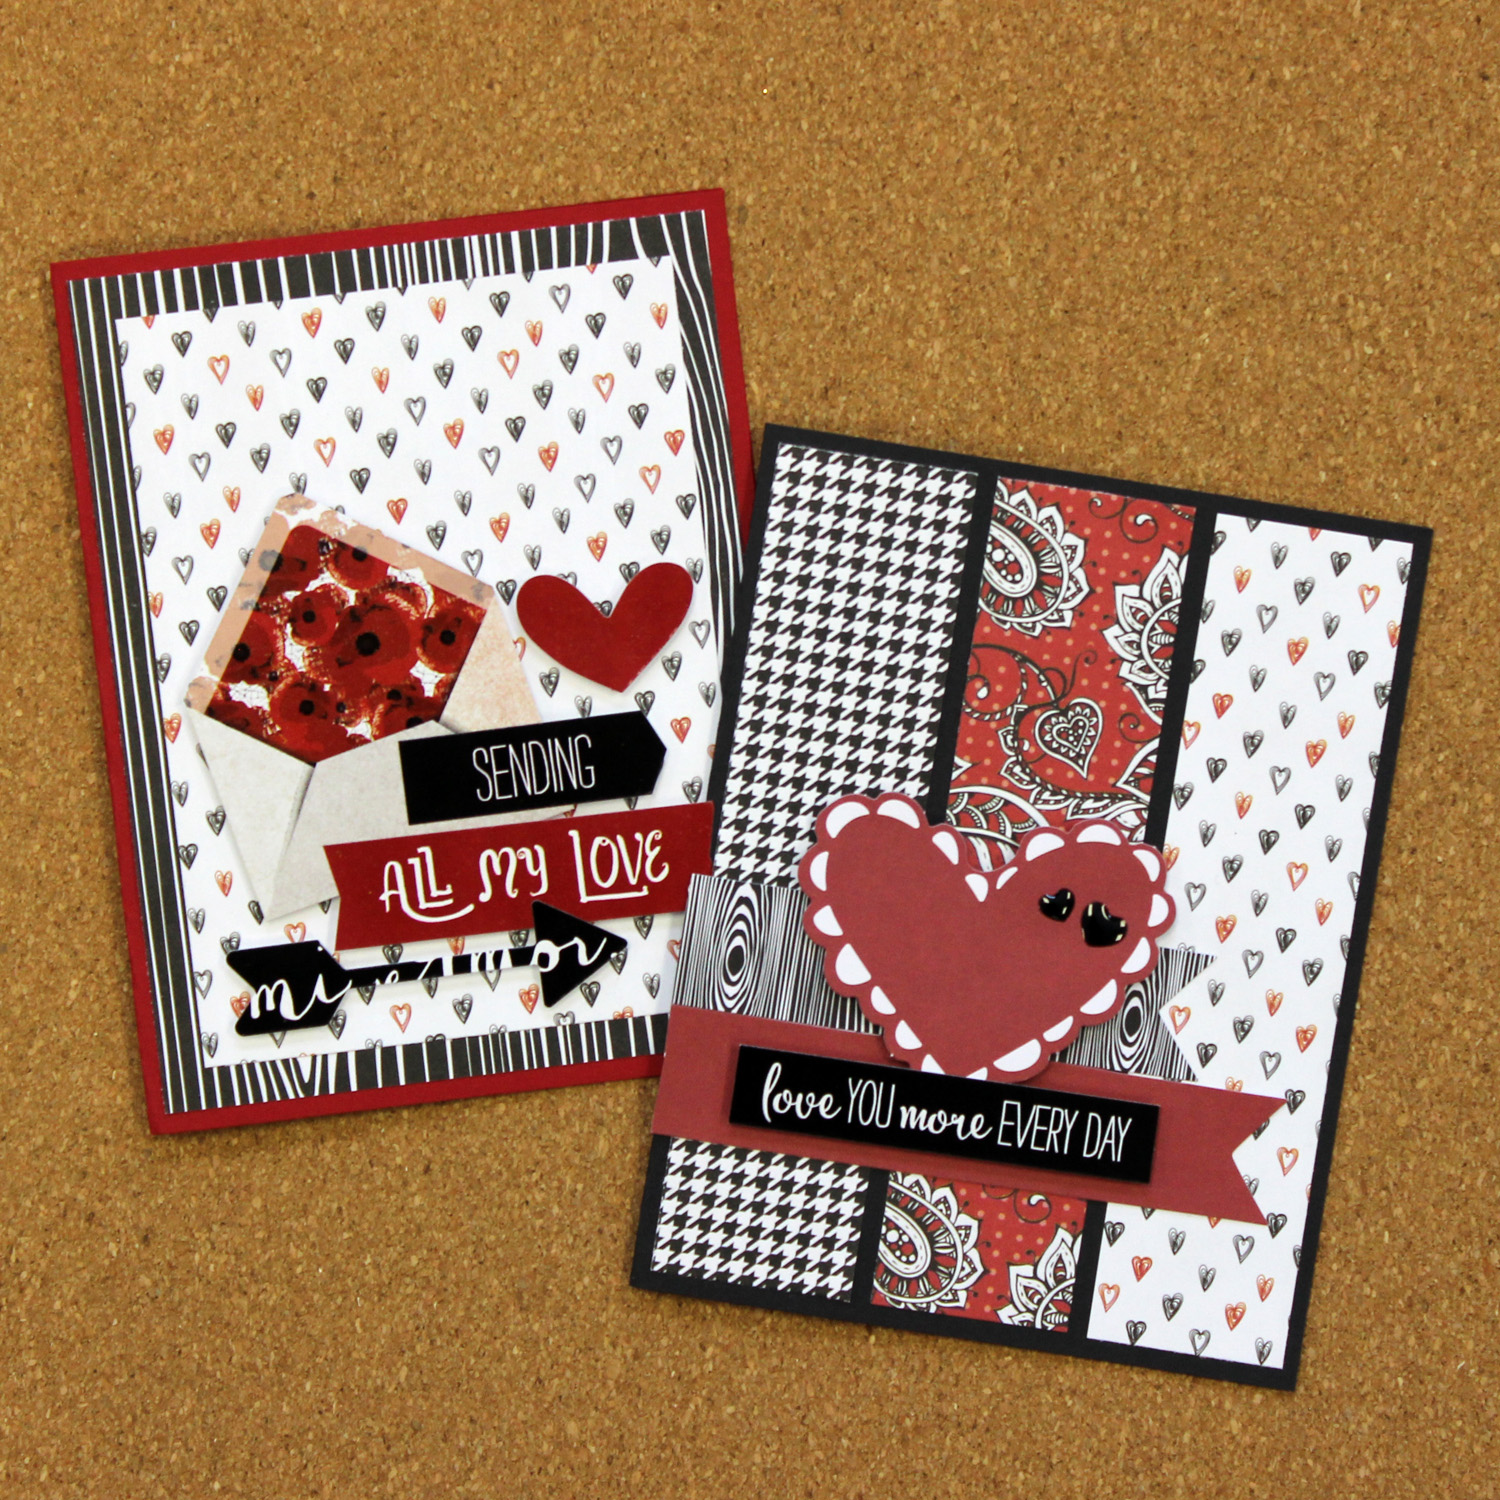
Sending All My Love Card:
Step 1: Cut a piece of Cranberry Cardstock to measure 8-1/2″ x 5-1/2″. Fold in half to create card base.
Step 2: Cut a piece of black wood grain paper to measure 4″ x 5-1/4″. Adhere to the front of the card.
Step 3: Cut a piece of the heart patterned paper to measure 3-1/2″ x 4-3/4″. Adhere to the top of the card.
Step 4: Adhere the stickers, adding foam squares to some to create dimension.
Love You More Everyday Card:
Step 1: Cut three pieces of paper to measure 1-1/4″. Adhere to the front of the card.
Step 2: Adhere the banner embellishments to the card. Cut away any excess from the far left side.
Step 3: Adhere the heart embellishment, the epoxy hearts, and the sticker to the card.

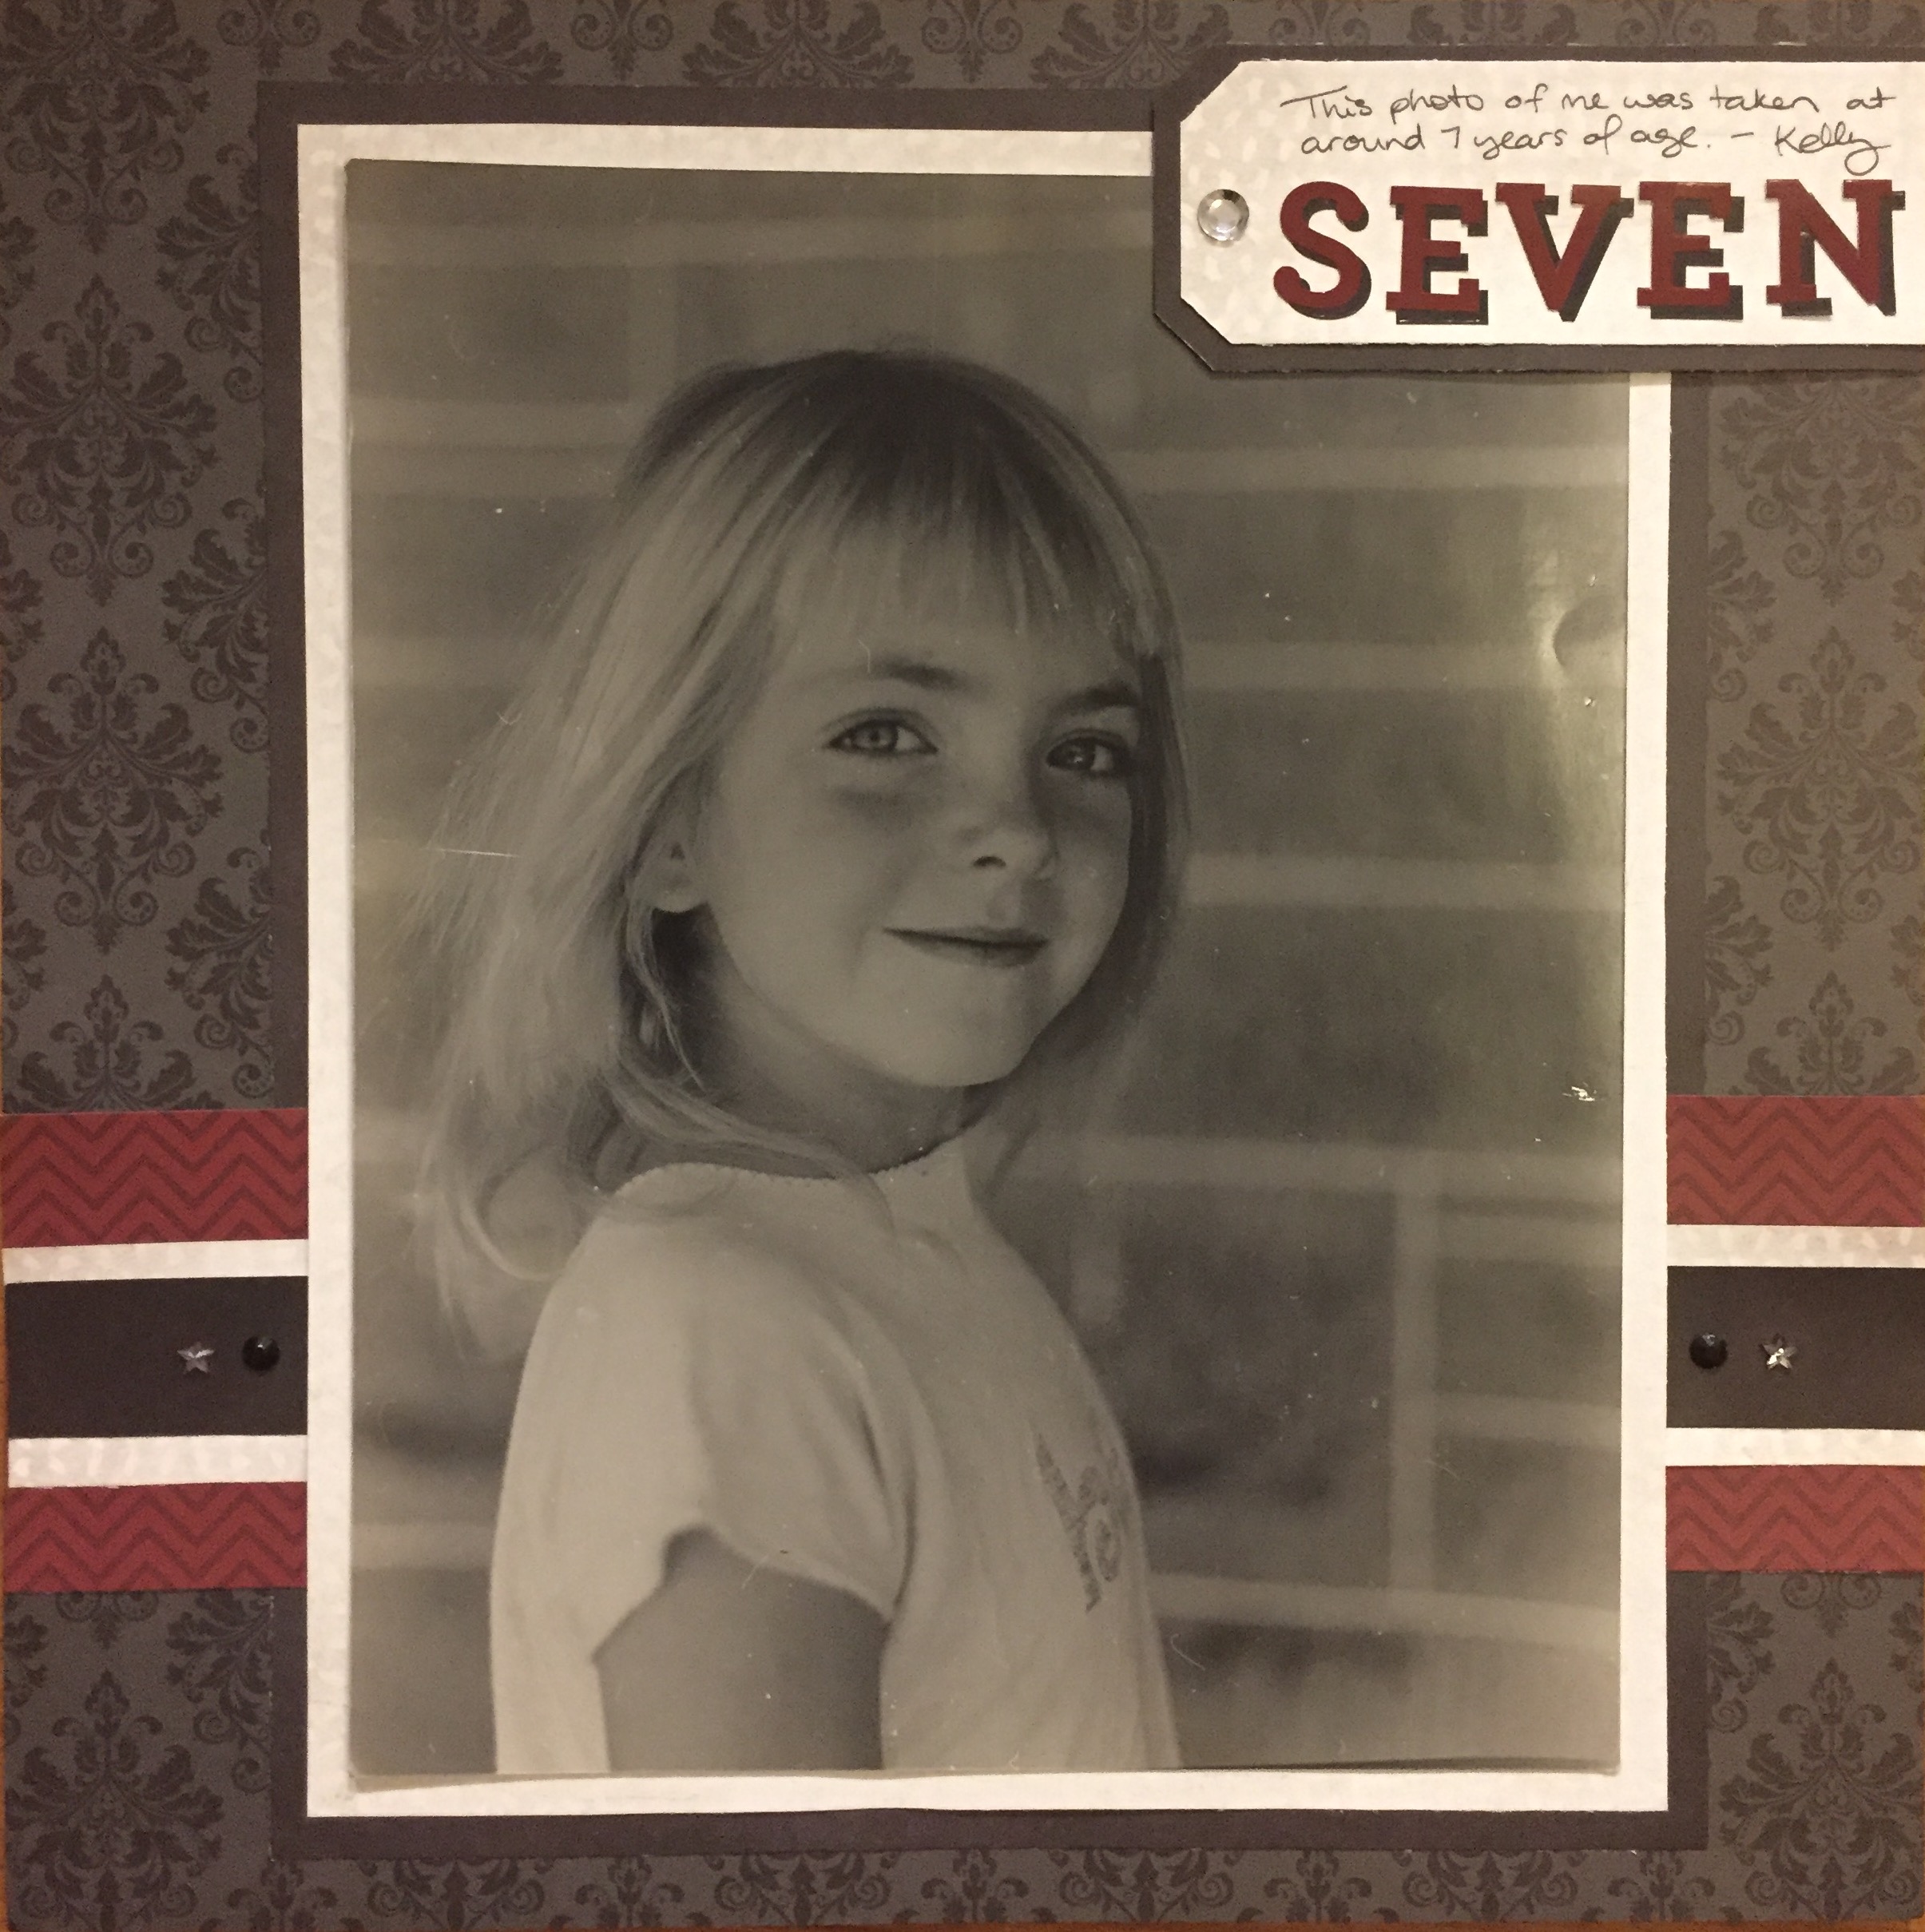
Layout created using: Mi Amor Digital Kit US CAN
To create this layout you will need:
Achievements Paper Pack US CAN
Cool Serenity Paper Pack US CAN
Achievements Embellishments US CAN
Step 1: From the Achievements Paper Pack choose the damask design paper and chalkboard (black) paper, choose the light sand coloured paper from the Cool Serenity pack and the red chevron design from the Truimph Paper Pack.
Step 2: Trim the black paper to 10×11″, trim the sand paper to 9×10″ and adhere these papers as a double-mat for an 8×10″ photo as shown. Then adhere this to the centre of the damask paper.
Step 3: Trim a 3×12″ strip of red chevron paper, and from the left over scraps, trim a 1 1/2×12″ strip of sand paper and 1×12″ strip of black paper. Adhere these strips together, then slide between the sand and black photo mats. Adhere the ends of the strip to the damask paper.
Step 4: Using more leftover strips of paper, trim a black 5×2″ strip and 4 3/4×1 3/4″ sand strip. Carefully trim 2 corners off each strip (at 45 degree angles) and adhere together. Overlap Black and Ruby ABC/123 Stickers to make the black stickers look like a drop shadow behind the Ruby stickers. Add journalling and embellishments.
As a way to say THANK YOU for joining us today, we would like to offer you a special deal, that only you can take advantage of for attending the Virtual Crop. Spend $25, and get $10 off. You will need to enter the code JanCrop10. Don’t forget to add this in the coupon code, as we will not be able to go back and alter any orders. Valid today only between 9:00 am – 6:00 pm CST. Happy Shopping!
Mark Your Calendars!
2017 Virtual Crops
Saturday March 25th 9:00 am – 6:00 pm CST
Saturday May 6th 9:00 am – 6:00 pm CST
Saturday September 16th 9:00 am – 6:00 pm CST
Saturday November 11th 9:00 am 0 6:00 pm CST

I cannot get the coupon to work either.
Coupon code wouldn’t work for me either. It was prior to 6pm. I was a little disappointed by that.
This is not a reply, but a comment, because I have photos from a recent visit to Australia, I was disappointed there were no supplies based on the beautiful art work of their Indigenous people.
Saturday 9-6
What tools will be needed for the virtual crop on March 25? Cannot take too much, would love a little advance notice to be prepared! Thank you in advance.