February 15, 2017
Scrapbooking Layouts Using Sorbet Collection

Today, I’m encouraging you to take a closer look at our new Sorbet Scrapbooking Collection. When I first saw it, I immediately noticed the pinks, purples, yellows and all of the flowers. But on a closer look, I realized that it really is a versatile collection. The feminine colors are balanced by shades of orange, blue, green and gray. It’s obviously going to be fantastic for all types of spring projects and scrapbooking, but the playful artwork of this collection is also going to be great for scrapbooking photos of both my granddaughter and my grandson.
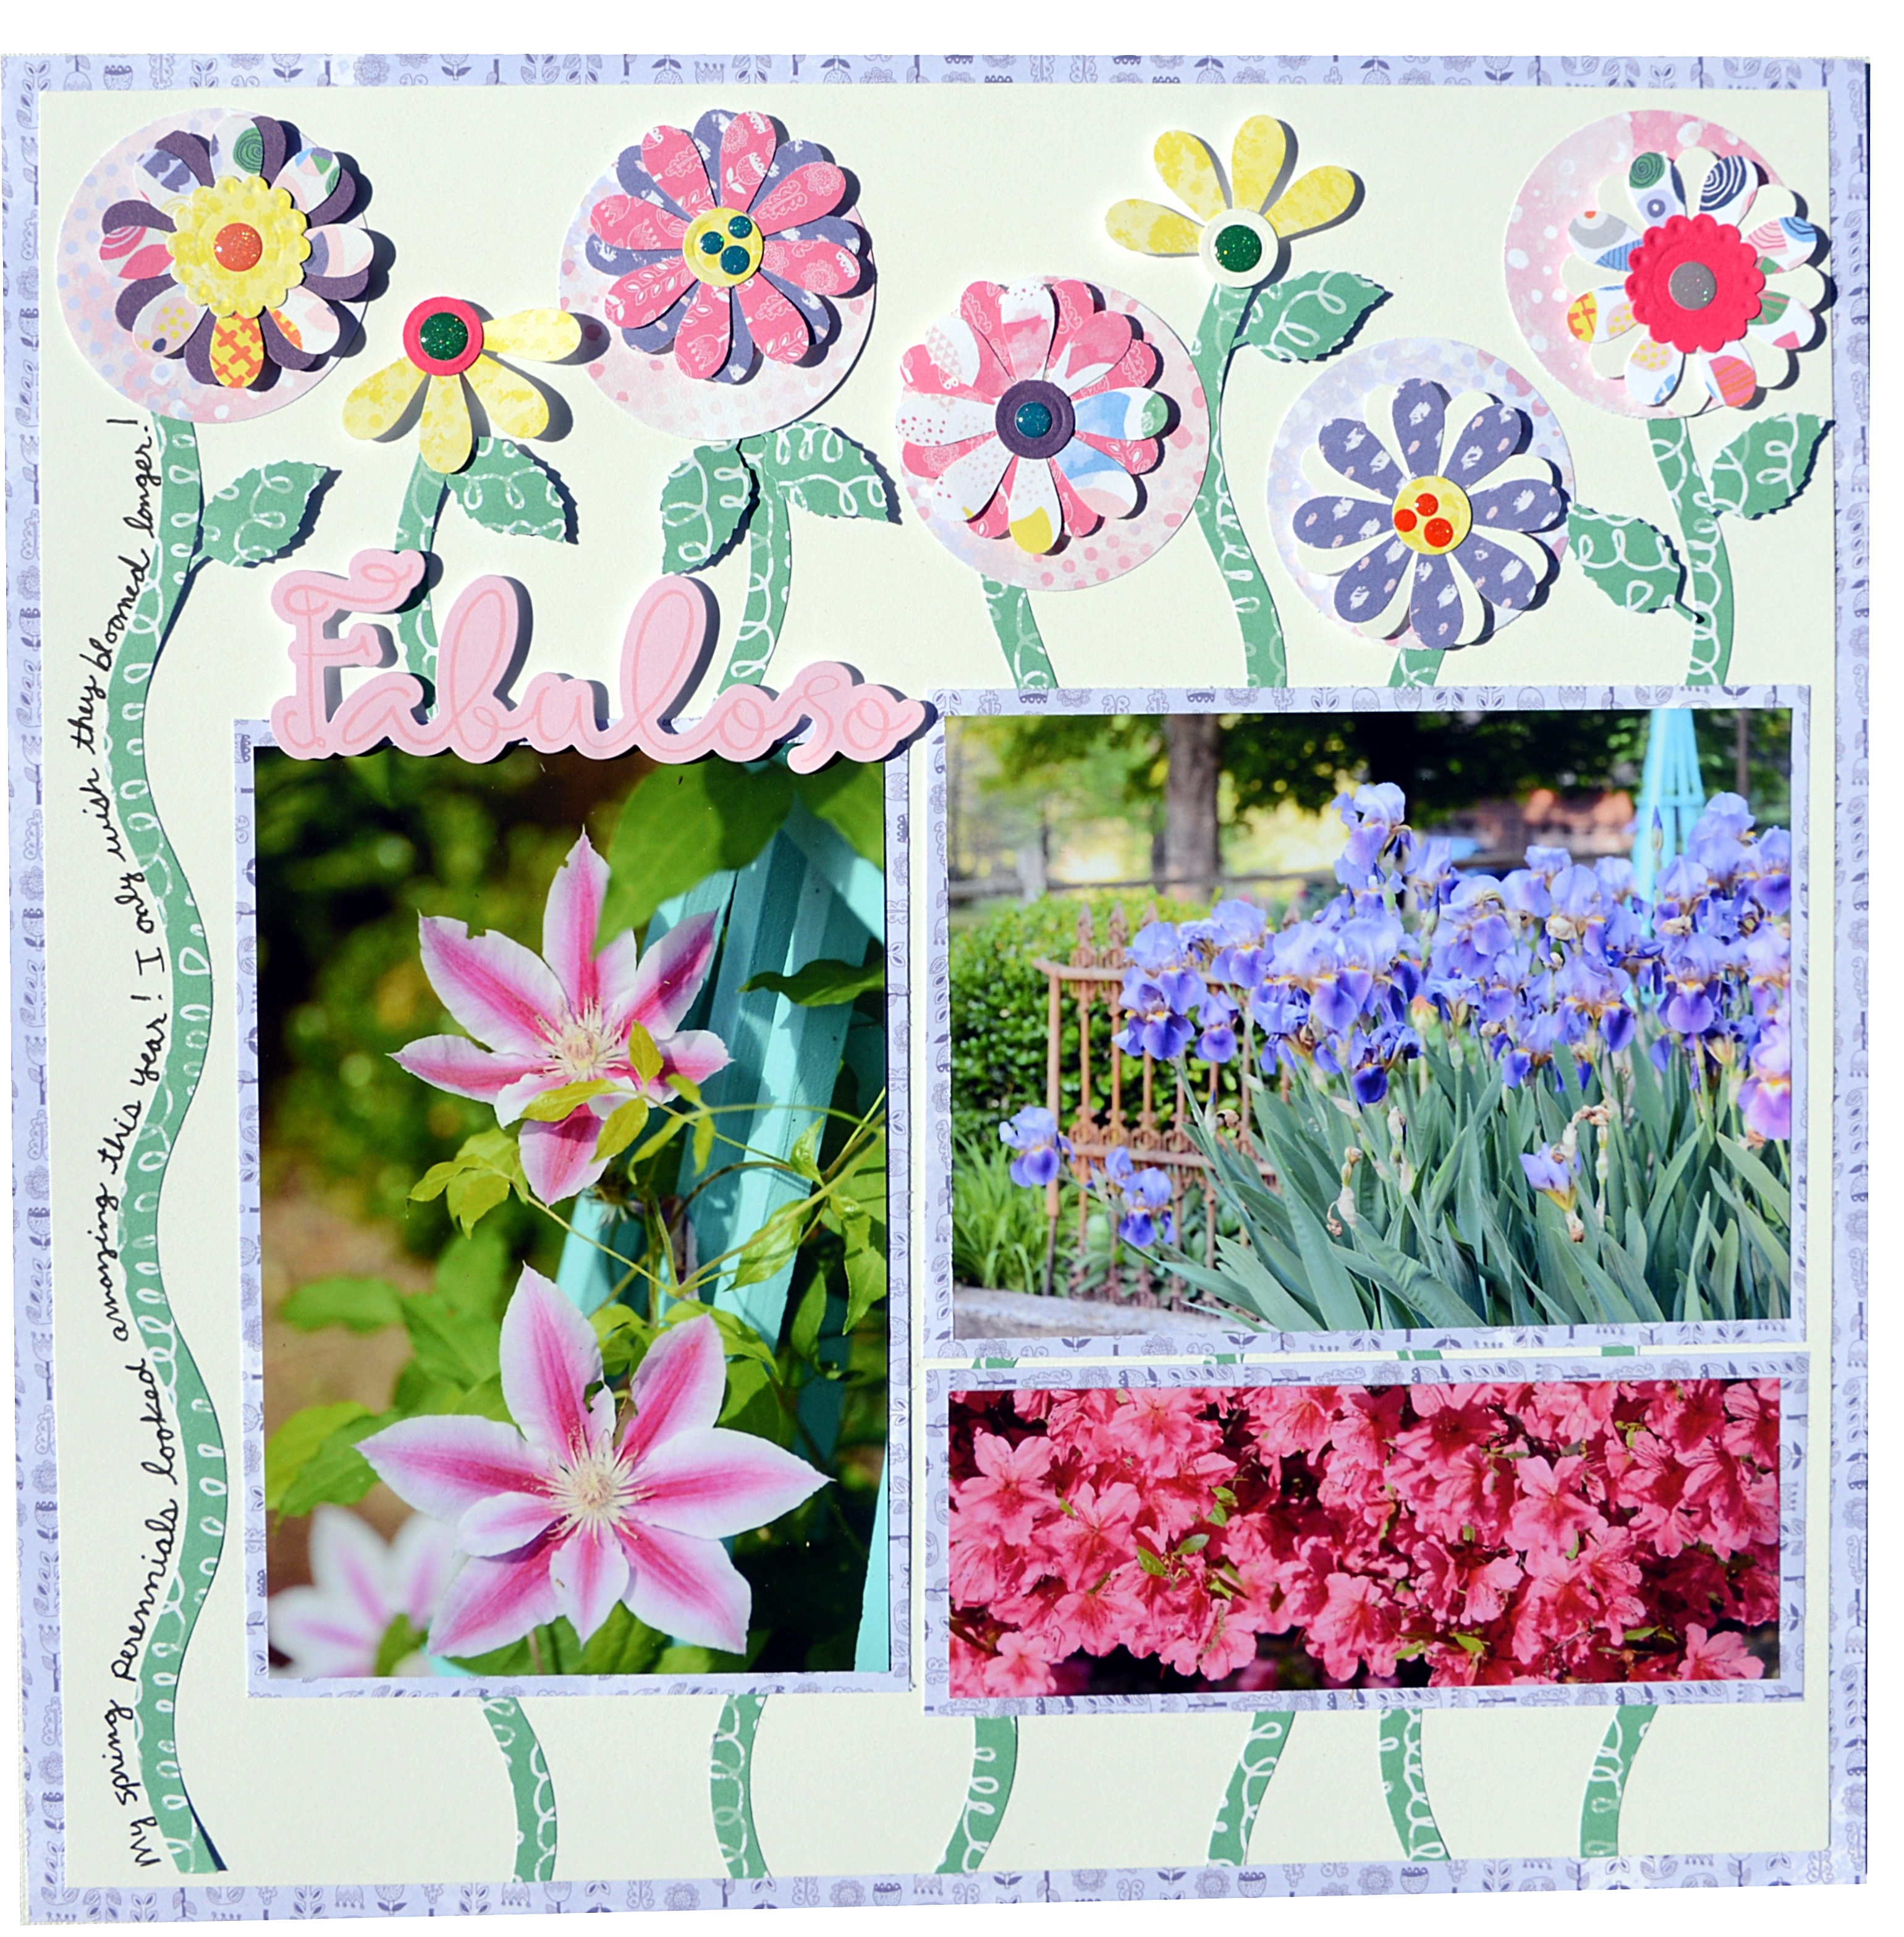
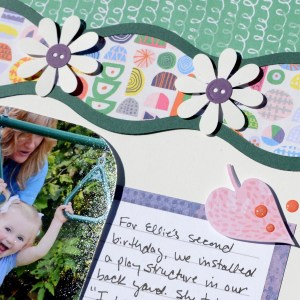
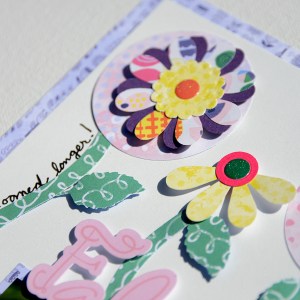
I couldn’t help myself with my first page, and I went with the obvious. Gardening is another hobby that I enjoy, and I have tons of photos of my garden. So I just had to use our new Daisy Punch and the Sorbet Papers and Variety Mats to make a pretty page. The stems were cut with our new 12-Inch Decorative Trimmer, and the visual impact of the flowers was increased by the addition of two-inch circles behind them.
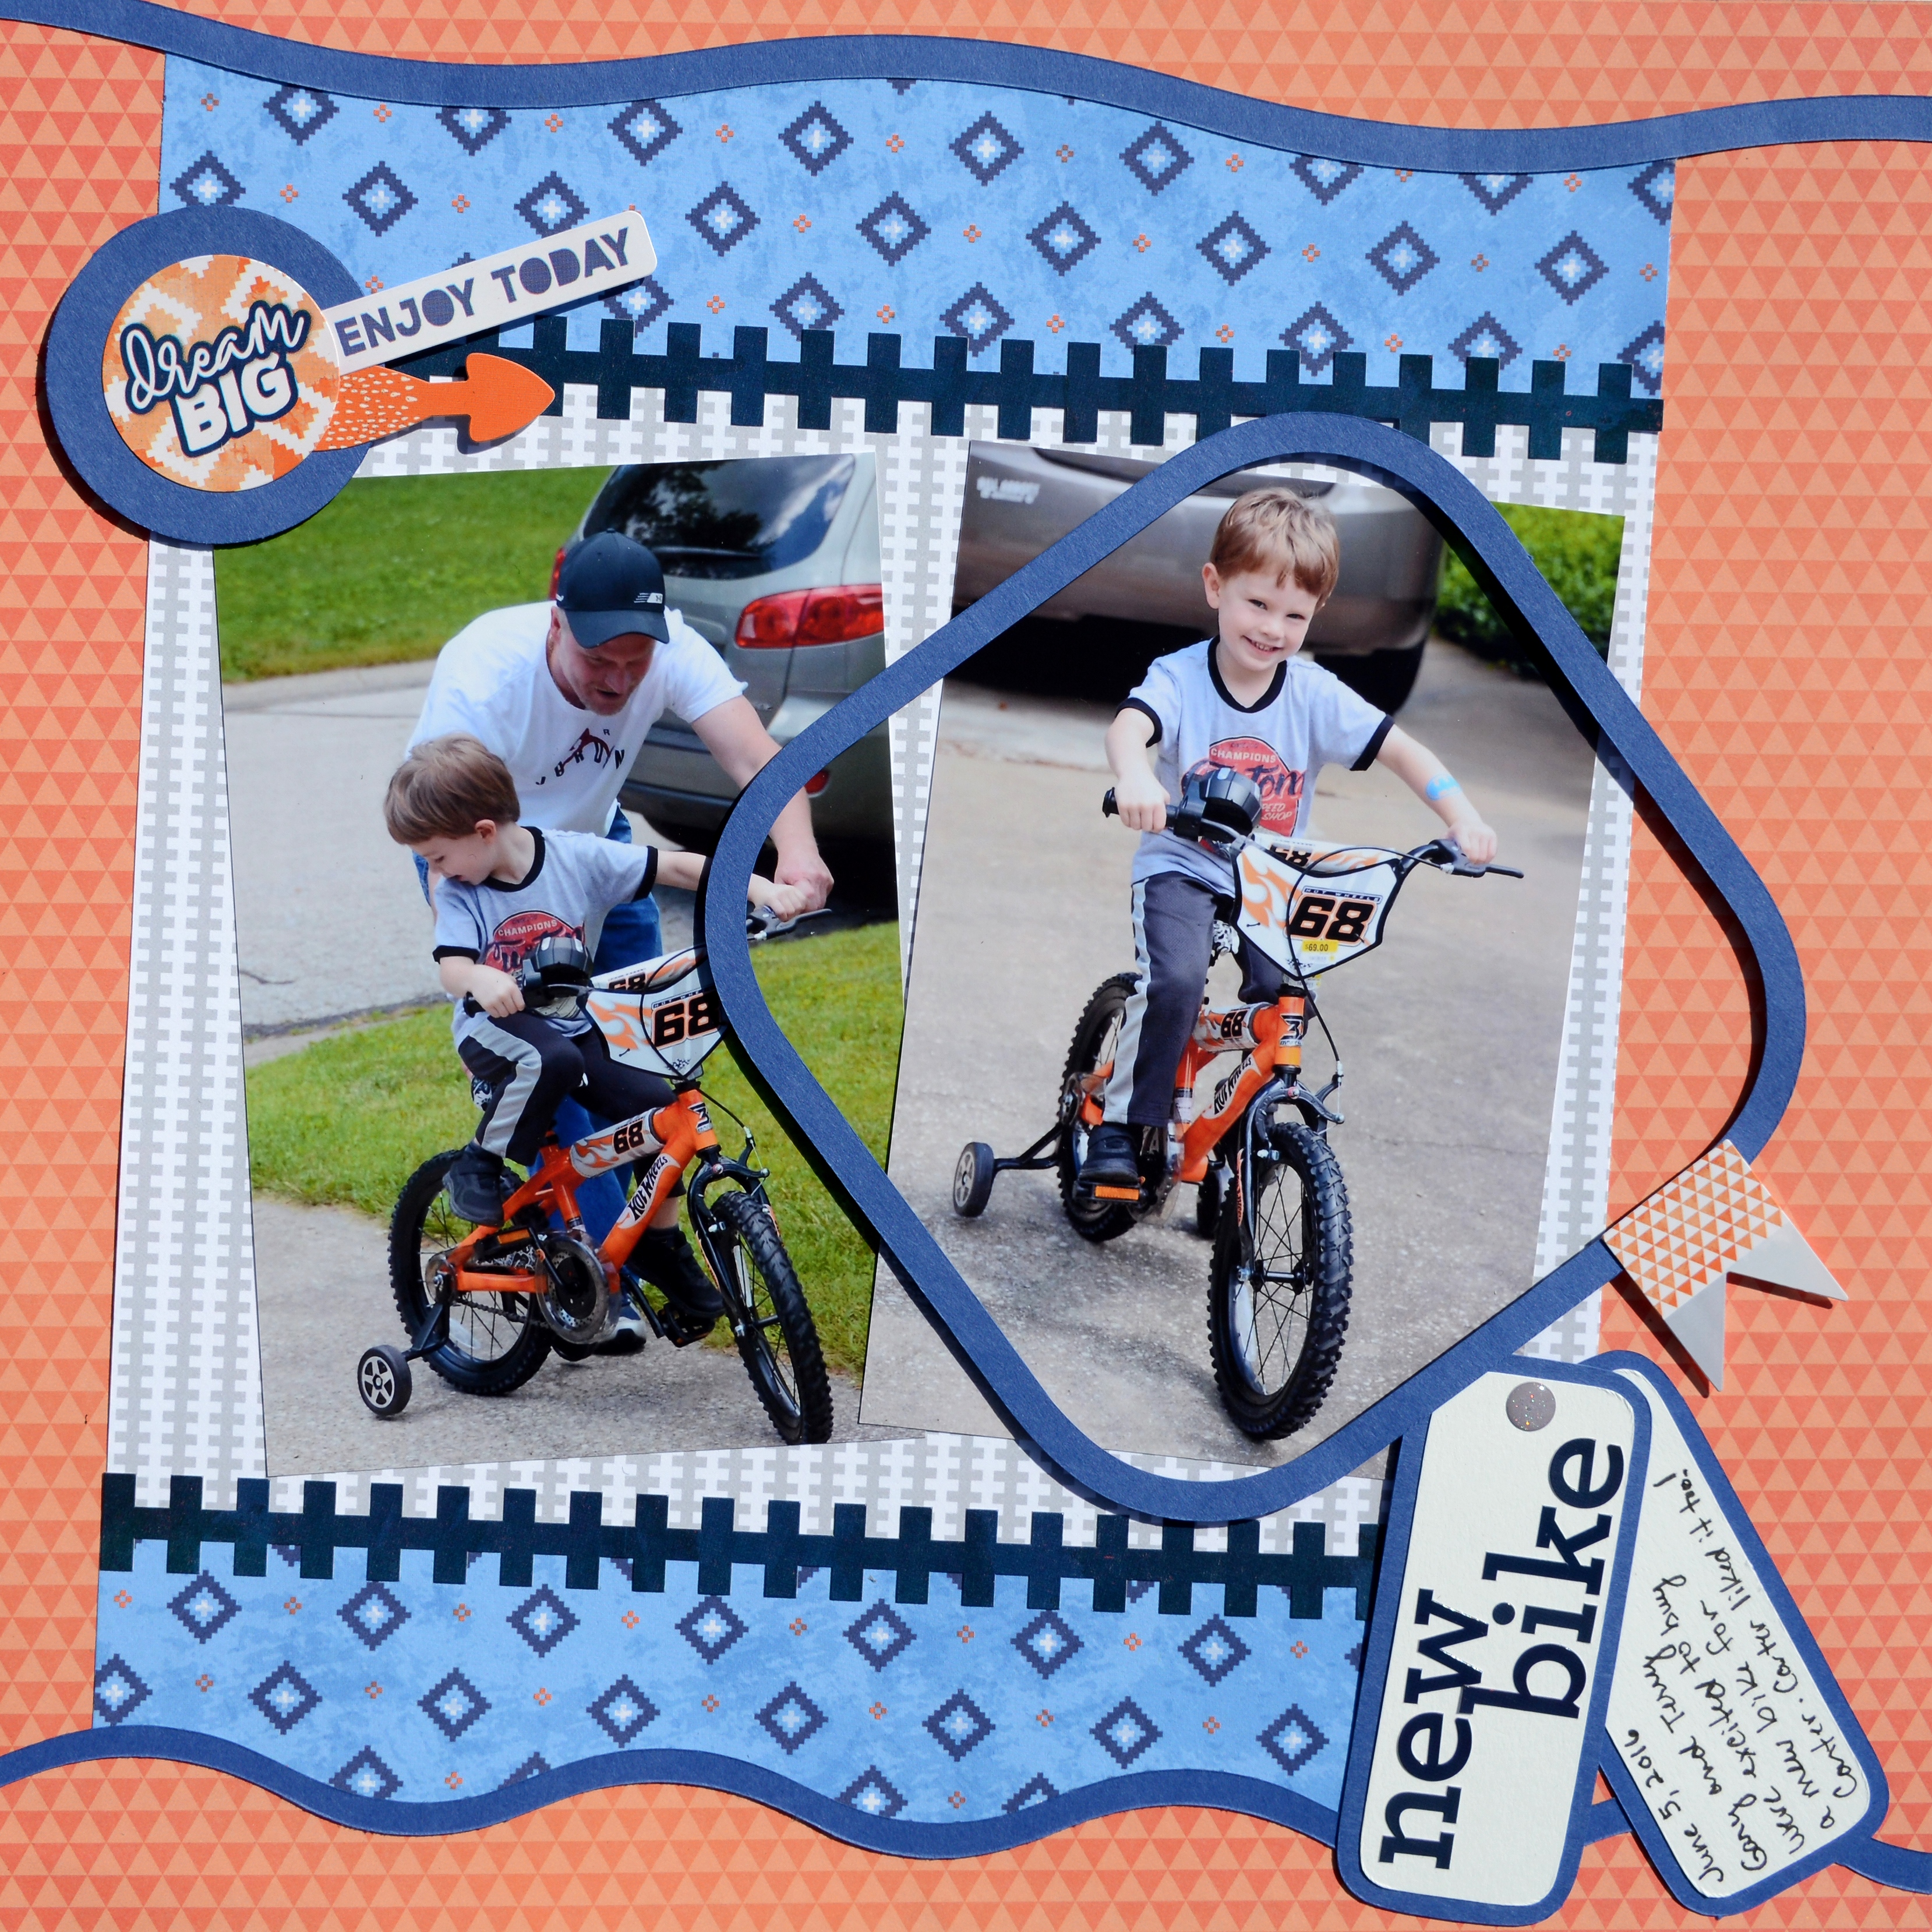
My second page is just one example of how the Sorbet Collection can also be used for more masculine pages. Although the Sorbet Embellishments are on the girly side, the Sorbet Stickers have a nice mix of geometric shapes and versatile titles that are perfect for boy pages. On this layout, I used a hollow frame that I cut using our new Rectangle Cutting Patterns for our Custom Cutting System. This is a terrific technique to highlight a photo. In fact, I used hollow frames on all three of my layouts today. Take a look again at my first layout and notice how the page is framed by the purple print paper. This is a good way to add extra dimension and depth to a page. See my tip in the instructions for how to conserve paper when doing this.

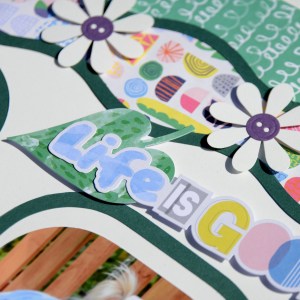
I managed to use all of our new tools on this last layout. The fun borders were cut with our 12-Inch Decorative Trimmer and embellished by our Daisy Punch. And again, I used hollow frames to highlight my photos instead of matting them.
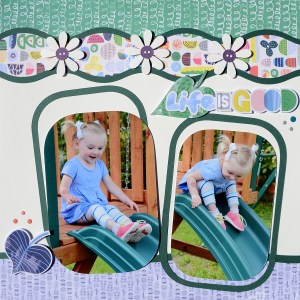

Another design tip that I would like to mention is the use of negative space in your layouts. When using bright and/or highly patterned papers, it’s good to have some neutral space for your eyes to rest. In the case of this layout and my first flower page, the white backgrounds serve this purpose. For my bike page, the solid orange provides that visual break.
To make these pages, you’ll need:
Sorbet Paper Pack
Sorbet Variety Mat Pack
Sorbet Embellishments
Sorbet Stickers
White Solid 12×12 Cardstock
Evergreen Solid 12×12 Cardstock
Eggplant Solid 12×12 Cardstock
Royal Blue Solid 12×12 Cardstock
Navy ABC/123 Stickers
12-Inch Straight Trimmer
12-Inche Decorative Trimmer
Custom Cutting System with Circle and Rectangle Cutting Patterns
Daisy Punch
Embossed Trio Button Punch
Leaf Trio Punch
Tape Runner
Foam Squares
Black Dual-Tip Pen
Page 1:
1. Cut a hollow frame from purple patterned Sorbet Paper by using your 12-Inch Straight Trimmer to cut out the center from a 12″ x 12″ piece of paper. Leave a 1″ frame on all sides.
2. Cut white cardstock to 11-1/2″ x 11-1/2″ and adhere to the hollow frame.
3. From the Variety Mats and solid cardstock, punch flowers with Daisy Punch. For flower centers, punch buttons using Embossed Trio Button Punch. Punch leaves using Leaf Trio Punch. Cut or punch 2″ circles from Sorbet Paper to put behind the flowers.
4. Use the Decorative Trimmer to cut 1/4″ wide flower stems.
5. Mat your photos with Sorbet Paper.
6. Use Foam Squares to adhere flowers and the title.
7. Add journaling along flower stem.
Page 2:
1. Cut gray paper to 9″ x 7″.
2. Cut blue patterned paper to 9″ x 2″ and trim one side with the Decorative Trimmer.
3. Cut two 1/4″ strips from royal cardstock using Decorative Trimmer.
4. Assemble these pieces onto your orange decorative paper and add border stickers.
4. From royal cardstock, use the square cutting pattern with the blue blade on the outside edge to cut a square. After cutting with the blue blade, do not move the pattern and cut again with the red blade on the outside edge to cut a hollow square.
5. From royal cardstock, use the smaller rectangle cutting pattern with the green blade on the inside edge to cut two pieces. From white cardstock, use the red blade on the inside edge to cut two pieces. Layer the pieces, so they hang like “dog tags” and add a glitter gem, title and journaling.
6. Assemble page as shown. Use foam squares cut in half to adhere the hollow frame around your photo. Use foam squares under title stickers on top of page.
Page 3:
1. Use Decorative Trimmer to cut border pieces from decorative paper for top and bottom of pages. Also cut 1/4″ strips from evergreen cardstock to edge your borders.
2. Punch flowers with Daisy Punch and Embossed Trio Button Punch and adhere with Foam Squares.
3. Use the smaller Rectangle Cutting Pattern with the red blade on the outside edge to crop photos.
4. Cut hollow frames from evergreen cardstock using Rectangle Cutting Patterns and the blue blade on the outside edge. After cutting with the blue blade, do not move the pattern and cut again with the red blade on the outside edge.
5. Assemble page using a Variety Mat for your journaling box.
6. Add title and extra embellishments with Foam Squares, and add glitter gems.

I invite you to experiment with our new tools and play with the Sorbet Collection to create some fun pages!


How cute are those!!! Why can’t I “see” the new ways to use our old tools! You do such a super job!!! Sue V ???
Thanks, Sue! I love playing with our old and new tools!
I am hoping with my $10 coupon I can purchase the coverset. It very much reminds me of the symbols of the Pennsylvania Dutch/German and I am working on scrapbooking my ancestors of PA Dutch/German heritage. Donna Gilbert
Hi Donna – Great idea! It does have a Pennsylvania Dutch look. It’s a super cute album cover!
I LOVE the button center using the Embossed Button Punch! The buttons are sooo cute!
Thanks, Adrienne! I love how our tools work together!
These layouts are absolutely beautiful!
Thanks so much! I’m glad that you like them :)
I love the coneflowers by trimming the daisy- ingenious!!
Thanks, Fran! I’m excited to have a flower punch back in our offering of tools.