March 22, 2017
Fur Buddies Scrapbook Layout using the Paw Print Border Maker Cartridge
When I saw the new Paw Print Border Maker Cartridge and Fur Buddies Paper and Stickers, I immediately envisioned the page that I wanted to make for this blog post. Lately, I’ve been a little obsessed with using jumbo hearts in a variety of ways. And today I’m going to share with you a technique that I enjoyed teaching to the attendees at my recent weekend retreat.
To make this page, you’ll need:
Fur Buddies Paper Pack
Fur Buddies Stickers
Gray Solid 12×12 Cardstock
Mint ABC/123 Stickers
Original Border Maker System with Paw Print Border Maker Cartridge
All-Purpose Scissors
Foam Squares
Tape Runner
Repositionable Tape Runner Refill
Black Dual-Tip Pen
Pencil
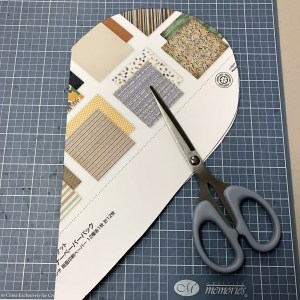
1. The first step is to create a jumbo heart template. I used the paper insert from one of our paper packs. It’s slightly more sturdy than cardstock and is great for this purpose. Fold the 12″ x 12″ sheet in half and draw and cut out a half of a heart shape.
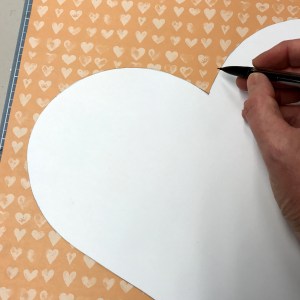
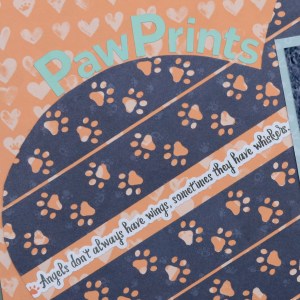
2. Position your heart template on a sheet of the peach heart paper at approximately the same angle that you’ll ultimately use on your page. Trace around the template with a pencil and cut out.
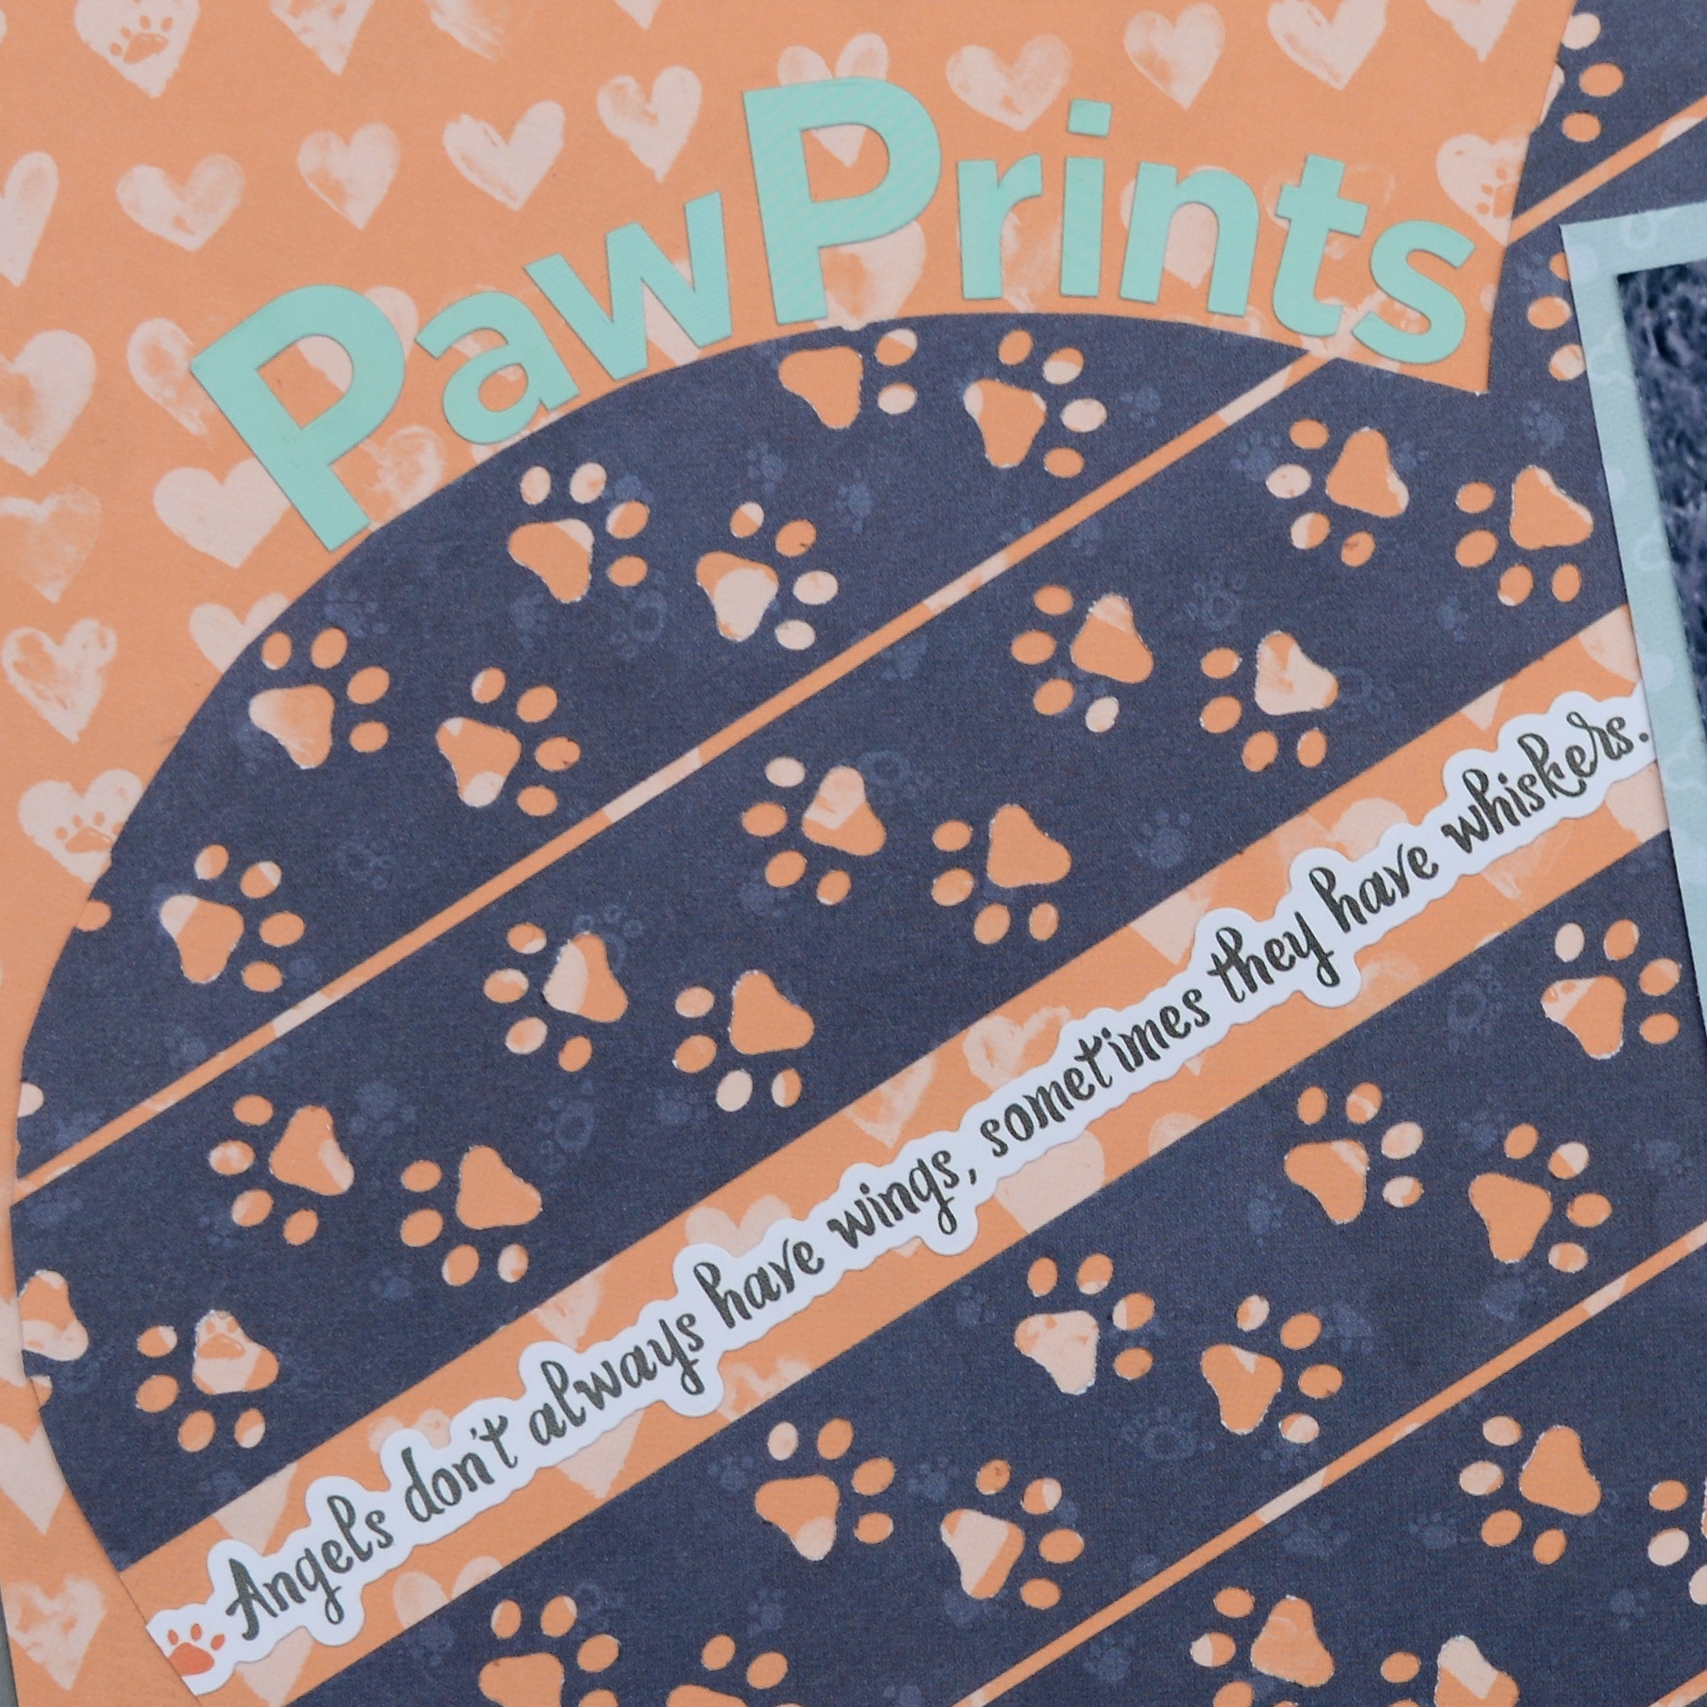
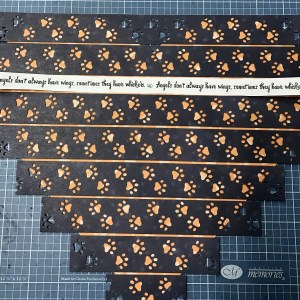
3. Use the border maker with paw print cartridge, to punch several borders from the gray print paper. Cut each border off of your paper at 1-1/8″ wide.
4. Line up your borders on top of your heart piece alternating the direction of your paw prints and leaving about 1/8″ in-between each border strip. Include the sticker strip as shown. (I cut the sticker strip off of the sticker sheet, so I could position its placement before sticking it down.) I like to lay out and line up all of the pieces first before I start adhering. Our repositionable tape is perfect for this.
5. After adhering all of the strips, turn over your heart and cut off the excess.

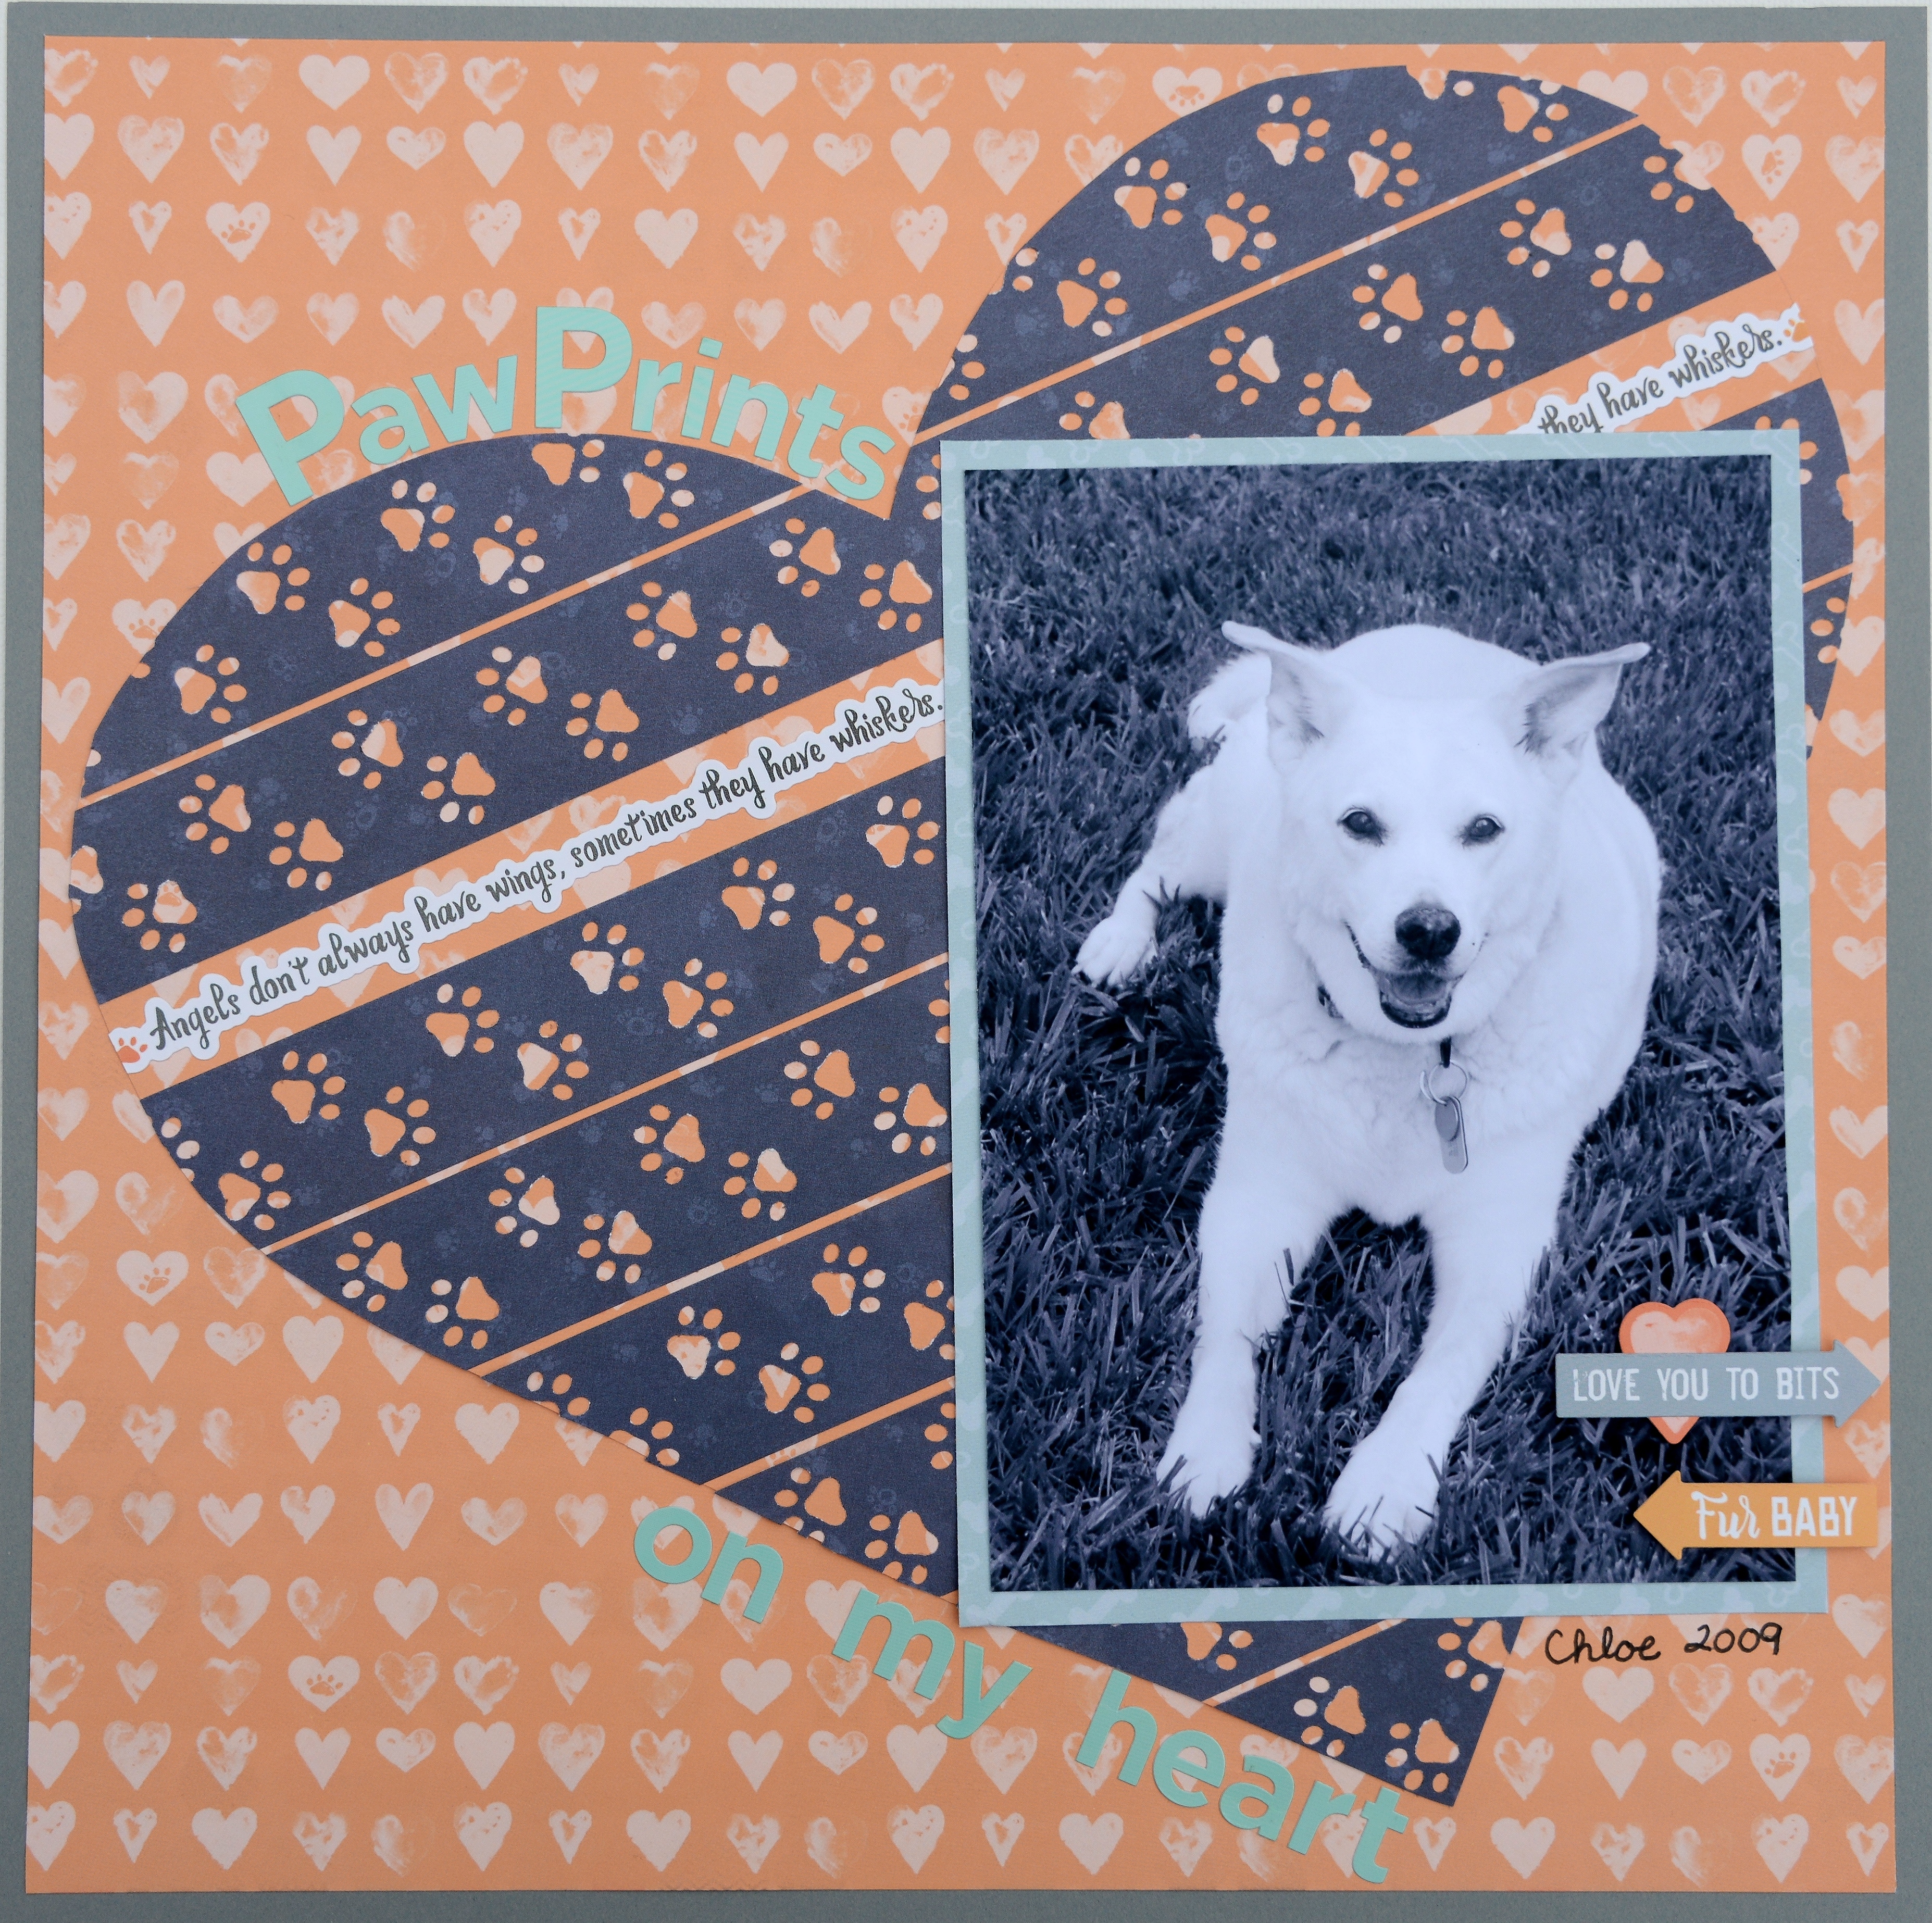
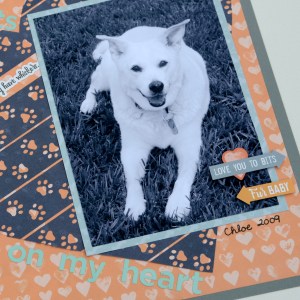
6. Adhere your heart to the second sheet of peach heart paper and assemble the rest of the page as shown. (I matted my entire page on a sheet of solid gray cardstock by cutting a hollow frame from the gray cardstock and trimming the peach heart paper to 11-1/2″ x 11-1/2″.)

Now that you have a jumbo heart template, you can use this technique with many of our border maker cartridges to make a variety of pages. An important tip is to use the same paper or cardstock for your heart and your background, so you create the illusion that the heart is assembled directly onto your background sheet.
Have fun with this!


Another super creation! It’s Chloe!! ?
Can’t wait to get these in my hands. Looking at over 200 shots of Molly and Moses and Sophie from just 2+ years. ??
Thanks much, Sue! I can’t wait to see the cute pages that you’re going to make with these new items!
Excellent idea! Super creative and the I love the use of the border maker strips in a unique way!!
Thanks, Elaine! This technique is great for many of our other Border Maker cartridges too! I’ve also used it with strips of paper cut from a variety of papers.
ADORABLE!!!
Thanks, Laurie! So glad that you like it!
LOVE this border maker and what you can do to show your love for your fur babies! A DEFINITE MUST HAVE PUNCH!
Thanks much for your comment, Sandy! Wish I had this cartridge years ago when my son was playing high school sports and his school mascot was a tiger. But it’s also going to be great for some zoo photos of my granddaughter :)
Karyn! I love it, love it, LOVE it!! I will be making some layouts about my doggie (who passed away in 2009) in the coming weeks. This will be the first page idea I will try! Thank you so much for sharing this beautiful page. <3
Thanks, Barb! What a great compliment – so glad that you’re going to make my page! This is also a tribute page for my dear departed, Chloe – my furry child. They really do leave paw prints on our hearts.
Love this – I’ve got to dig through some older pictures for some of my previous puppy children, plus my current Brutus. This is going to be fun!
Thanks, Bonnie! This is a fun page to make and can be adapted in many ways for lots of uses. Can’t wait to see what you come up with!
Love this technique – and love the layout, too!!
Thanks, Lisa! Glad that you like it :)
[…] version of my jumbo heart pages. (Please see my blog post from February and my guest post on the CM Blog for other versions.) This version of a waving flag was created with the 12″-Inch Decorative […]