July 3, 2017
Mixin’ It Up with Mix & Match
There are SO many fun ways to play with the Mix & Match Collection!
These papers and embellishments are endlessly versatile and will make your page layouts and projects come to life when you just need that certain pop of color.
Try these borders out, check out the variations that follow, and then see what you come up with!
To make these borders you’ll need:
- Mix & Match Royal, Cranberry, Eggplant, Evergreen & Neutral Paper Packs and Embellishments
- White Cardstock
- Original Border Maker System with Scallop Dot Cartridge
- Doily Border Punch
- Scallop Burst Border Punch
- 12-inch Straight Trimmer
- 12-inch Decorative Trimmer
- Custom Cutting System with Circle Patterns
- Tape Runner with Repositionable Tape Runner Refill
- Foam Squares

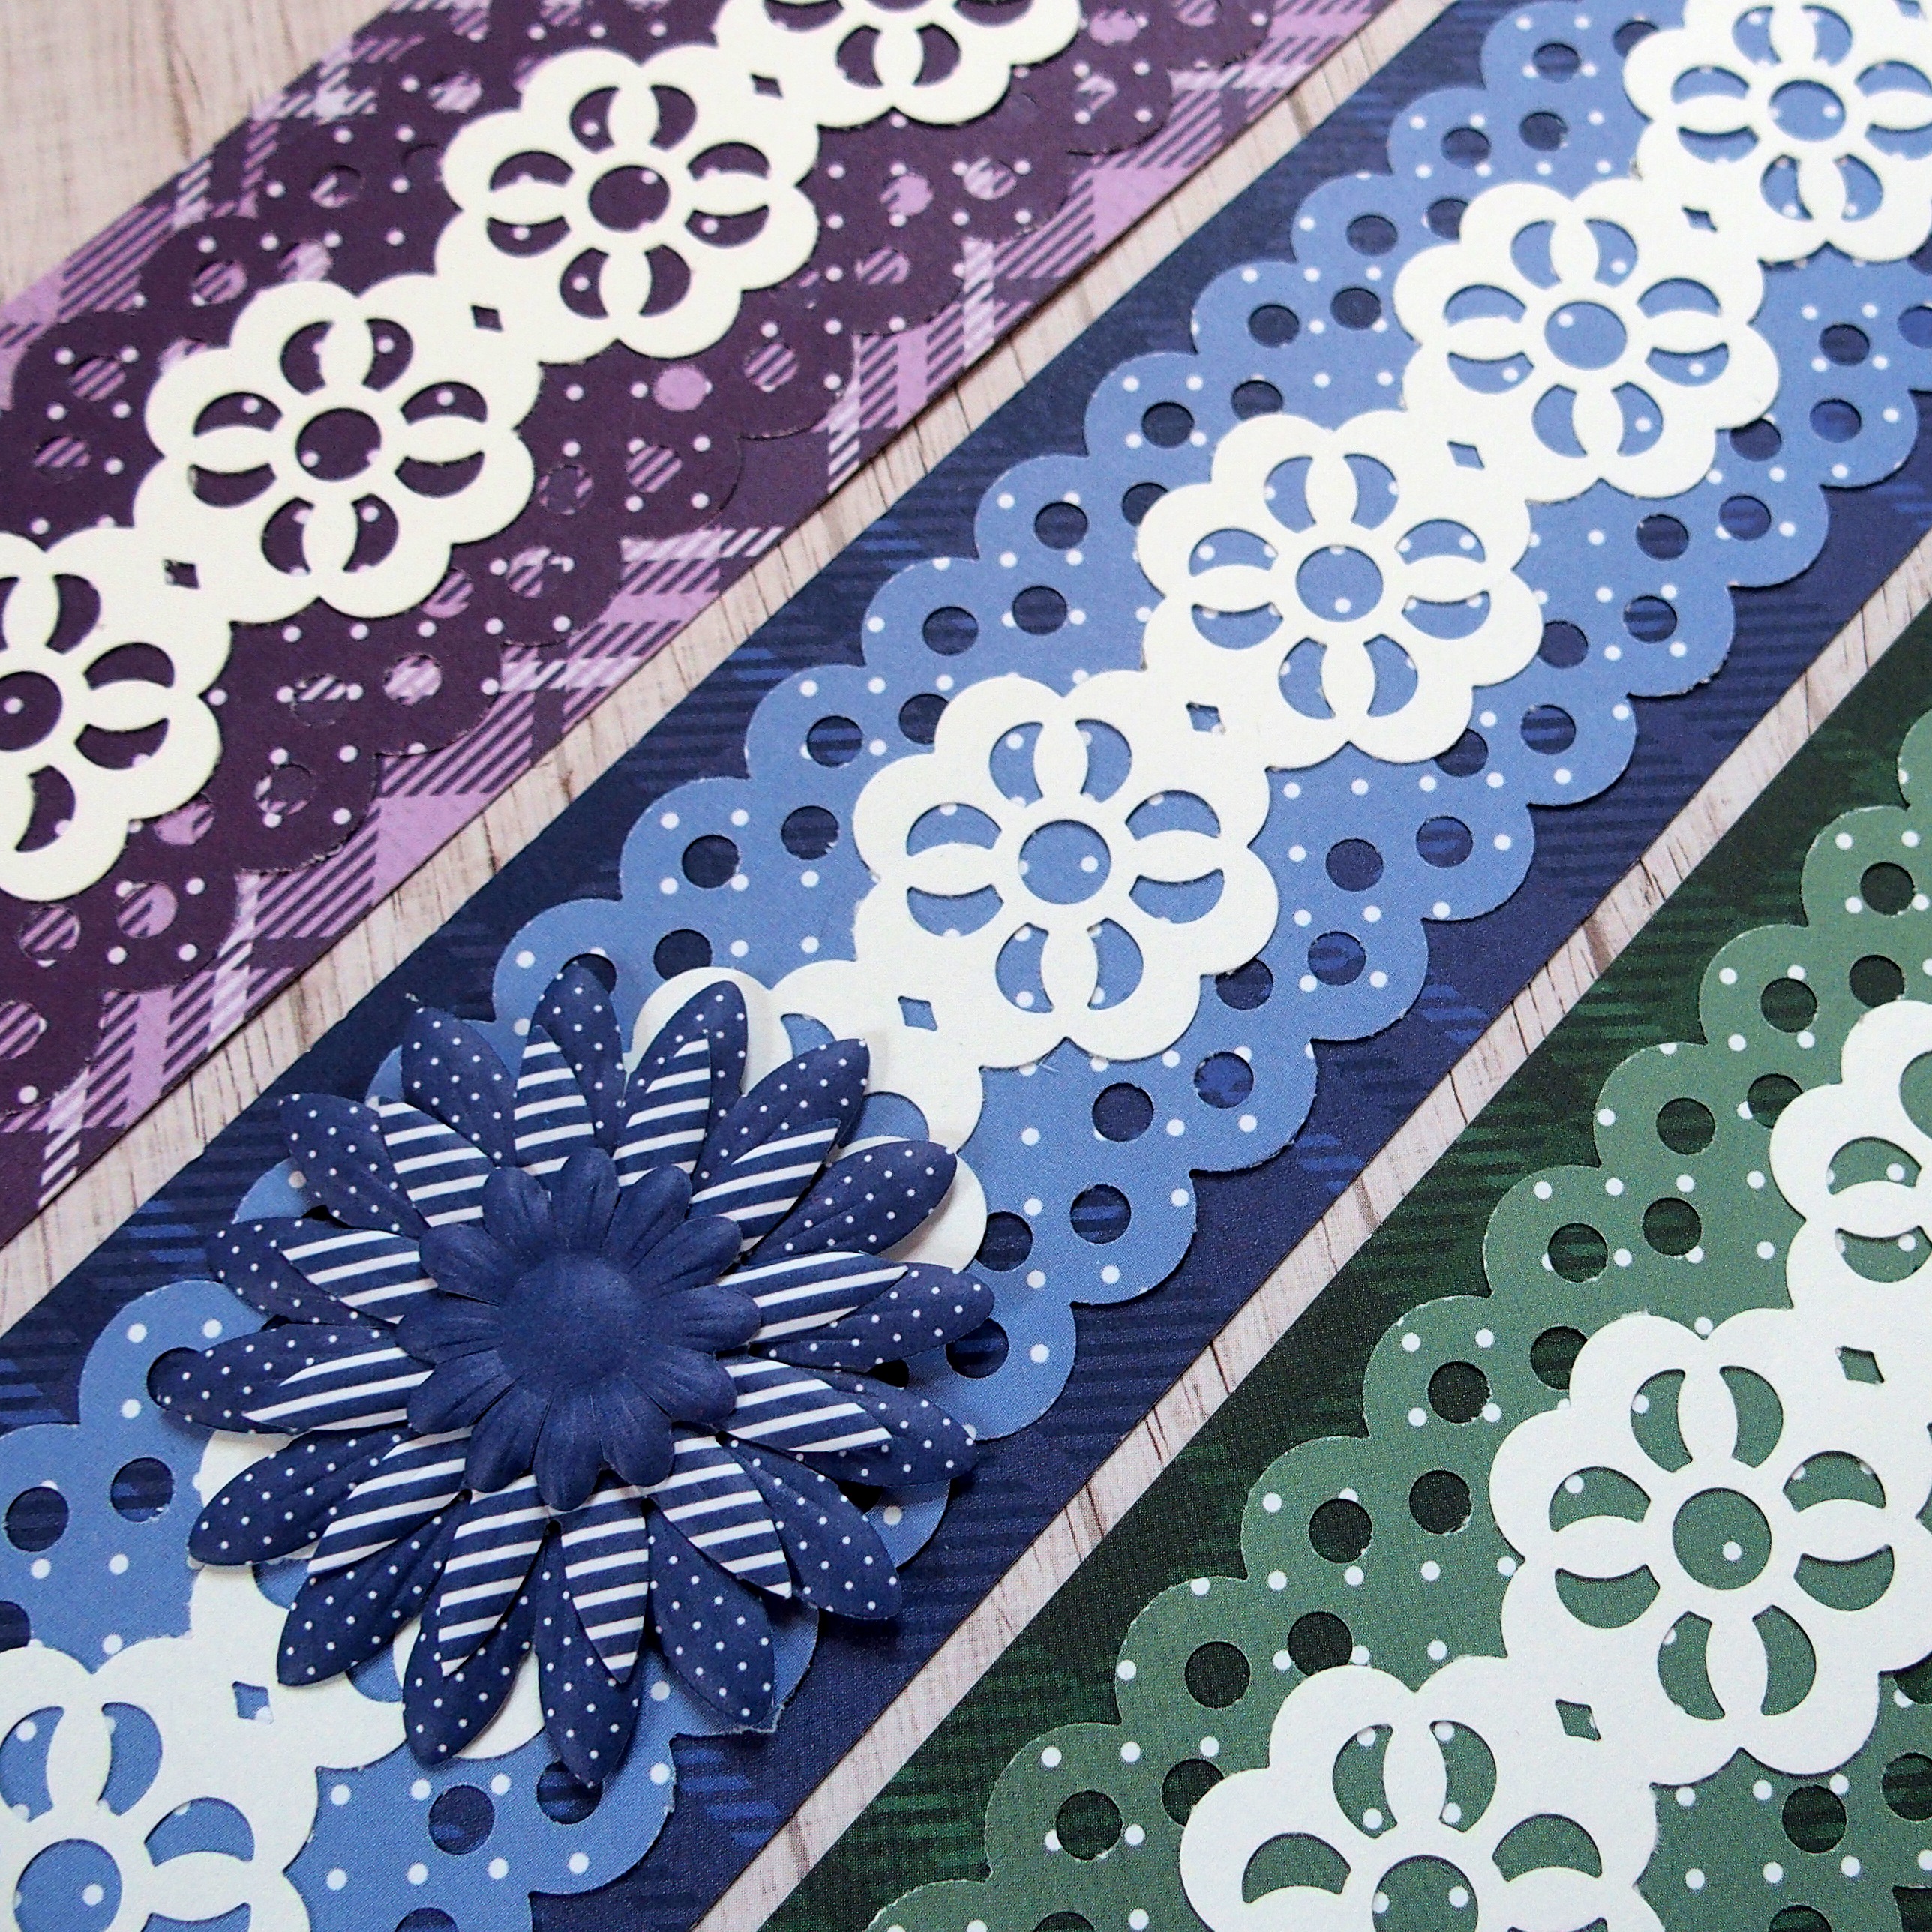
Royal Border 1: Doily
- Cut a 2-1/2″ x 12″ strip of plaid paper for the base.
- Using the scallop dot cartridge, punch a border with mini dot paper. Trim to 2-1/4″ x 12″ and punch the other side (use sticky notes to secure in border maker system). Mount on base.
- Punch a doily border with white cardstock and mount on top. Add layers of flowers, using a foam square for the bottom layer.
Royal Border 2: Swell
- Cut a 2-1/2″ x 12″ strip of diagonal stripe paper for the base. Cut a 2-1/8″ x 12″ strip of white cardstock and mount on top.
- Cut a 1-3/4″ x 12″ strip of designer paper. Cut in half using the swell edge of the decorative trimmer. Flip one piece over and mount both strips on top of the white cardstock, leaving a 1/4″ space between, as shown.
- Add layered flowers to the top, middle and bottom of border and top with jewels (if desired).
Royal Border 3: Scallop Burst
- Cut a 2-1/2″ x 12″ strip of diagonal plaid paper for the base. Cut a 1-3/4″ x 12″ strip of white cardstock and mount on top.
- Punch a scallop burst border with mini dot paper. Trim out to 1-1/2″ x 12″ and mount on top of white strip. Cut a 1/2″ x 12″ strip of polka dot paper and apply to the border as shown.
- Using the inside of the largest circle pattern and the blue blade, cut a circle with mini dot paper. Using the inside of the medium circle pattern and the red blade, cut a circle with white cardstock and mount on top of mini dot circle. Add layered flowers and a jewel (if desired). Mount on the border as shown.
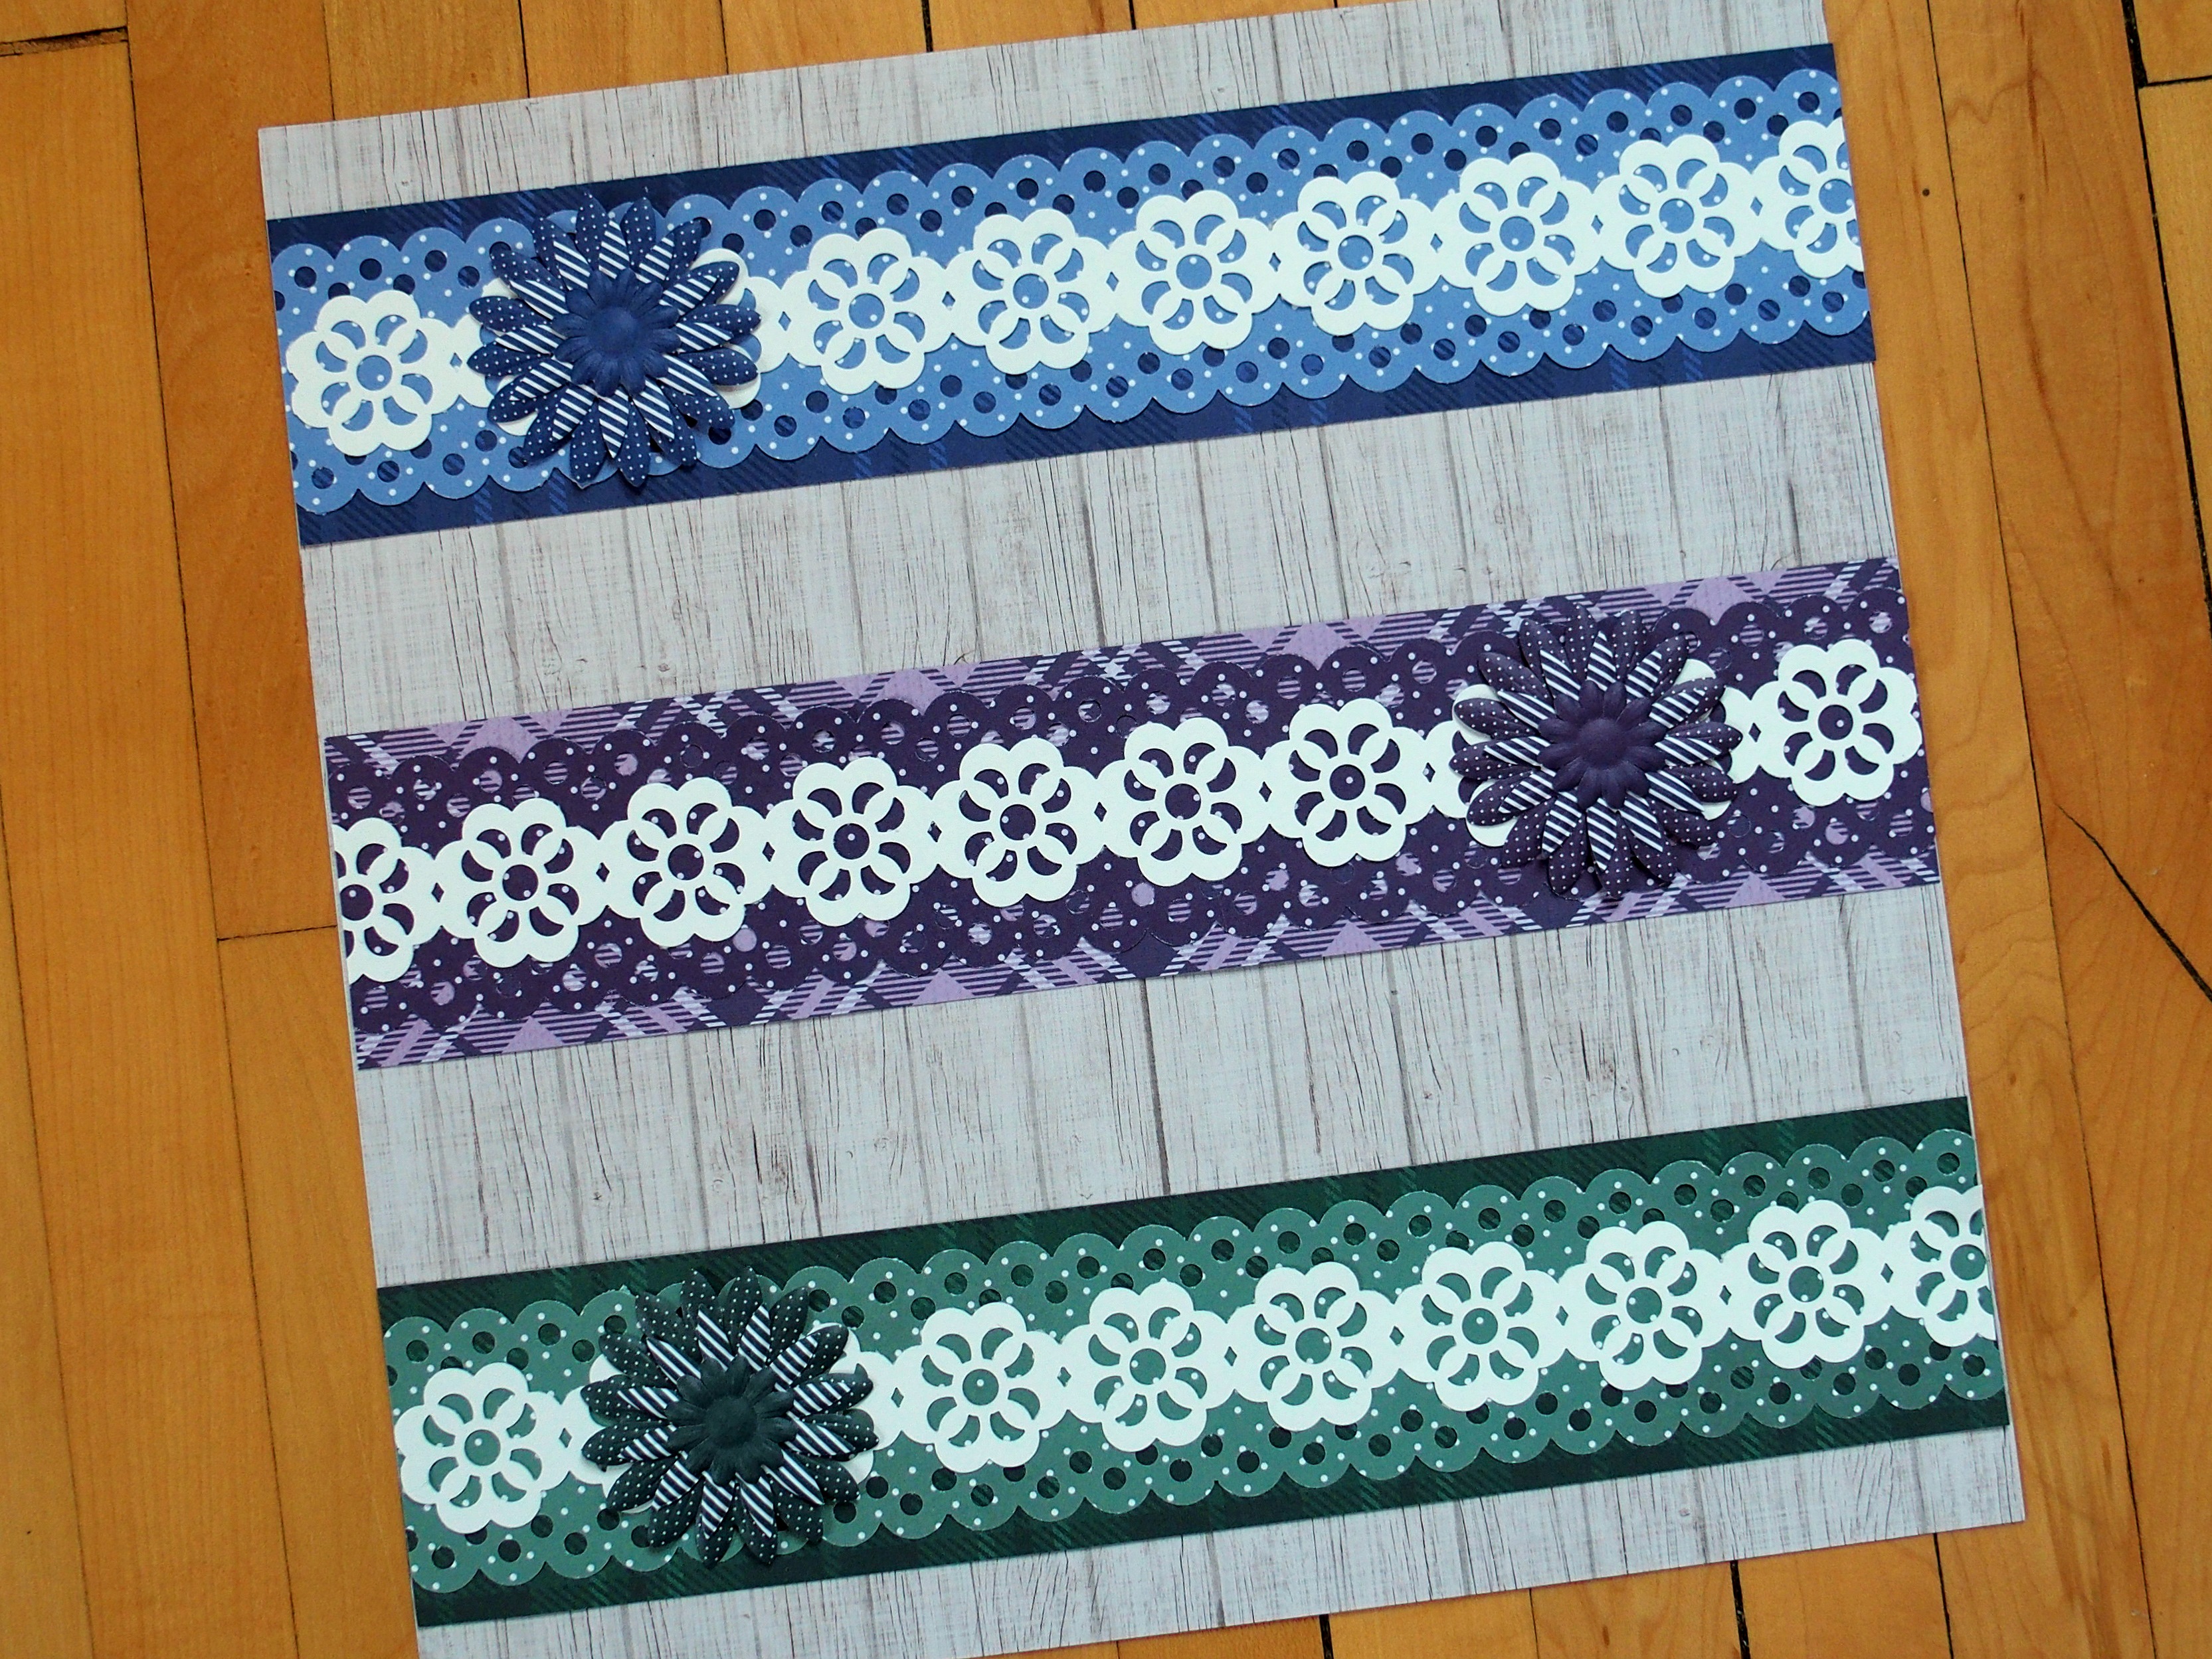
Mix & Match Variation: Color Swap
You can easily create any of these borders in a different color just by swapping out paper packs. Shown above, top to bottom: Royal Border 1, Eggplant and Evergreen.
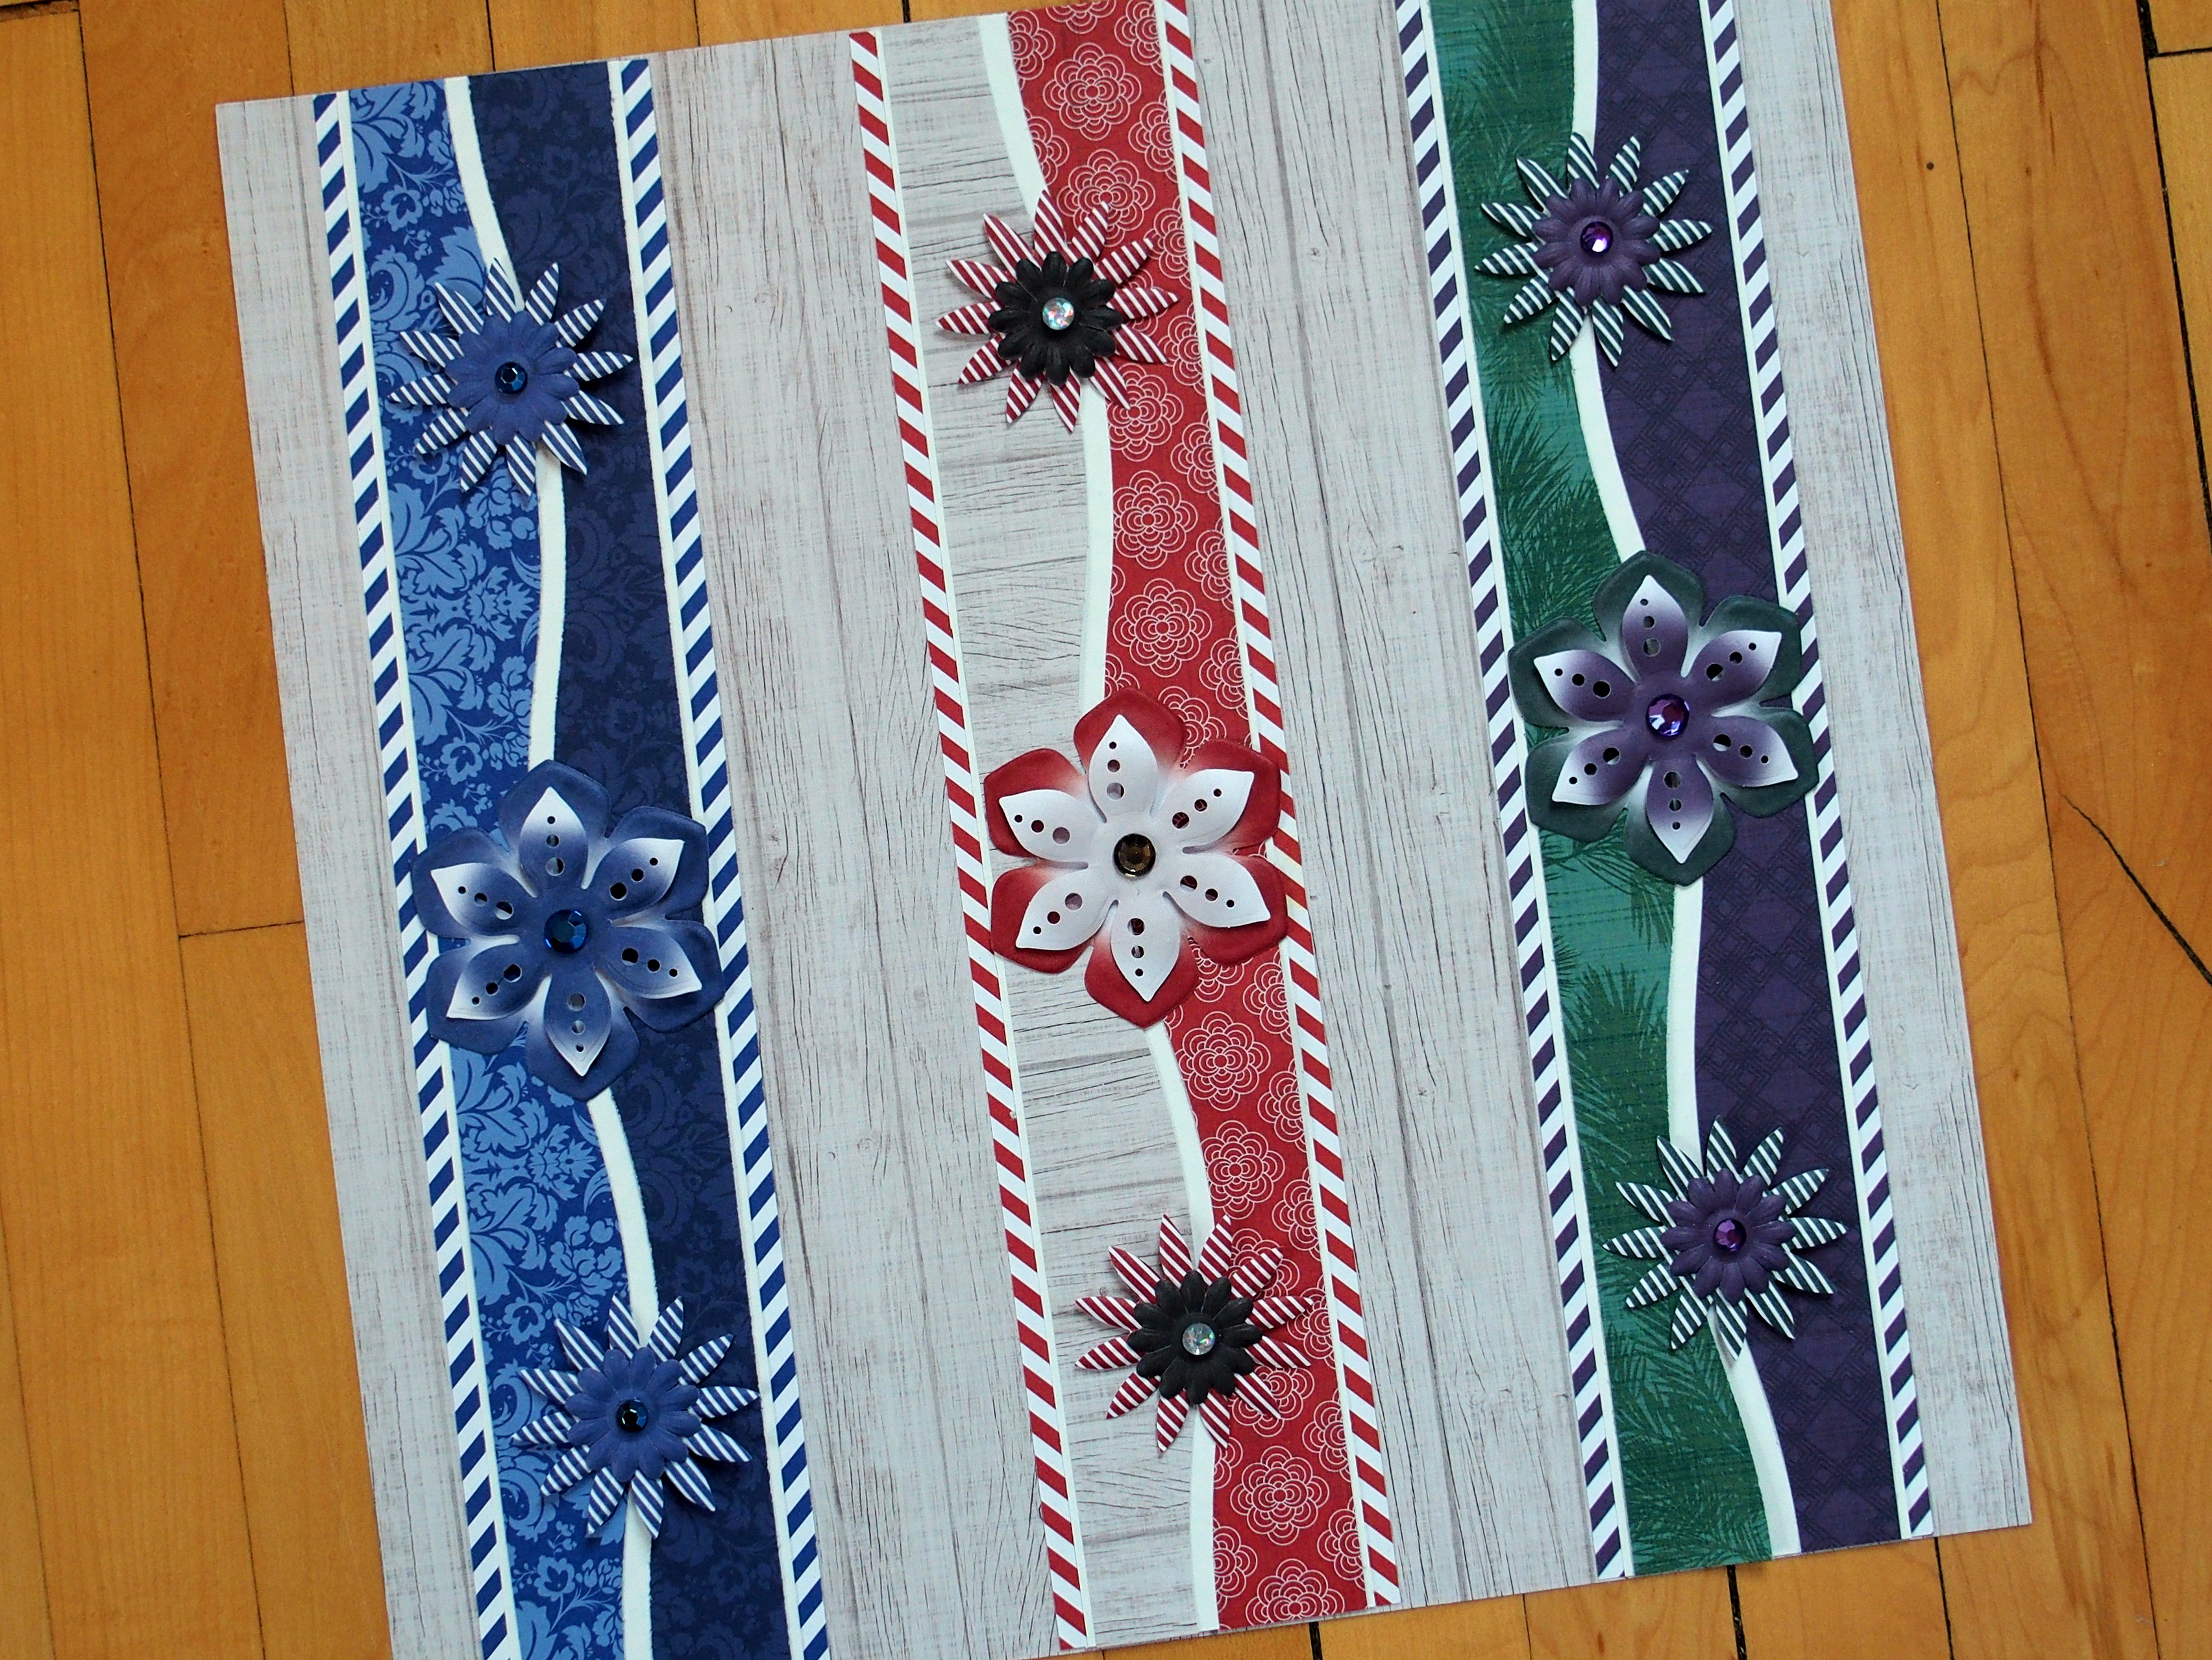
Mix & Match Variation: Mix & Match Twist
Just like it says, any of these borders take on a fun twist when you mix & match papers from the different Mix & Match paper packs. Shown above, left to right: Royal Border 2; Cranberry/Neutral; and Evergreen/Eggplant.

Mix & Match Variation: The Sky’s the Limit!
When you combine the Mix & Match papers with any of our other fabulous product collections, the sky is truly the limit! Here, the Royal Border 3 design on top is followed by one combining Mix & Match Neutral and the Forever Yours Wedding Collection; and then Mix & Match Cranberry and the Made With Love Collection.
With the Mix & Match Collection, the sky’s the limit…let’s see where YOUR your imagination takes YOU!


wow I need to get out of the box – these are great!! I esp. liked the mix and match twist borders!!
Such great looking borders! I am on it next time I crop!
Beautiful ideas! I will definitely be trying some of these and sharing them with others.
Thanks so much for all of these ideas.
Thank you for some great ideas…
Beautiful ideas, Thank you
Love these- thanks!
Love everyone of the borders.