July 17, 2017
Doodling on Your Scrapbooking Layouts
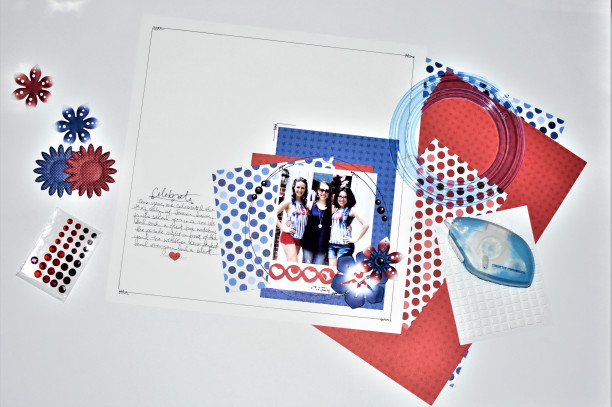
Hello everybody! Today, I am sharing a layout using the Royal Blue and Cranberry Mix & Match Designer Paper and Flower Embellishments. I know that the 4th of July has come and gone, but I love this photo too much to not scrap it.
The morning of the 4th of July, Edward and I arrived to my sister Jamie’s house to help her set up since she was hosting the 4th of July party. Naturally, she and I took a selfie as we poured ourselves a glass of Mimosa.
My sister texts Jamie after she see’s the selfie and was like, “what is she wearing!” (that would be me). We bought the same shirt at Target to wear and it totally wasn’t planned. She showed up an hour later with a different version of my shirt. Well, our shirt. LOL, she took a pair of scissors to make herself a v-neck and trimmed the edges of her sleeves. I am not sure why she just didn’t cut the shirt in half across the middle while she was at it, but we had a good laugh!

To create this layout, you will need:
- Mix & Match Designer Paper Pack in Cranberry and Royal Blue
- Mix & Match Flower Embellishments in Cranberry and Royal Blue
- Heart Chain Border Maker Cartridge
- Original Border Maker System
- Black Dual-Tip Pen
- White Solid Cardstock Paper Pack
- 12-inch Straight Trimmer
- Foam Squares
- Circle Custom Cutting System Patterns
- Tape Runner
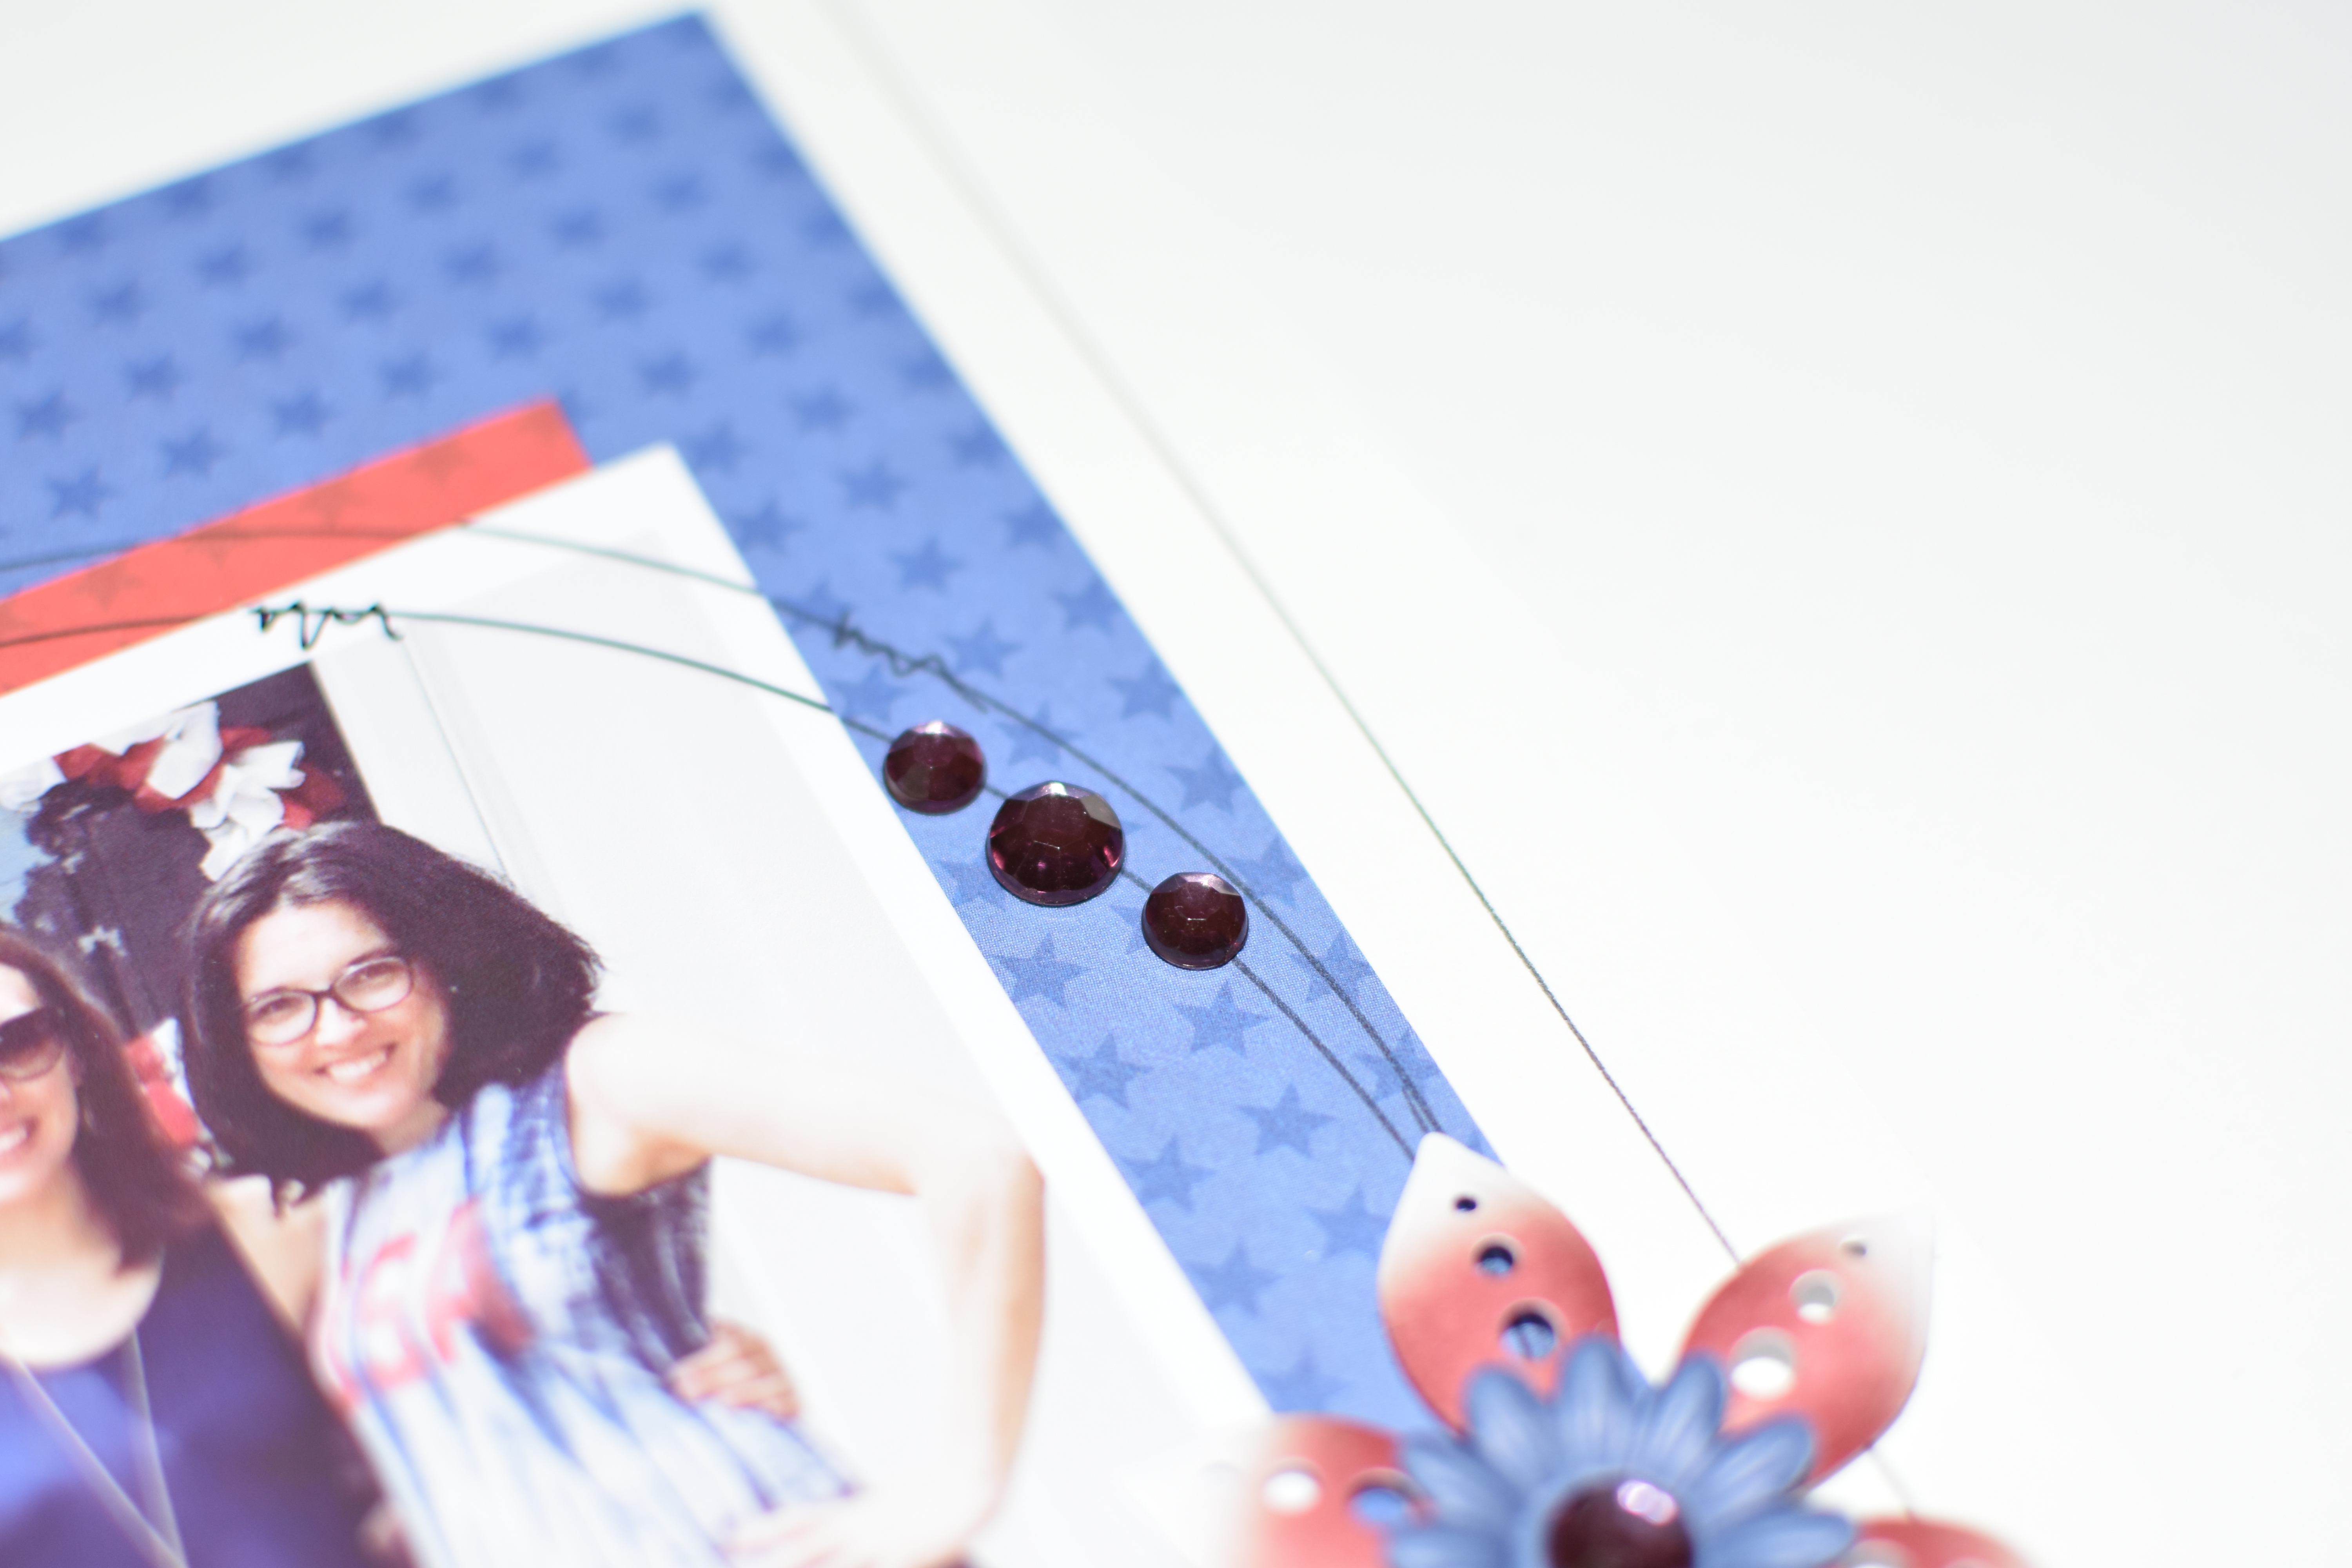
I wanted to keep this layout pretty simple by adding a few squares and a rectangle to frame my photo. Then I used the Circle Cutting System template and a marker to trace two circles around the photo. For the second circle, I moved the template down about 1/4″ and drew another circle so they overlapped a little bit. Then I added a few scribbles here and there and some bling. Such a simple technique and so much fun! A little doodling can add so much to your projects and it cost NOTHING.
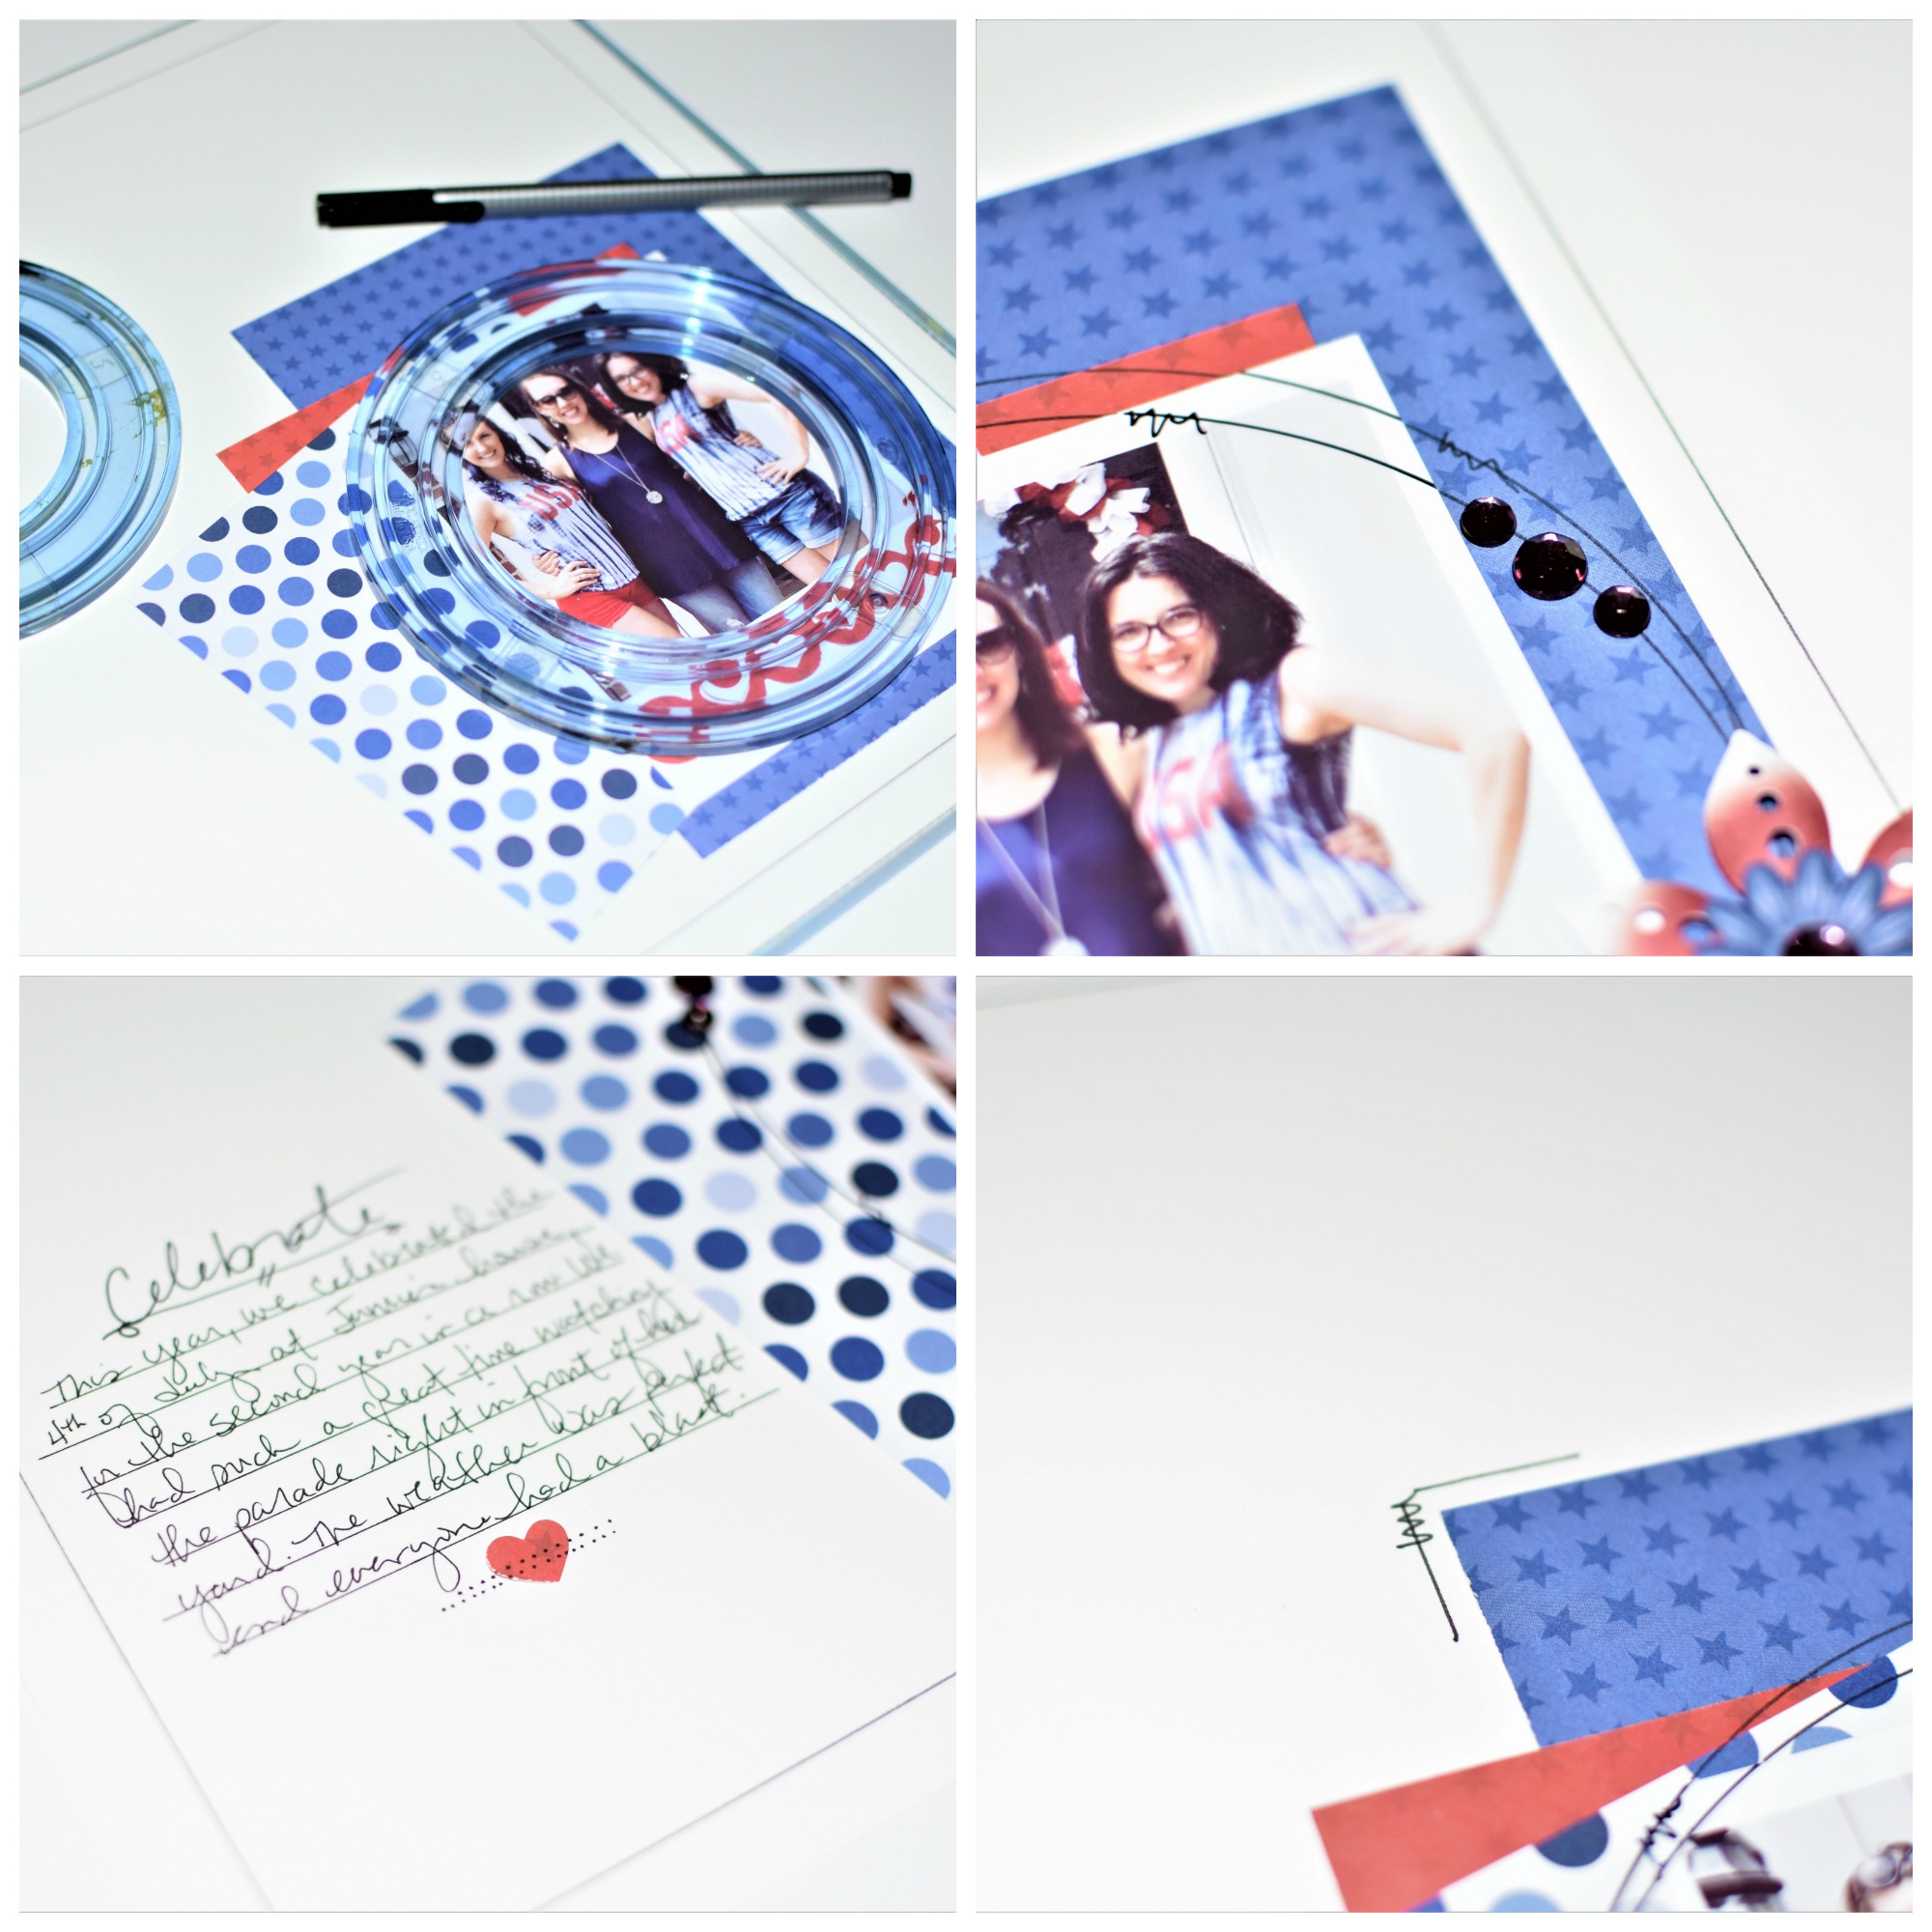
I used a ruler and pen to hand journal my journaling. And since I did not have any sticker alphas, I hand journaled my title! It’s not perfect, but it works. I added the little heart that was part of my scraps from the Heart Chain boarder below the journaling then used my ruler and pen to create a line of dots across the heart to create a faux stitch look.

The jewels and flowers are gorgeous. The colors are so vibrant and gorgeous. I used a few of the jewels from the Royal Blue Flower Embellishments to add around the doodled circles.
Here is a closer look of the flowers. So pretty!


Instructions:
- Use a 12″x12″ White Cardstock as your base.
- Using a Black Dual-Tip Pen and a ruler, draw a 1/2″ border around the base, adding scribbles at each corner.
- Use a 12-inch Straight Trimmer to cut 2 5″x5″ squares using the Cranberry paper with the stars and the Royal Blue paper with the circles. Cut 1 7″x5″ rectangle from the Royal Blue paper with the stars. Adhere them as shown approximately 1 inch from the bottom, right-side of the base.
- Adhere photo on collage of papers. Use a Black Dual-Tip Pen and the biggest Circle Cutting System Template to doodle two overlapping circles. Add a corner doodle to the top left-side of the blue rectangle. It’s easier to do this using the edge of a piece of paper. Add jewels around the doodled circle.
- Use the Original Border Maker System and Heart Chain Border Maker Cartridge to create a 4″ border using the star patterned paper from the Cranberry Mix & Match Designer Paper. Adhere below the photo. Use Foam Squares to pop a few tiny hearts to the center of the hearts on the border. Adhere flowers as shown.
- Use a ruler and Black Dual-Tip Pen to hand-journal your journaling. Add a tiny heart below the journaling. Then use a ruler and Black Dual-Tip Pen to create two lines of dots across the heart to create a faux stitched appearance.
I hope I’ve inspired you to try doodling on your next projects. It’s totally fun once you get used to it!


nice layout, great journaling!
What a cute story AND a cute layout!
Super cute!! Love your page!
I have the same shirt :) This post made me smile! Stories are why we take the pictures! I would seriously add the shirt story to your album. It’s priceless.
I love the page and the doodling!
Our motto at our crops is ‘Don’t fear the doodle!!!’ It is amazing how a few very simple accents can make a page pop!!!
Love it!! Love the colors of the mix and match!! Love the journaling the most!! I always have said it is as much about the story as it is about the picture!! Wonderful Inspiration!!