January 5, 2018
Memories to Treasure
Good morning everyone! I am here to share a project I created using the beautiful Creative Memories Archiver’s™ collection. I love this heritage scrapbook collection so much that I asked my 80-year-old grandmother to send me some photos to scrapbook using it. It is amazing how much a great photo can do for a layout… and how much vintage-themed scrapbook supplies can do to accent those photos and tell a story! Here, take a look…
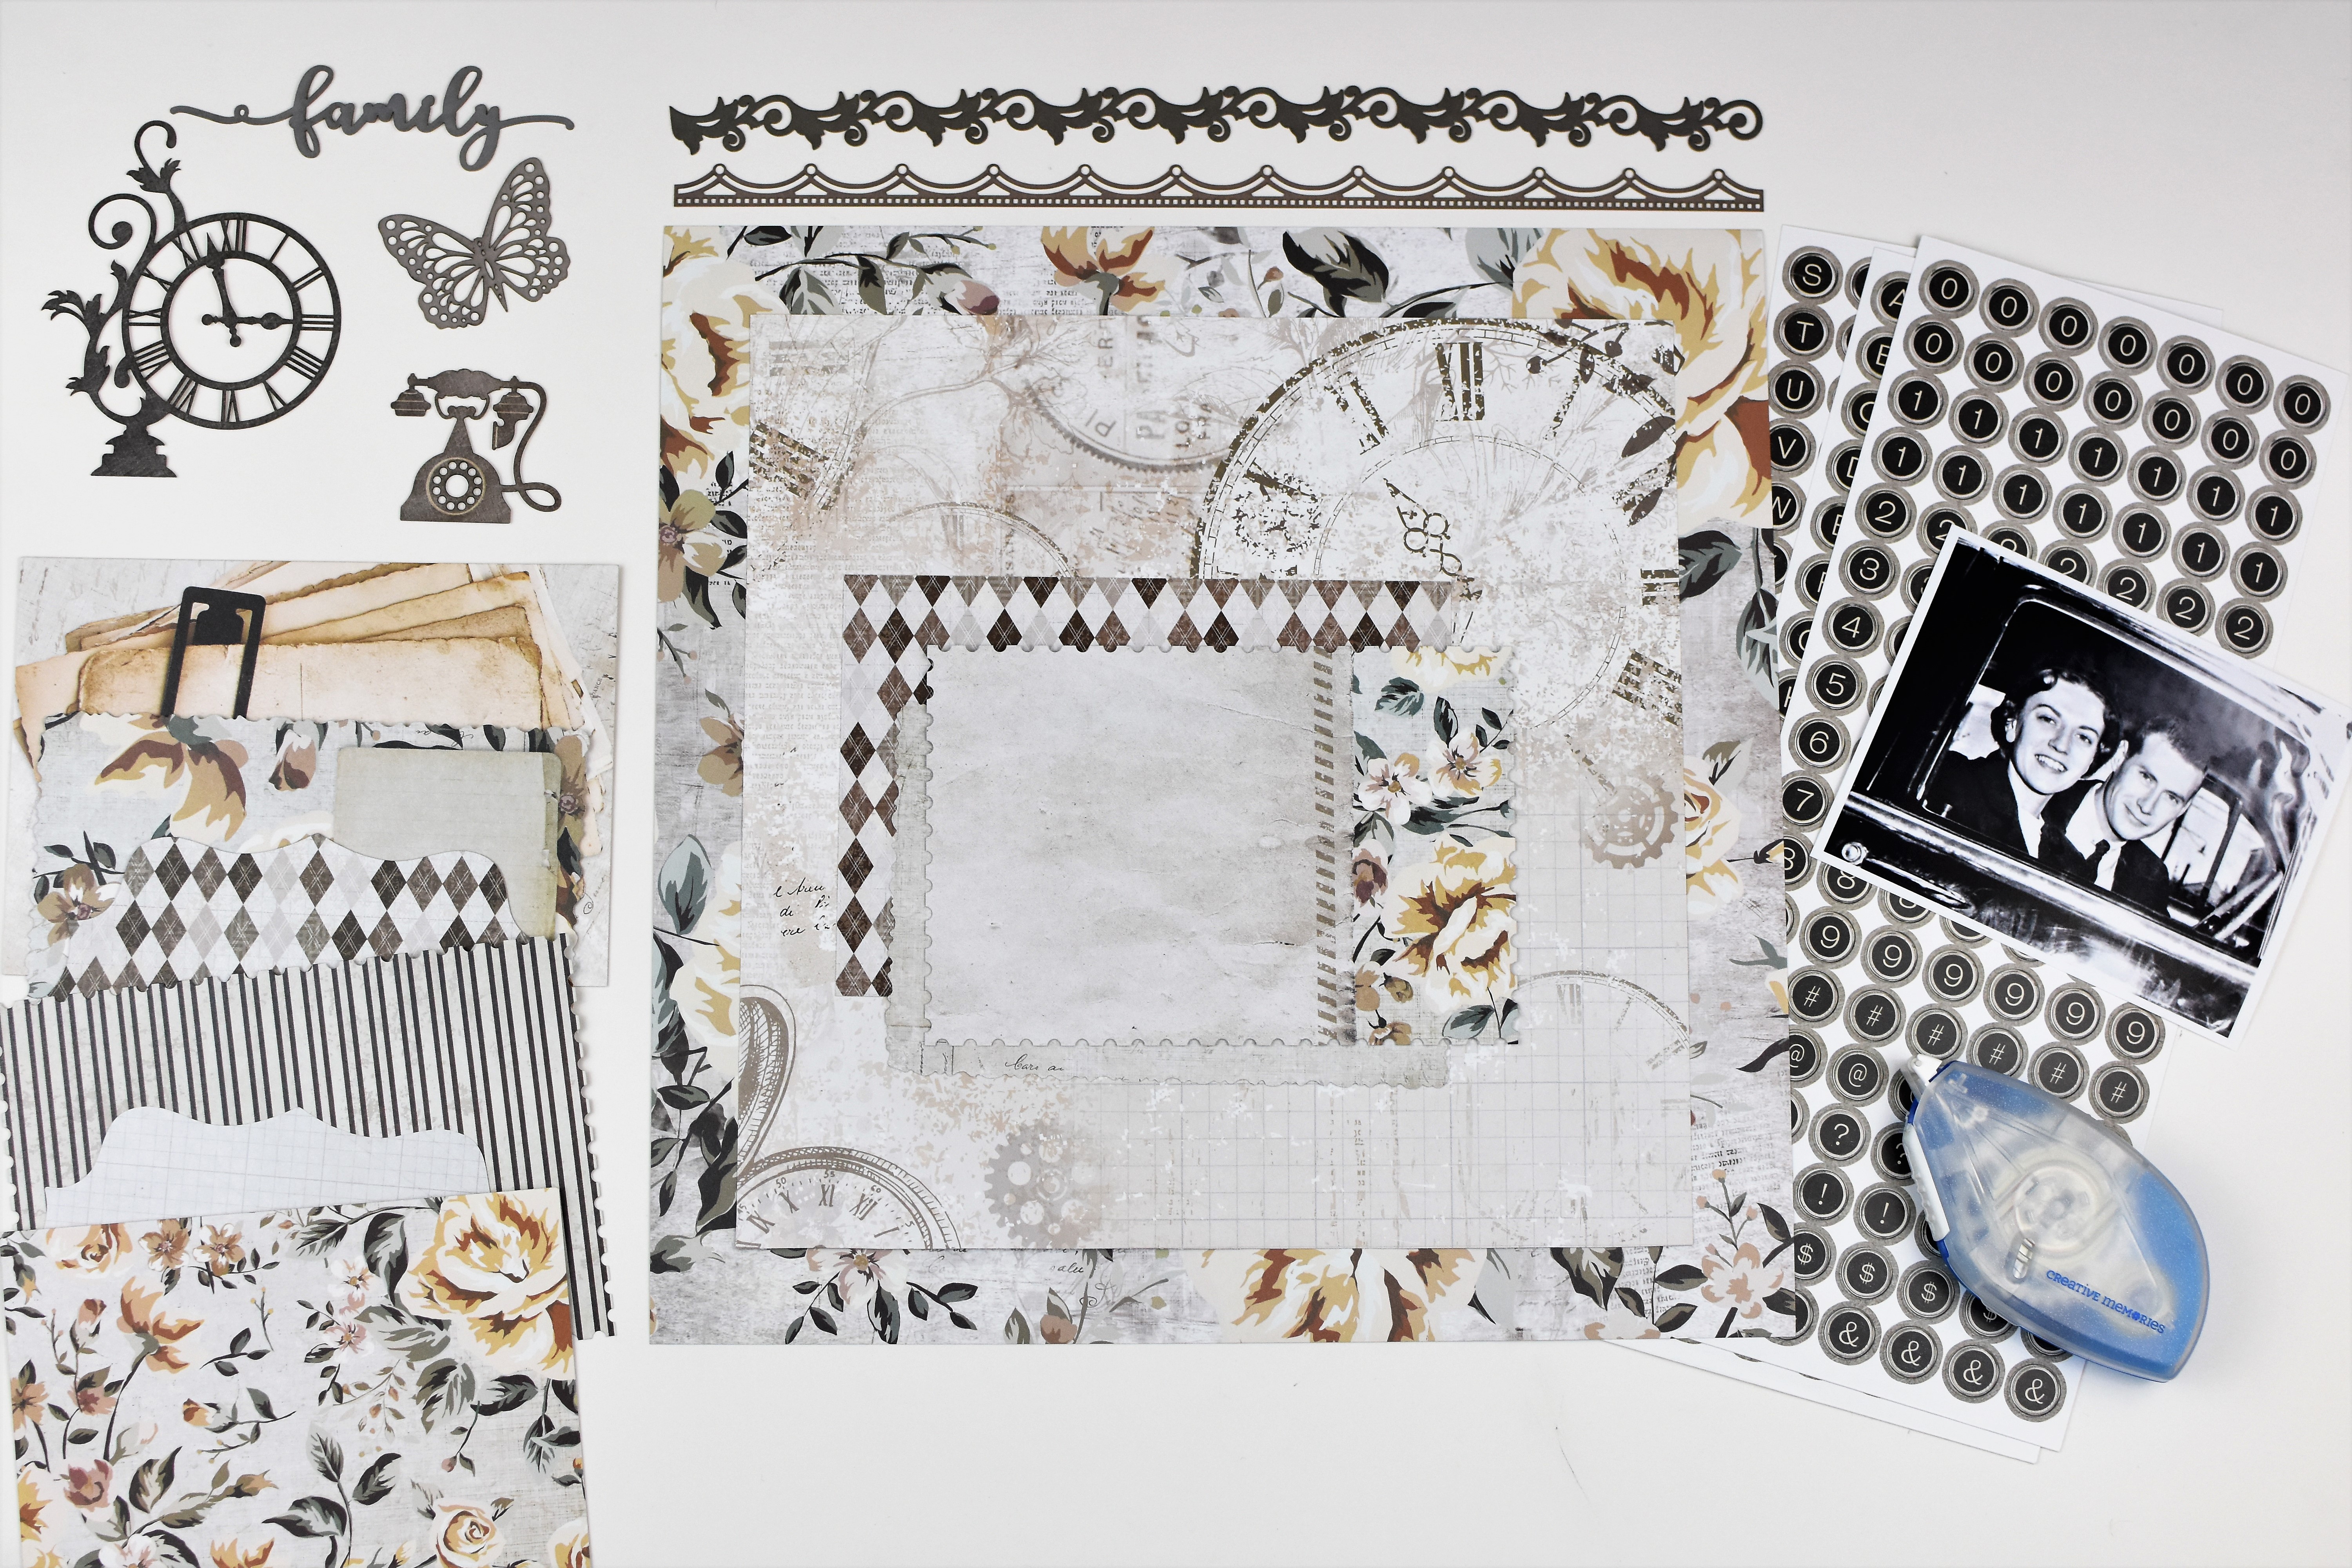
To create this 12×12 layout, you will need:
- Archiver’s™ Designer Paper Pack
- Archiver’s™ Designer Sticker Pack
- Archiver’s™ Mat Pack
- Archiver’s™ Laser Cut Embellishments
- Archiver’s™ Laser Cut Borders
- 12-inch Straight Trimmer
- All-Purpose Scissors
- Tape Runner
- Foam Squares
- Precision Point Adhesive Pen
- Black Dual-Tip Pen
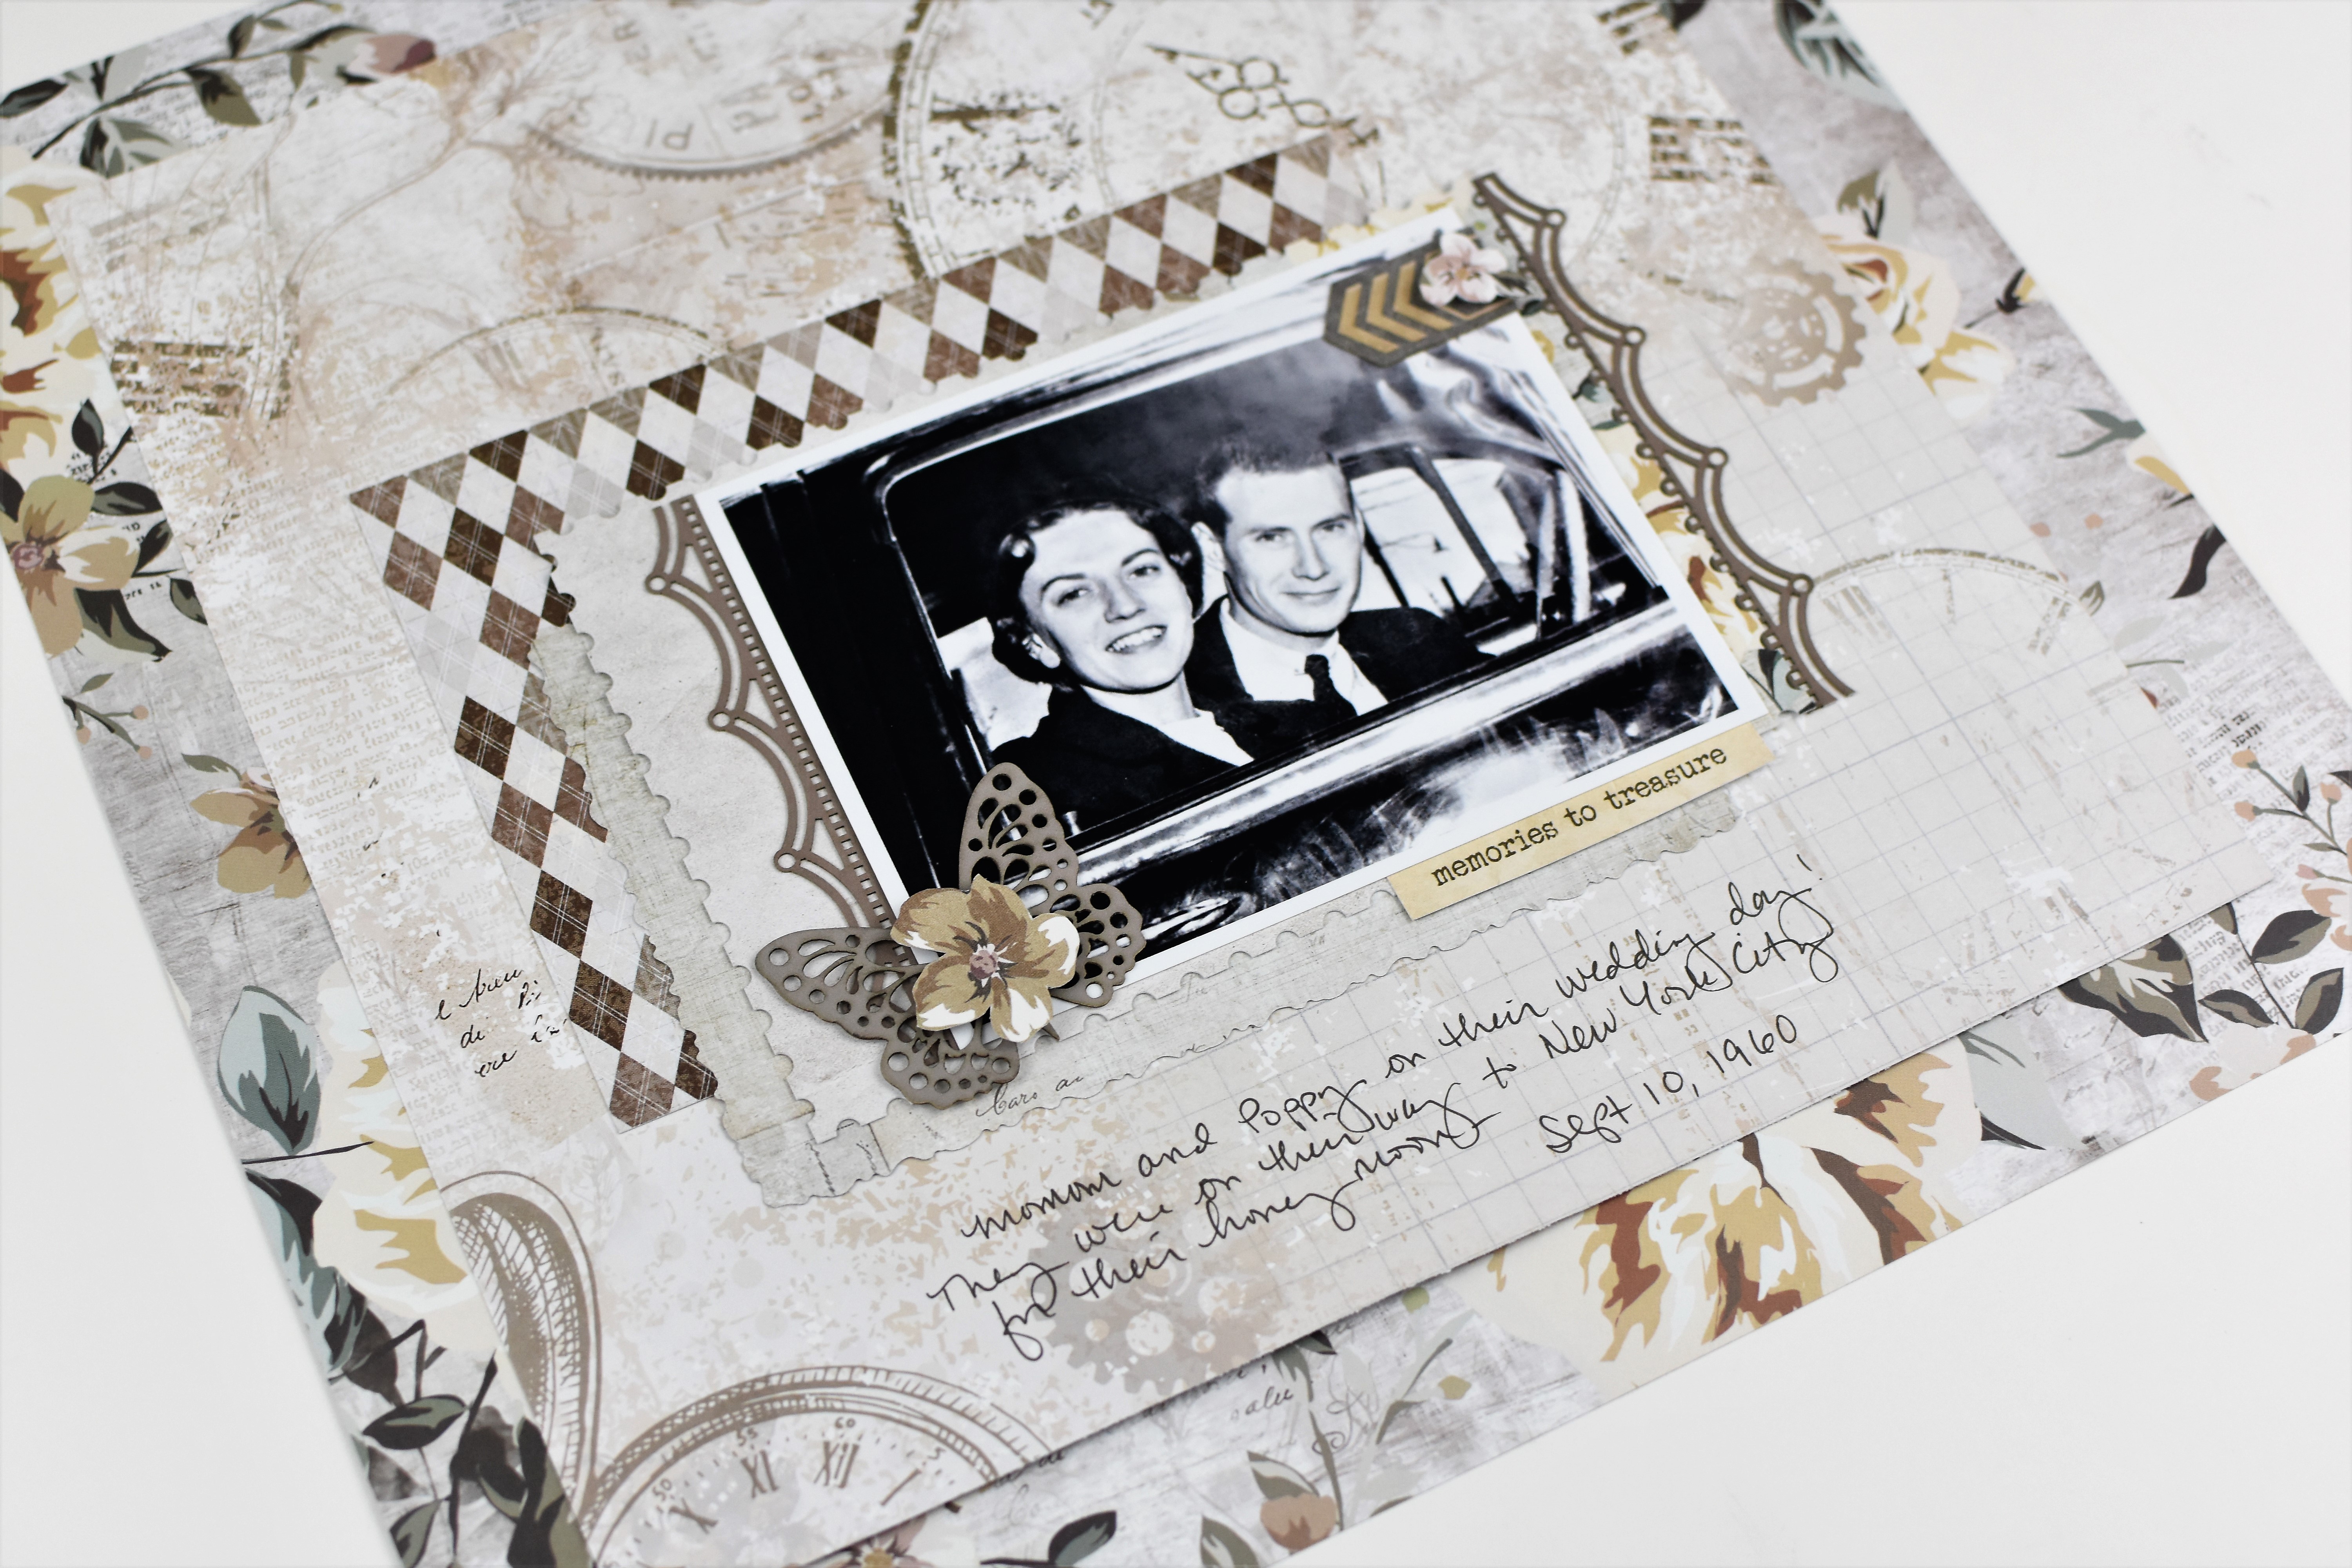
I’ve had this photo of my “Momom” and “Poppy” for some time now. I just never had the right papers and embellishments to use to scrap it. When I received the Archiver’s™ Collection, I knew exactly what photo I would use for a layout. It is the only photo I have of my grandparents on their wedding day; this photo was taken right after the wedding. They were on their way to New York to celebrate their honeymoon. I would have loved to see photos from that trip, but I will settle for this one photo.
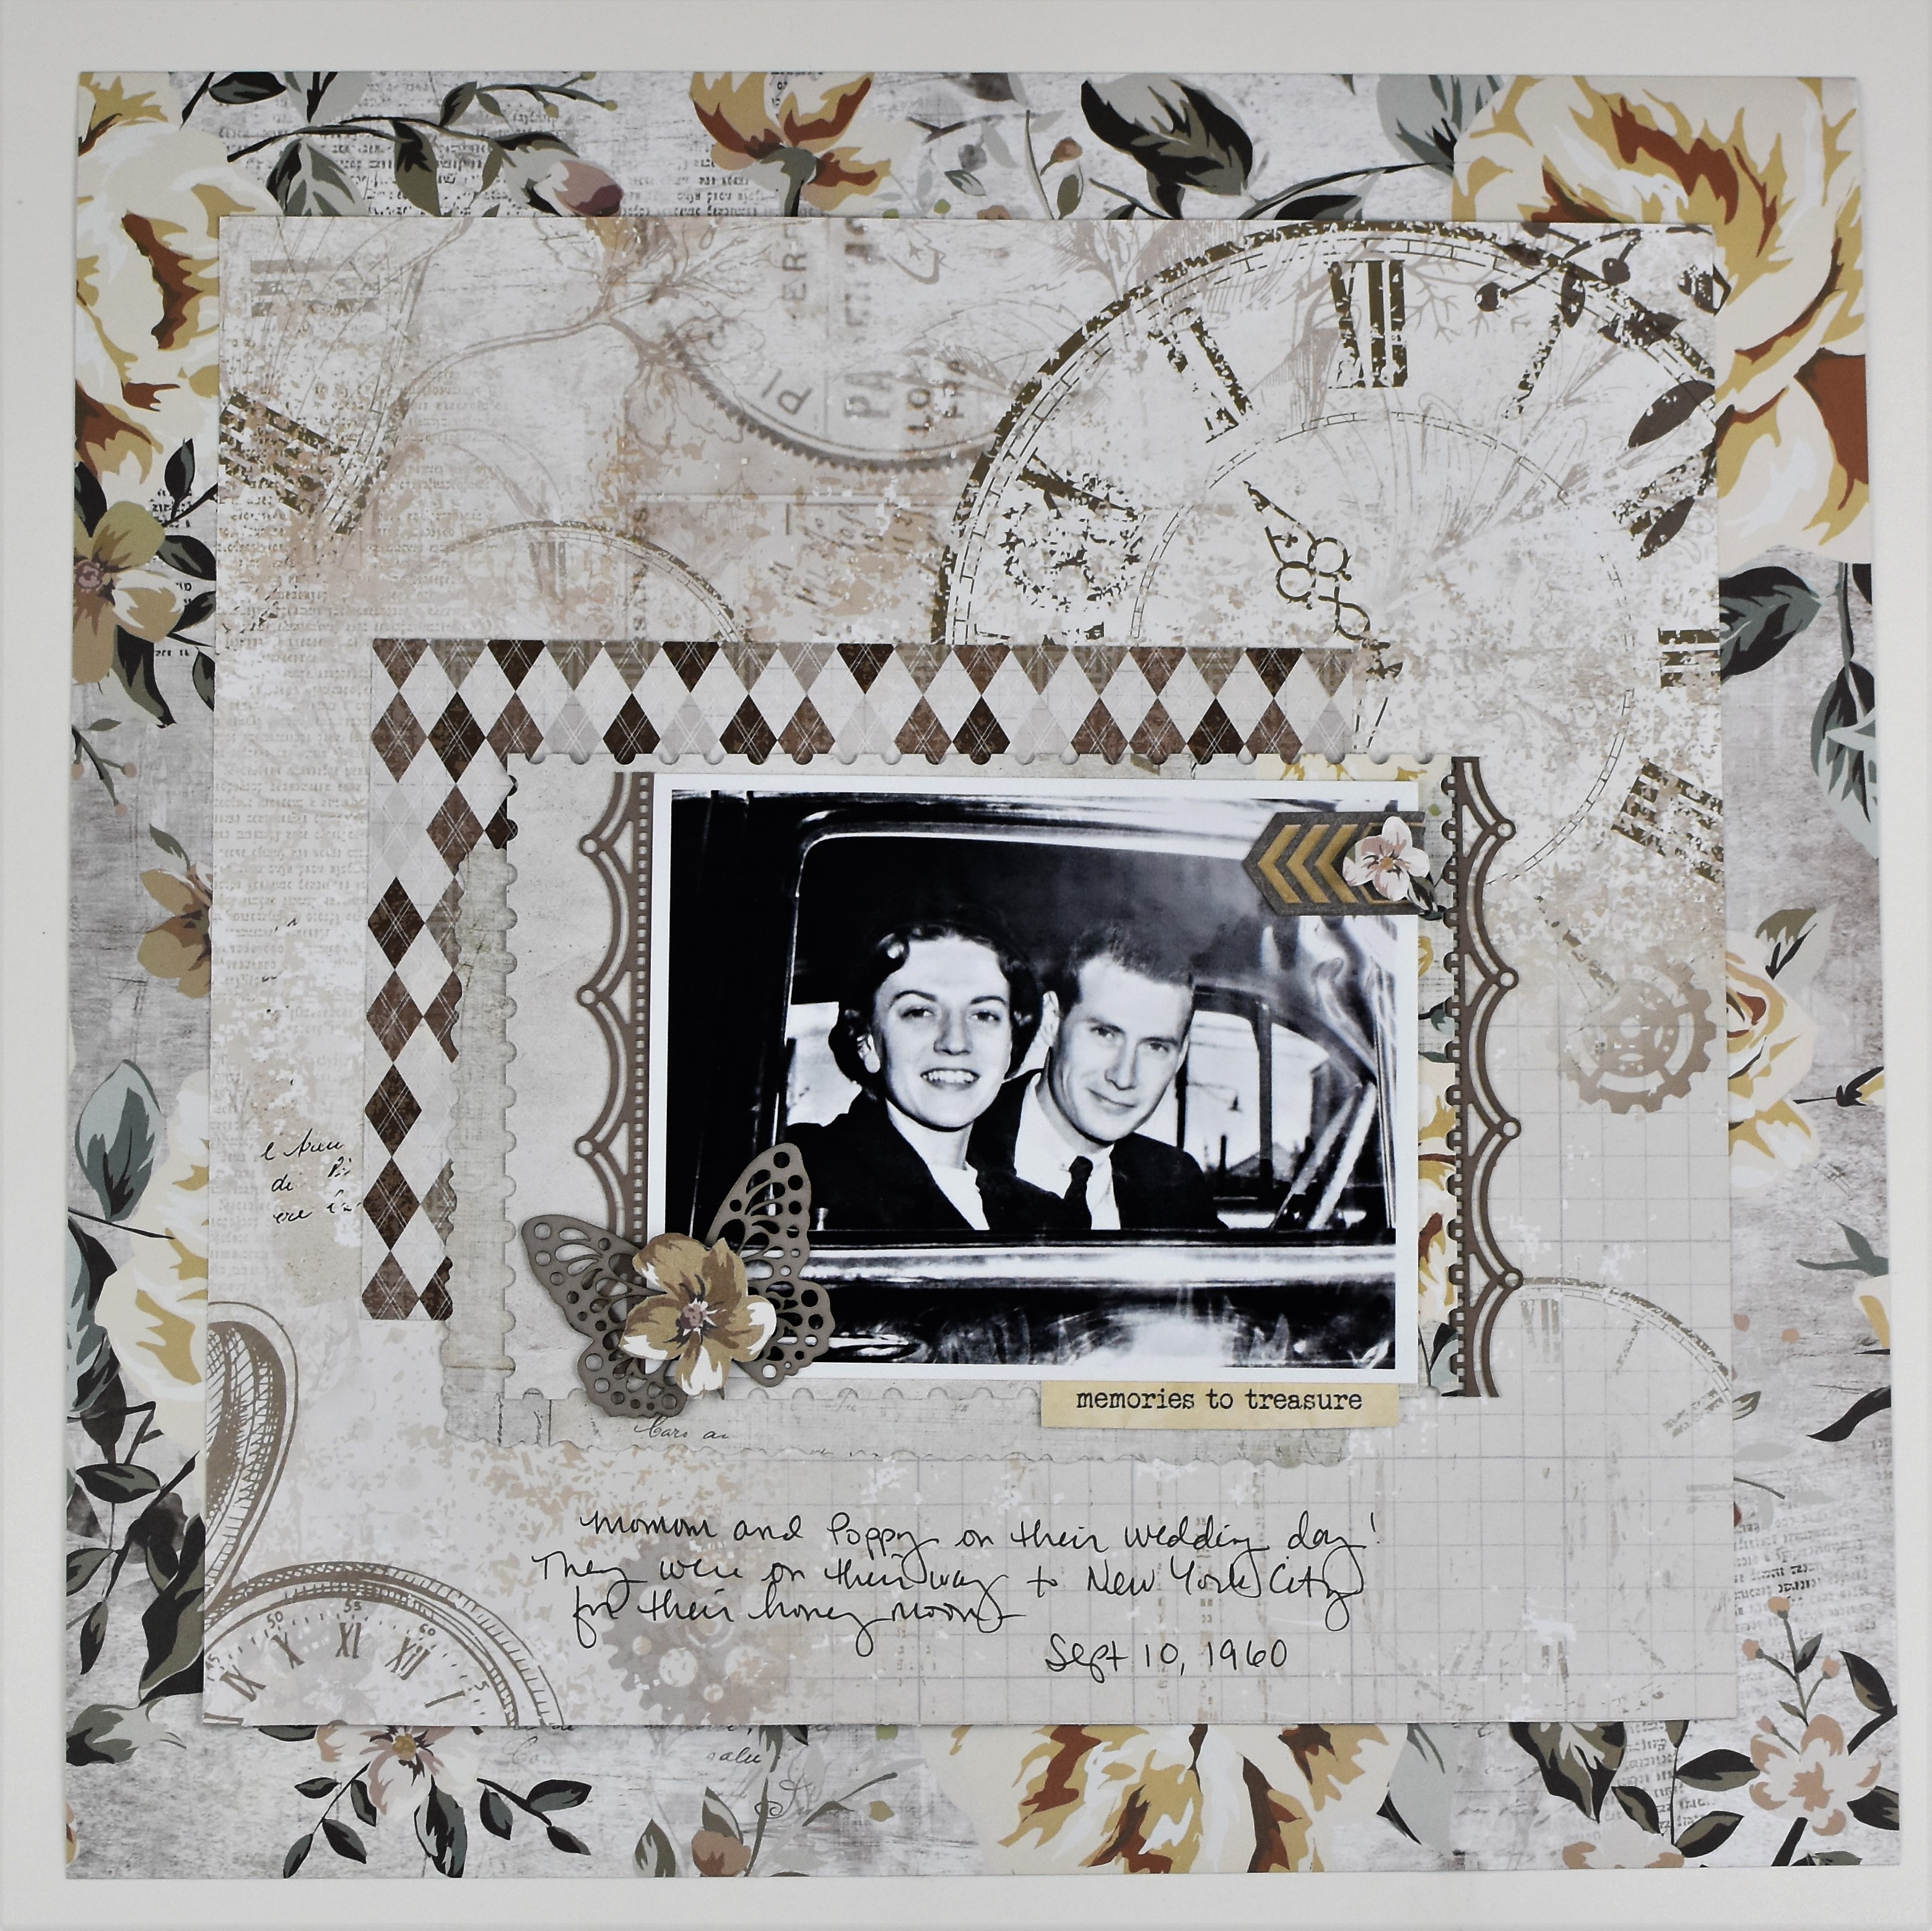
To begin, I used the floral patterned paper for the base of my layout. Then, I cut the clock patterned paper down to 10″x10″ and adhered it to the center of the base.
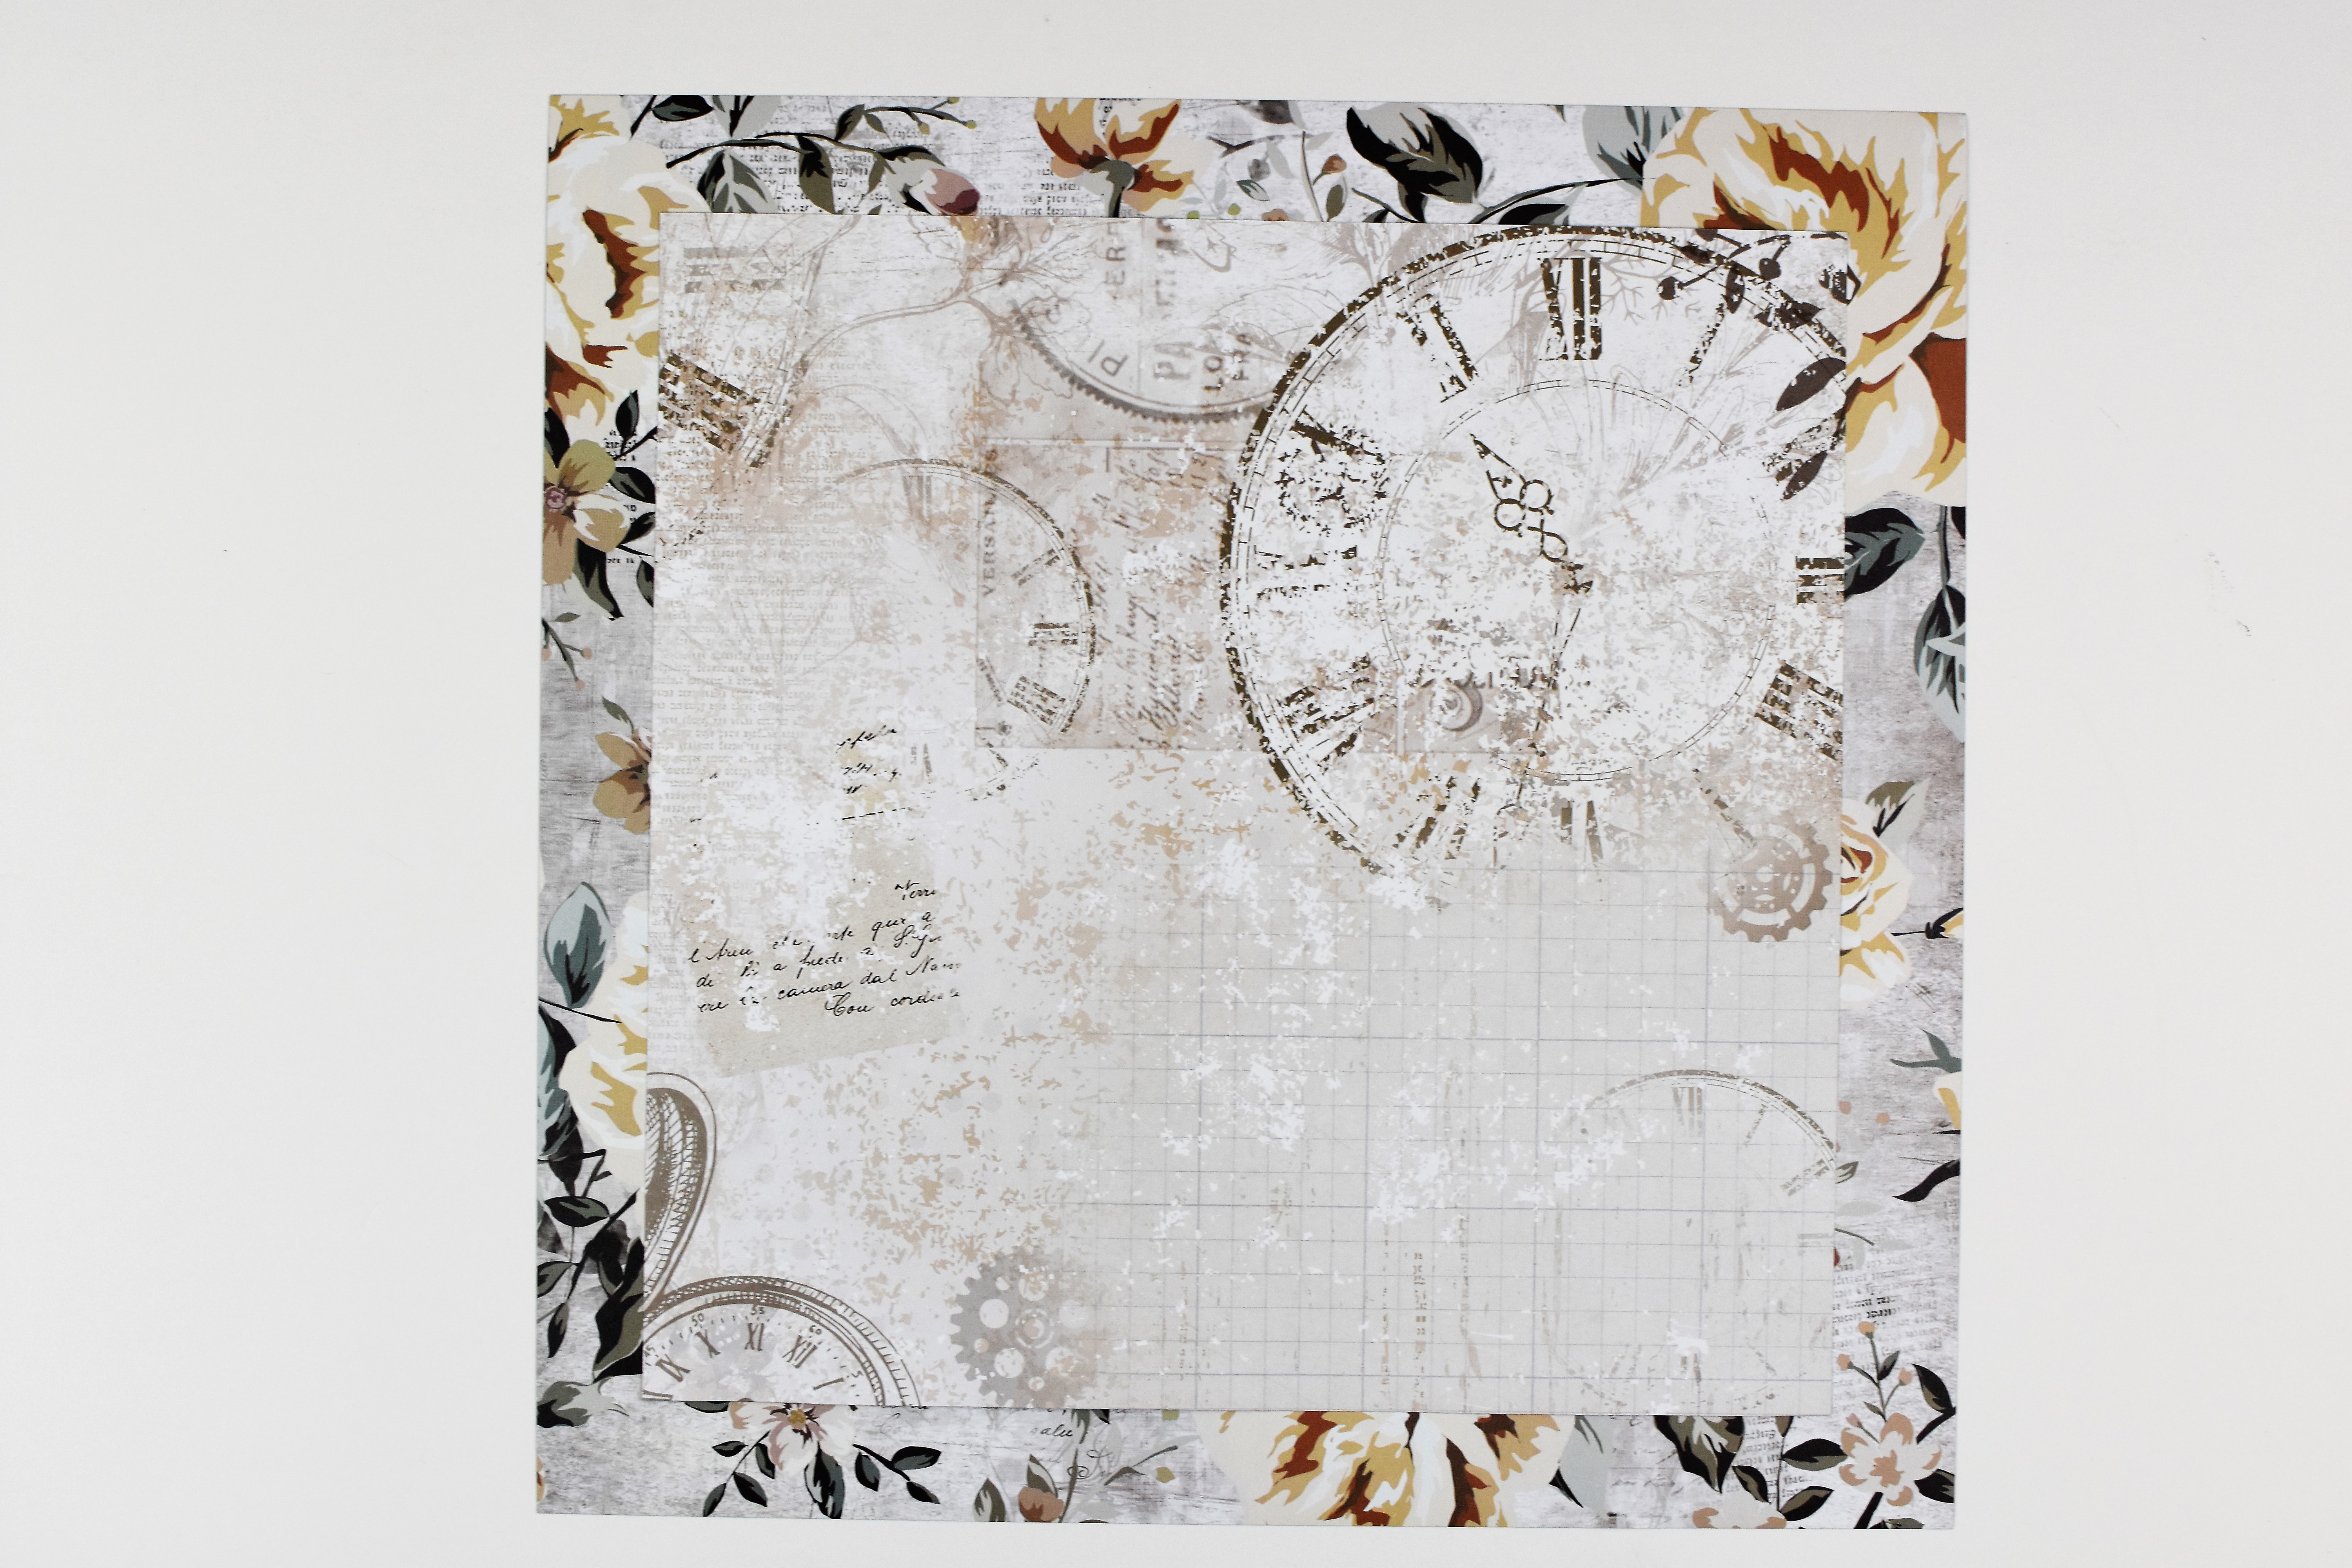
I selected three mats from the Archiver’s™ Mat Pack and adhered it to the center of the layout to create a pretty mat for the photo.

Once I adhered the photo, I adhered the butterfly Laser Cut Embellishment as shown using the Precision Point Adhesive Pen. Then, I cut a tiny flower from a mat and adhered it to the center of the butterfly using a Foam Square.


Here is the result of the flower. So pretty! I cut the “memories to treasure” sentiment from a mat to use as the title of my layout.

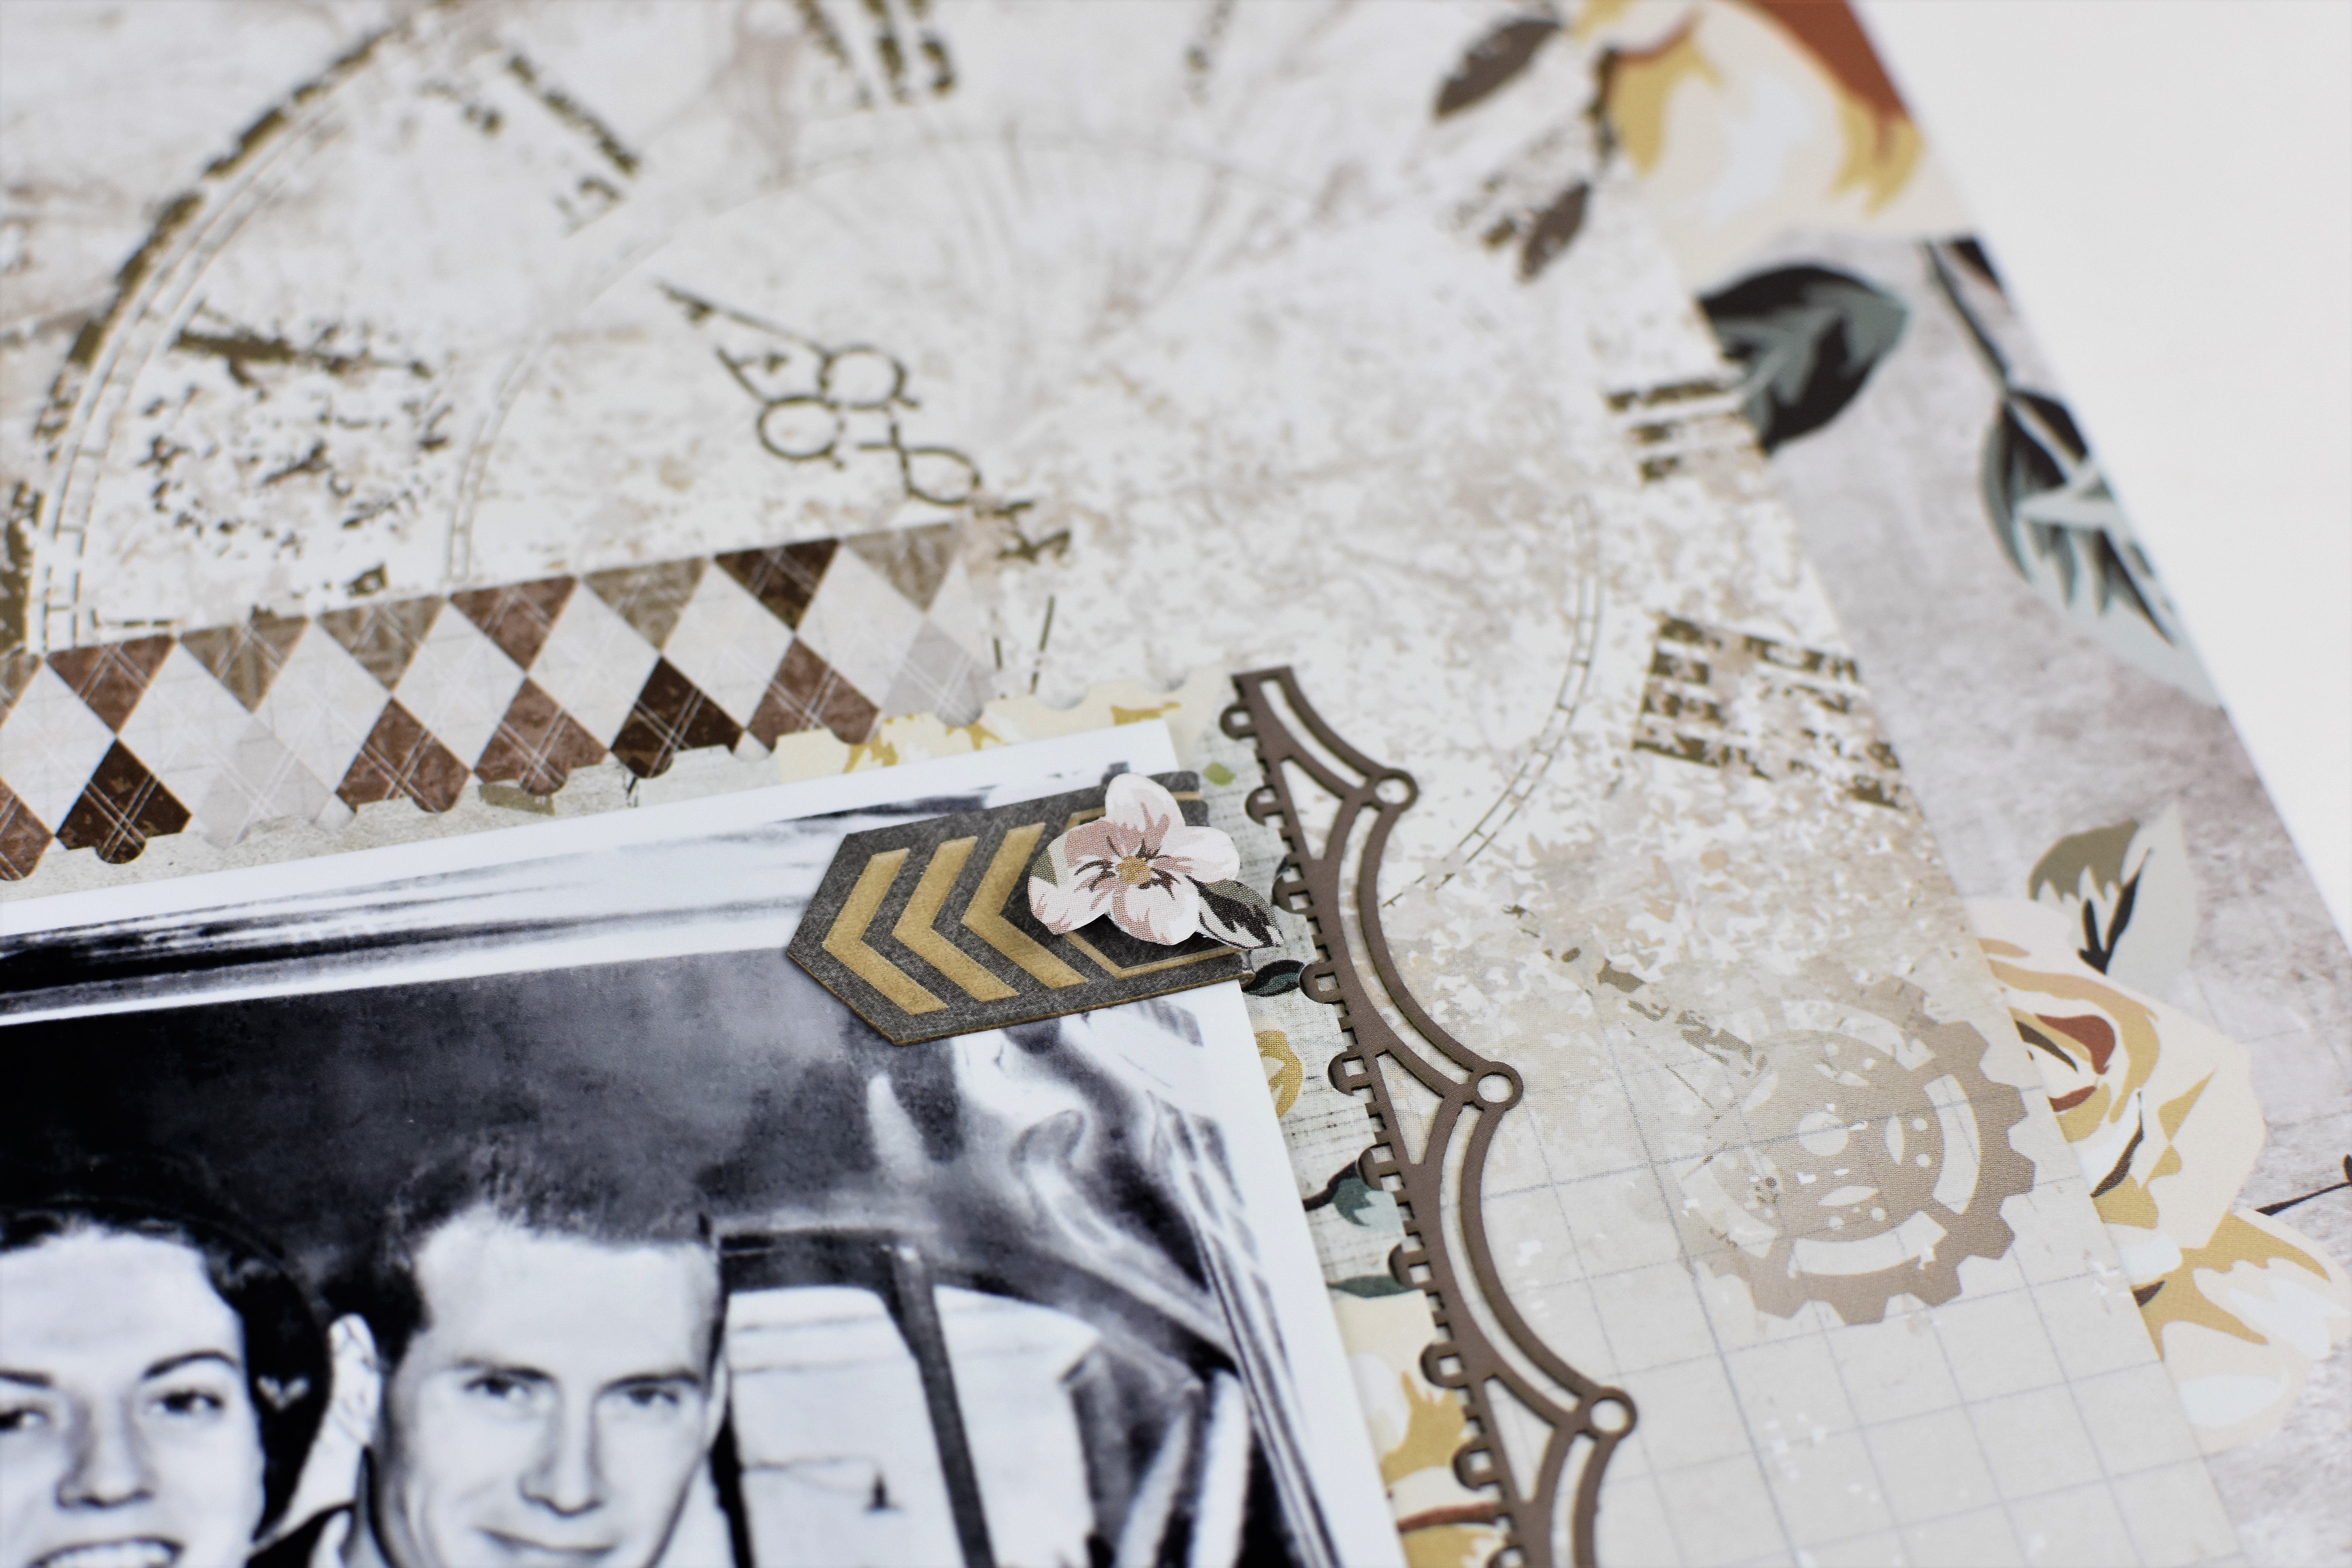
I folded the chevron tab in half and tucked it behind the top-right side of the photo, then adhered another hand-cut flower to help frame the photo. Then, I used the Precision Point Adhesive Pen to adhere a few pieces of the Laser Cut Borders. Some of the borders were cut down a bit so it would not hang below the edges of the mats.
I used the Black-Dual Tip Pen to hand-journal my journaling at the bottom of the layout.

What do you think about the Laser Cut Embellishments? Aren’t they beautiful!? I cannot get enough of them.
Thank you for visiting today!


Very pretty layout for a special photo.
I bet your grandmother was so happy with your page!
I love the Heritage collection too and can’t wait to use with my old photos. I have a lot of them and so does my 91 year old Mother-in-law. Very nice layout! I love the idea of cutting out the flower to add to the embellishments. They might stand out a little more by rubbing the brown marker around the edges. Just a thought.
Lovely layout. The collection is so perfect for the b/w photos.