April 5, 2018
#ThrowbackThursday: Flower Power Layout using Gemstone Patterns
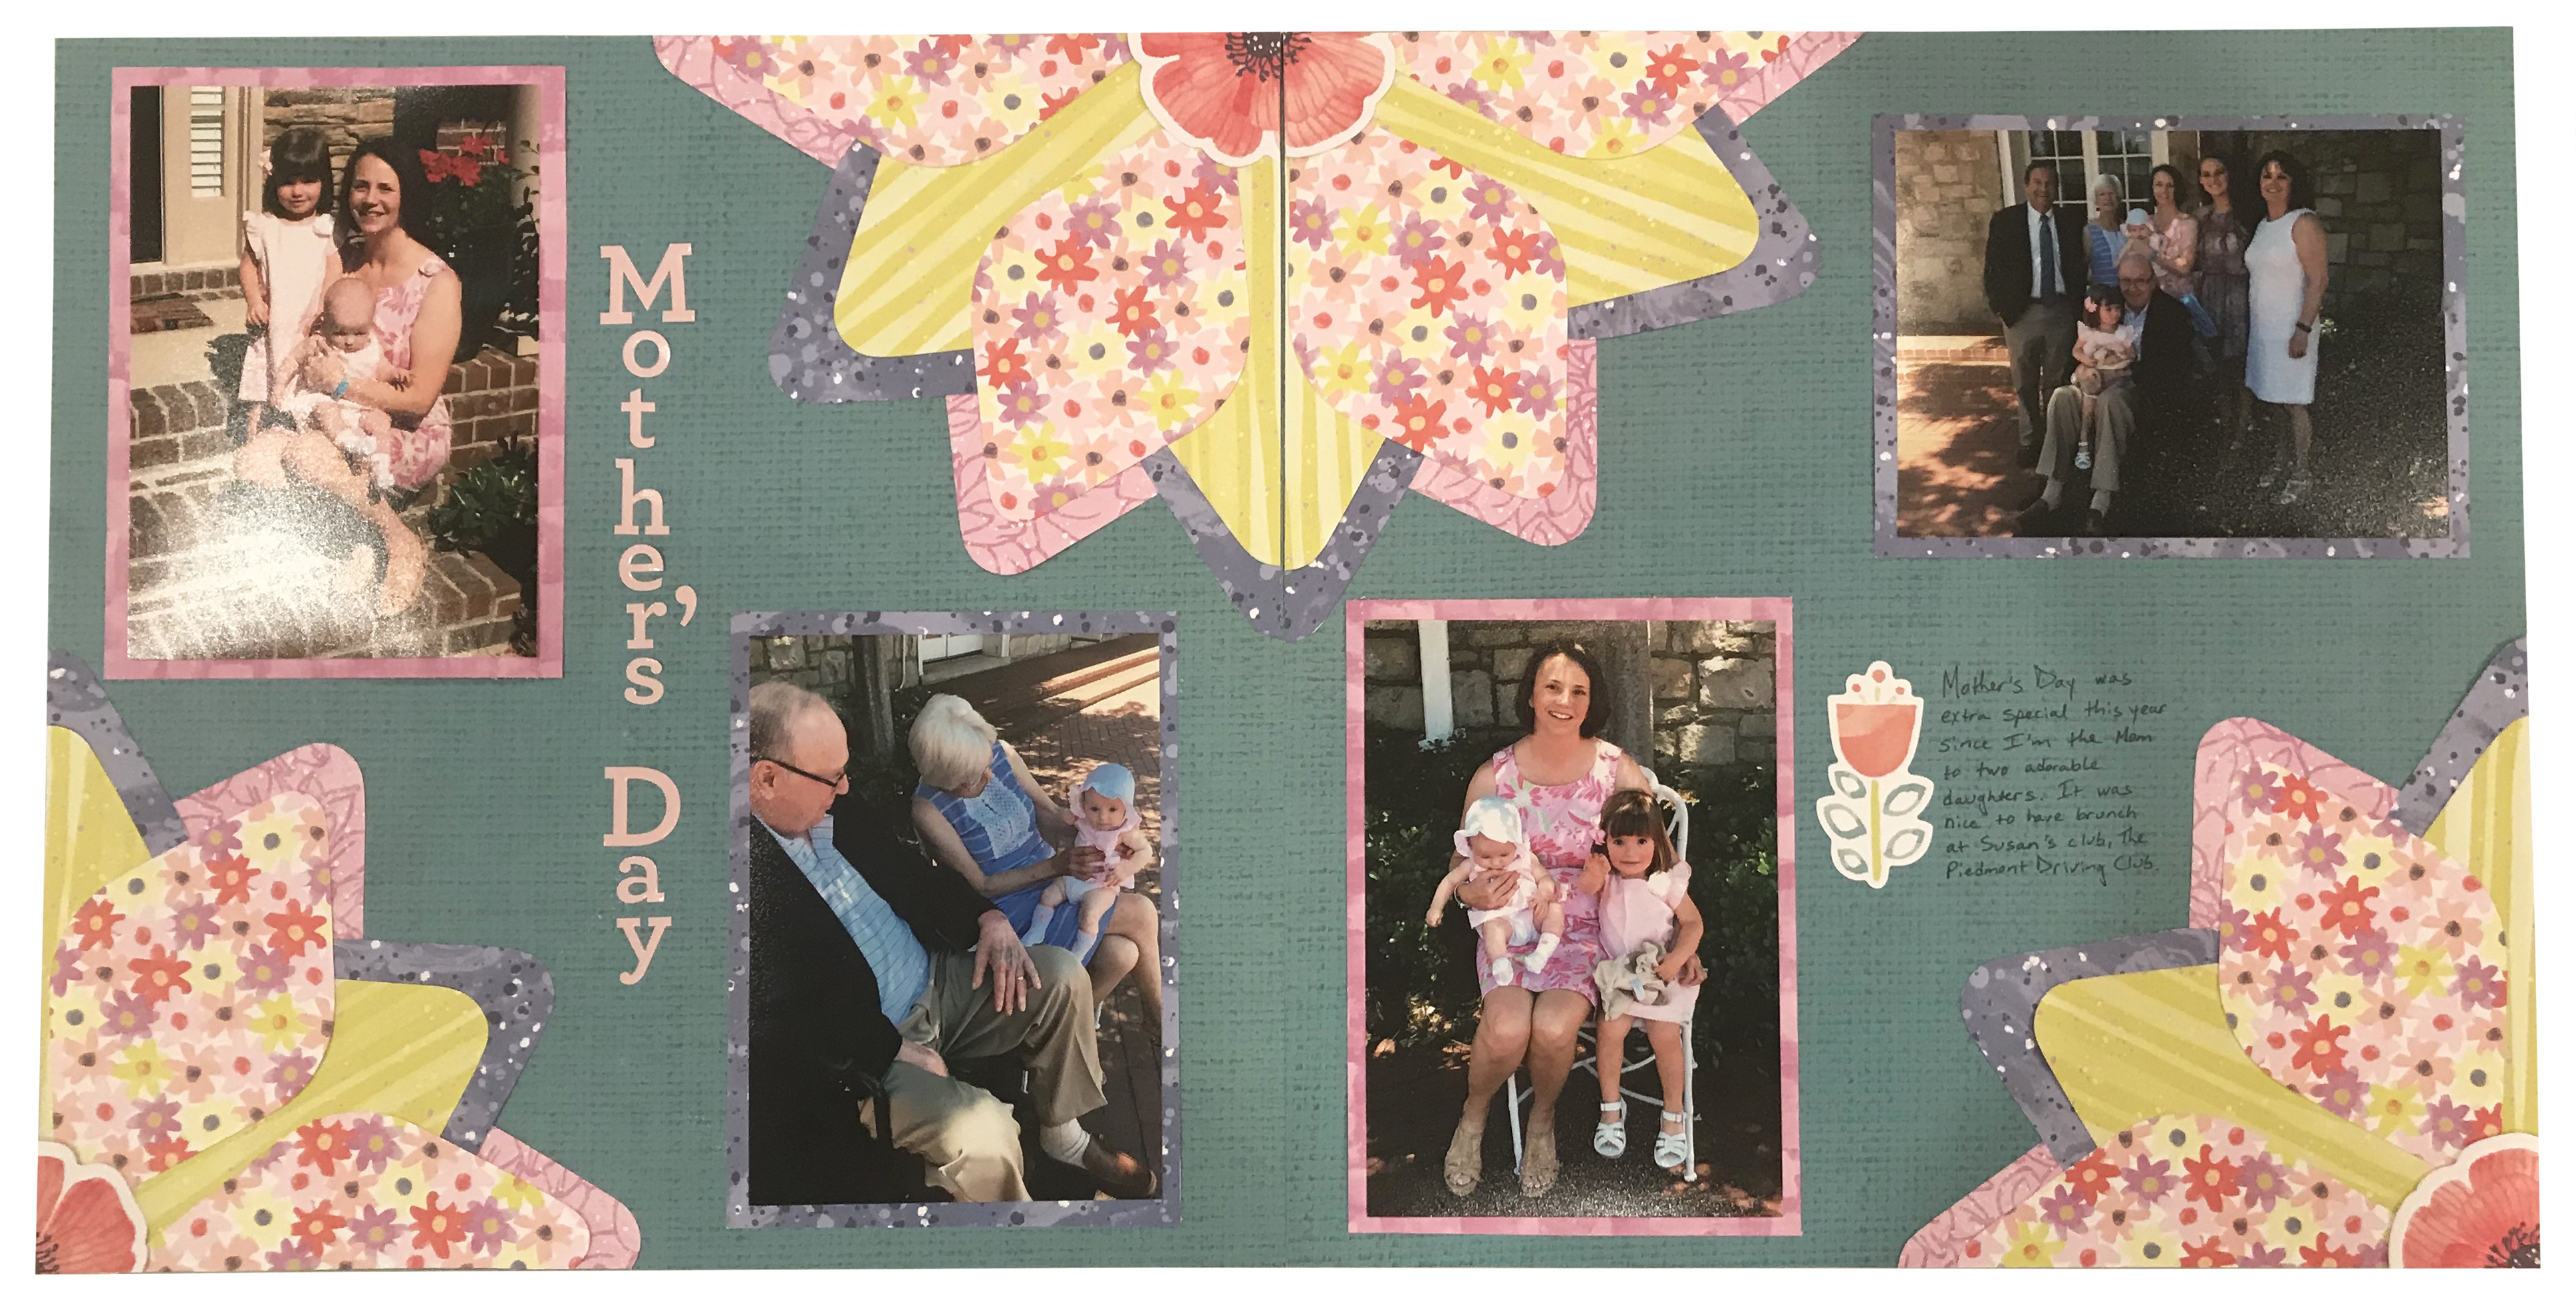
Welcome back to another #ThrowbackThursday! Today, we will be showing you a 2-page layout that our fantastic blog contributor, Karen, created using the Full Bloom collection. She took one of our past projects and turned it into a flower-power masterpiece! Ready to take a look?
The Sketch:

The Sketch as a Mix & Match Layout:
Karen’s Inspiration:
Since my mother inspired my love for gardening, as well as my sister’s, I decided to use pictures from Mother’s Day 2016 for this layout. It helped that all of our outfits coordinated nicely with the papers. The busy prints on the papers are calmed down by the use of the green designer paper as the background. I absolutely love how all the colors in the papers reflect a true summer garden!
The Sketch as a Full Bloom 2-Page Layout:
What You’ll Need to Create This 2-Page Layout:
- Full Bloom Paper Pack
- Full Bloom Embellishments
- ABC/123 Stickers
- Custom Cutting System with Gemstone Patterns
- 12-inch Straight Trimmer
- Tape Runner
- Repositionable Adhesive

Step 1: Use the solid green papers as the base pages for this 2-page layout. Then, select five different patterns of paper. You will only be using one side of the paper so you can use both sides of one designer paper if you prefer.

Step 2: Now, it’s time to use the Custom Cutting System!
- Cut six diamond shapes from the yellow striped patterned paper using the inside of the Diamond Pattern with the Green Blade.
- Cut six diamond shapes from the blue speckled patterned paper using the inside of the Diamond Pattern with the Green Blade.
- Cut six diamond shapes from the pink flower-patterned paper using the inside of the Diamond Pattern with the Green Blade.
- Cut six diamond shapes from the colorful daisy patterned paper using the inside of the Diamond Pattern with the Blue Blade.
- Cut the hexagon shape from the pink and red speckled paper using the inside of the Hexagon CCS Pattern with the Blue Blade.

Step 3: Cover the back of the hexagon shape with Repositionable Adhesive. Adhere the tips of the yellow stripe paper to the back of the hexagon using Repositionable Adhesive. Tip: Using Repositionable Adhesive allows you to readjust if needed.
Step 4: Adhere the rest of the diamond cut pieces with Repositionable Adhesive as follows: Adhere the blue speckled papers to the back of the yellow stripe papers, the pink flower papers to the back of that, between the blue tips and then finishing by adhering the colorful daisy papers to the tops of the pink flower papers.

Step 5: Add a flower embellishment to the center of the flower. You may use Tape Runner or Foam Squares.


Step 6: Using your Trimmer, cut the flower in half. Then, cut the two flower halves in half again creating four equal pieces.
Step 7: Adhere ¼ flower to the bottom left corner of the left page placing the point in the corner. Adhere ¼ flower to the bottom right corner of the right page placing the point in the corner.
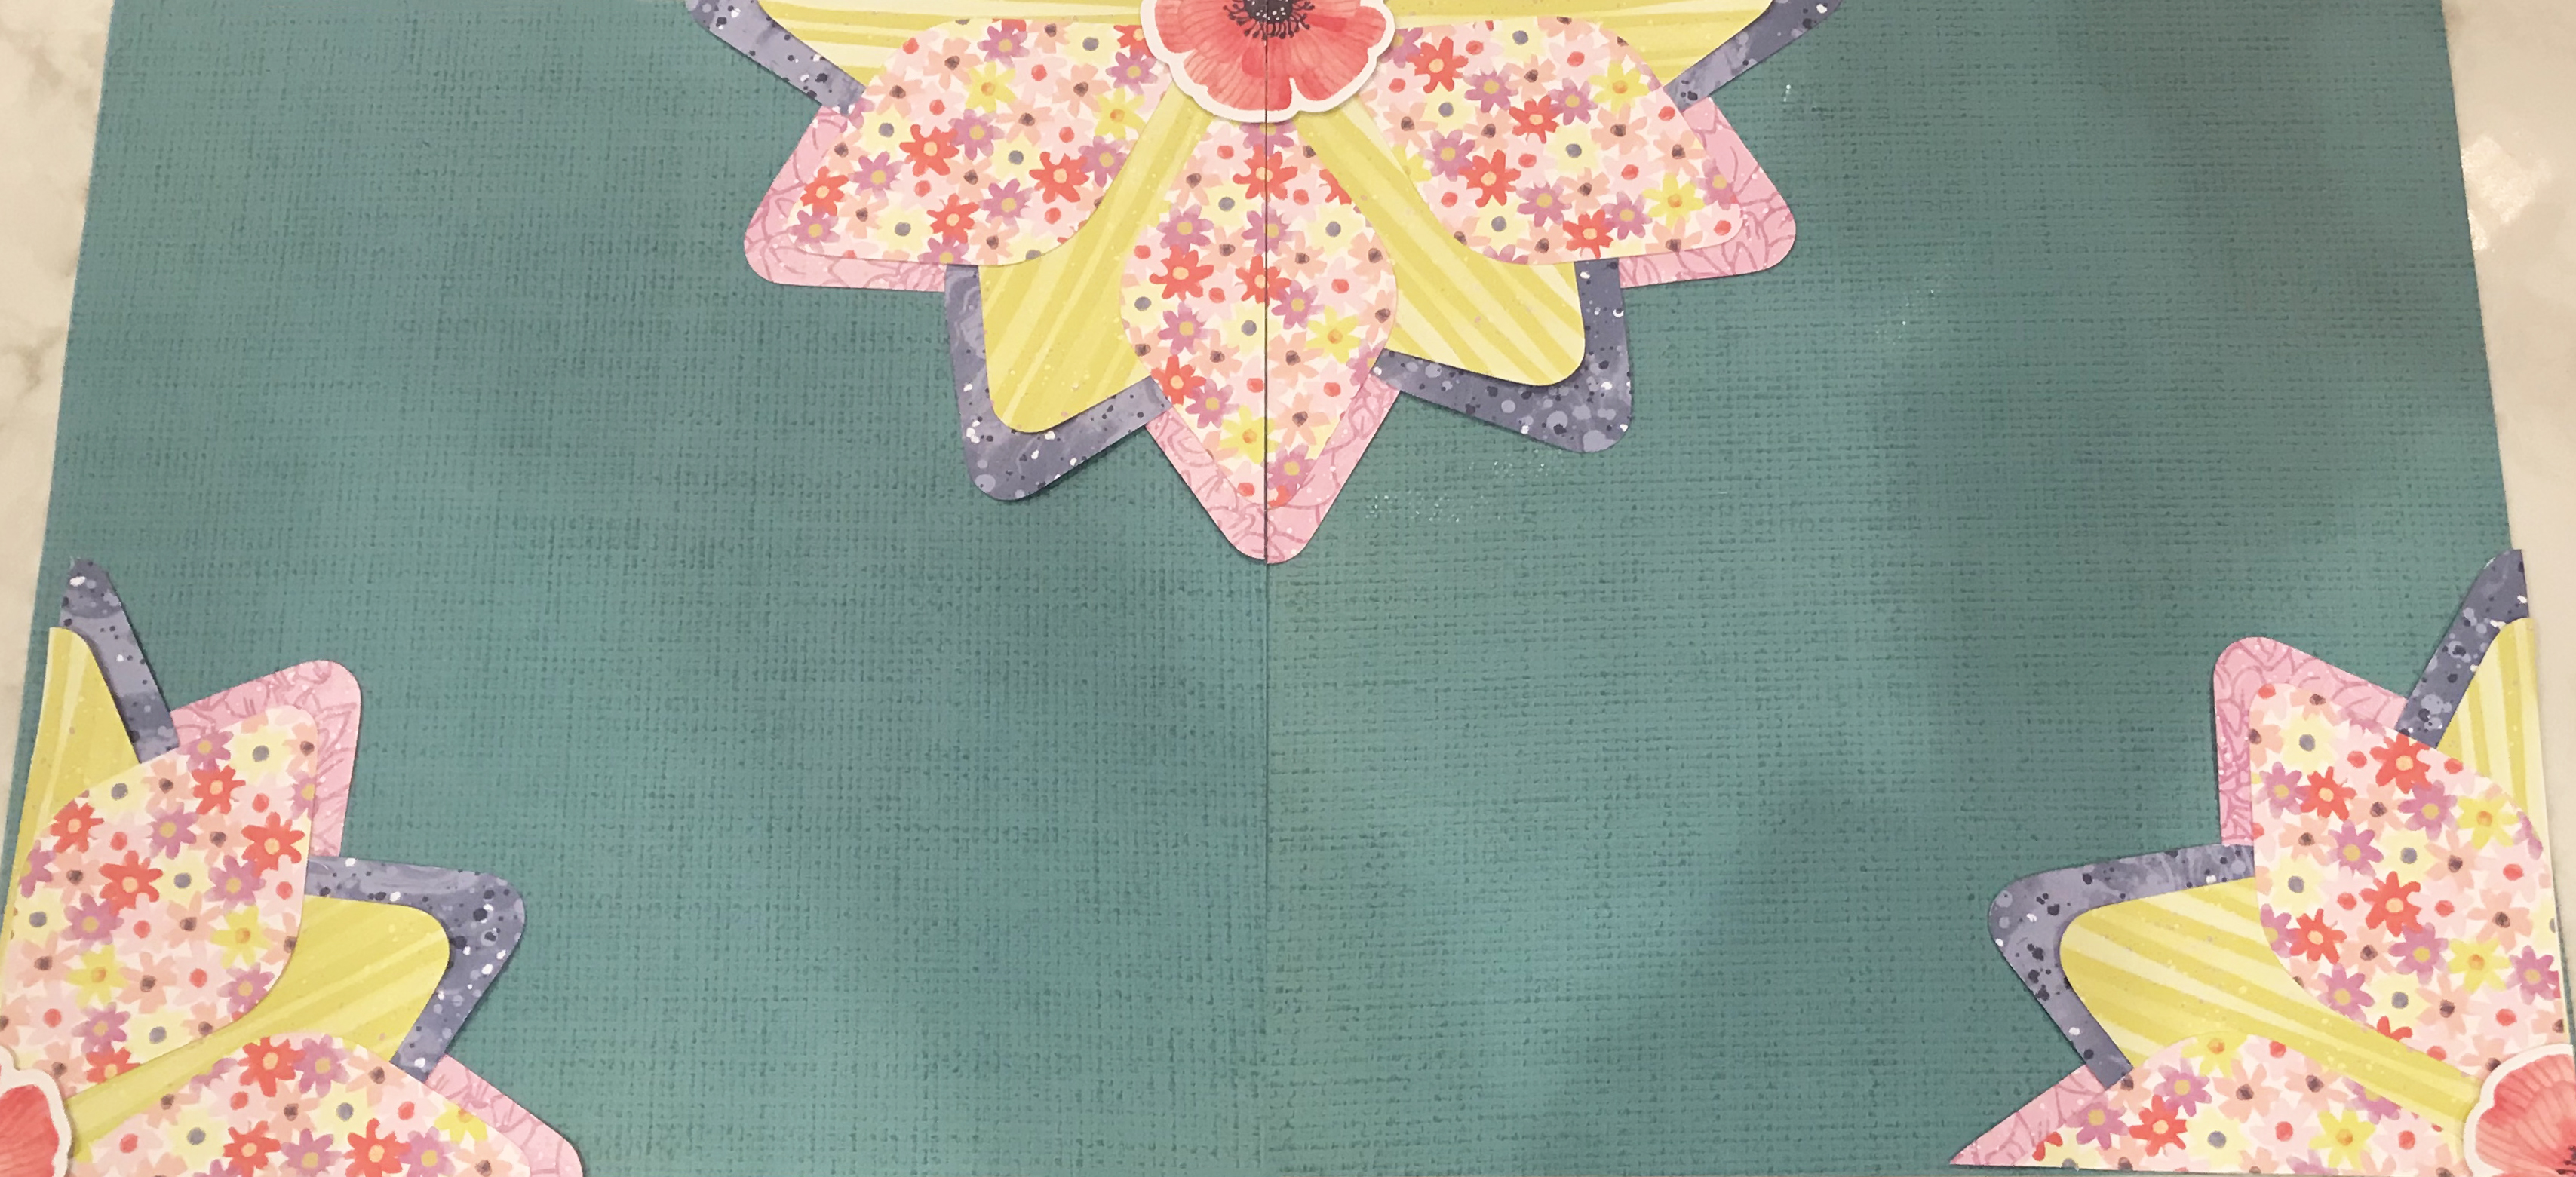
Step 8: Adhere the remaining flowers to create a mirror image at the top right on the left page and the top left on the right page placing the point in the corners.
Step 9: Add pictures in open spaces on the pages. You may cut mats to fit under the pictures if you prefer. Trim pictures to the desired size, then use your Tape Runner to mat them to selected papers. Then, cut the mat paper to approximately ¼” around.
Step 10: To finish the layout, add a title using ABC/123 stickers, journal and add Embellishments as desired. Insert pages into your album and ENJOY!
It’s so simple to take an existing scrapbooking sketch and make it your own with a few simple changes. Comment below if you are going to give this #ThrowbackThursday project a try!
– Karen

Hoping to use this neat layout. I am a quilter and it reminds me of the old quilts my Mom and Grandmother made. Thanks!
I’m so glad you like it!
Yes, I really like this layout and will use it in the future! !
This is fabulous. I love the look of quilts, and this is perfect for a layout. Thank you so much for combining two of my favorite interests: quilting and scrapping. :-)
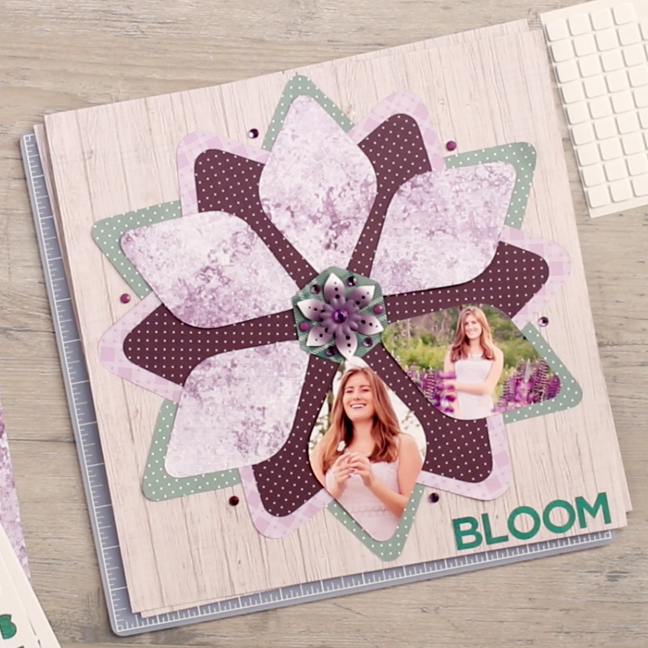
My mom died when I was 12 – I remember she loved purple, lavender and greens – I will definitely make the layout “Bloom” in her album!
me encanto, estas ideas, gracias
This is beautiful and I will definitely be using. Nice to see something using the old CM products.
This is beautiful.
Love this quilt look. I will definitely use this for Mother’s Day Event.
very unique—I have been looking at the Gemstone layout and now I just have to try it!!!